
|
This page is under construction. Please excuse its informal appearance while it is being worked on. We hope to complete it as soon as possible! |
| ||||
| ||||
| Developer(s) | ||||
| Publisher(s) | ||||
| Platform(s) | 
| |||
| Genre(s) | Fighting Game | |||
| Release Date(s) | TBA | |||
| Age Rating(s) | ||||
| Media Included | V² Disc | |||
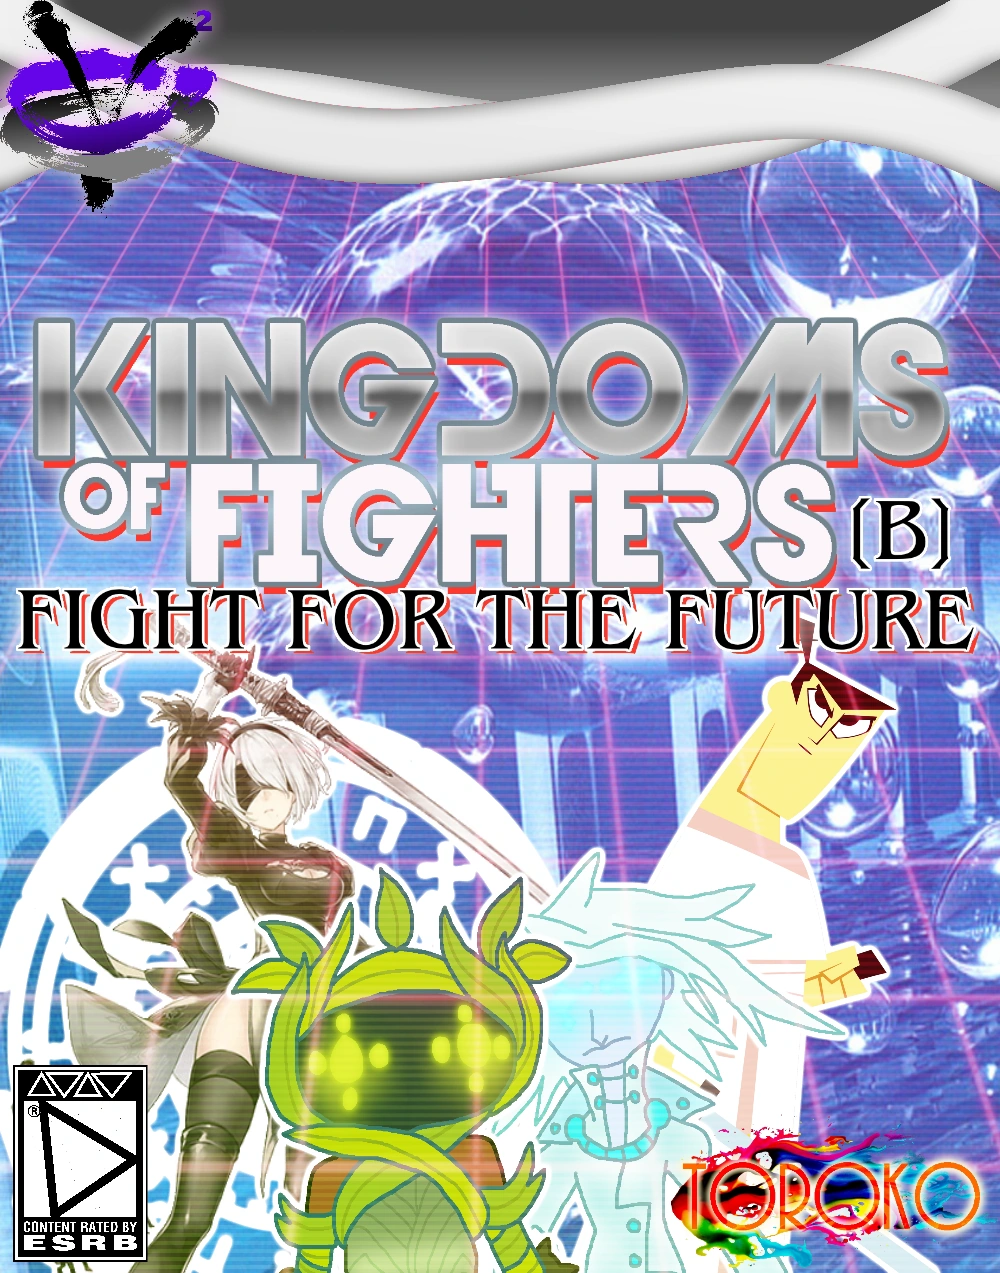
Kingdoms of Fighters B: Fight for the Future (stylized as Kingdoms of Fighters [B]: Fight for the Future) is a sequel to Kingdoms of Fighters. Like the previous installment, it is a umbrella fighting game in the style of King of Fighters, with several other new mechanics to make it feel fresh. The sequel will expand on the team fighting formula and features a new story and several new characters, centering around the past and future of Aeo.
New to the sequel is the new team creation system revamp. While players can create teams from 3 characters on the roster like they could in the previous installment, they can also chose to use either a stand-alone character or a two-person coupling. Additionally, the new Phantogram system incentives the player to play the game in different ways using the new team system. More details on these new systems are available in the Gameplay and Phantogram sections.
The game will also feature a expansive story mode in the vein of the Fighters of Lapis series (which were inspired by the Subspace Emissary mode in Super Smash Bros. Brawl). This story mode will serve as a way to unlock all the unlockable characters without needing to grind. Returning characters will also be revamped with new moves.
Gameplay[]
Basic Gameplay[]
The gameplay from the previous game still remains largely the same, with most alterations effecting the team system. When the player goes into character select, they can choose to have up to three characters for a team, two characters for a coupling, and one character for a lone wolf scenario. All picks will result in three usable stocks regardless. The player can also equip or disable Phantograms to boost their characters. They can only have three up at a time, and require clever use of them to fully tap into their potential. When the player goes into a match, they can switch to their other team members if they desire after the first 15 seconds clock by, who each have their own unique health bar. A round will only end when a opponent is KO'd or time runs out.
Attacks[]
Each character has four high attacks (Neutral, Side, Up, and Down standard attacks) and four low attacks (Neutral, Side, Up, and Down special attacks) to use, using either the ![]() for high attacks or
for high attacks or ![]() for low attacks, as well as a directional input. Characters can also jump using the triggers or the up directional movement on the pad. Players use
for low attacks, as well as a directional input. Characters can also jump using the triggers or the up directional movement on the pad. Players use ![]() to block (down blocks low attacks and up blocks high attacks, neutral blocks neutral attacks) or parry attacks, and
to block (down blocks low attacks and up blocks high attacks, neutral blocks neutral attacks) or parry attacks, and ![]() to unleash MAX Mode, which will allow the player to execute special moves depending on what level their Super Bar is. The player can taunt using the directional buttons on the controller.
to unleash MAX Mode, which will allow the player to execute special moves depending on what level their Super Bar is. The player can taunt using the directional buttons on the controller.
MAX Mode[]
MAX Mode fills over a meter and can be activated via the ![]() . The player fills it up over either getting hit or landing hits on a opponent, which will fill up faster if they execute combos.
. The player fills it up over either getting hit or landing hits on a opponent, which will fill up faster if they execute combos.
MAX Mode Moves are as follows:
- Level 1 Moves - Quick moves that can be executed by attacking. Do extra damage compared to normal moves but aren't super punishing. Characters can have 2-8 of these, which depend on which directional button the player button presses when using them and whether they are in the air or not. They are the quickest to build up and use. This is also the longest MAX Mode goes on for, allowing for multiple attacks.
- Level 2 Moves - Drain the Super Bar quicker, but are far more punishing. Usually characters only have one of these moves at their disposal and can execute it twice before the meter drops. It is very rare for a character to have more than one Level 2 move, but they can have more than one if they are paired with a particular team mate or through other gimmicks. These last as long as a single move.
- Level 3 Moves - Depending on what the player does at the selection screen, these can either be quick but helpful team moves, punishing rival-based attacks, or immensely powerful one-man attacks. Level 3 moves in general have been revamped heavily to play in with the Phantograms feature. These are by far the most powerful and time consuming to build up and use. These last as long as a single move.
Flowmotion[]
The stages in the game also now feature Flowmotion, which allows the player to use the environment in the stages to their advantage. Many Flowmotion elements are single use and require the player to be in MAX Mode to use them. While in MAX Mode, the player can tap ![]() to use Flowmotion attacks on highlighted objects.
to use Flowmotion attacks on highlighted objects.
Revenge Cancel[]
When another player is trapped into a combo, they can cancel the other player's attack with a powerful version of an attack that deals little damage but knocks their opponent far back, which prevents infinite combos and serves as somewhat of a comeback mechanic.
Win Conditions[]
When the player defeats the opposing fighter on the enemy's team, they regain some health in the next round. This is dependent on the time left on the clock; there are 90 seconds per round.
- 45+ seconds = 40% health
- 44 to 30 seconds = 35% health
- 29 to 18 seconds = 25% health
- 17 to 0 or timeout = 15% health
Additionally, there are win conditions that can also influence some bonuses.
- Finishing an opponent with an MAX Mode move influences the quantity of trophies and Phantograms recieved after the battle is complete. This goes under a further check of having a 50% chance of influencing the pool, with this chance steadily going up by 10% if there is no payout.
- Level 1 increases the quantity by one or two extra trophies/Phantograms.
- Level 2 increases the quantity by three to five extra trophies/Phantograms.
- Level 3 increases the quantity by seven or eight extra trophies/Phantograms.
- Defeating an entire team with only one character on a three person team increases the money winnings from a match by 30%. This goes under a further check of having a 50% chance of influencing the pool, with this chance steadily going up by 10% if there is no payout.
- Getting frequent time outs will sometimes add extra time on the clock at the start of the next round.
- Keeping health high during victories will add a special state to the life bar at the start of the next round. This state is known as the "Steel Life Bar" and allows the user to tank a single attack before depleting their normal health bar.
Modes[]
Story Mode: FIGHT FOR THE FUTURE[]

Story Mode: FIGHT FOR THE FUTURE is the story mode for the game. It will be a cinematic story mode in the vein of the Fighters of Lapis series that will center around time travel mechanics to get from level to level and the player will have to play as multiple characters to get through scene to scene.
Setting and Premise[]
FIGHT FOR THE FUTURE picks right up from EVOLVE, specifically Pandora's storyline in which she merges many of the outcomes together. The general spanning plot for the three sagas introduced in the game go like this: Aeo itself is under a new mysterious threat hailing from another universe, which even Pandora is helpless to stop; one across time. With the past, present, and future under attack, many of the characters will have to band together to stop the mysterious new threat.
FIGHT FOR THE FUTURE is three "sagas" long and are segmented into episodes. The game segments each episode into fight scenes that lead into the next cutscenes. Players may have a choice of characters to choose from before they battle or they may have to use the characters available to them.
Each of the "sagas" of FIGHT FOR THE FUTURE has a different plot and focus.
- War for Aeo Saga - When three intergalactic threats known as the Saiyans land on Aeo with the intention to conquer it, the Kingdoms must band together to stop them, even if it means having to make unlikely allies. A grand saga that has galactic sized events.
- POINT Entrance Exam Saga - P.O.I.N.T, a hero organization, is hosting their entrance exam for any character to join in and become a part of P.O.I.N.T. Their massive resources and scope make this a tantalizing prize for surprisingly many of the characters.
- Unchained Time Saga - The time breaker has been revealed and now it's a race through time and space to stop the villain. More details to be revealed in the future.
War for Aeo Saga[]
A mysterious new force known as the Saiyans arrive on Aeo and pose a serious threat to the wellbeing of everyone on Aeo, taking over kingdom by kingdom effortlessly. This galaxy-spanning saga will see unlikely team-ups and surprise twists, as the developments set up things for the Unchained Time Saga.
| |||
| Episode | Summary | ||
|---|---|---|---|
| Episode 1 Blasted Samurai Won't Die! |
Sometime in the Far Future... Aku watches Samurai Jack from his tower, wondering why he just doesn't die. When faced with a crossroads, Samurai Jack throws a stick into the air, which Aku manipulates to go towards a graveyard. Soon, Samurai Jack arrives at the graveyard to face off Aku's undead zombies. Battle: Samurai Jack and the Zombies After defeating the Dust Zombies, a ghostly hag possesses Jack's sword, causing him to run after it, only to be snatched by Aku. Aku chases and finally manages to capture Jack, attempting to kill him with his own sword only to be completely dumbfounded when it fails to even scratch him. Samurai Jack takes the sword back and prepares to fight Aku. Battle: Samurai Jack and Aku Aku transforms into a mouse and scurries off. Samurai Jack looks at the moon and notices it turning a strange pink color, but thinks nothing of it. In the meantime in a forest, Finn is attempting to come to terms with Glade and the grass sword business when suddenly he comes across a pink web with Ice King and BMO entrapped inside. Finn frees them but awakens Candy Venom. Finn readies his sword. Battle: Finn vs Candy Venom Candy Venom scurries off and Ice King and BMO are freed. They explain to Finn that they are doing a salesman thing and Finn wishes them luck while he watches out for Candy Venom. | ||
| Episode 2 The Hunt for Candy Venom! |
Back in the Candy Kingdom Forest... Returning back to the Candy Kingdom Forest, Finn and Jake head to find Candy Venom. Platforming Section A short cutscene shows that Glade has already gotten to Candy Venom, his body laying unconscious as she returns her focus to Finn and Jake. Finn doesn't want to fight, but Glade begins to fight him, screaming as she does. Battle: Finn vs Glade Glade retracts as she loses, heading deep into the Cotton Candy Forest. Finn and Jake examine the body of Candy Venom, which has a strange "G" sigil on it's back. Jake snaps a picture of it on his phone and the two roll back out to the Candy Kingdom to talk with Princess Bubblegum. As they arrive, Princess Bubblegum seems to have a entirely different matter on her hands, working with Purah on a plethora of dry erase boards. She tells Finn she doesn't have the time (which Purah laughs at, because they're trying to solve something about time) and tells Finn to head to the training barracks to train a new knight by the name of Raquna Sheldon. Finn immediately gets defensive, asking if he's not doing enough to protect the kingdom, of which Princess Bubblegum tells him it's not like that. Finn heads to the training courtyard to meet with Raquna Sheldon, who takes a immediate liking to Finn, although Finn still has a sense of envy. Finn and Raquna battle in the training courtyard. Battle: Finn vs Raquna After training, Finn begins to warm up to Raquna, although he still feels she is somewhat unnecessary and the fact she doesn't even come remotely from the Candy Kingdom seems suspicious to him. Suddenly three loud sounds in the distance fill the air, with Finn, Jake, and Raquna racing off to see what could possibly be making that sound. | ||
| Episode 3 The Arrival of the Saiyans! |
Somewhere in the Candy Kingdom's Distance... Finn, Jake, and Raquna race over to where they heard the sounds and see three giant steel capsule crafts in the ground as three humanoid characters step out, two men and one woman. The leaner man scans the area, causing the three to hide away as the bulky man asks if he can destroy the castle in the distance. This instantly inflames Finn to charge into battle, with Jake and Raquna chasing after him. Battle: Finn, Jake, and Raquna vs Saiyan Team Finn, Jake, and Raquna lay defeat at the hands of the Saiyans. The lean man introduces the team (Raditz, Gine, and Nappa), feeling it a courtesy before they finish the team. Before he can finish them off with a ki blast, he is suddenly stabbed with a grass blade. Glade appears before the six fighters and her green eyed stare rattles Nappa enough to the point where Nappa suggests they take off. Raditz obliges, if only to focus on more important things. Meanwhile in the Sand Kingdom... Launch emerges from the top of the upside down pyramid with some loot strapped to her back. She speeds across the desert dunes, only to be suddenly attacked by a rocket from the CIA. C. Viper jumps down and the two women battle. Battle: Launch vs. C. Viper Launch manages to get away as C. Viper is defeated, although C. Viper remains hot in pursuit. Back at the upside down pyramid, Cleopatra suddenly awakens with a pink energy around her. Her Mummy cats come to her aid. Cleopatra realizes the tyrant king she has served with is gone, and begins to make new plans to contact her old rival Eliza. Meanwhile Back in Limbo... Michelle K. Davis and Pandora approach what appears to be a pink electricity-spitting crack, which runs across Aeo's timestream. None of these cracks have done serious damage at the moment as noted by Michelle K. Davis, except for the disappearance of the Tyrant Pharaoh sometime after his sealing, which has now effected the present. Pandora knows that this energy isn't coming from her- although both women seem to be unsure of where exactly this energy could be coming from. | ||
| Episode 4 The Cursed Team Revealed! |
Somewhere in the Candy Kingdom's Forest... Finn, Jake, and Raquna recover in the Candy Kingdom Forest, where Glade has taken them, revealing that she has been working with Dr. Princess and Shiki to try and control the Grass Sword demon inside of her- although to mixed results, as Glade admits, noting her savage tactics against Candy Venom. Shiki was instrumental in forming this new team, as Shiki had been through similar circumstances and could help Glade, and Dr. Princess tagged along because she cared about Glade. Finn, Jake, and Raquna inform the Cursed Team about what just happened, although they don't find it a major concern, considering how rattled Nappa seemed by Glade's gaze alone. Finn tries to inform them that their confidence is a mistake, but the Cursed Team is undeterred and heads out to find the Saiyan Team. Back in the Candy Kingdom... Princess Bubblegum and Purah have discovered a individual effected by the chrono destabilization that they are studying, by the name of Lena Oxton. The two are able to create a chronal accelerator to anchor her to the present, as well as travel through and out of time in short increments, which is valuable to their studies. They enlist Tracer to head to the Sand Kingdom to find out what might have happened, as it is the source of the largest anomaly so far. Tracer zips over to find out. Meanwhile in the Sand Kingdom... Wario prepares to infiltrate the upside down Pyramid, but has to hurry up his pace when Captain Syrup's airship touches base onto the pyramid. Platforming Section Wario arrives in the treasure room, which the door closes behind him. As he attempts to escape, a pink flash appears in the room, and Inque suddenly appears. Inque, confused, attacks Wario. Boss Battle: Inque After defeating Inque, Inque becomes too liquid to emerge into a solid form and disappears into the vents of the pyramid, as the treasure doors are blasted open by Captain Syrup. Wario and Captain Syrup have to escape the Pyramid together, whether they like it or not. Platforming Section As the two escape the Pyramid, it becomes engulfed in pink light and suddenly disappears in a flash of brilliant pink light. A bunch of white gems pour out, which Wario and Captain Syrup greedily collect without thinking of what the possible ramification these gems might have... | ||
| Episode 5 Tracer's Big Blink! |
Somewhere Just Outside the Sand Kingdom... Tracer sees the upside down Pyramid crumble and vanish before her eyes. Tracer attempts to use her accelerator to move backwards before the Pyramid disappears while moving herself spatially towards it, but all she can see is what appears to be a bunch of pink ribbons swimming in space before it finally vanishes. She finds Wario and Captain Syrup and holds them and their new-found possessions into captivity for the Candy Kingdom. Back in the Candy Kingdom... Princess Bubblegum studies the white gems that Wario and Captain Syrup were holding, finding that they contain souls; copied ones at that. Purah and Princess Bubblegum ask Tracer to try and locate the being known as Inque, who according to the questioning she went through with Wario, should still be around the Sand Kingdom. Meanwhile in the Southtown Kingdom... Mai is performing in a concert against her rival Maki, in what is known as a idol-fight. Mai's Team and Maki's Team face off as they sing, with the crowd going wild. Battle: Mai Team vs Maki Team Mai Team ultimately wins by a hair's string, and the concert ends with Maki cussing off Mai. Mai feels victorious, although she finds that Maki's outburst has nabbed her more attention than Mai tonight. Ultimately, Mai decides to let it go because at least she can keep her composure, which will last longer than Maki's 15 minutes of fame (at least, that's how she justifies it). Suddenly, in the distance, she hears the crackling of fire and loud explosions. The Saiyans have begun to attack the Southtown Kingdom. The Neo Southtown Team attempts to fight them off, but they need help! Battle: Mai Team vs Saiyan Team The Saiyan Team is exhausted due to the two teams, but the Southtown Kingdom is worse for wear because of their attack. Mai decides to gather more teams to help fight against the Saiyan Team, who are now heading back to the Grasslands just outside the Candy Kingdom to restore themselves with Sensu Beans. Mai's Team travels to the Canopy Kingdom to find Parasoul and gain her help. | ||
| Episode 6 Nappa Blasts a Hole Into Glade! |
Somewhere Just Outside the Candy Kingdom... The Cursed Kingdom finds the exhausted Saiyan Team heading back to their escape pods, and charges after them, with Finn, Jake, and Raquna chasing after them, telling them it's a bad idea. The Saiyan Team is about to eat into their sensu beans when Glade attacks Nappa, putting Gine and Raditz on the defense as they fight the Cursed Team. Battle: Cursed Team vs Saiyan Team The Cursed Team appears to defeat the Saiyan Team, but Nappa suddenly attacks Glade with a unexpected beam attack from his mouth, blowing a huge hole through her. Although Glade is still alive, she is struggling to stay so. Shikki and Dr. Princess drag her away as the Saiyan Team heal up and prepare to lay waste to the Candy Kingdom, although the Gumball Gaurdians spring into action. Finn, wanting to do something, runs off as Jake and Raquna watch on, mortified on what to do. Princess Bubblegum sees the commotion from outside and rigs more security measures, sending out a army of candy people to stall Saiyans. Purah opens a Shekiah Slate to talk with Zelda about sending out some Hyrulian forces to fight off the Saiyans. The two women close up the laboratory with steel doors, continuing their research. Meanwhile in the Canopy Kingdom... Parasoul visits Valentine in her cell. Valentine and Parasoul have since repaired some of their relationship, but Valentine still resents Parasoul for treating her like a criminal. Parasoul remarks that she acts like one, but agrees to finally release Valentine from her cell; provided she join her and a hired assassin named Ms. Fortune in returning to the Obelisk Battlefield, as she has received reports that something still lingers there. Fearing that it could be a remnant of the Obelisk, she sets off to destroy any trace of it. Mai's Team arrives moments after they leave, with Umbrella left in charge. They ask Umbrella to help them, but Umbrella tells them to piss off and goes to eat ice cream. Mai goes inside the Canopy Kingdom anyway, lurking around to find Molly and Roxie. Molly and Roxie agree to help Mai's Team, but Umbrella suddenly arrives. She scolds them and tells Molly and Roxie to fight alongside her against the team. Mai's Team makes a deal with Umbrella that if they beat them, they have to help them. Battle: Mai Team vs Black Egrets Team Mai's Team wins, causing Umbrella to furiously give into their demands. Umbrella leaves the Canopy Kingdom in Adam's hands, although she remarks that his dumb ass probably doesn't have any idea what he's getting into and tells Krieg to keep a close eye on him. The Black Egrets and Mai's Team leave the Canopy Kingdom, although the two teams ultimately get lost and find themselves in some strange woods. The haunted glade manages to spook them into running straight into the Ruined Kingdom. Platforming Section Mai's Team and the Black Egrets Team get to the top of a ruined spire, where they are suddenly confronted with the arrival of 2B, A2, and 9S, who aren't here to attack them, but warn them about going any further. When Umbrella asks what could possibly be so damn scary, they hear a distant cackling roar and a giant black dragon starts to flap it's wings way in the distance. | ||
| Episode 7 Enter the Lord of Lightning! |
Somewhere Just Outside the Ruined Kingdom... Picking up just from the last episode, a giant black dragon flaps it's wings and soars fast over to the spire where the teams have met up. The three teams jump down, knowing they can't take it on. A2, while jumping down, throws a sword into it's giant neck, which merely harmlessly bounces off, although a cackling scale falls down with the the two teams. Platforming Section The groups are cornered by the Lord of Lightning against a black, crumbling wall. The Lord of Lightning elevates their platform by pulling up the ground with it's powerful claws, snarling as it prepares to battle the three teams. Boss Battle: Lord of Lightning After defeating the Lord of Lightning, the Lord of Lightning begins to spark with pink electricity, although it shrugs it off, with the Ruined Kingdom suddenly lighting up with pink cracks. The three teams dash off as the Lord of Lightning takes flight, with the Ruined Kingdom disappearing just as they get away. The Ruined Kingdom, consisting of 2B, A2, and 9S lament the loss of their home, which Umbrella and Mai retort was a piece of junk anyway. To try and cheer them up, they tell the Ruined Kingdom Team they are free to stay at the Canopy Kingdom, so long as they join them on the journey to fight the Saiyans. Somewhere Just Outside the Candy Kingdom... Launch believes she managed to outpace C. Viper, stopping by the Candy Kingdom to rob some stuff in the midst of the chaos. Blowing through the backdoor defenses and heading into the Candy Kingdom bank, Jake and Raquna chase after her. After accidentally making Launch sneeze, the authorities are able to take her into prison with Wario and Captain Syrup. Meanwhile on the battlefield, Raditz blasts through a bunch of Banana Knights, with the situation looking helpless. Suddenly, on the horizon, Princess Zelda arrives her own team and army to take on the Saiyans. Joined with Urbosa and Sheik, Zelda charges into battle with Hyrulian Knights stabbing into the Saiyans. Nappa glances in the distance, as his Saibamen seeds are almost ready to hatch... | ||
| Episode 8 Jailbreak! |
Somewhere Inside the Candy Kingdom... Nappa's Saibamen seeds hatch, releasing the Saibamen seeds across the entire battlefield. They prove to be tough combatants to the armies, picking off some of their weaker men. Yamcha (along with his friend Paur) attempt to inform Princess Bubblegum of what has happened, but is killed by a Saibaman, leaving his corpse in a crater. Princess Zelda and the Hyrule Team charge towards the Saibamen. Battle: Hyrule Team vs 25 Saibamen Princess Zelda cleans off her rapier as the Saibamen contuine to crawl across the battlefield. Princess Bubblegum realizes that the prison has burnt down when she recognizes a black hulking humanoid creature in the distance on her feed in the lab; a creature known only as Nomu. Raditz realizes the creature is awaiting command and sends it after the armies, enlisting it's full power against the armies. Unable to even hurt the creature, Princess Bubblegum believes she is defeated but is suddenly surprised by the arrival of All Might, who punches the creature. While it takes in the shock of his punch, Princess Bubblegum realizes there has to be a limit to how much the creature can take and begins a assault on it, calling upon Finn's team to take care of it. Boss Battle: Nomu As Nomu blasts away, All Might makes a sudden exit, where suddenly Nappa aims a gigantic energy blast of ki at Jake. Finn takes the shot, blasting him into the candy kingdom wall where he is knocked completely unconscious, breaking several of his bones as well. Jake and Raquna suddenly charge at Nappa, attempting to avenge Finn. None of the armies have noticed how long the fight has been going on for as the moon rises from the distance, full and glowing a brilliant pink color. | ||
| Episode 9 Retreat! Retreat! |
Somewhere Just Outside the Canopy Kingdom... Meanwhile in the Candy Kingdom... Jake and Raquna watch in awe as the Saiyans transform into giant pink apes, known formally as Pink Moon Giant Apes. The Great Apes begin to attack, and the Hyrule Team takes on Pink Moon Great Ape Gine while Jake and Raquna are told to rehabilitate Finn in the Candy Kingdom Hospital. Boss Battle: Pink Moon Great Ape Gine Taking down Pink Moon Great Ape Gine, the group realizes it's only temporary. Suddenly, the Cursed Team arrives, with a healed Glade. Jake and Raquna spot them in the distance and ask for Dr. Princess' help. Dr. Princess obliges, leaving just Glade and Shiki to take on the other two Great Apes. Meanwhile in the Obelisk Battlegrounds... Parasoul, Valentine, and Ms. Fortune arrive on the Obelisk Battlegrounds. The group finds no trace of the Obelisk, but a dark force corrupts the very ground they step, the ground covered in dark veiny flesh. In the center is a dark pit. Parasoul and Valentine investigate further, while Ms. Fortune decides not to test her luck here. Suddenly, a black slimy tentacle grabs the two and the two fall into the pit. Shocked and horrified, Ms. Fortune runs from the scene only to come across Eliza and D. Violet, who were waiting to see who was dumb enough to go inside the pit. The pit is known to host "the concept of entropy", a residual lingering effect from the intense amount of magic previously hosted here. Battle: Eliza and D. Violet vs Ms. Fortune Eliza and D. Violet kidnap Ms. Fortune and ask her to use her to steal the Master Emerald from Angel Island, taking a blimp to head there. With her life on the line, Ms. Fortune is forced to cooperate. Meanwhile back in the Candy Kingdom... The Black Egrets, The Ruined Kingdom Team, and Mai Team arrive on the scene to help fight against the Sayians. Fearing of losing the battle, Nappa calls for the help of Lord Frieza to take on the growing number of fighters fighting against them before launching a mouth laser at Mai, who swiftly dodges. The fight continues... | ||
| Episode 10 Master Emerald Heist! |
In the Skies of Angel Island... Platforming Section Ms. Fortune sneaks past the sleeping Knuckles and tries to move the heavy emerald herself, waking up Knuckles. Knuckles attempts to stop her but the cat burglar deattaches her head, pretending to be dead, which freaks Knuckles out as he goes to get help. Ms. Fortune snickers to herself and then rolls the Master Emerald into the blimp. Meanwhile back in the Candy Kingdom... The Black Egrets, The Ruined Kingdom Team, Mai Team, Glade, and Shiki head off to fight Pink Moon Great Ape Nappa, who taunts them by attempting to shoot them with mouth lasers. Boss Battle: Pink Moon Great Ape Nappa Nappa goes down, unconscious for a moment, leaving just Pink Great Ape Raditz in the distance. The teams get ready to take the third Great Ape. Meanwhile, Princess Bubblegum notices that the situation is actually incredibly dire. If these were just three Saiyans... what would happen if more showed up? She could not stop that kind of attack. She begins to research a way to possibly stop the Saiyans, doing some research. Meanwhile, Finn is in a coma for the time being, with Dr. Princess attempting to wake him out of it. Inside the Entropy Pit... Inside the black pit, Valentine and Parasoul make their way through the black goopy tunnels of the inside of the pit. They note a sense of absolute dread, which they find is oddly diminished if they hold hands, which both reluctantly do to keep moving. | ||
| Episode 11 Final Great Ape Raditz! |
Returning to the Candy Kingdom... With the situation growing dire, and both Gumball Gaurdians down, Princess Bubblegum sends out a distress signal. Mai braces herself as she dodges yet another attack by Raditz, clearly exhausted. Finn's organic hand begins to twitch. Meanwhile in Honnō City... On an artificial city packed with buildings, Ryuko awakens and gets dressed for the day after Mako excitedly wakes her up, because they received a distress call from the Candy Kingdom. Ryuko is interested in fighting, and wants to see if the situation is related to the Obelisk, noting that their dream home wasn't the only thing wished for through the Obelisk. Meanwhile in the Bliss Kingdom... Katsuragi and Taokaka are messily make out in the inflatable pool before hearing a distress call from Princess Bubblegum. The two decide to go to the Candy Kingdom to see if their efforts will impress any pretty women to come over to their new kingdom. Meanwhile in Coney Island... Power Girl and Harley Quinn are arguing before they receive a distress call from the Candy Kingdom. Power Girl decides that they need to help, and Harley Quinn is eager to be part of a real superhero mission. Back at the Candy Kingdom... The forces of the Scissor Blade Team, Bliss Kingdom Queens, and the Bomb Team arrive, with more to follow. Ryuko rushes towards Pink Moon Great Ape Raditz. Boss Battle: Pink Moon Great Ape Raditz As Pink Moon Great Ape Raditz falls, Ryuko cuts off their tails to cut off their seeming source of power. The threats seem finally vanquished and with the sun rising, Finn begins to wake out of his coma. All is well... except for a slowly growing dot in the sky. Flashback: Tracer's Journey Back Tracer attempts to exit out of the Sand Kingdom but ends up crossing paths with the Sand Kingdom Team, who attack Tracer. They believe she was the one that caused the pyramid to fall, angry that she would do that to their home. Battle: Tracer vs Sand Kingdom Team Tracer manages to beat the team, although her body has taken many injuries during the battle and she limps out of the Sand Kingdom and into the coast, where she falls unconscious on the beach. | ||
| Episode 12 Frieza Arrives! |
Returning to the Candy Kingdom... Frieza orders Dodoria and Zarbon to get through the castle walls, as Vegeta grabs the unconscious Saiyans. Dodoria and Zarbon blow through the last Gumball gaurdians as Princess Bubblegum runs into Finn while carrying the Aeonian Dragon Balls. She hands them to him and tells him to find a safe place to hold them as she does some research in a bunker with Purah. Finn runs out of the Candy Kingdom as Dr. Princess returns to Glade's side to take on Dodoria. Dodoria takes out the Scissor Blade Team with an energy attack, which oddly transforms them into trophies. The Black Egrets, Ruined Kingdom Team, Mai Team, and Bliss Kingdom Queens are taken aback, while Powergirl and Harley Quinn attempt to attack back. The Hyrule Warriors Team pulls back, retreating as Powergirl and Harley Quinn transform into trophies with another energy attack. The Cursed Team springs into action. Boss Battle: Dodoria Glade snags the Ryuko trophy, but Dodoria, with what little energy he has left, is saved by Zarbon, who snags the Mako, Satsuki, Powergirl, and Harley Quinn trophies and leaves. Finn and Raquna hop on Jake's back as they head to the Ice Kingdom. At the Shore... In the Candy Kingdom Bunker... Dodoria and Zarbon ransack the Candy Kingdom, nearly demolishing it entirely in search for the Dragon Balls. They are unable to find the Dragon Balls, wondering if they are misplaced somewhere else. Frieza and his men head to Canopy Kingdom next. Black Egrets get word of this and take off to the Canopy Kingdom as Glade taps Ryuko's trophy base, reviving her. Learning what has happened, Ryuko demands that they go to the Canopy Kingdom to rescue her girlfriend and sister. In the Ice Kingdom... Platforming Section Once R.O.B. and Zero Suit Samus make it up the mountain, they come across Finn, Jake, and Raquna. The two groups decide to take a breather as the sun rises in the distance. | ||
| Episode 13 The Tearing of Canopy Kingdom! |
In the Ocean... In the Ice Kingdom... | ||
| Episode 14 Into Another World! |
In the Future... | ||
| Episode 15 Vegeta Disobeys Frieza! |
In the Ice Kingdom... | ||
| Episode 16 The Great Raditz and Vegeta Team Up! |
Back in the Future... | ||
POINT Entrance Exam Saga[]
Unchained Time Saga[]
Arcade Mode[]
Arcade Mode is similar to the last game's EVOLVE except without the unique story routes for each character, instead being a ten round series of fights eventually capped off with a final boss. Each character has a different final boss sent through time to fight.
Final Bosses[]
Remix Mode[]
Remix Mode is a intensely shortened version of the Arcade Mode, still having ten rounds of fights against randomized opponents. However, both livebars are cut in half, the timer is set to 30 minutes, and the player is incentivized to finish fights as fast as possible. They will receive collectibles in this mode, making the grind for them a little faster.
Versus Mode[]
Training Mode[]
Online Mode[]
Vault Mode[]
Characters[]
| Starting Characters | |||||
|---|---|---|---|---|---|
| Candy Kingdom Team | |||||
Samurai Jack |
Aku |
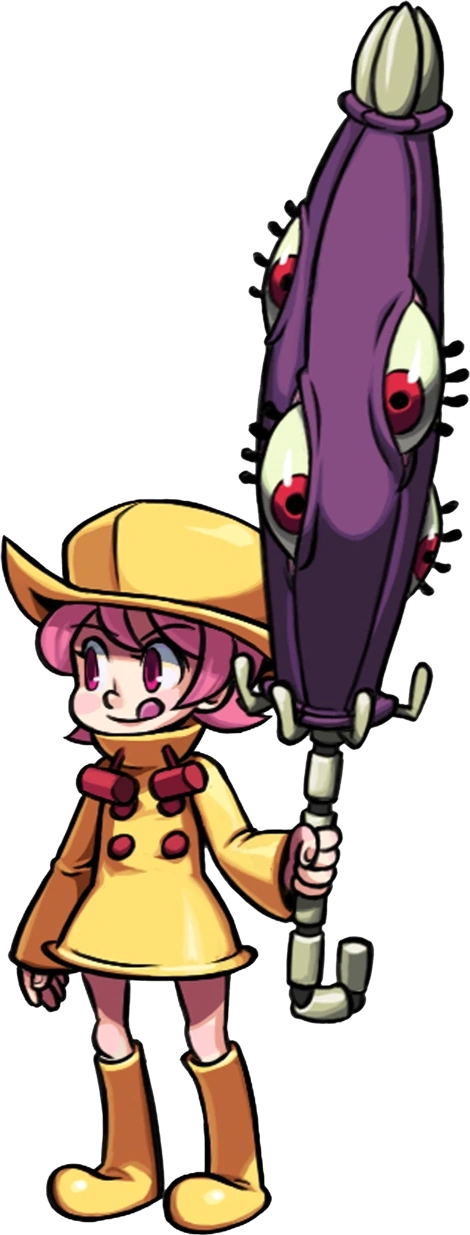
Candy Venom |
Finn |
Jake |
Princess Bubblegum |
| Candy Knights Team | Cursed Team | ||||
Finn |
Jake |
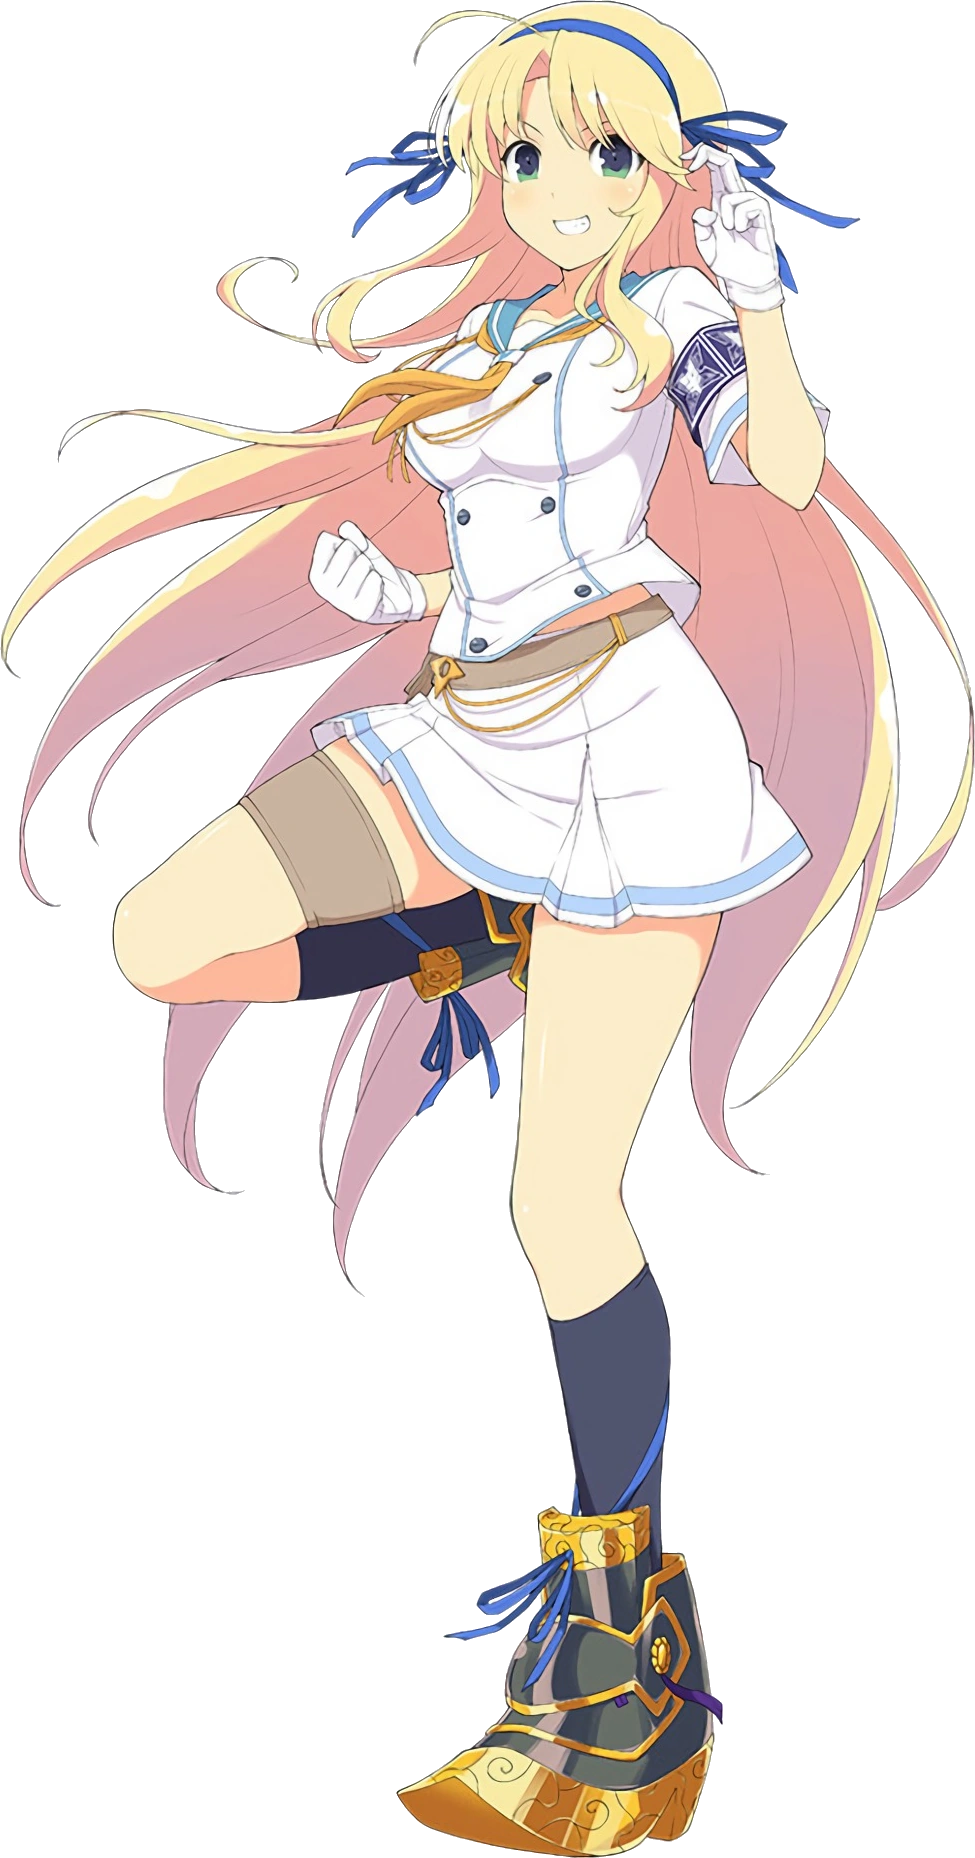
Raquana Sheldon |
Glade |
Dr. Princess |
Shiki |
| Elemental Gathering Team | |||||
Wario |
Captain Syrup |
Frost |
Kat Jannings |
Patience |
Salesman BMO |
| Mai Team | Maki Team | ||||
Mai Shiranui |
Luong |
Angel |
Maki Genryusai |
Felicia |
Poison |
| Sand Kingdom Team | |||||
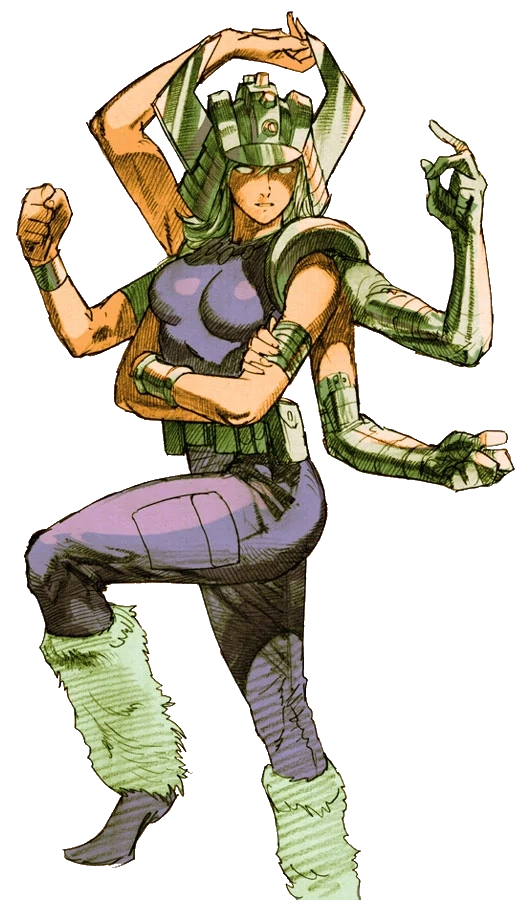
Mervamon |
Solis R8000 |
Cleopatra |
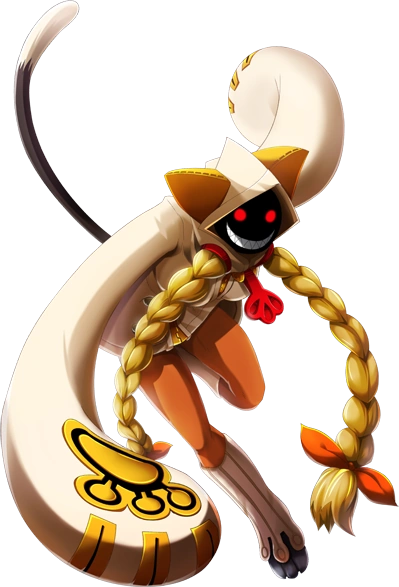
Lovely Mummy |
Mummy Cat |
Tracer |
| The Girl and The Robot | |||||
Zero Suit Samus |
R.O.B. |
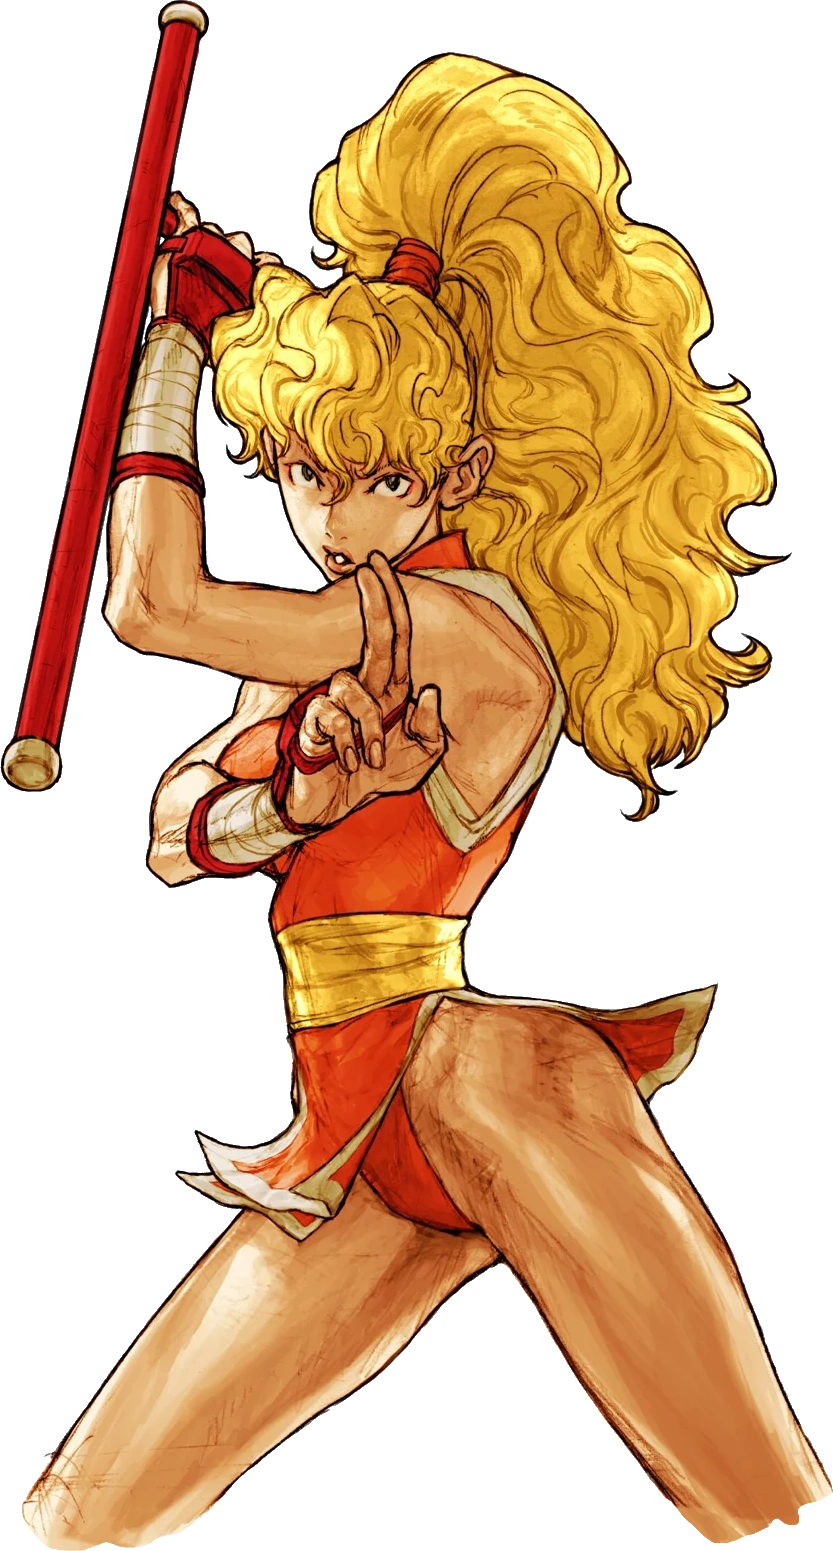
Launch |
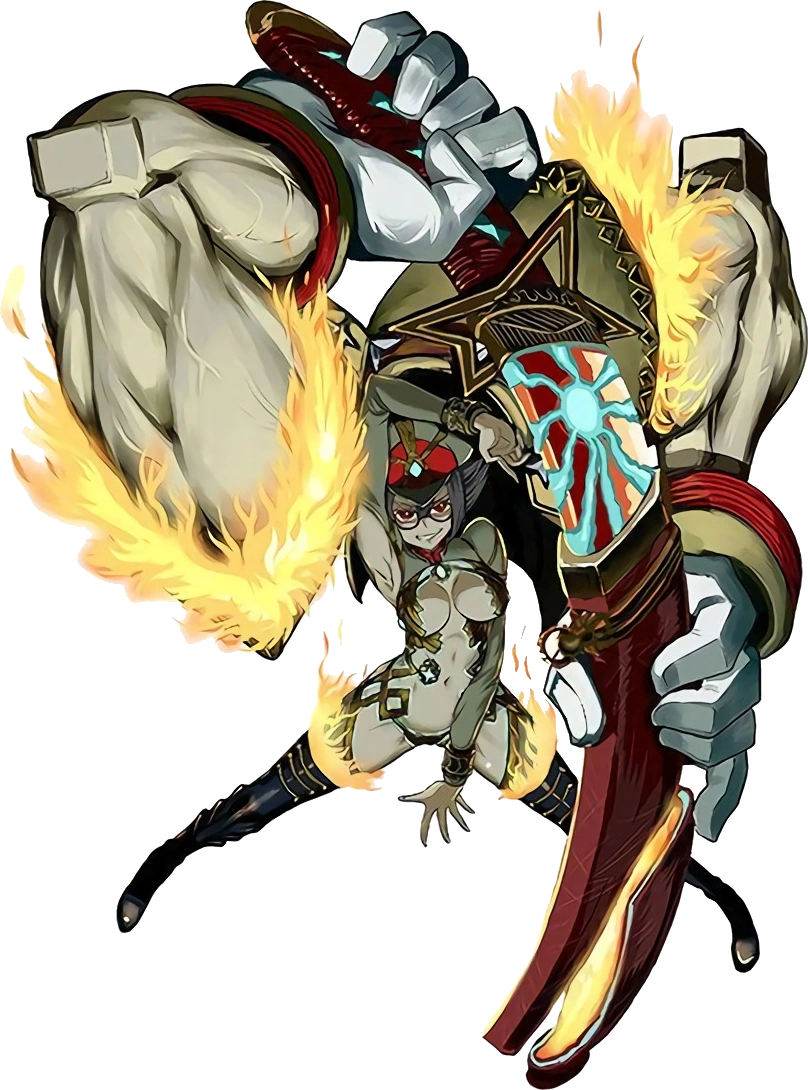
C. Viper |
Chaos |
Ms. Bison |
| Black Lab Team | Partenaire Team | ||||
Parasoul |
Valentine |
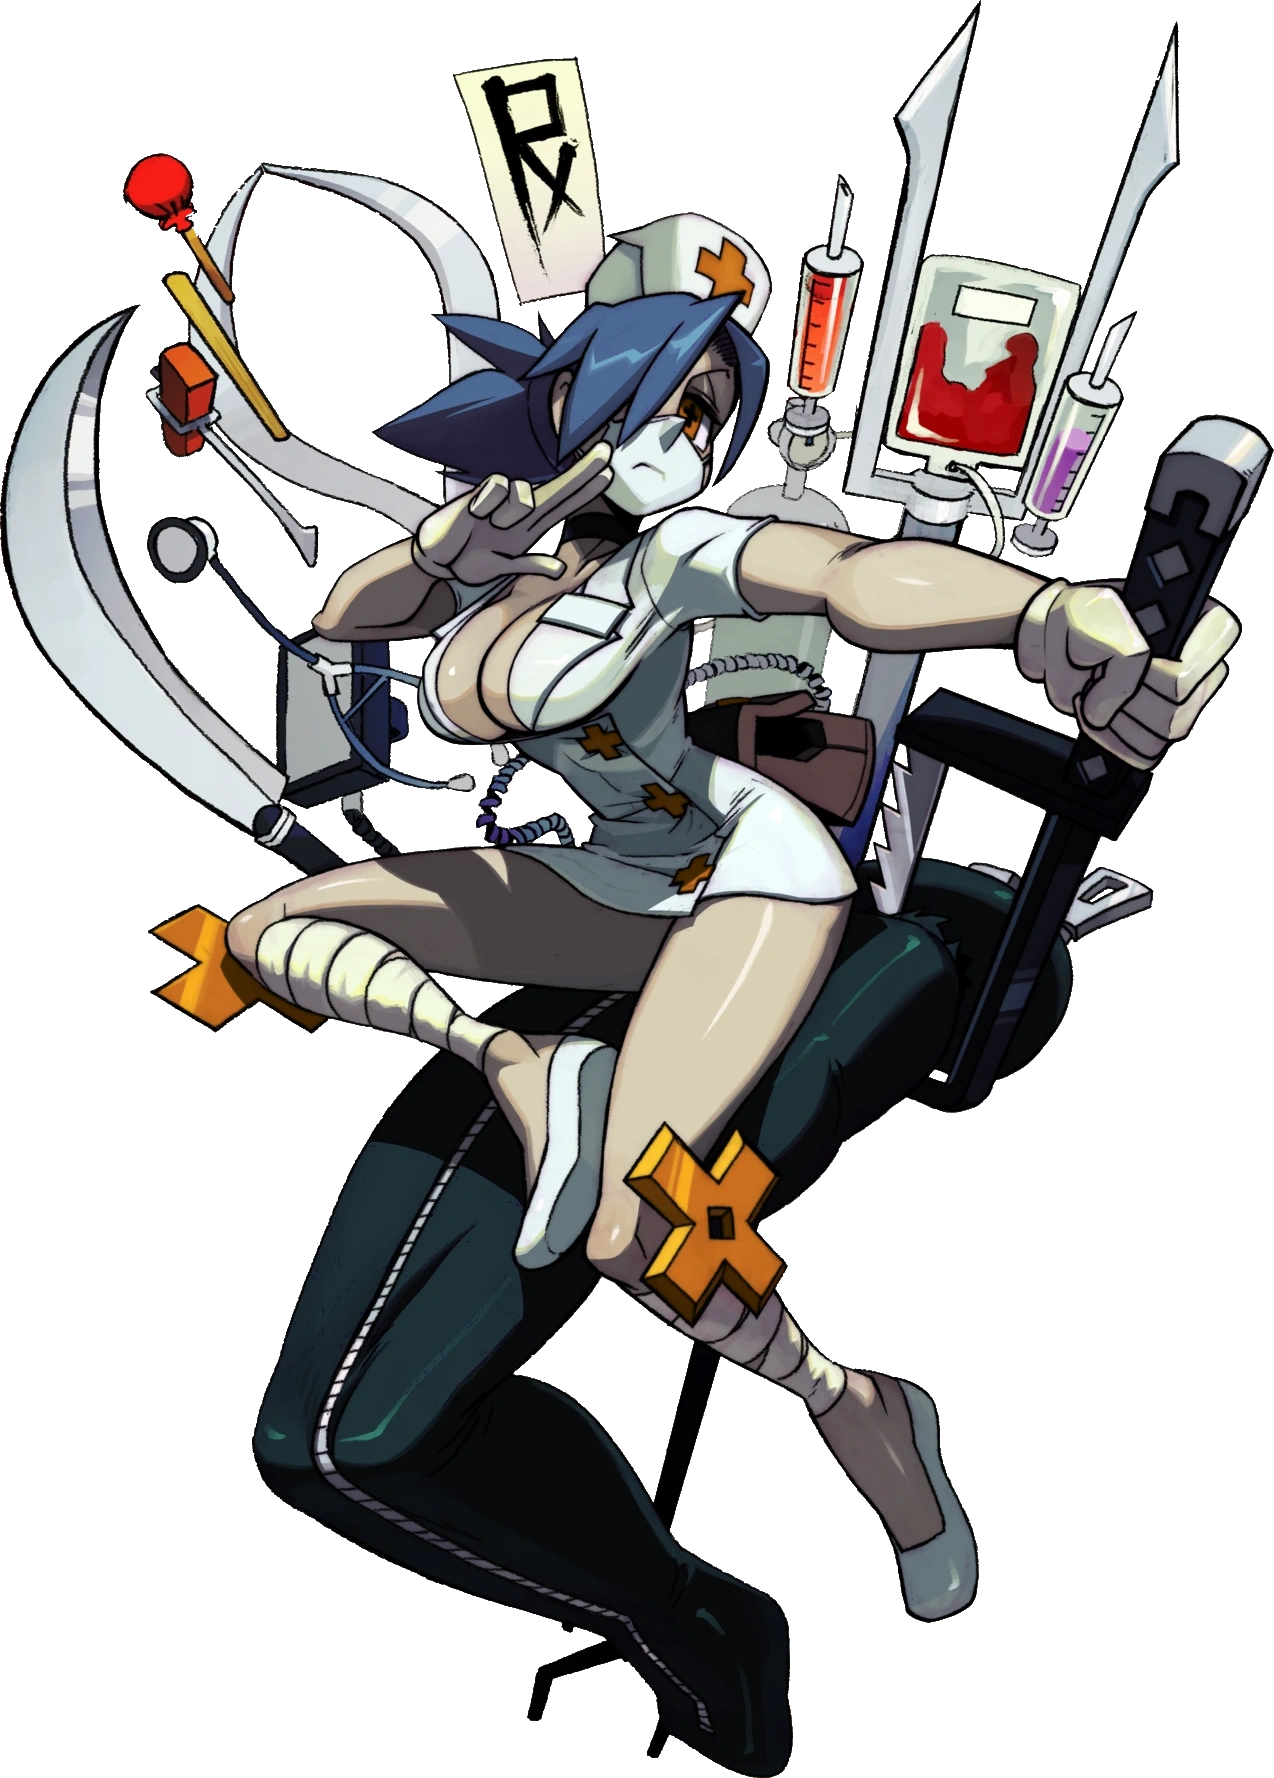
Ms. Fortune |
Ruby Heart |
Amingo |
SonSon |
| Ruined Kingdom Team | Blade Team | ||||
2B |
A2 |
9S |
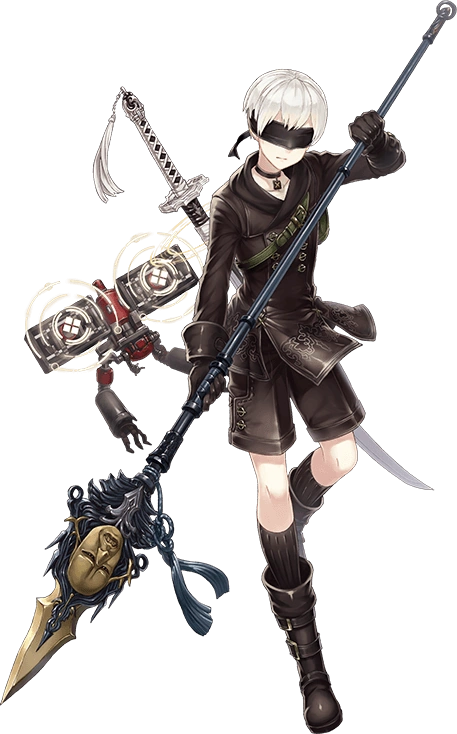
Blademaster Finn |
Pyra |
Natsu |
| Bomb Team | Sisterhood of Mutants | ||||
Powergirl |
Harley Quinn |
Spiral |
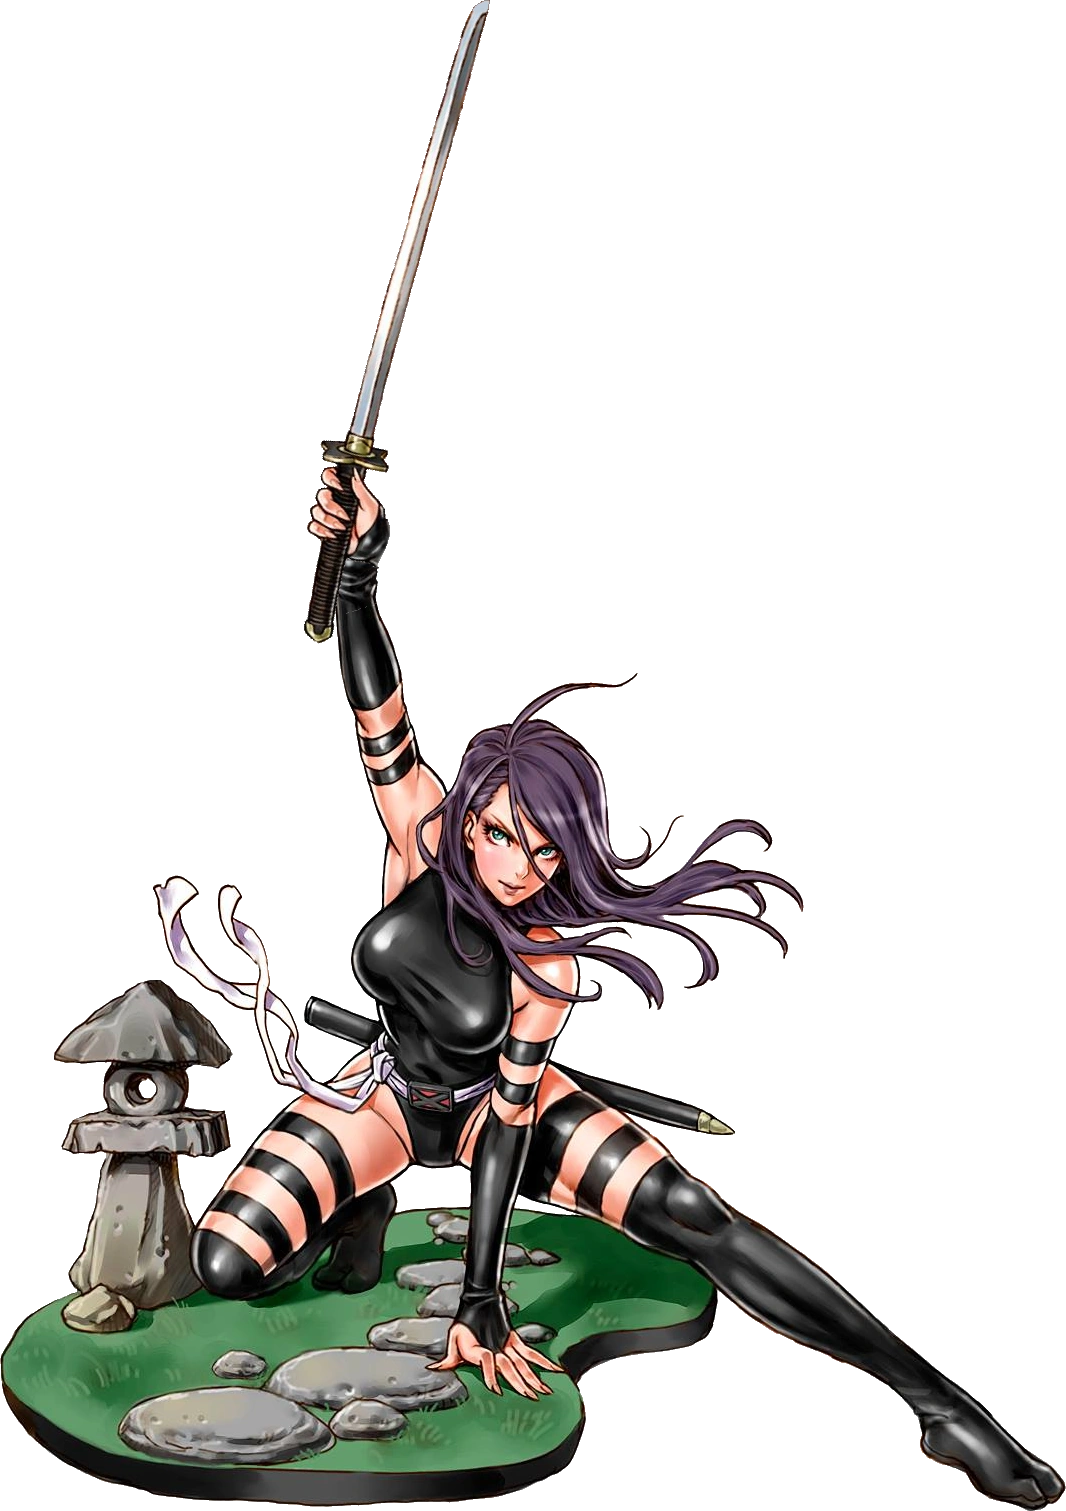
Psylocke |
Gwenpool |
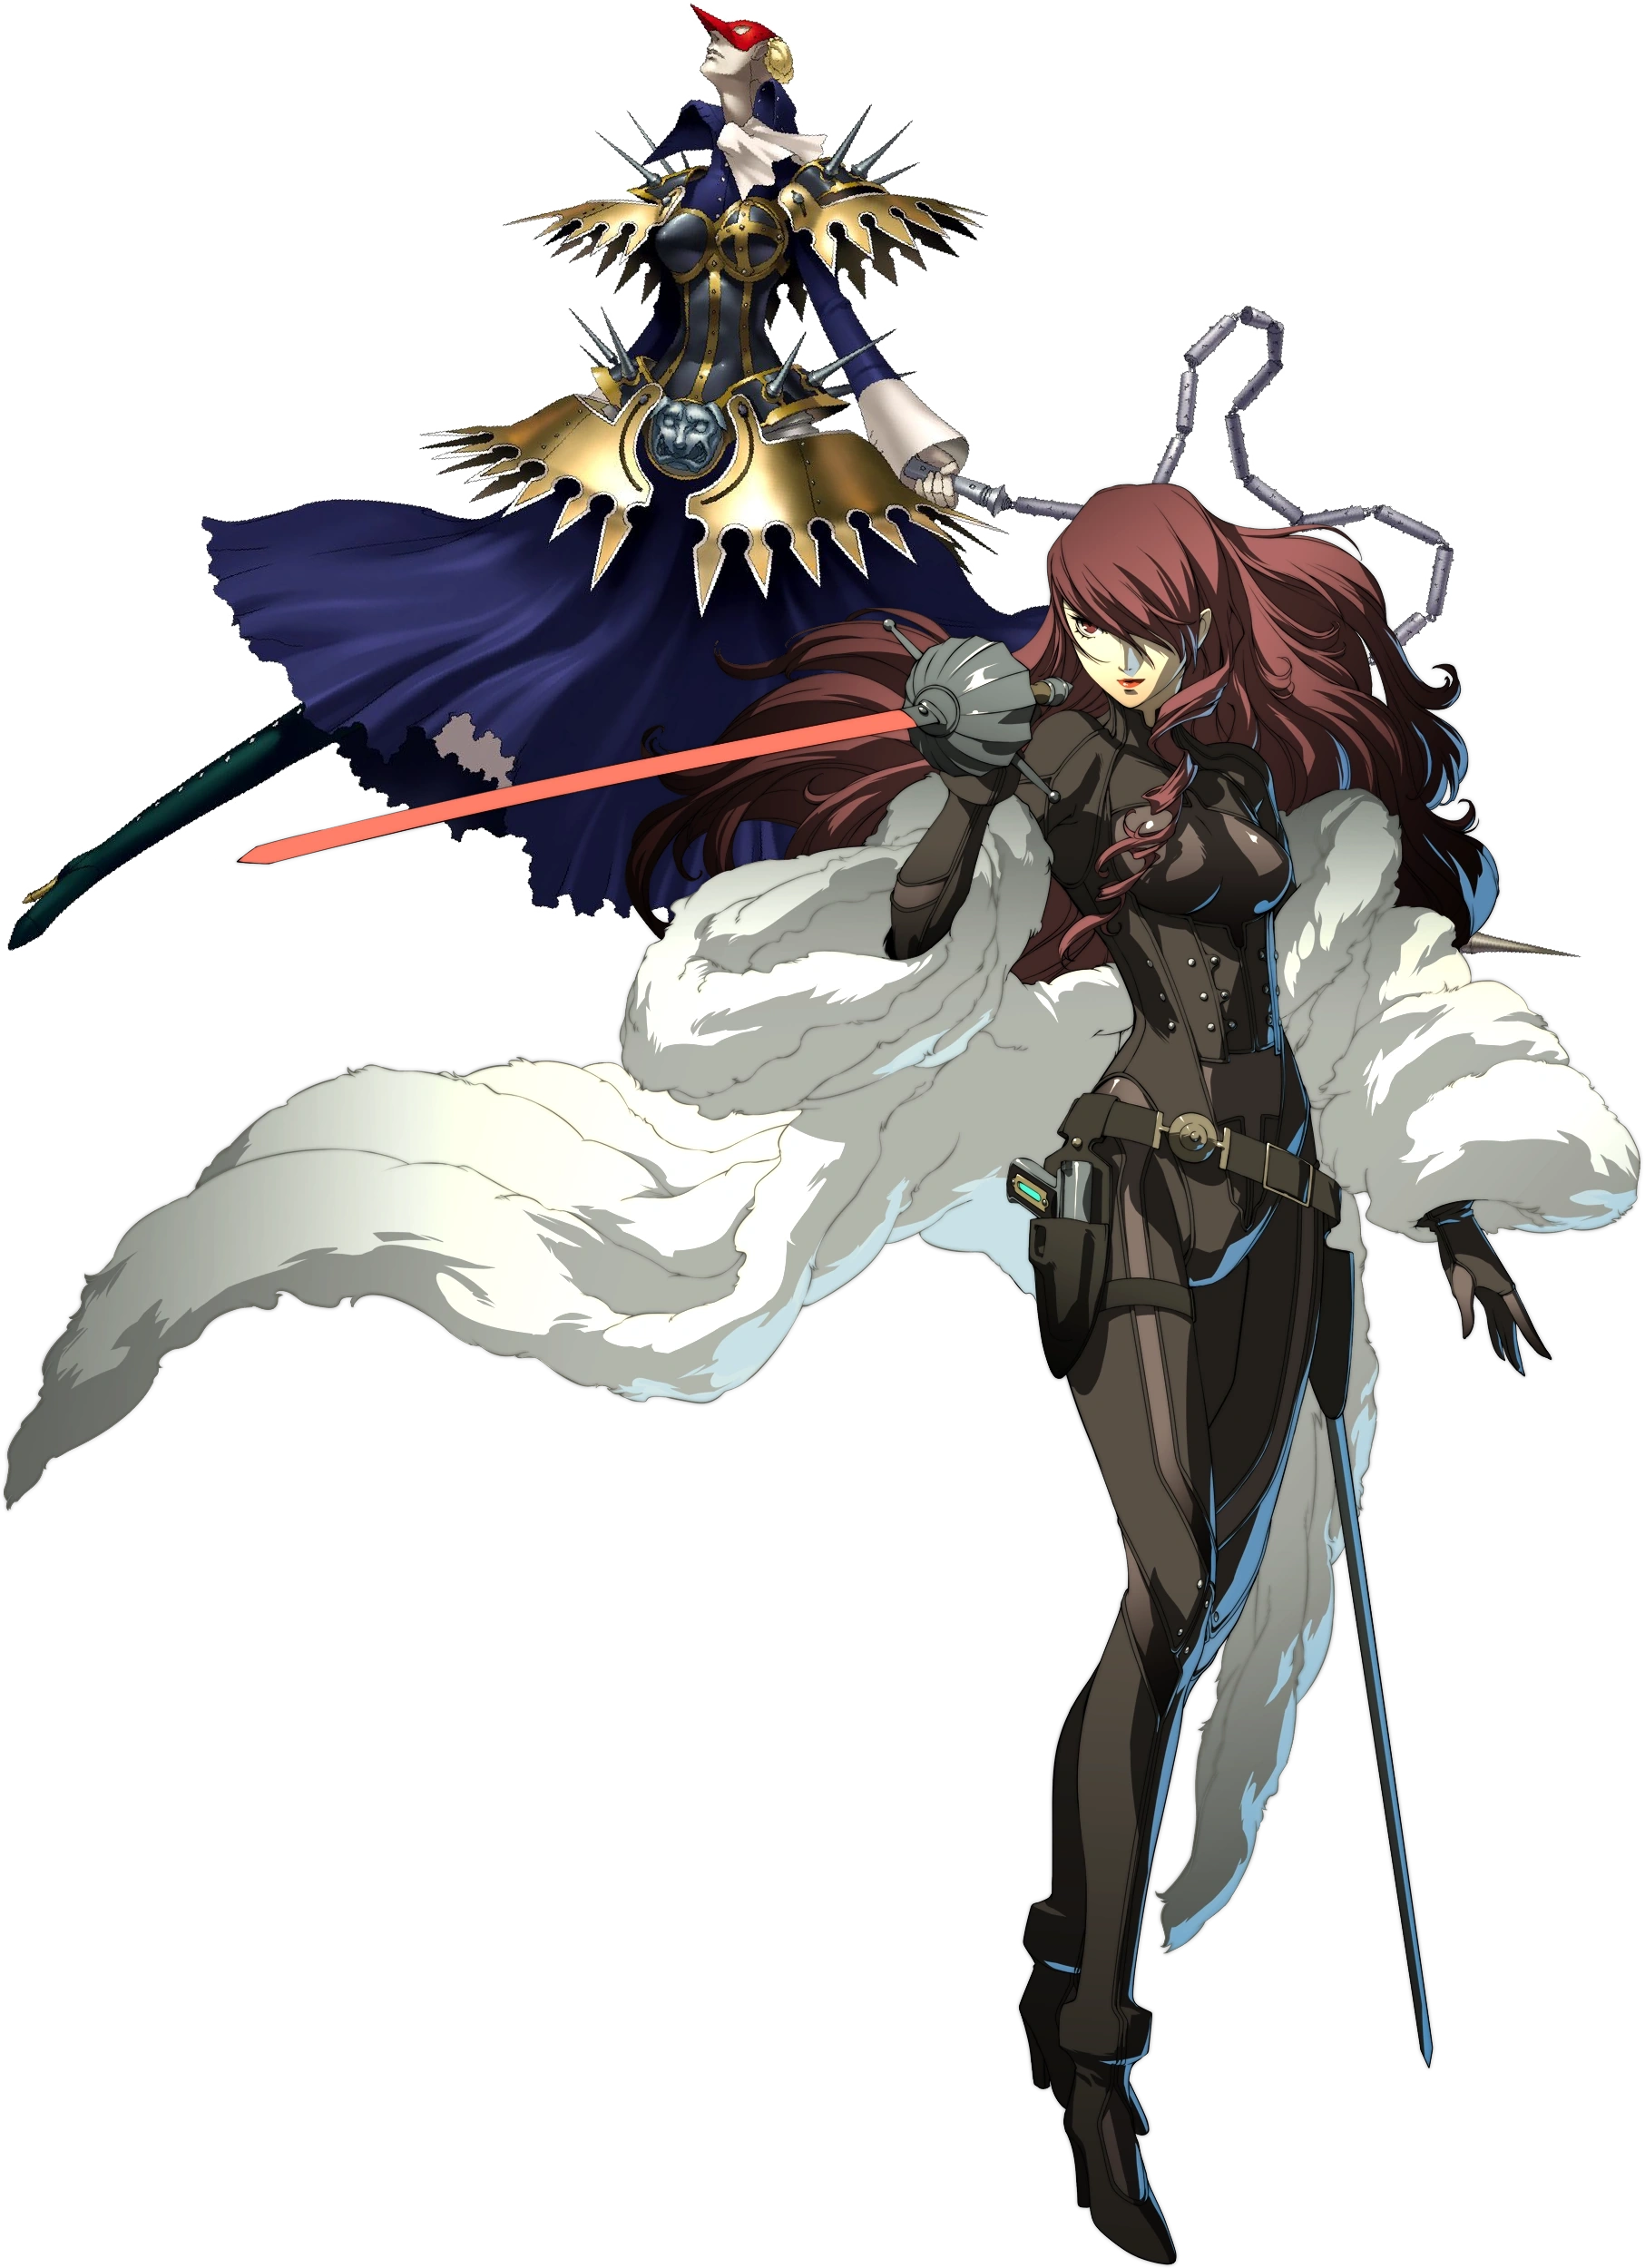
Mitsuru |
| Lakewood Plaza Turbo Team | Enid's Team | ||||
KO |
Enid |
Radicles |
Enid |
Red Action |
Punching Judy |
| Elodie's Team | Bliss Kingdom Queens | ||||
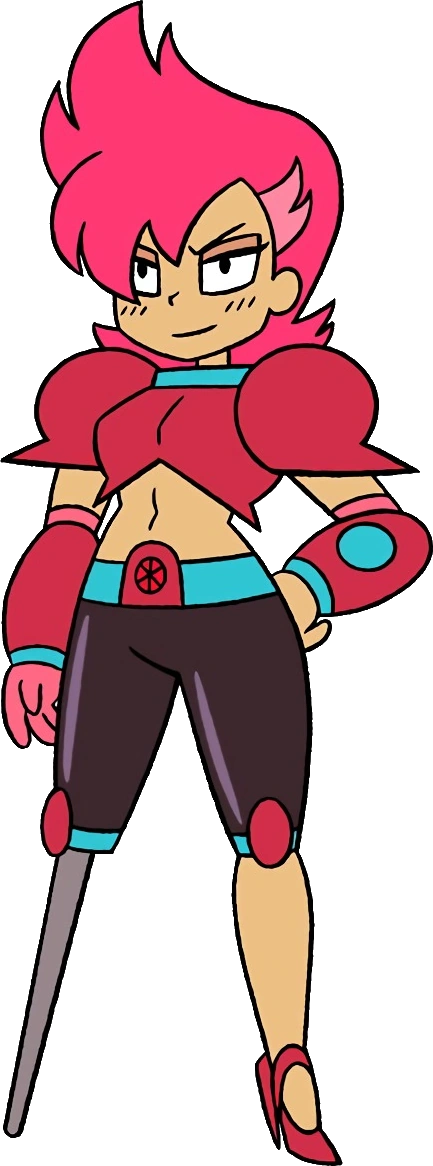
Elodie |
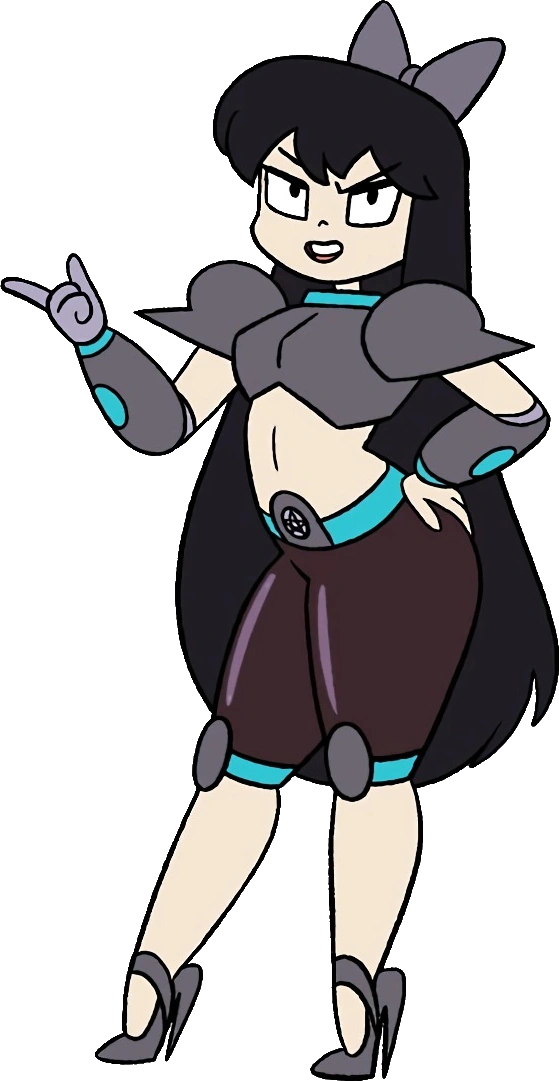
Black Strategy |
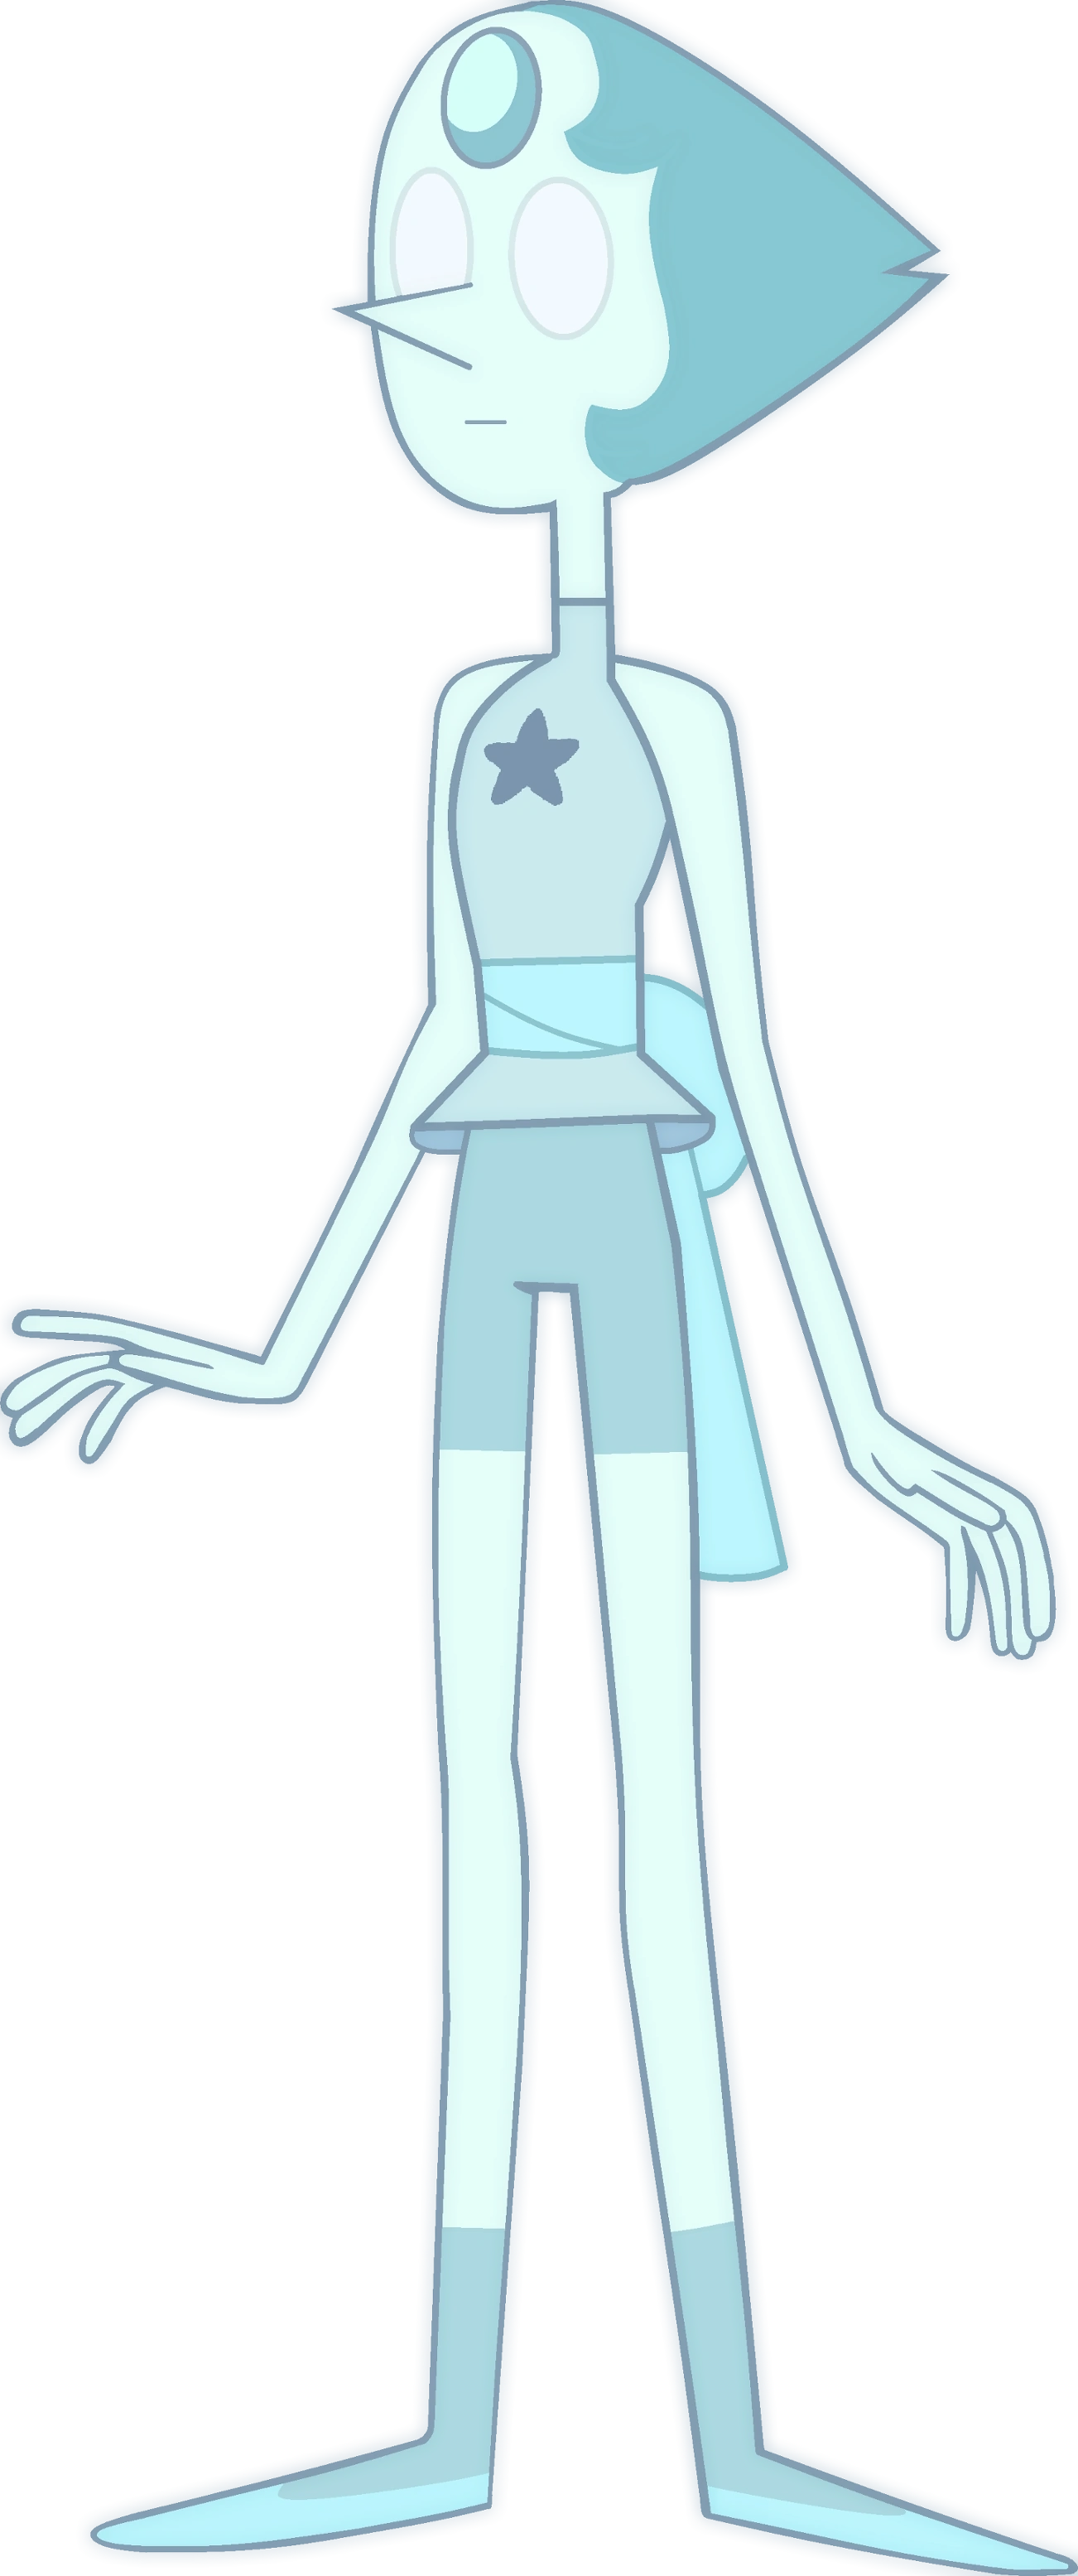
Holo Pearl |
Absinthe |
Katsuragi |
Taokaka |
| Saiyan Team | |||||
Gogo |
Roger Rabbit |
Raditz |
Gine |
Nappa |
Aqua |
Starting Characters[]
| Starting Characters | |||||||
| Character | Information | ||||||
|---|---|---|---|---|---|---|---|
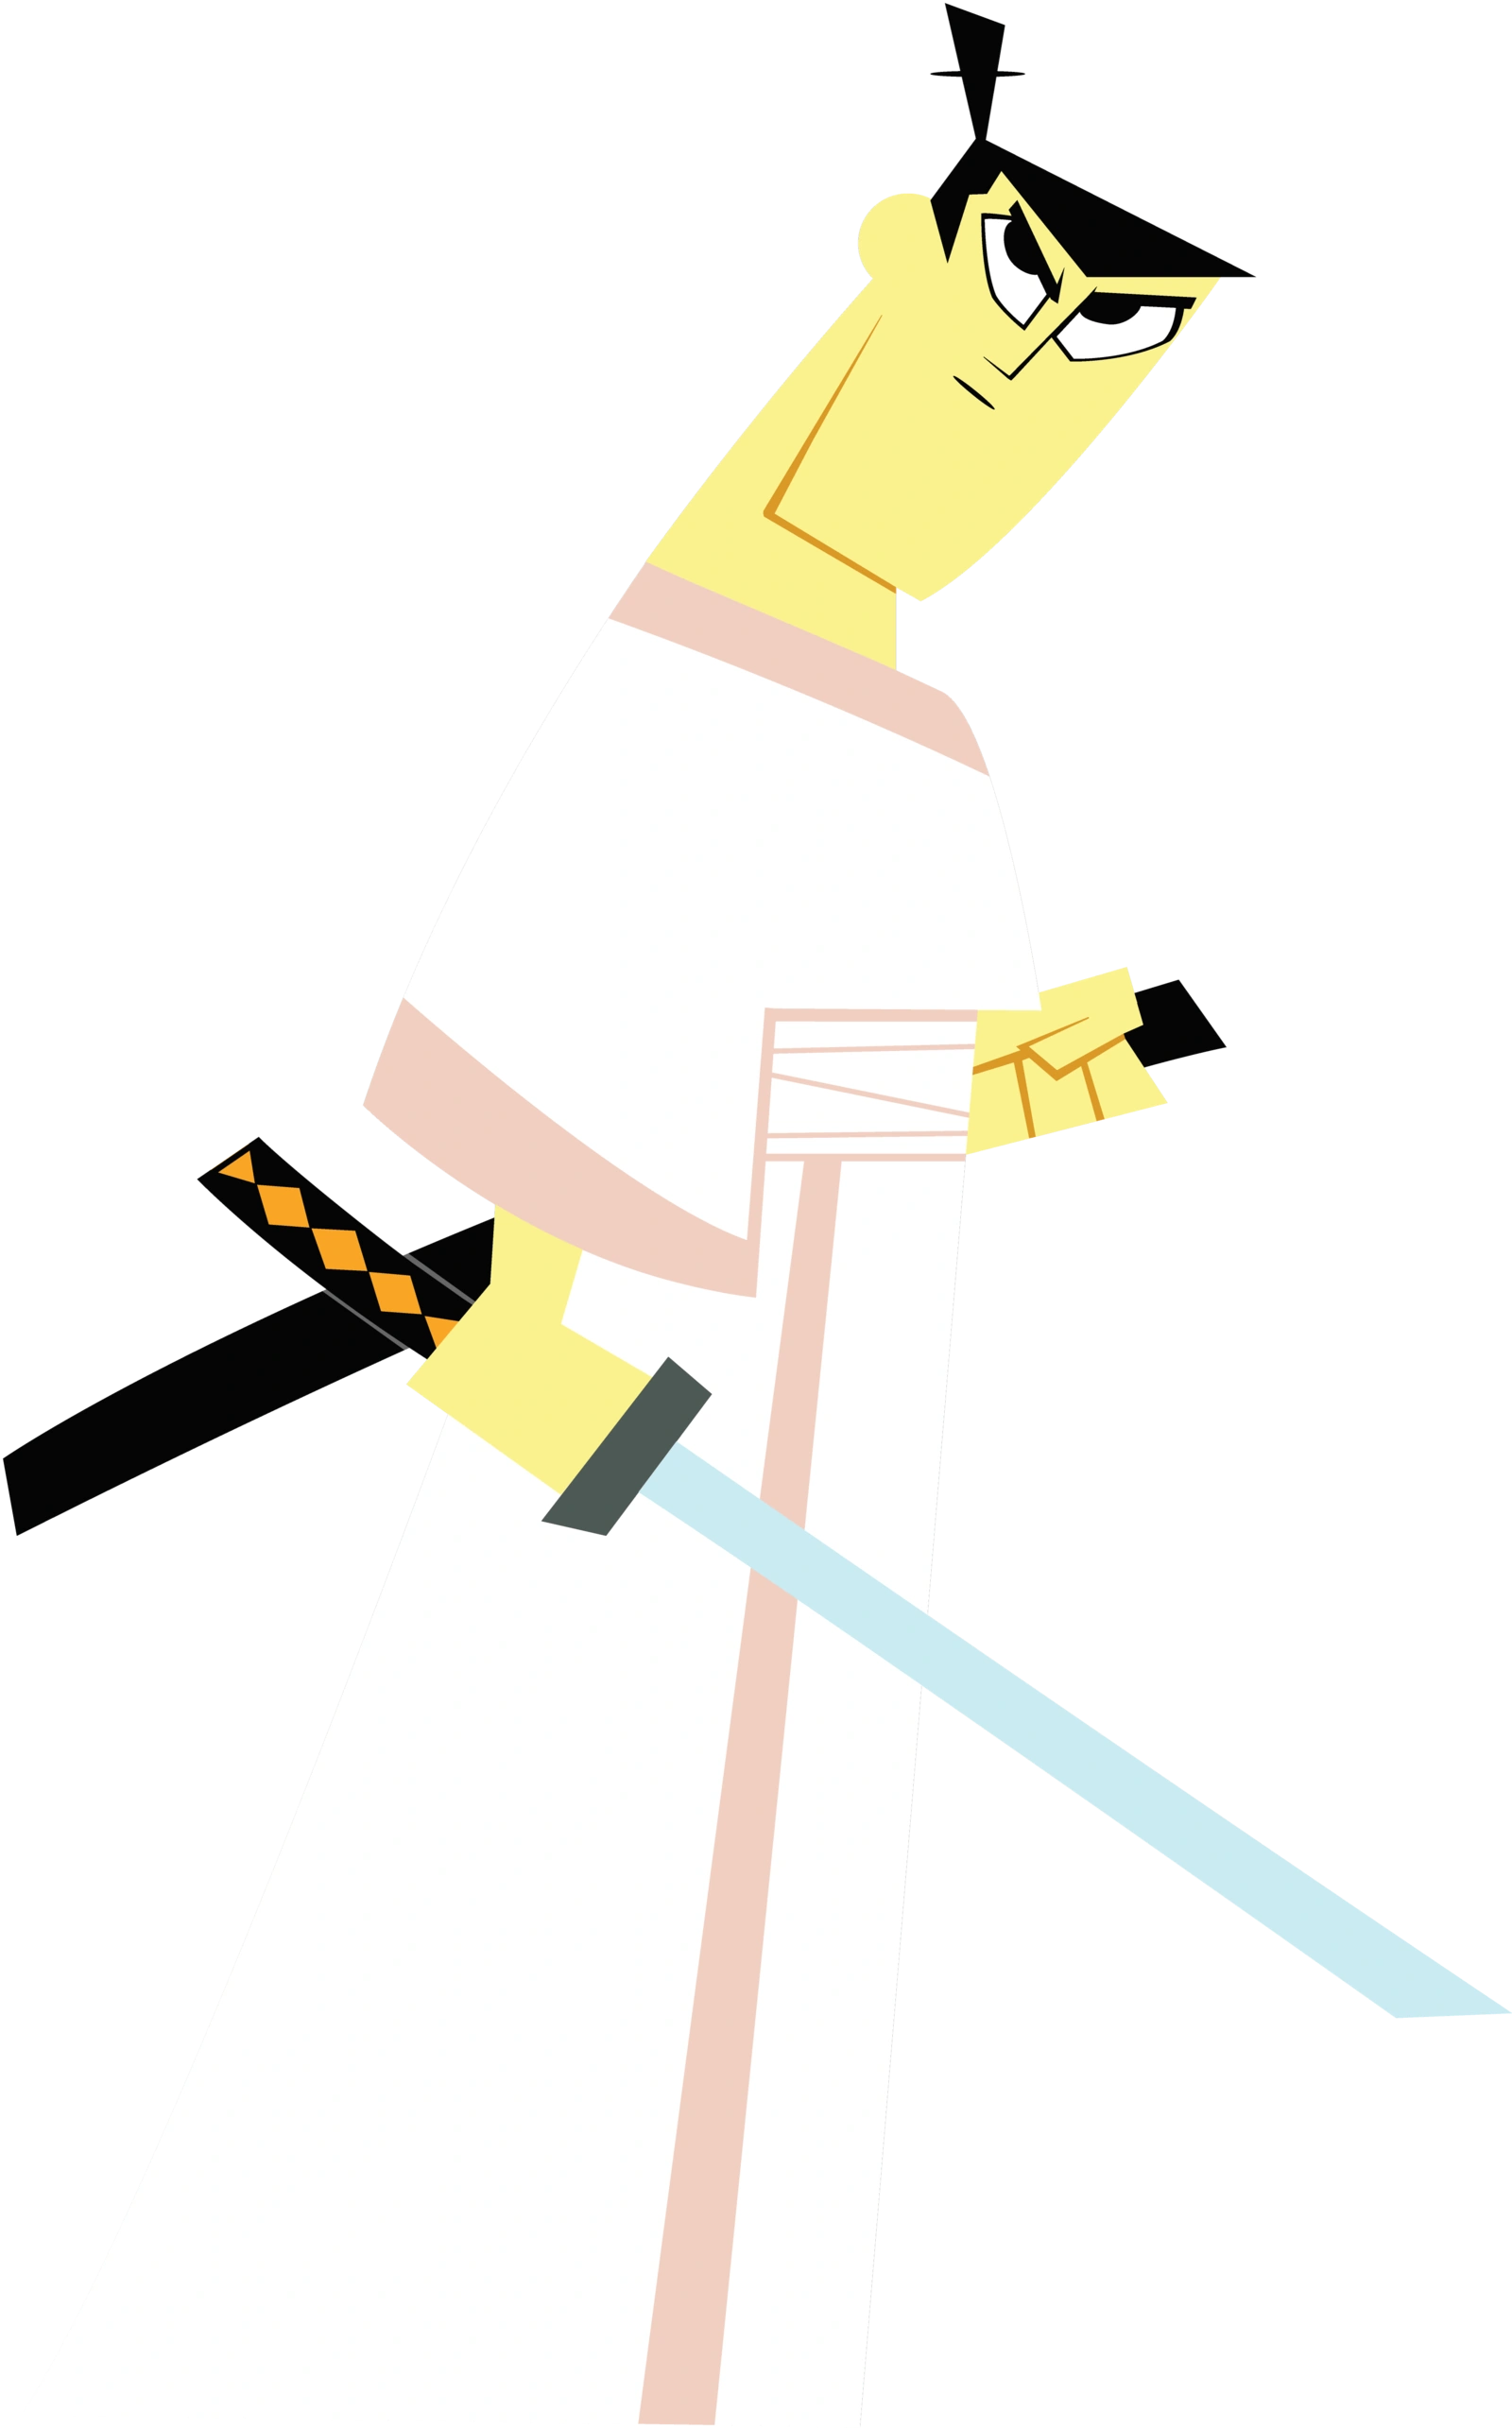 Samurai Jack |
With the new threat effecting time and reality on the past, present, and future, Samurai Jack has become hugely relevant to the events unfolding in Aeo. Although selfless and courageous, Samurai Jack holds huge guilt for still not managing to defeat Aku over the course of the couple years that he has been held hostage in the future. He uses his gods-blessed katana and his natural skills to use against his foes. MAX MODE MOVES
| ||||||
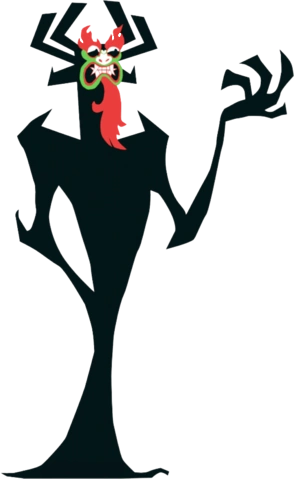 Aku |
Born from a cosmic black mass of darkness, Aku was an evil, shapeshifting demon that has taken over the world and ruled it for countless eons in the future. In present day Aeo, he was sealed away, although he will be unleashed soon. Aku however, finds that his rule is not threatened by Samurai Jack, but rather OTHER villains that are trying to use time travel to get what they want. As such, Aku and Samurai Jack team up, even though both of them know it's not going to last a second once the threat has been controlled. Aku is a shapeshifter with a lot of strength, giving him quite the advantage but he gets weaker the more damage he takes. MAX MODE MOVES
| ||||||
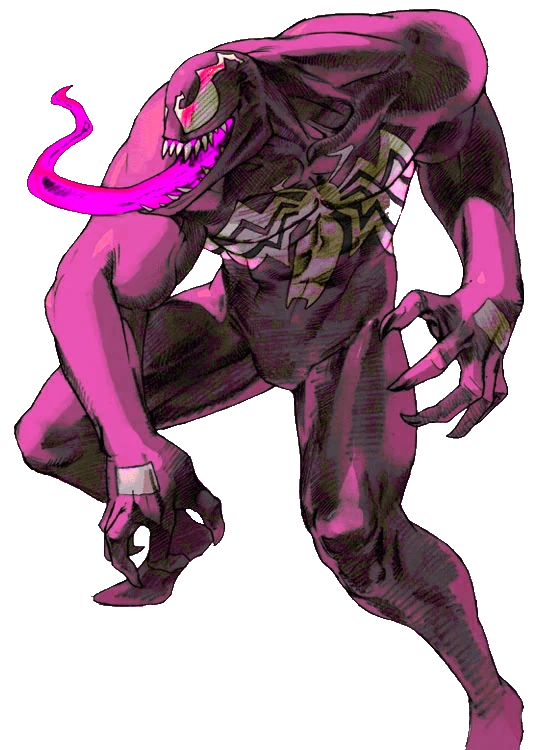 Candy Venom |
This Venom-offspring that has been infused with candy matter by a mysterious scientist. Half symbiote, half candy, this Venom is more invested in harvesting candy people than finding a proper host for itself. Utilizing strong, brute-like attacks, Candy Venom is able to twist and form his body in various shapes as well as gather candy materials to make him more massive. MAX MODE MOVES
| ||||||
| Candy Kingdom Team & Candy Knights Team | |||||||
Candy Kingdom Team consists of:
Candy Knights Team consists of:
| |||||||
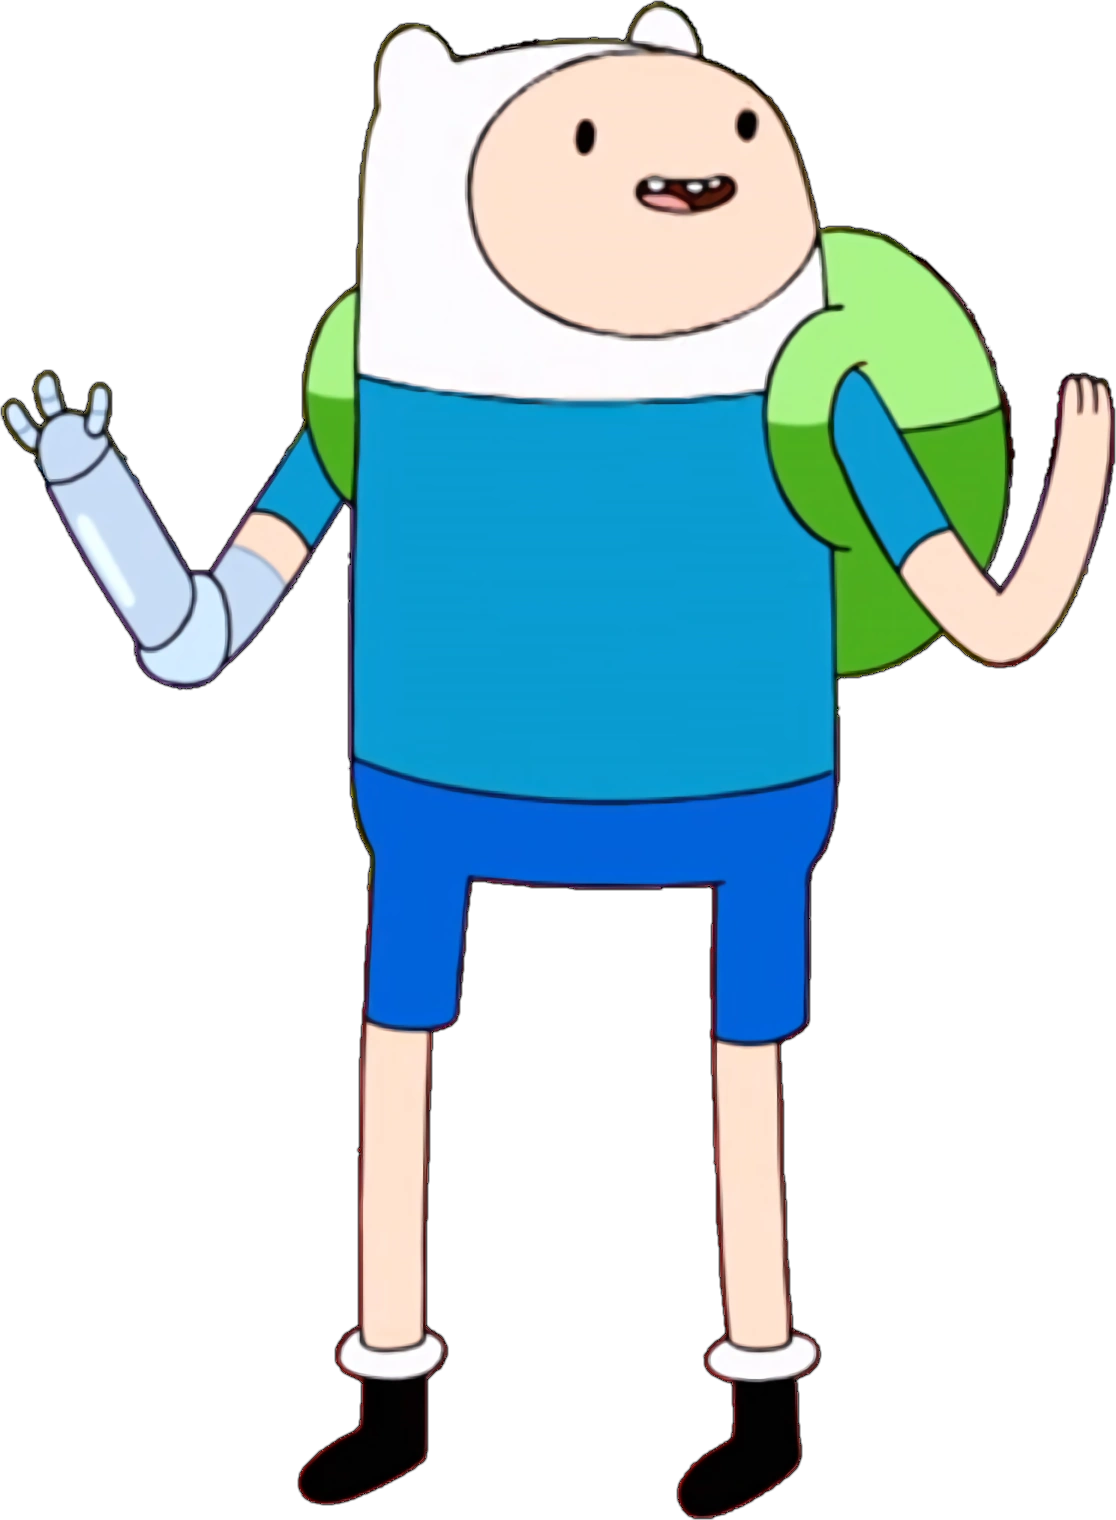 Finn |
Finn the Human is the first call to the Candy Kingdom's defenses, attacking evil on sight with his sword and bravery. Although he has lost his arm, the one PB has supplied him with should be well enough to battle with. He also has a proficiency in swords, able to utilize all sorts of blades in his attacks. He's generally a fast character that can be very dangerous, but has pretty poor defense. MAX MODE MOVES
| ||||||
 Jake |
Jake is Finn's more or less brother, although not biologically. While he has a laid-back approach for most things, it usually doesn't end up being the most helpful advice. Jake also shows traits of being rather lazy, sometimes not even using his abilities even when it'd be immensely useful. He's able to transform into several things which makes him a rather odd character to play as, able to trade tradeoffs through transformations. MAX MODE MOVES
| ||||||
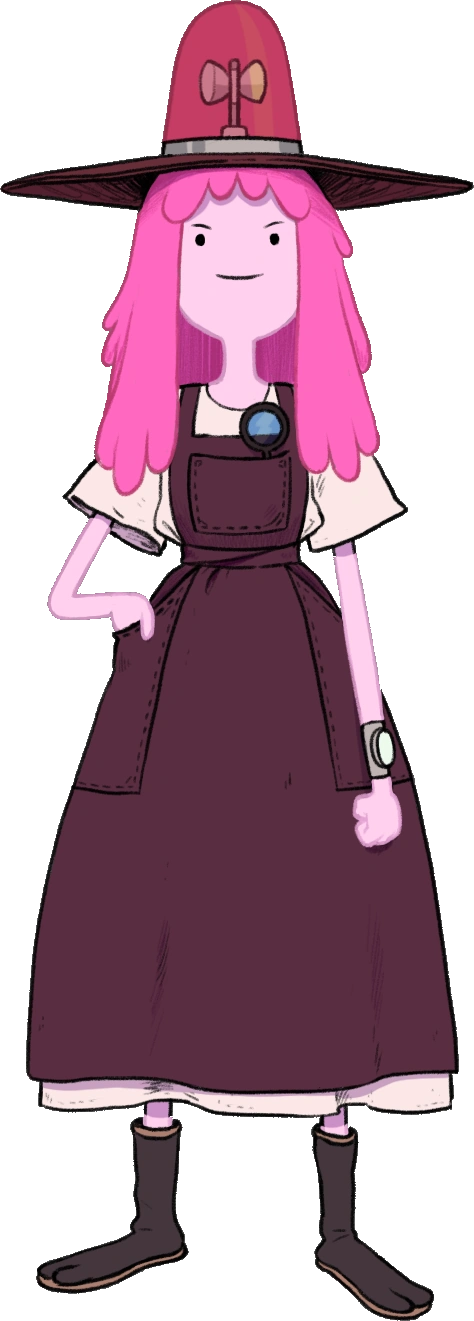 Princess Bubblegum |
Princess Bubblegum acts as the ruler of the Candy Kingdom, and while appears to be a sweet and loving princess at first glance, she has a tyrannical side that can sometimes rear it's ugly head when she is out of control. She wants to get down to the bottom of this funny time business that has been happening. Princess Bubblegum mostly uses science gadgets and her elemental magic abilities to attack, being incredibly powerful once she builds up her Super Meter, but other wise it's clear that defense and speed are her primary attributes. MAX MODE MOVES
| ||||||
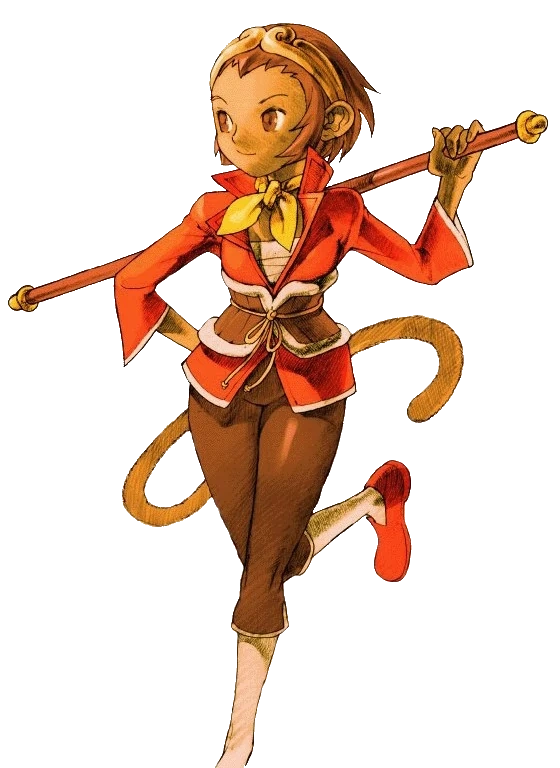
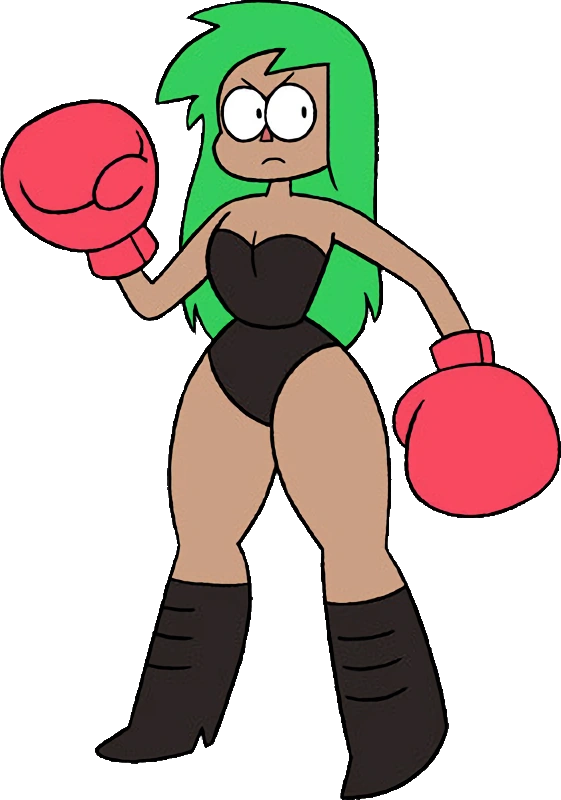
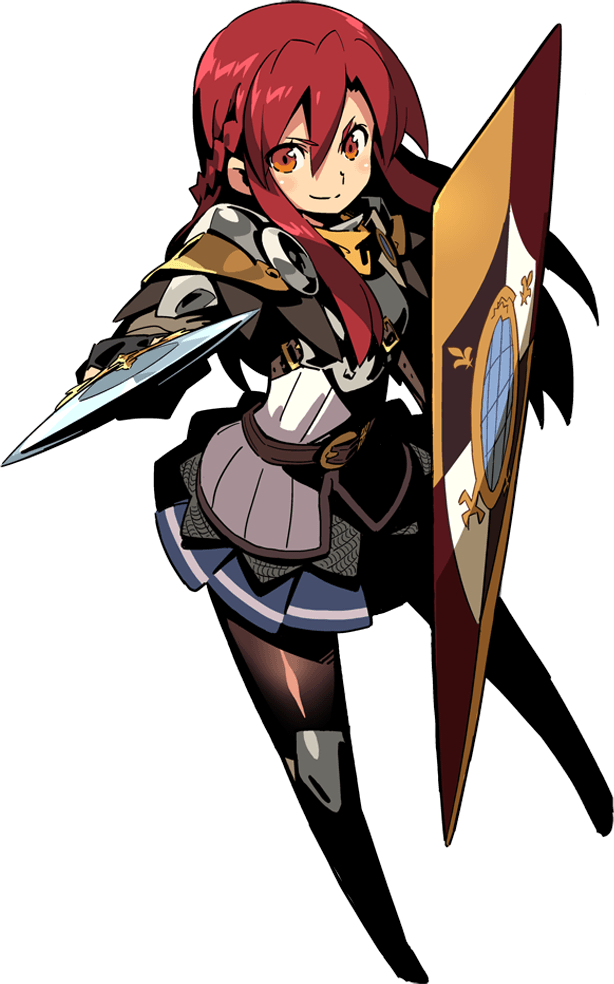 Raquna Sheldon |
Hired by Princess Bubblegum and hailing from the Excalibur Kingdom's Midguard Library division, Raquna Sheldon is a knight that serves to defend allies and herself from danger. She is somewhat of a alcholic, often visiting taverns when she can, but she is staunchly dedicated to protecting those she cares about. She has a easygoing personality, but also can be incredibly brave and is always willing to put up her shield. MAX MODE MOVES
| ||||||
| Cursed Team | |||||||
Cursed Team consists of:
| |||||||
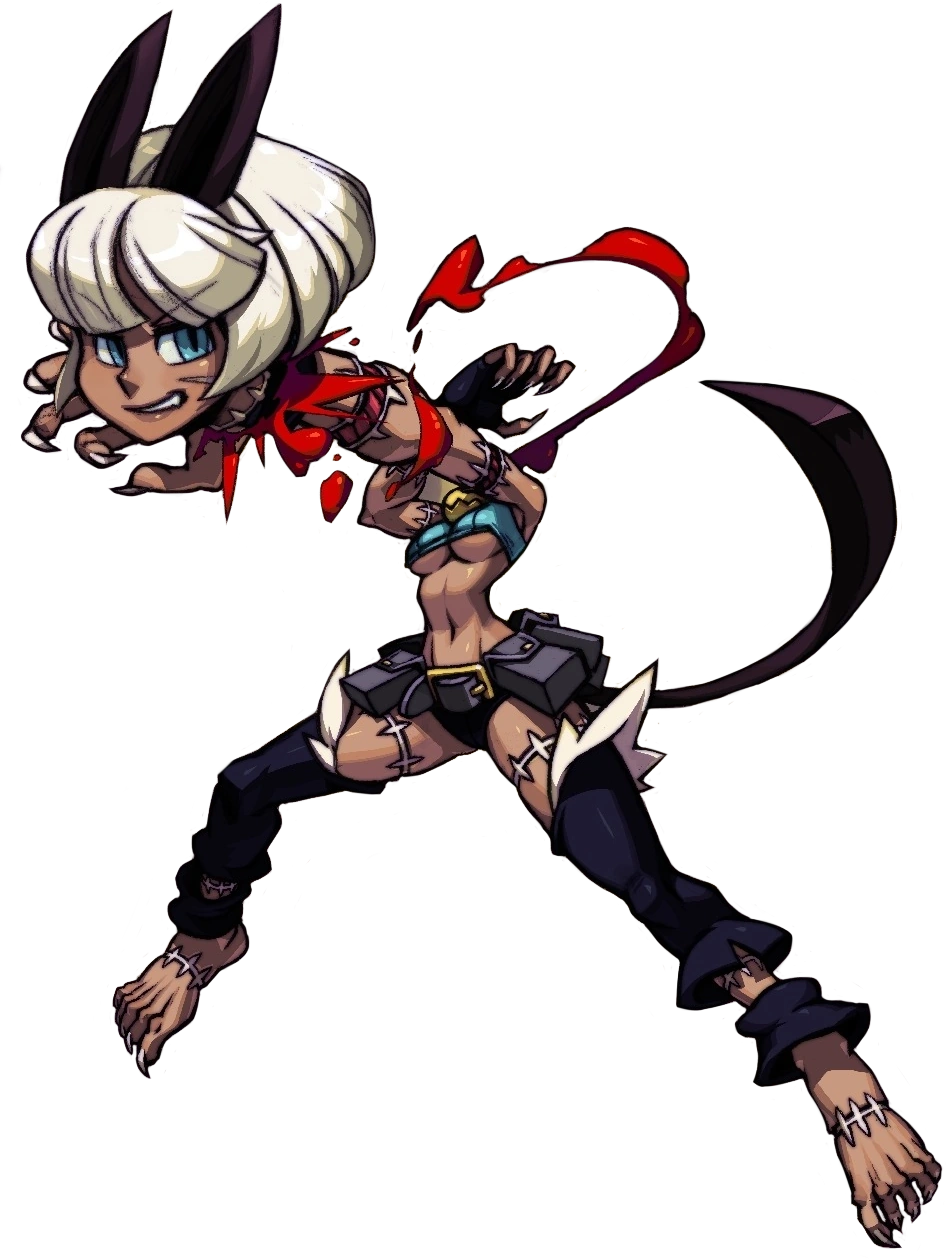
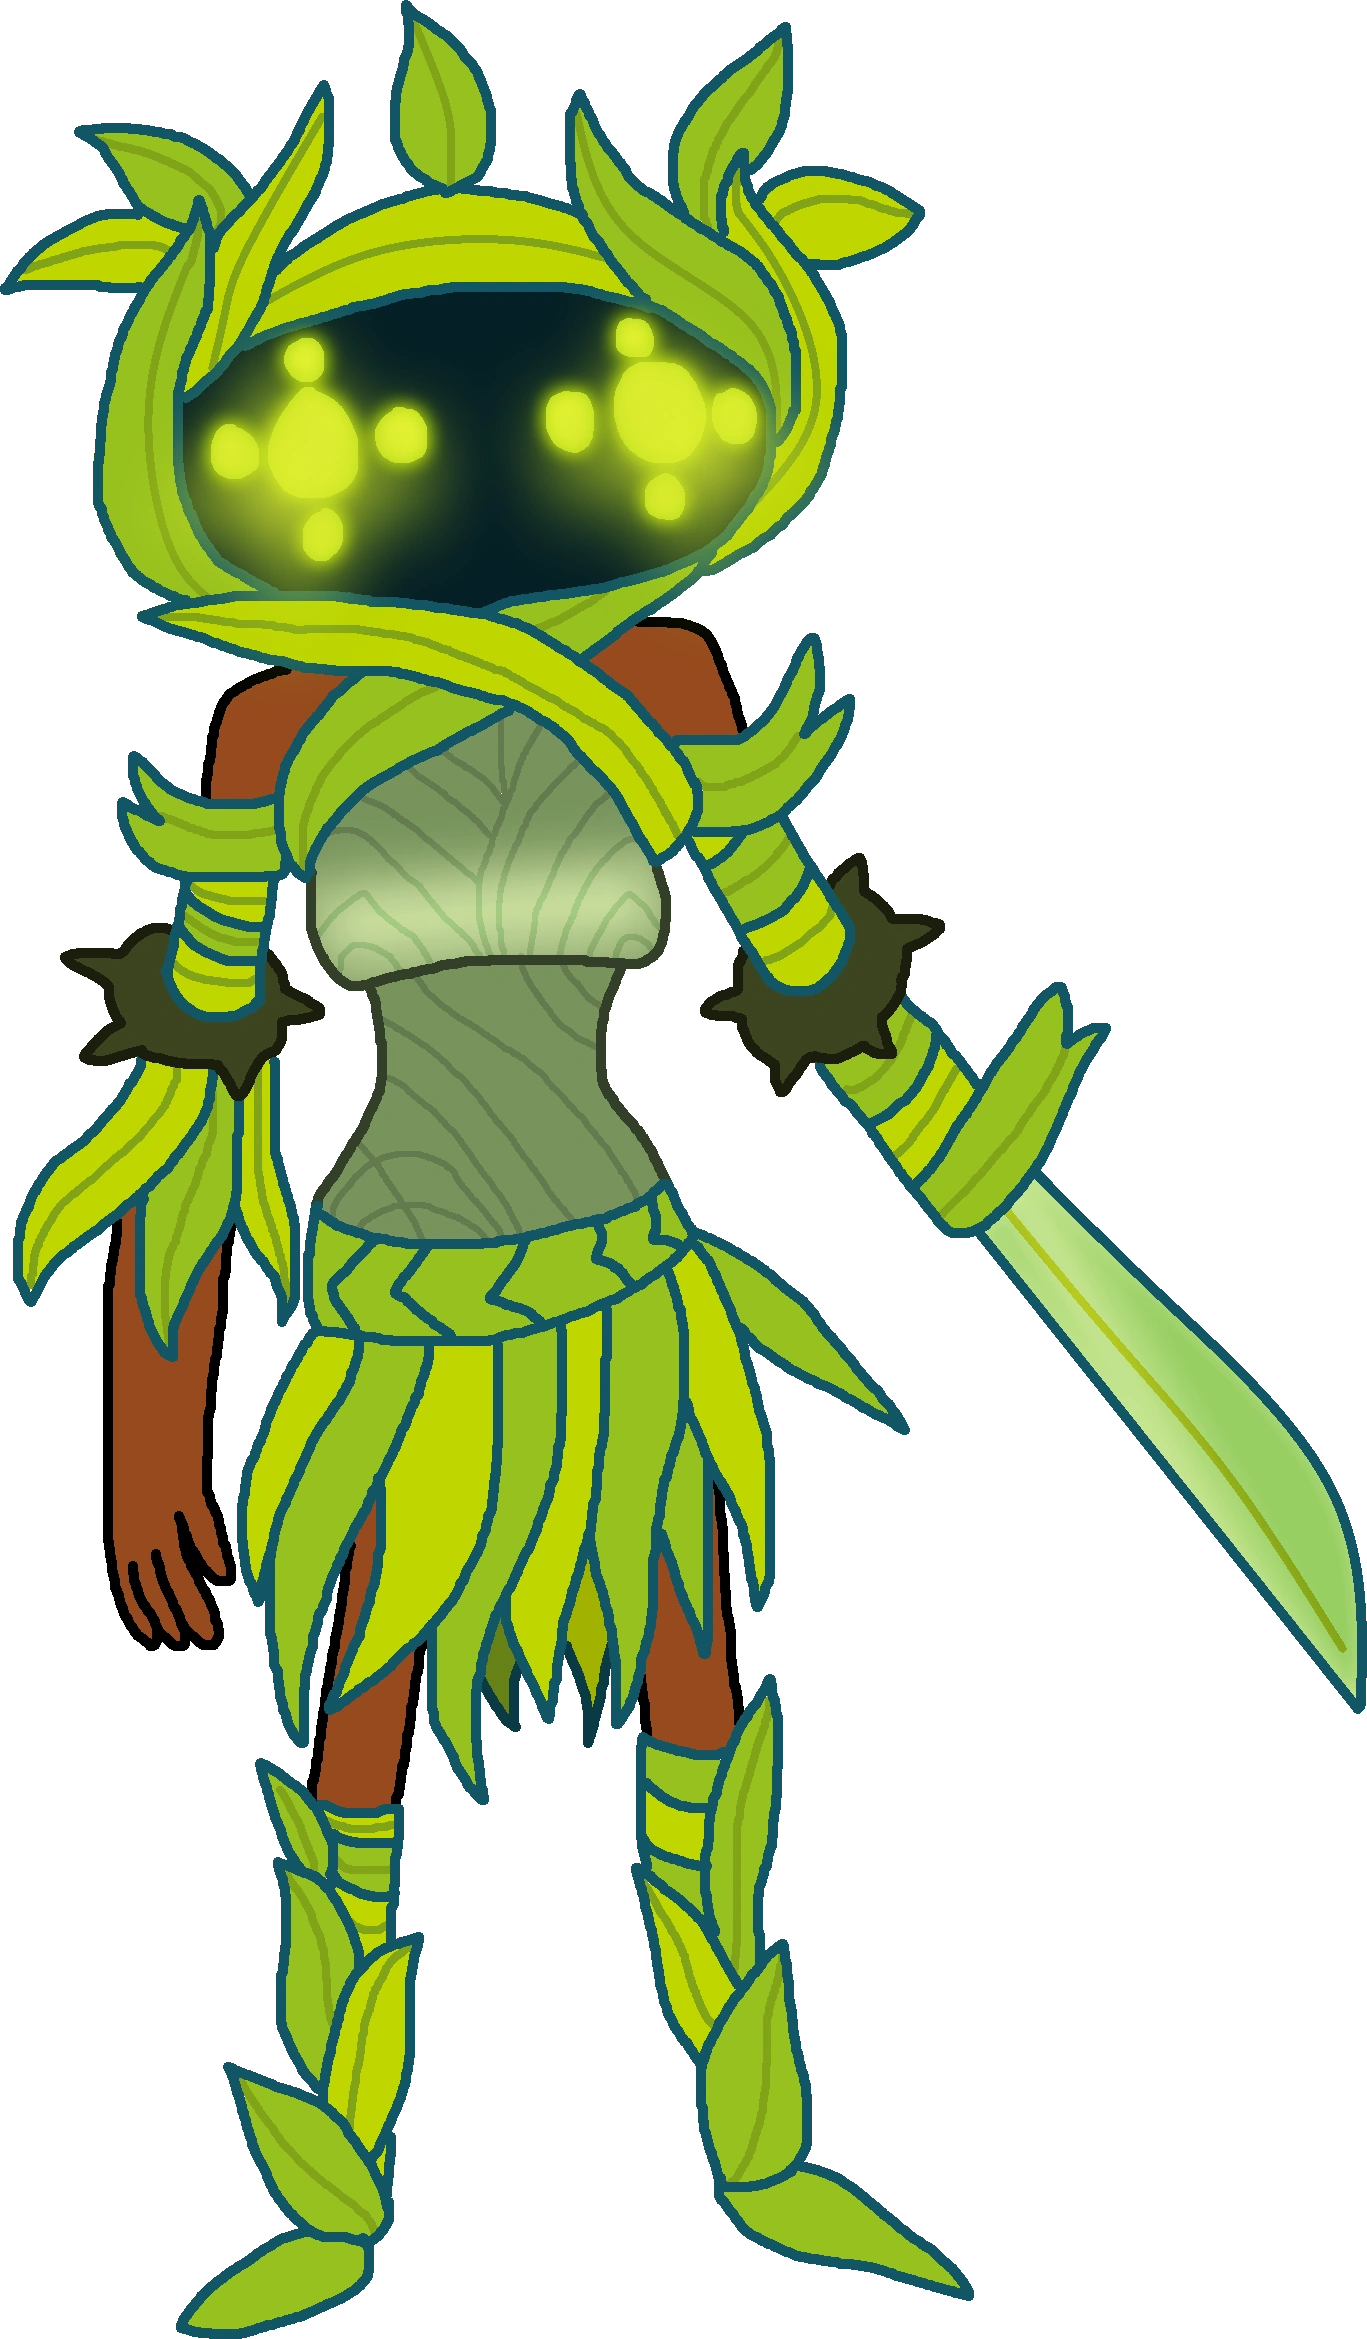 Glade |
Returning from the original game, Glade has become a lot more conflicted with her role since encountering Finn the Human. She has more control over the curse, but she fears her power and has been living in recluse on her own for a while. She can morph her body into various forms to attack, and utilize grass as a deadly weapon. MAX MODE MOVES
| ||||||
 Dr. Princess |
Dr. Princess returns as Glade's sole comfort and tether to the mortal plane, having grown close as a friend after Glade ran off. She isn't actually a doctor or a princess, but does a good job at the former despite being unlicensed. Joining Shiki and Glade, they form the Cursed Team. She attacks with microscopes, flasks, and x-ray equipment, although not in a trained way. MAX MODE MOVES
| ||||||
 Shiki |
Shiki is a woman who was tailored before birth to host Yuga, a powerful sorcerer from the demon world. Her soul was under Yuga's control until she broke it through hew own will, which was instilled from the hope from the Obelisk. She still must fight against Yuga's control, but she is her own person now, and wishes to help Glade control herself as well. Her fighting style is focused in her twin katanas, as well as using unorthdox slashes and kicks. MAX MODE MOVES
| ||||||
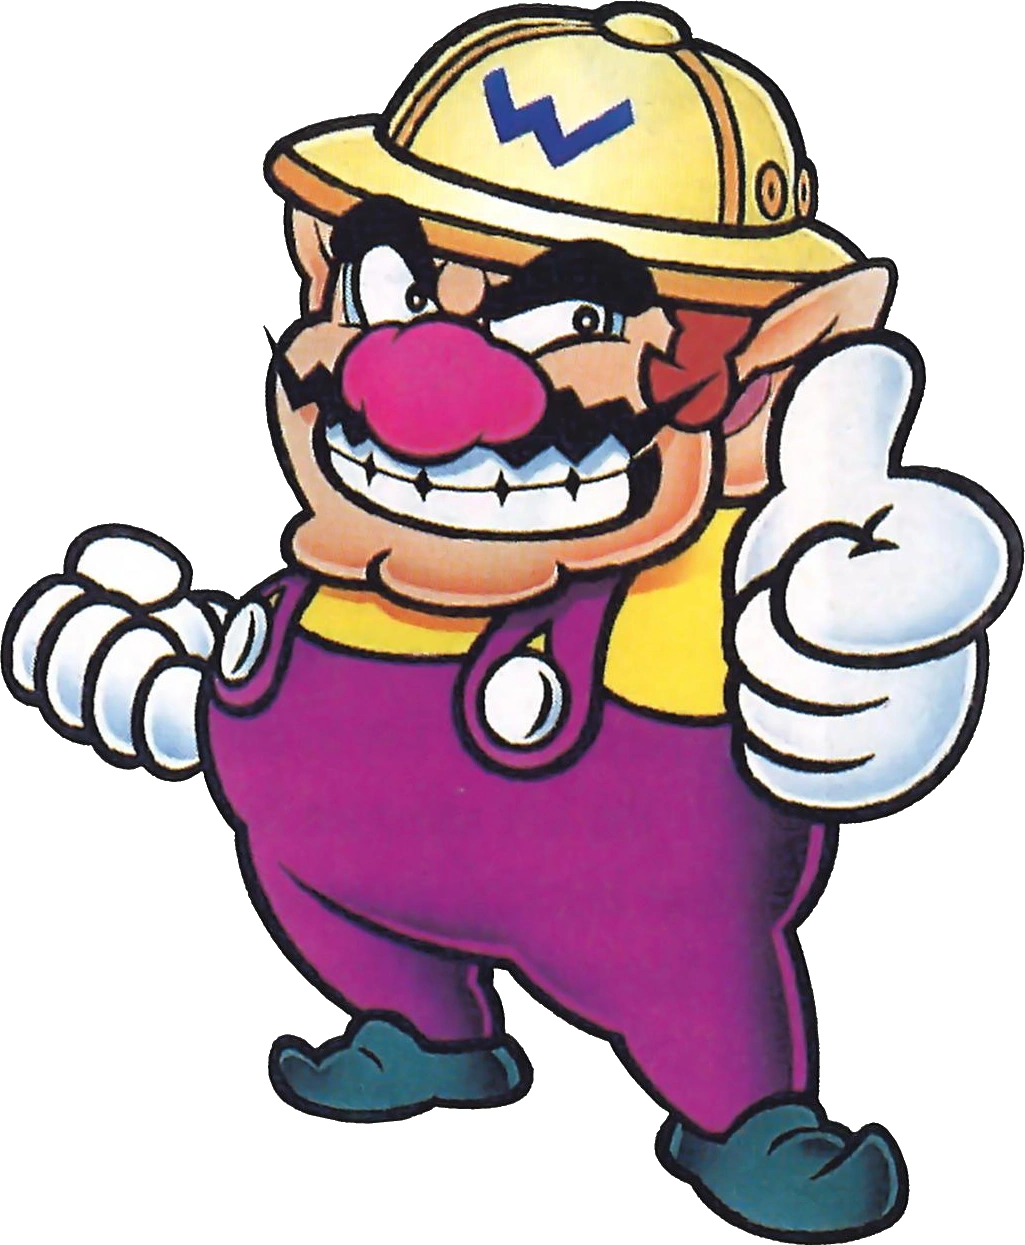 Wario |
Wario is a treasure hunter that has no allegiance to any of the Kingdoms of Aeo, instead living in his own castle filled with riches. When he is cast out by Captain Syrup when she invades while he's asleep, Wario ends up having to save Aeo in order to save himself and his castle. He is able to use his trademark shoulder charge to barge through anyone that goes through him and his ground pound to keep his opponents low to the ground. Wario's a strong character but not a particularly fast one.
MAX MODE MOVES
| ||||||
 Captain Syrup |
Captain Syrup is Wario's treasure hunting rival, often being on par or better than her rival in this department. She operates her own crew that travels with her on her airship, although she tends to find on her own terms. Captain Syrup mainly fights through throwing her crew at opponents and setting up guards, being a mostly defense fighter with speed, not raw strength. MAX MODE MOVES
| ||||||
| Elemental Gathering Team | |||||||
Elemental Gathering Team consists of:
| |||||||
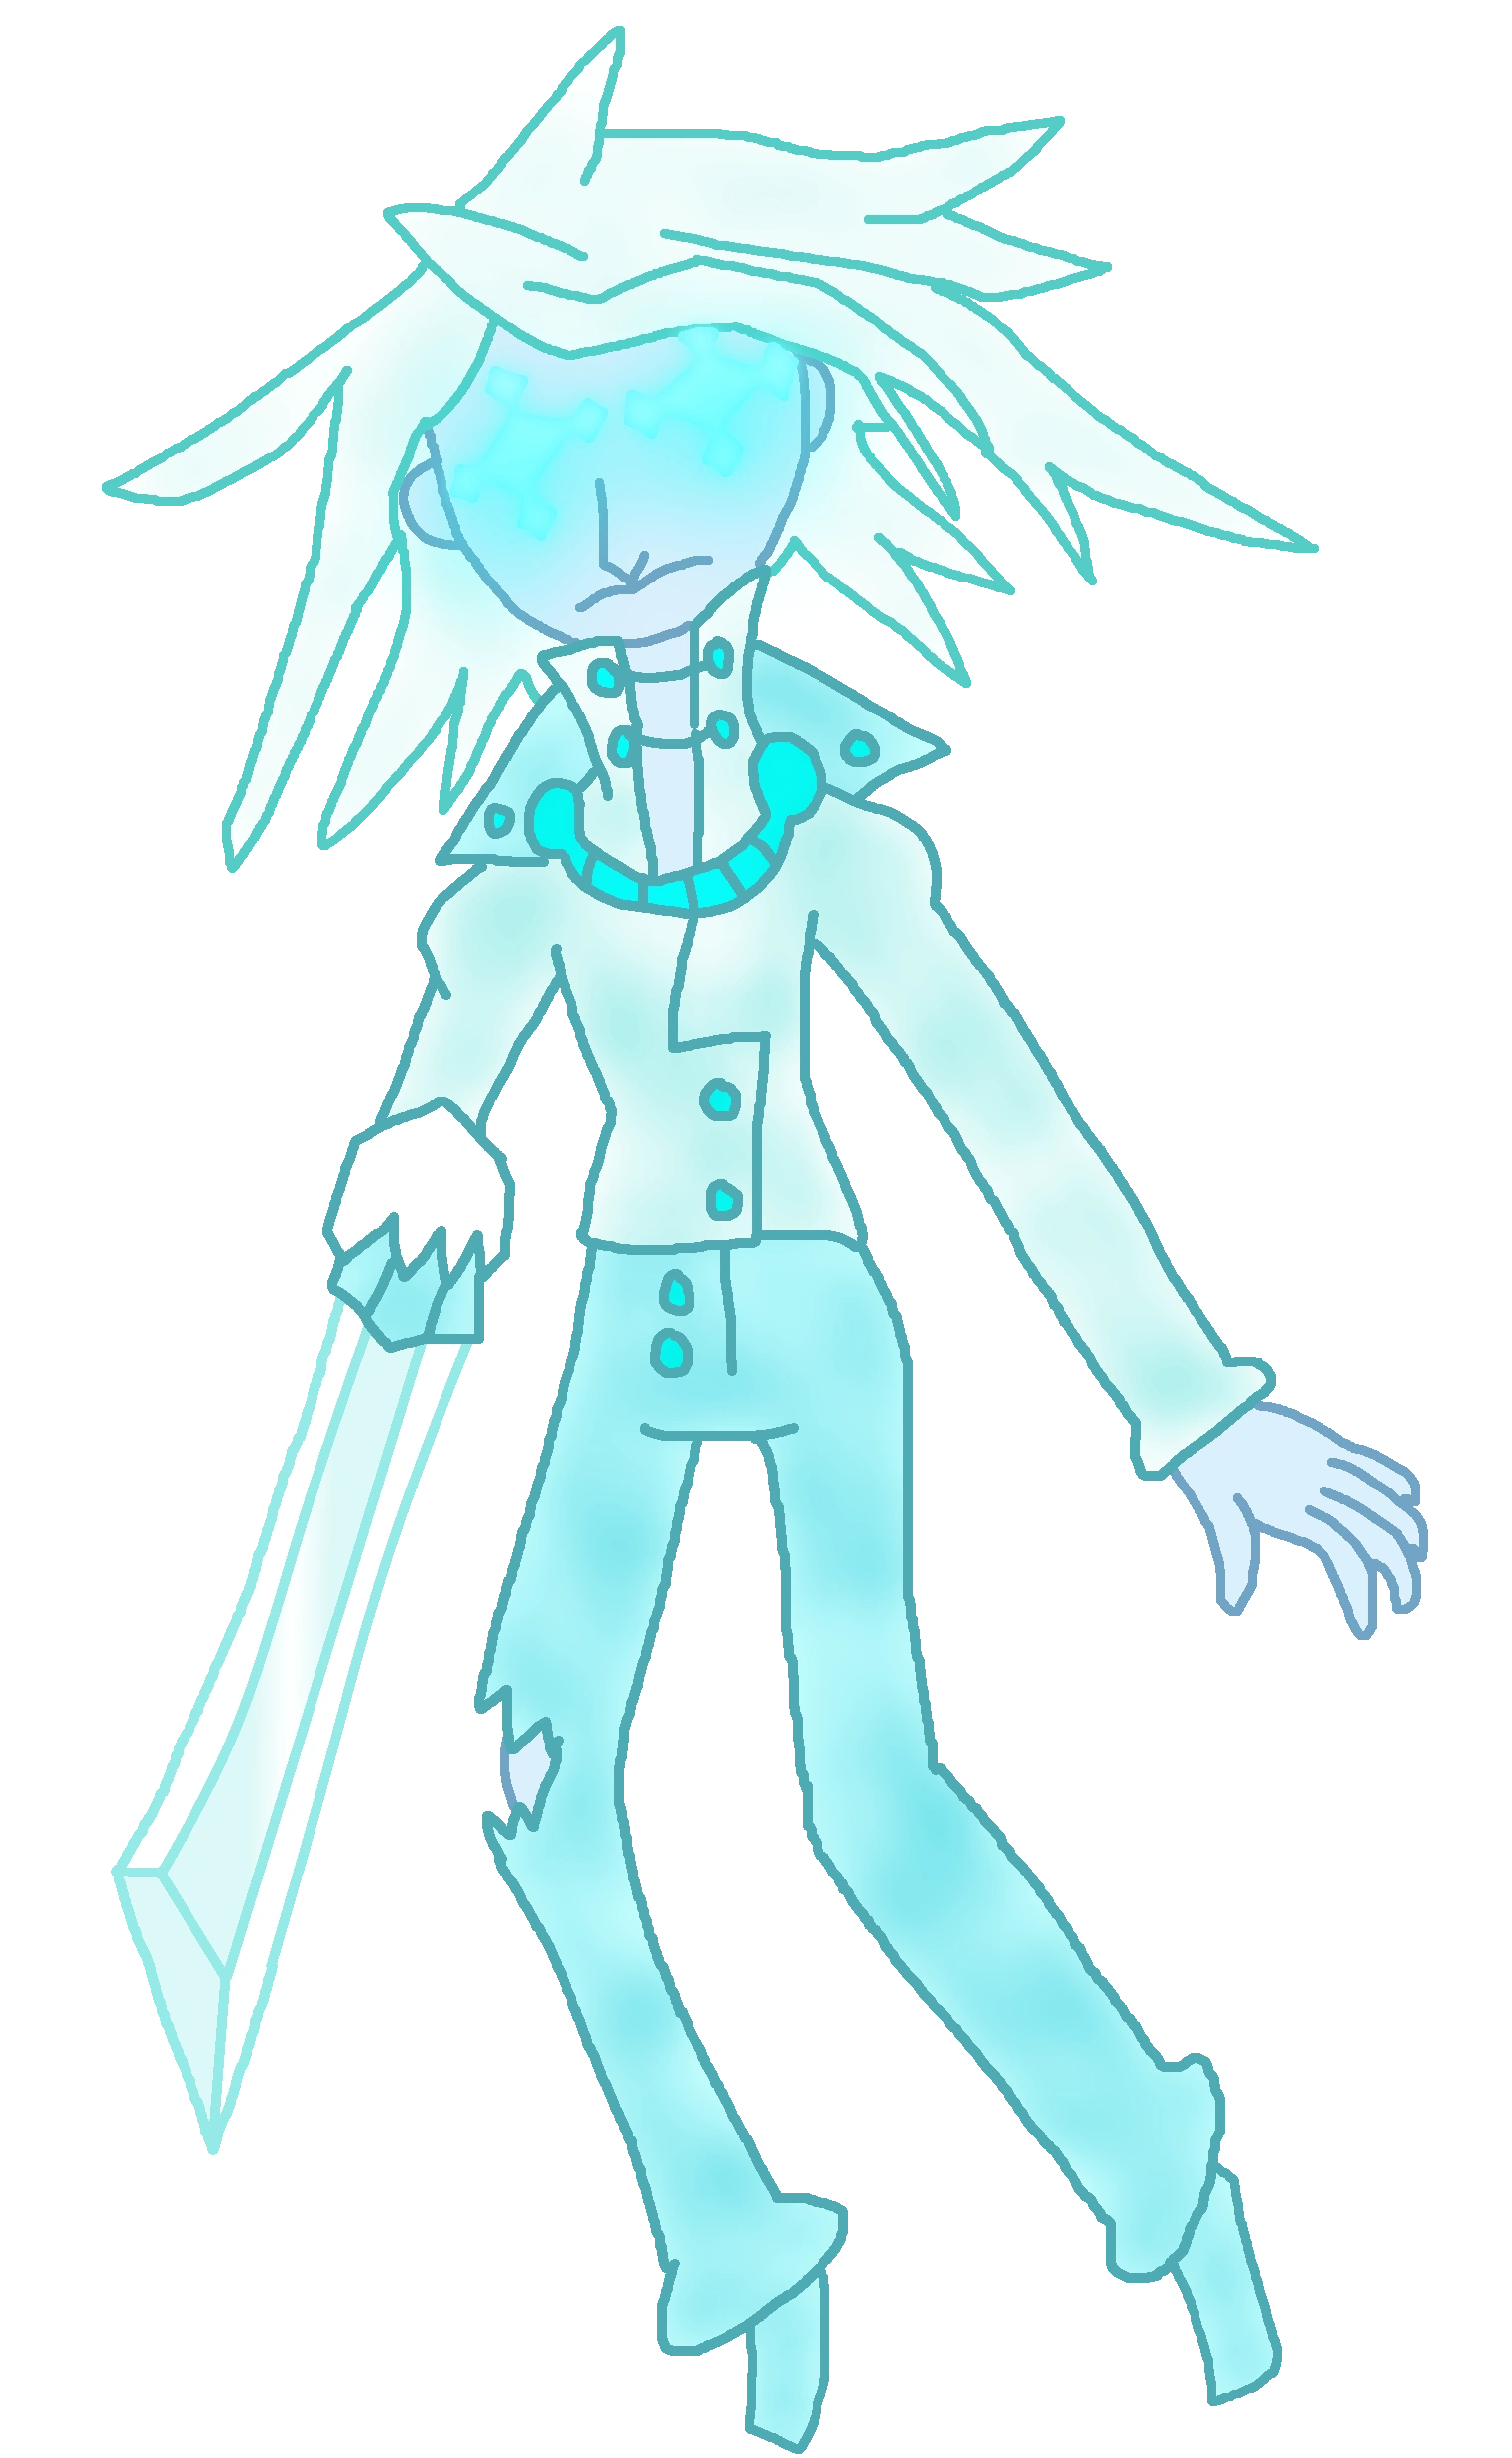 Frost |
Frost was born in the Southtown Kingdom, but was raised and trained in the Ice Kingdom in secret by his mentor Patience St. Pim. He forms the Elemental Gathering Team with Kat and Patience, and wants to unite the elementals together under the behest of Patience. Frost has ice powers and uses them in battle, creating ice shards or using them to freeze opponents solid. MAX MODE MOVES
| ||||||
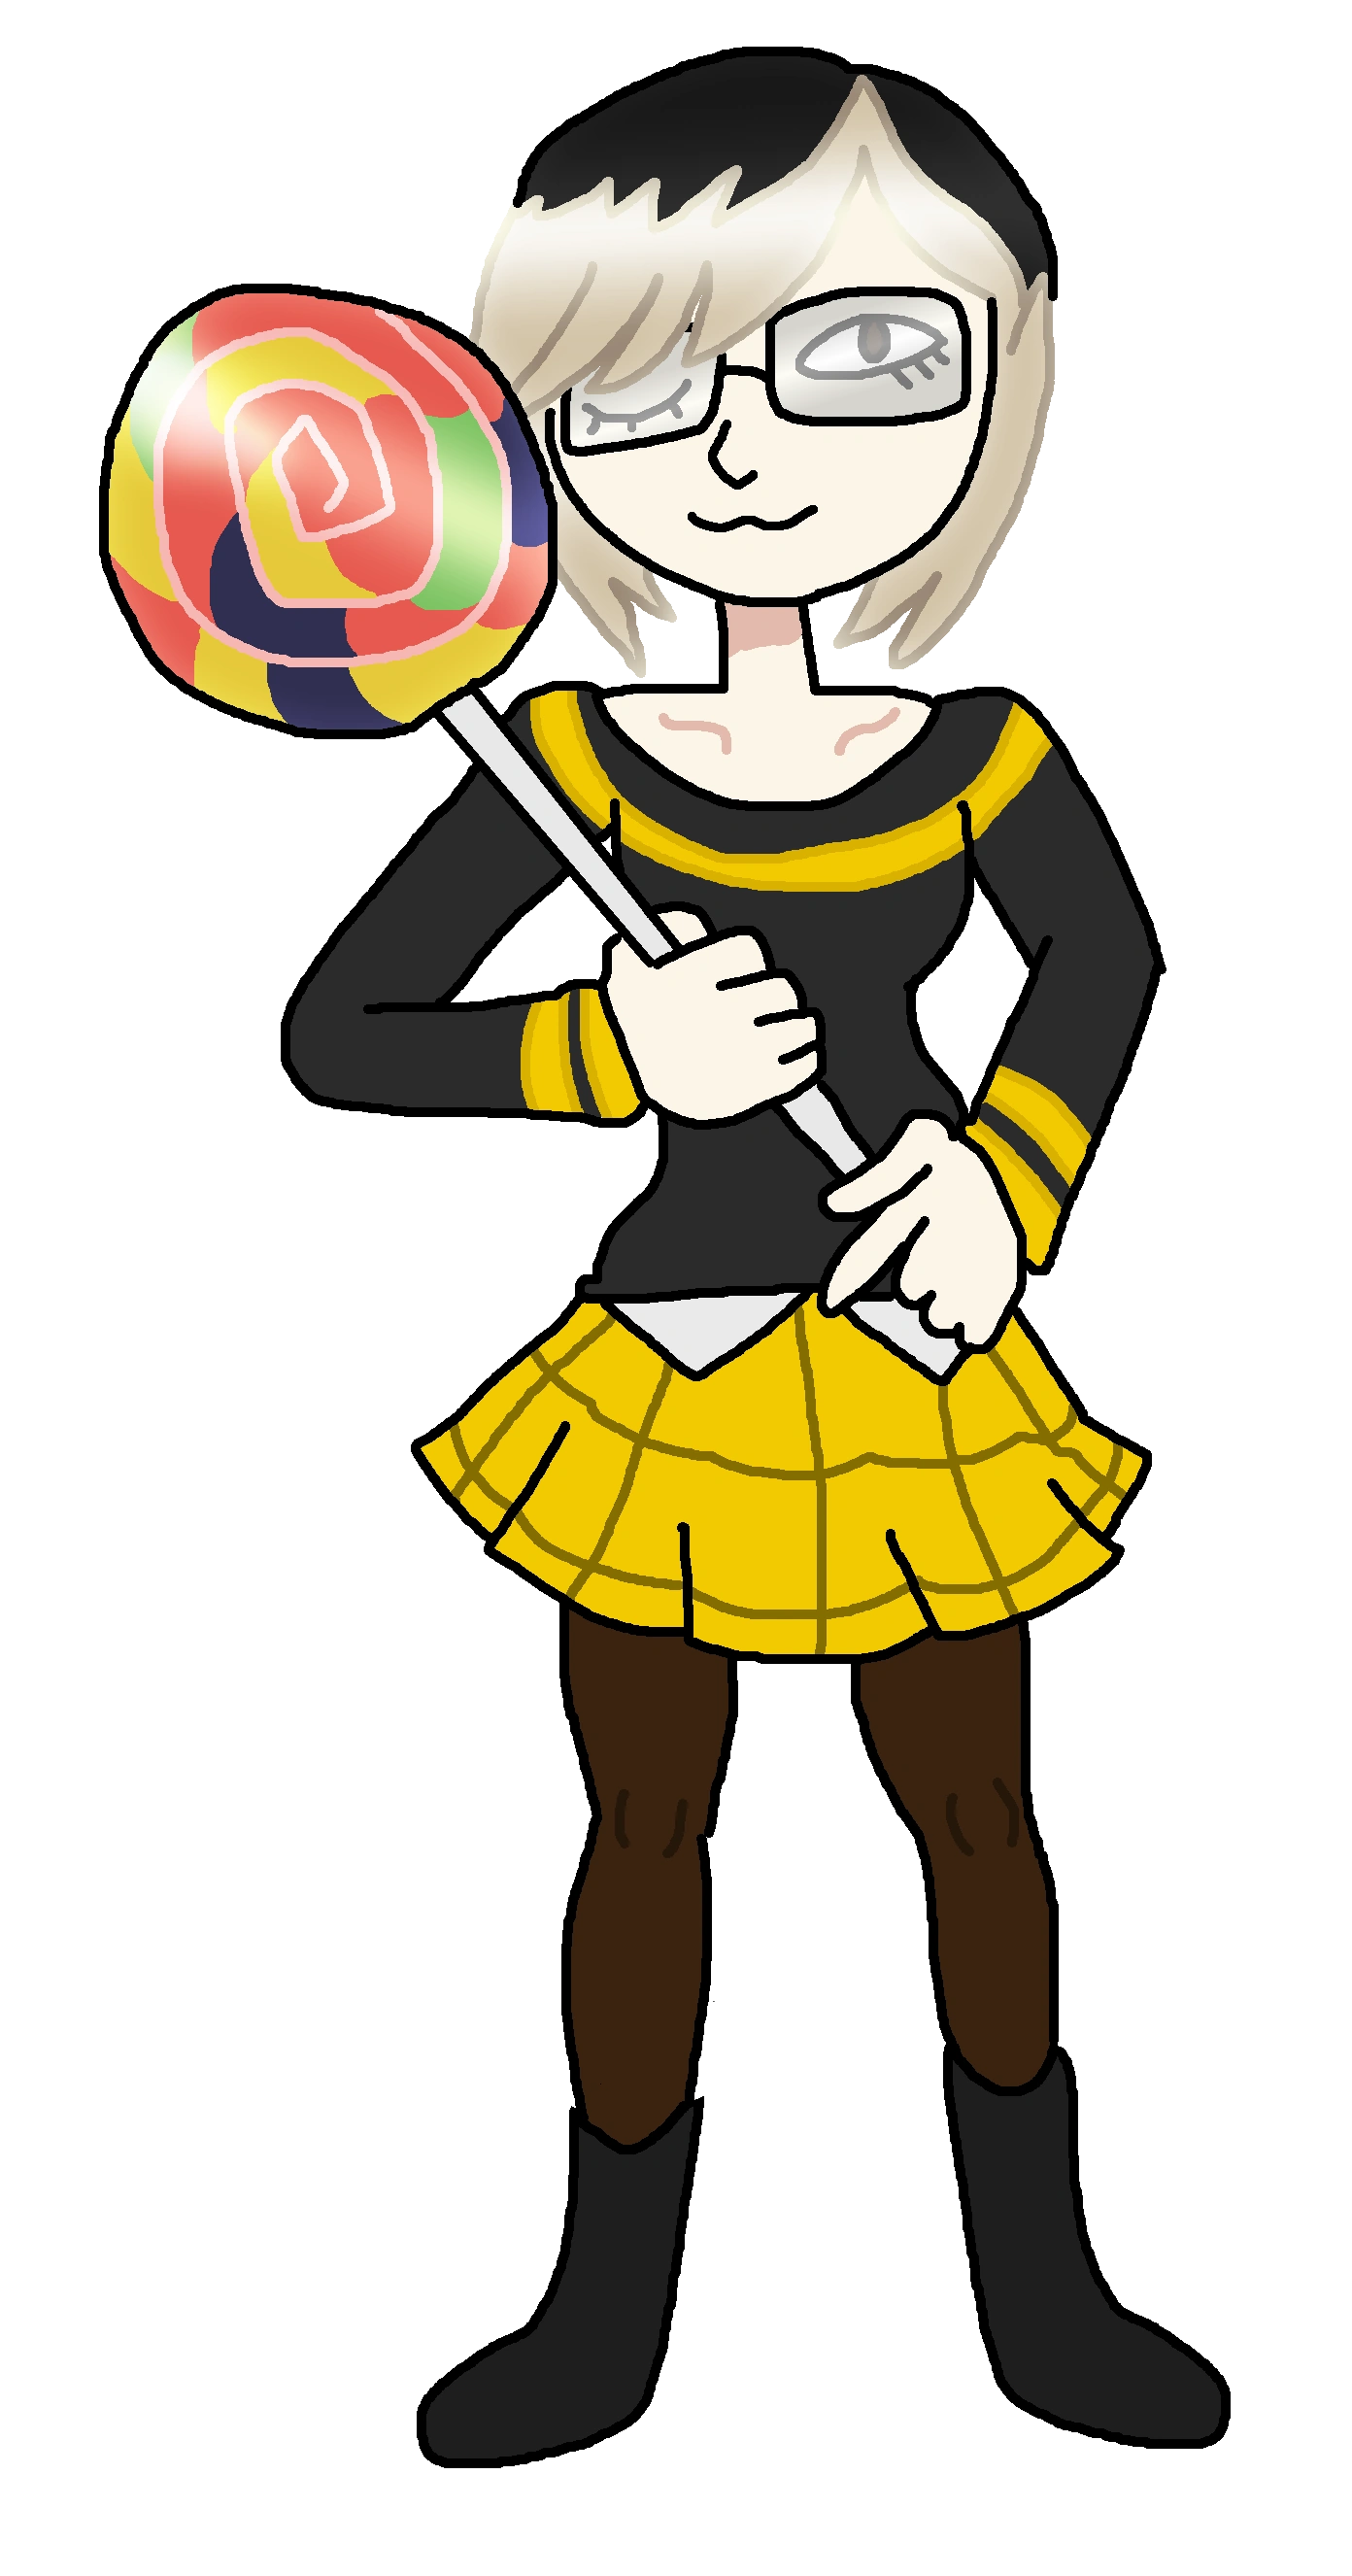 Kat Jannings |
Kat Jannings is a hired hand that fights using candy and slime-based powers. Nobody quite knows who trained her or where she comes from, but she is a excellent fighter with a quirky personality. She works alongside Frost and Patience in the Elemental Gathering team, looking for the three other Elementals. She attacks using a lolly pop and slime bombs, with other candy and slime based powers. MAX MODE MOVES
| ||||||
 Patience St. Pim |
Guiding the Elemental Gathering Team, Patience St. Pim is one of the four elemental who preserved herself in ice to escape the Mushroom War. She desires for the four elementals to be reunited. She has ice powers like Frost, although she has a more ranged moveset and keeps her opponents away from her as she has low health and defense. MAX MODE MOVES
| ||||||
 Salesman BMO |
Salesman BMO is actually just BMO stacked ontop of Ice King, but the two make a great team to the point where they can be seen as just one character. They are more focused on making a sale than anything else going on, and can sell items to their rivals, albeit all the things they sell tend to make their opponents weaker. Salesman BMO can also attacking using Ice King's ice powers and BMO's digital projections. MAX MODE MOVES
| ||||||
| Mai Team | |||||||
Mai Team consists of:
| |||||||
 Mai Shiranui |
Mai Shiranui has moved onto stardom, where the competition has only gotten fiercer! Joined by a new team that acts as both her bodyguards and back up performers, Mai has to maintain her time in the spotlight any way she can. She uses fans and flames to fight, sometimes even jumping off the edge of the screen to get a hit in! MAX MODE MOVES
| ||||||
 Luong |
Luong is a woman with a femme fatale personality who operates as one of Mai Shiranui's bodyguards. She likes to play with her opponents in battle and can stretch and snap her legs in battle not unlike a whip. She tends to use kicks and snaps necks using a kick or a scissor grab. MAX MODE MOVES
| ||||||
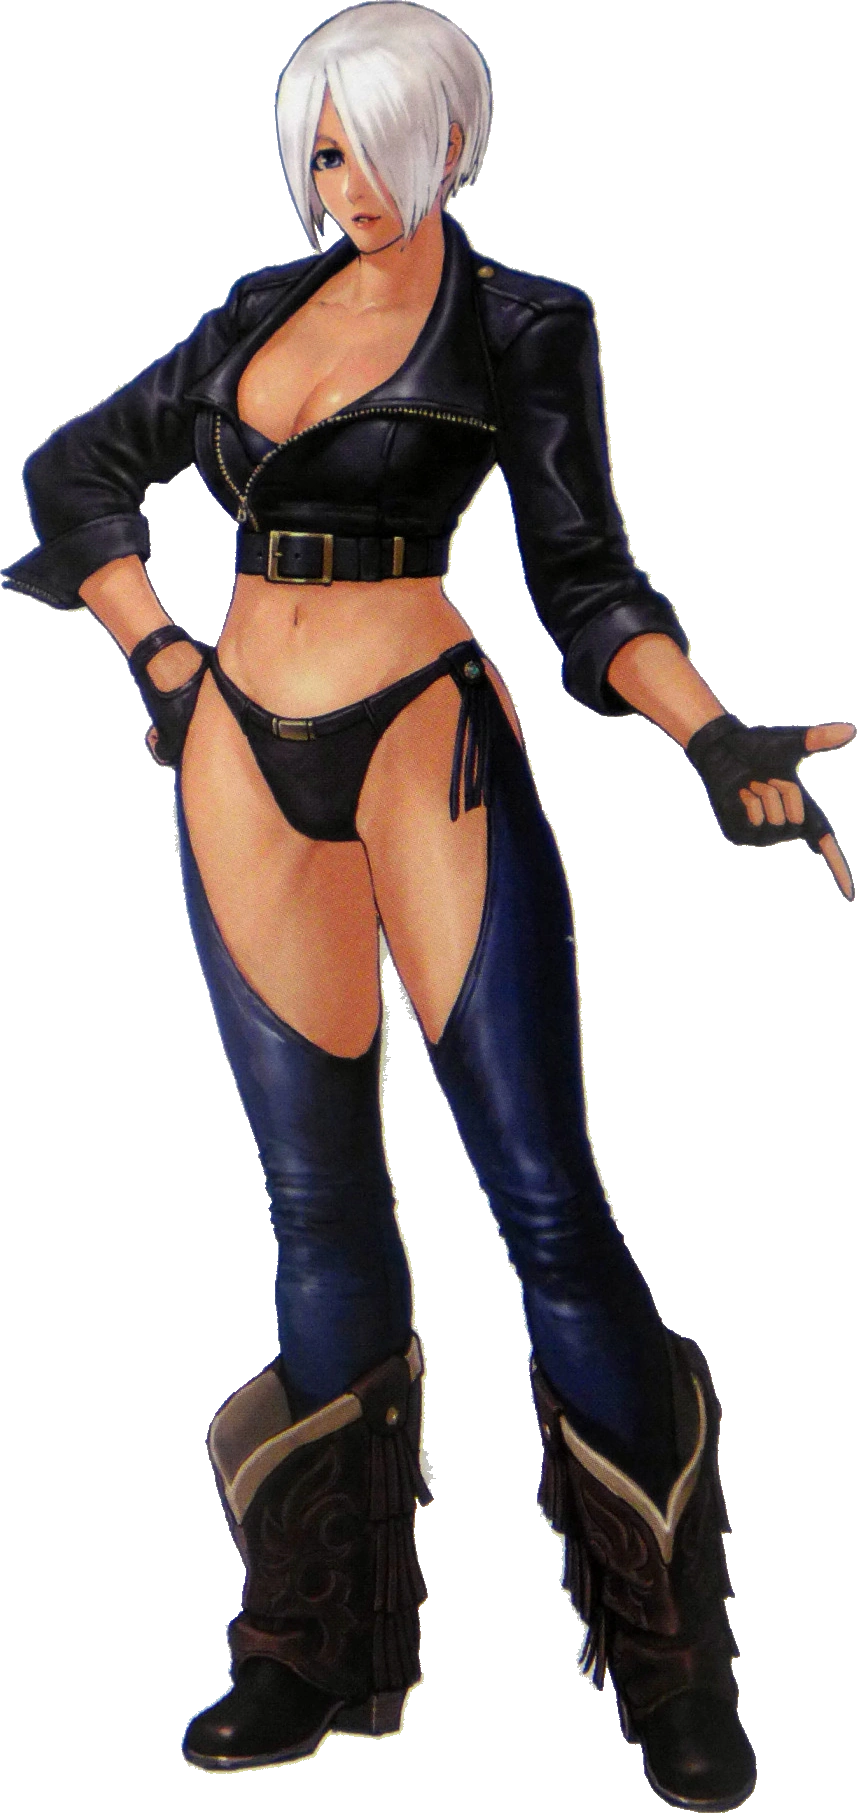 Angel |
Angel works as a bodyguard for Mai Shiranui who behaves sometimes like a cat but can be quite violent and sadistic during battle, usually aiming to kill her opponents. Angel's fighting style incorporates elements of both Muay Thai and professional wrestling, with her fighting style being modeled after Dwayne "The Rock" Johnson. MAX MODE MOVES
| ||||||
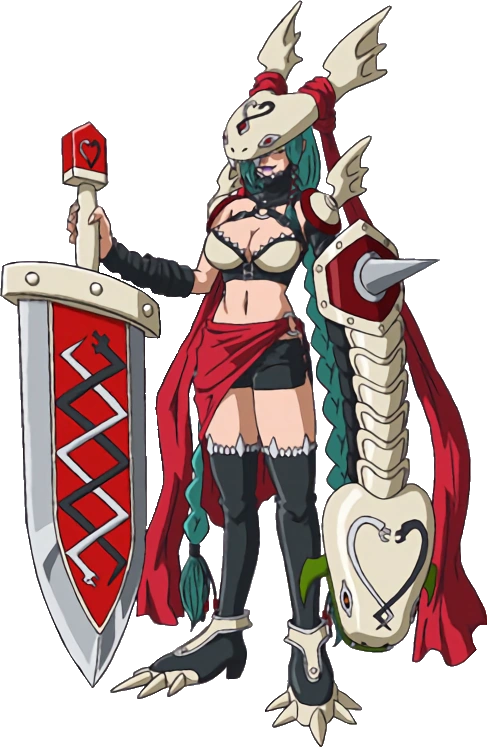 Mervamon |
One of the zillion Digimon that live in the digital realm of Aeo Online, a flourishing digital realm that exists on Aeo's internet frame. It is the matured form of another Digimon called Minervamon and brings elegance to it's fight style. It fights against the malicious Lilithmon. It wields the "Olympia Kai" greatsword in its right arm, and the "Medullia" serpent on its left. MAX MODE MOVES
| ||||||
| Maki Team | |||||||
Maki Team consists of:
| |||||||
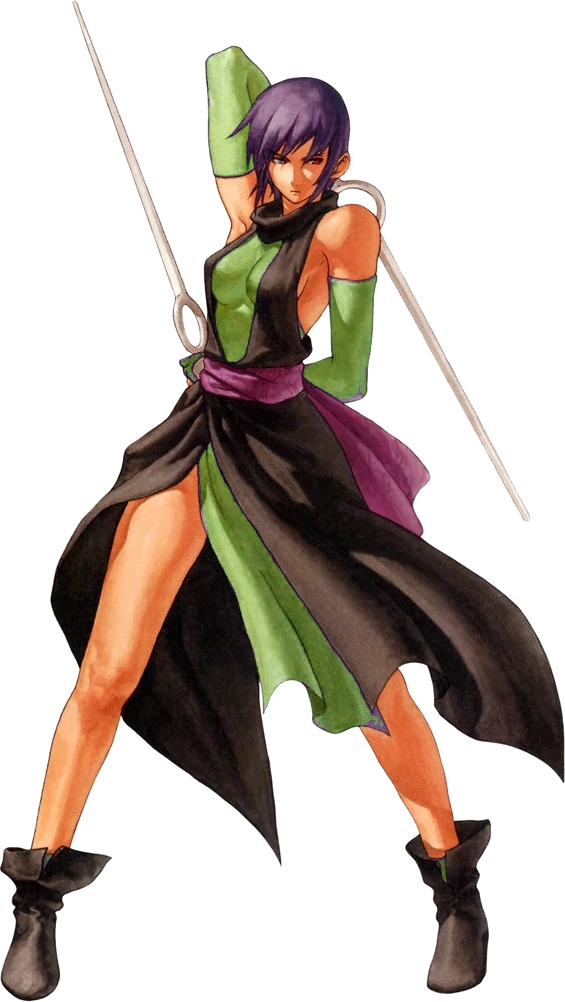
 Maki Genryusai |
A speedy ninja and Mai's new rival, with a violent hot-blooded tomboy personality that Mai just doesn't have. The two women often get at each other's throats for the spotlight whenever they are nearby, and Maki's crass attitude becoming popular amongst the populace of Aeo just infuriates Mai even more. Maki attacks with a emphasis on speed and mobility, using kicks and spins to hit and run with her opponent. MAX MODE MOVES
| ||||||
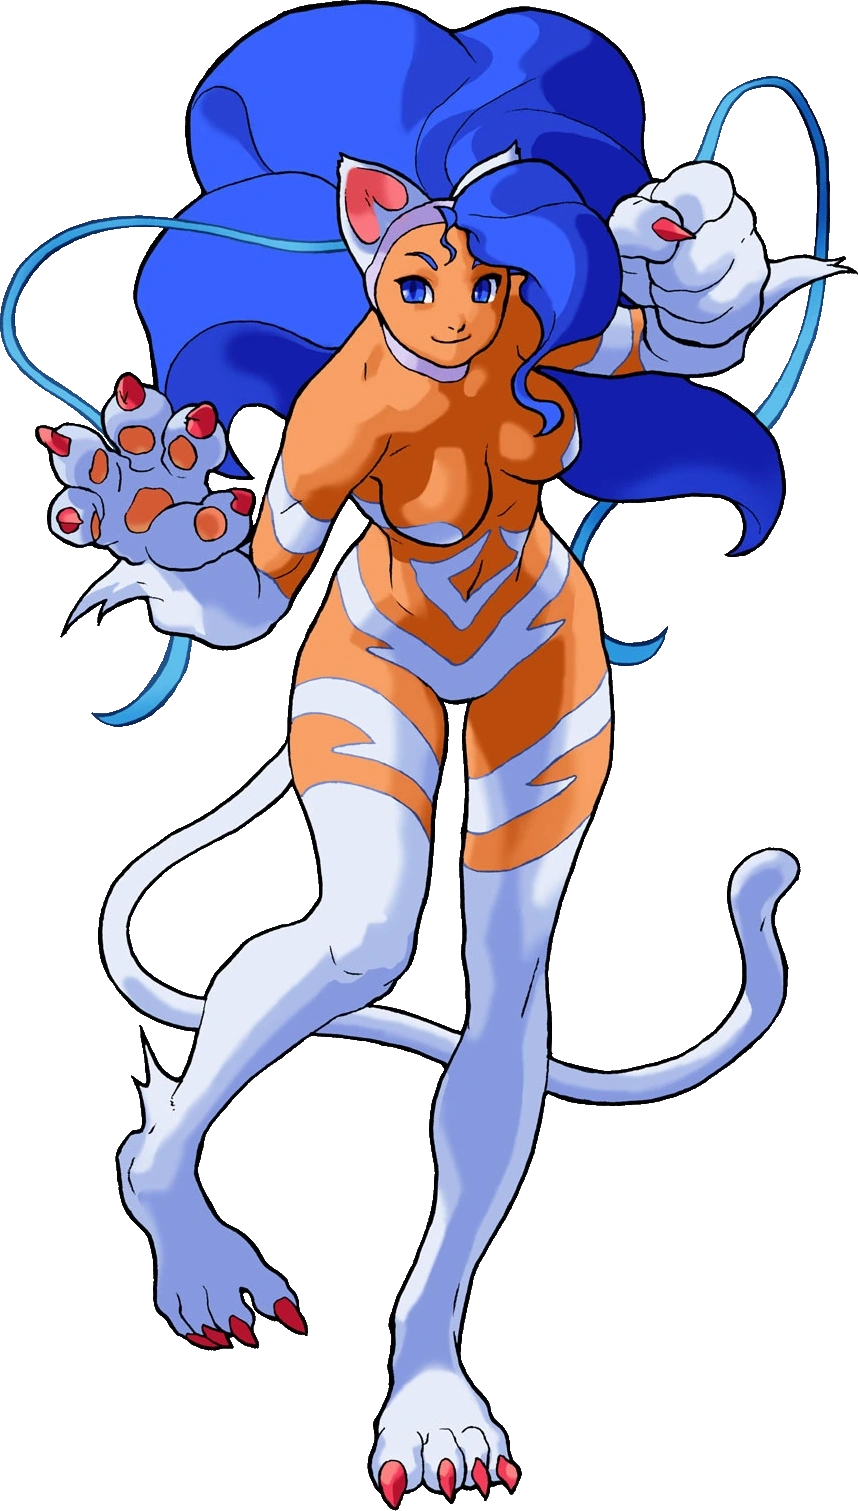 Felicia |
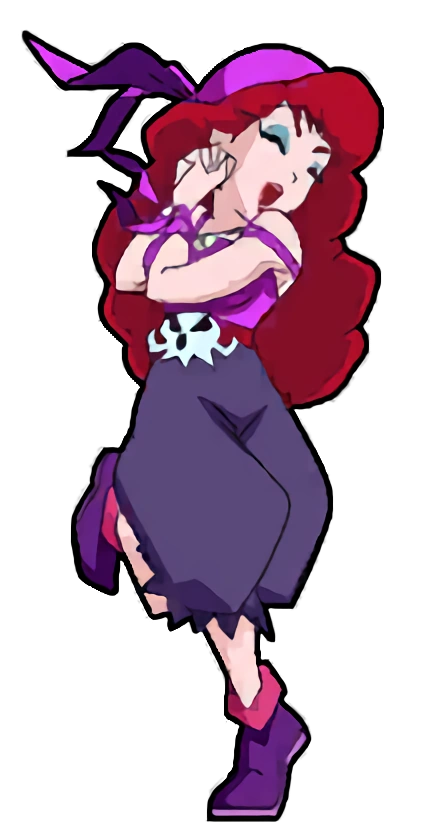
Felicia is a cat woman raised by Rose, a holy woman. Felicia believes in peace and creating a peaceful coexistance with all people of Aeo, regardless of race and gender and beliefs. She wishes to do this through singing, and has joined with Maki and Poison to do so. She does not wish to fight if she can avoid it. That said, when she does fight, she does so in a agile manner with claws, sand, and yarn balls being utilized. MAX MODE MOVES | ||||||
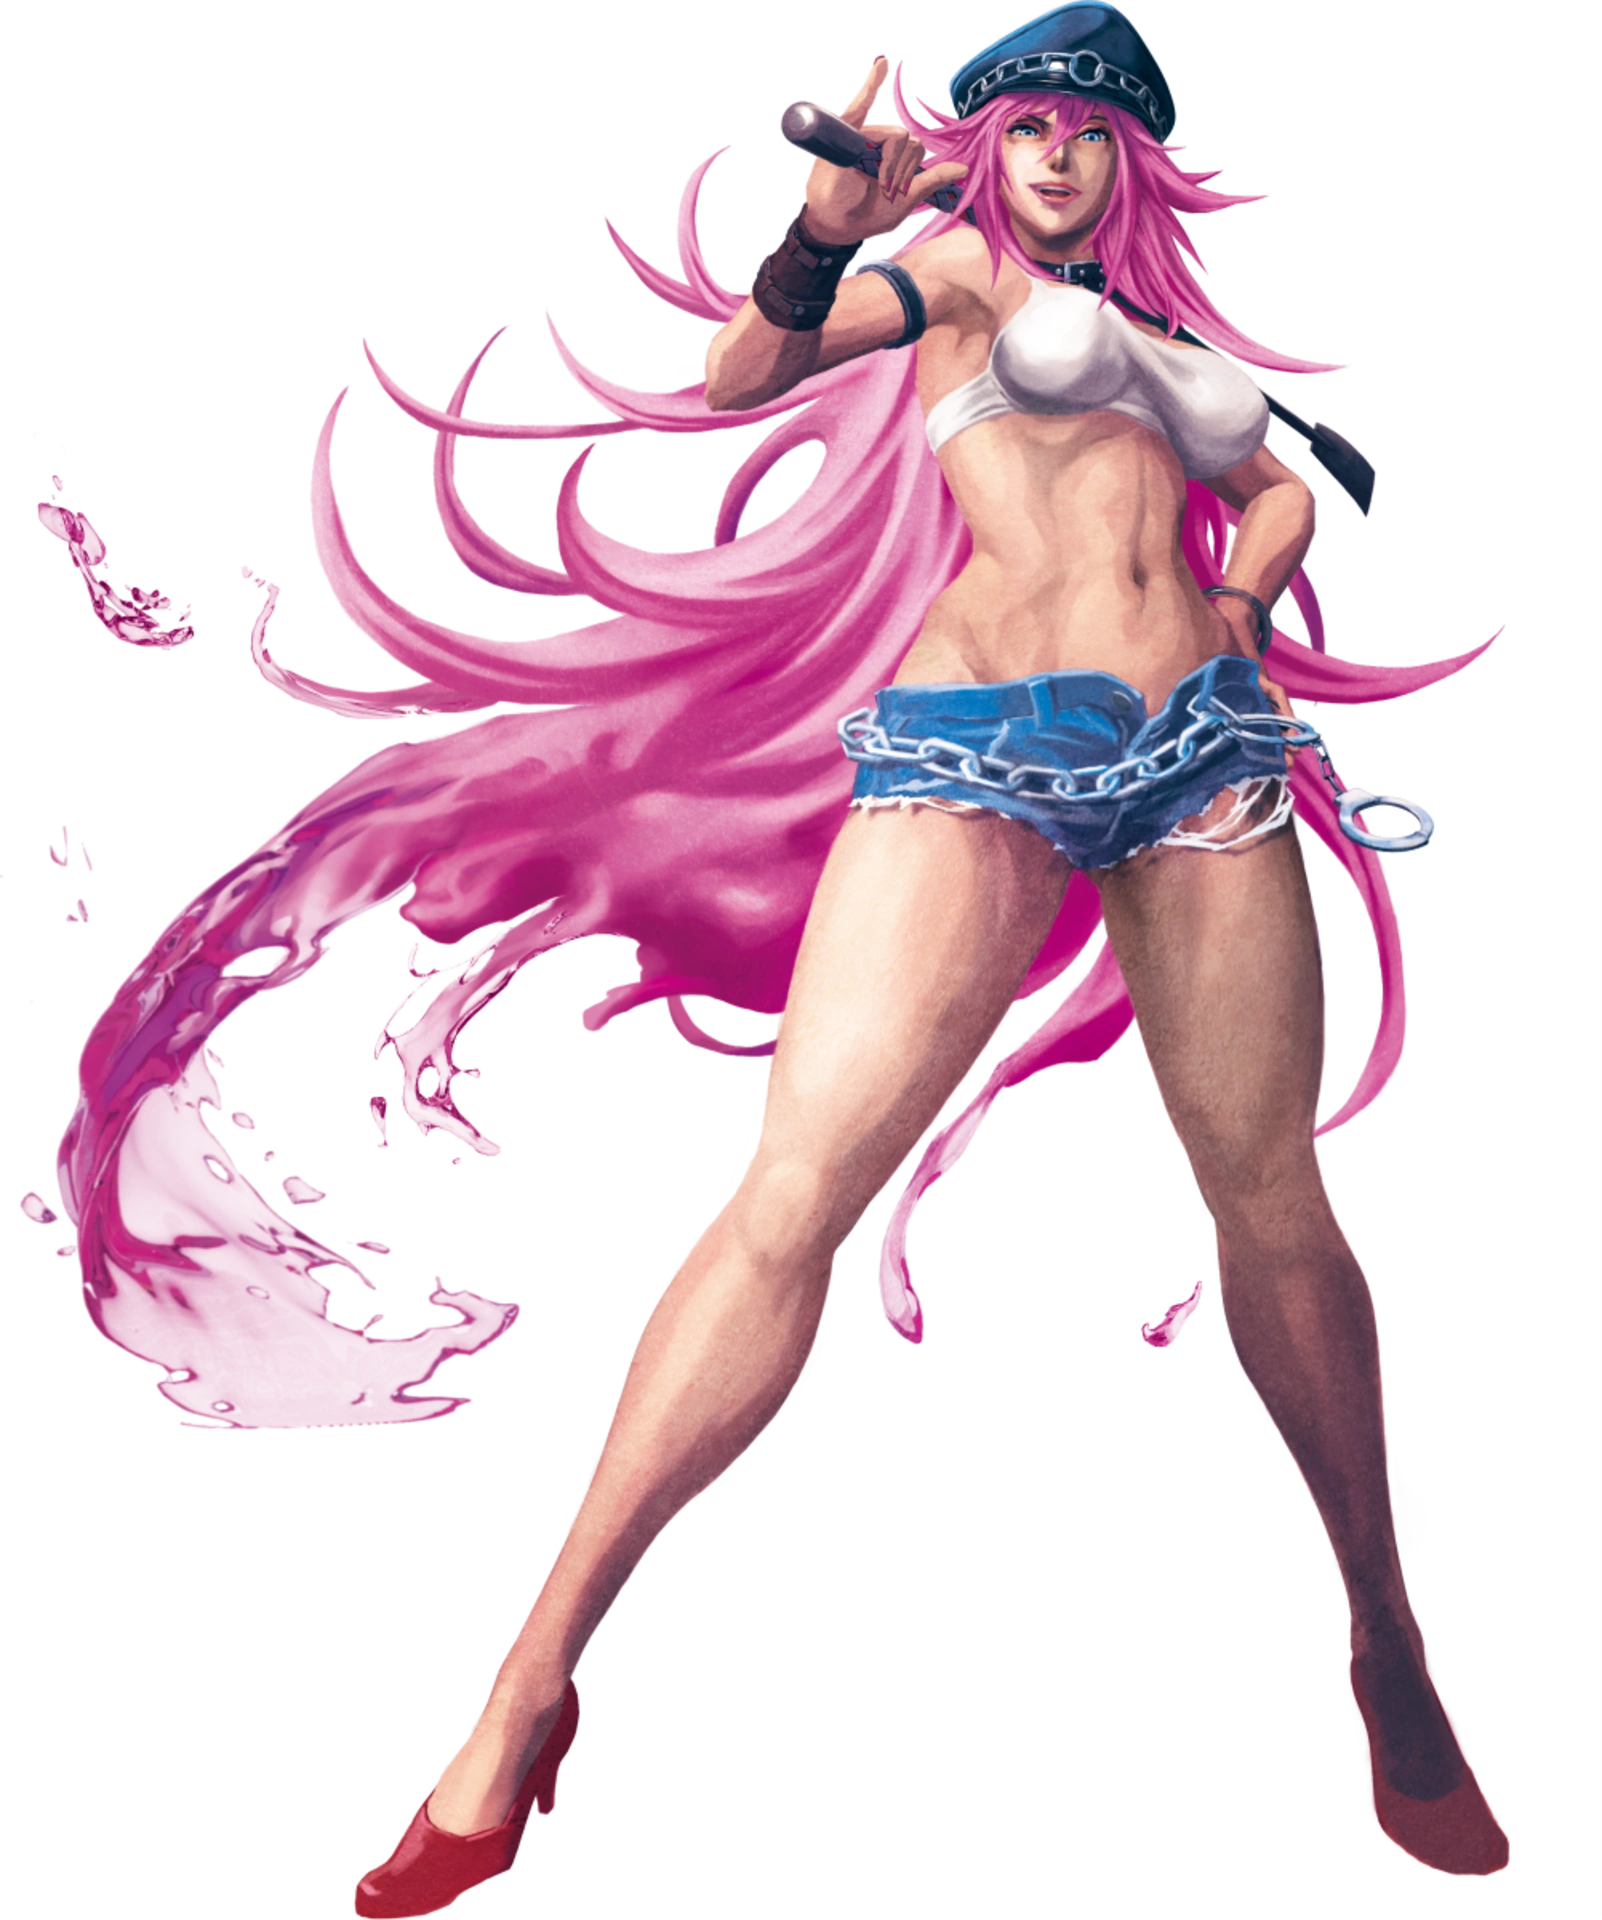 Poison |
Now a manager for Maki Genryusai's group, Poison has officially hit mainstream success and is eager to get the leg up on Mai's rival group. She utilizes acrobatic pro-wrestling moves and street fighting abilities, as well as a whip to get her opponents at a range. She can be quite tricky to counter because of her wide range but she lacks a true defensive game. MAX MODE MOVES
| ||||||
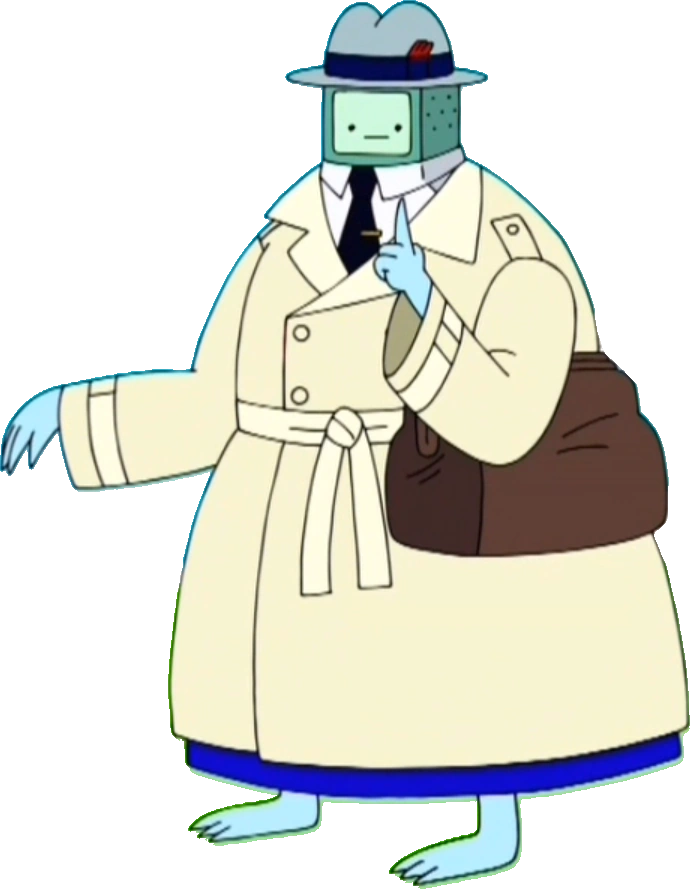
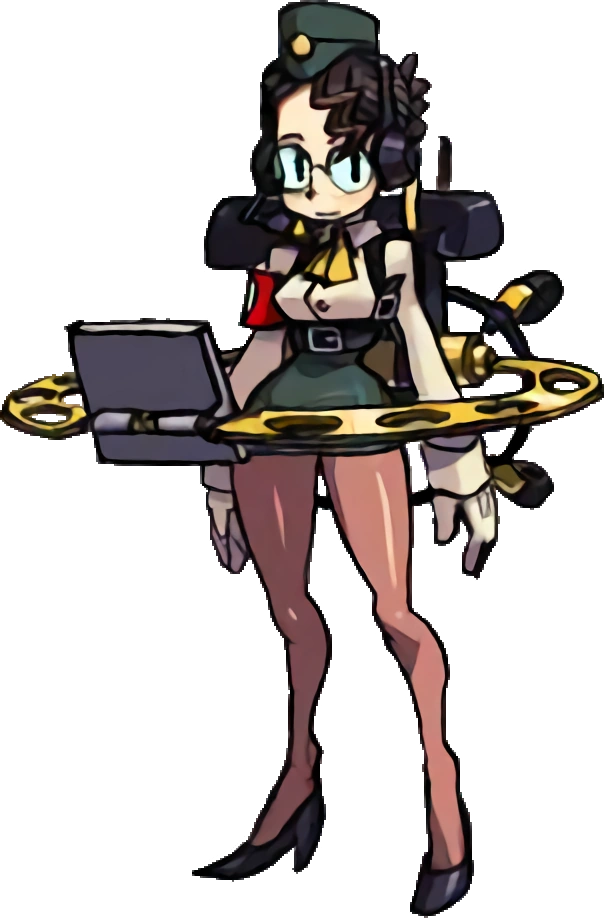
 Solis R8000 |
Solis is a young police woman from the year 2115. She has been sent into the past to investigate the time travelling that has been going on in this era, finding that everyone for one reason will or has been using time travel to their benefit and she must put them under arrest. She attacks using her gauntlets and batons, as well as flames, her moveset being about immobilizing the opponent so she can attack them safely. MAX MODE MOVES
| ||||||
| Sand Kingdom Team | |||||||
Sand Kingdom Team consists of:
| |||||||
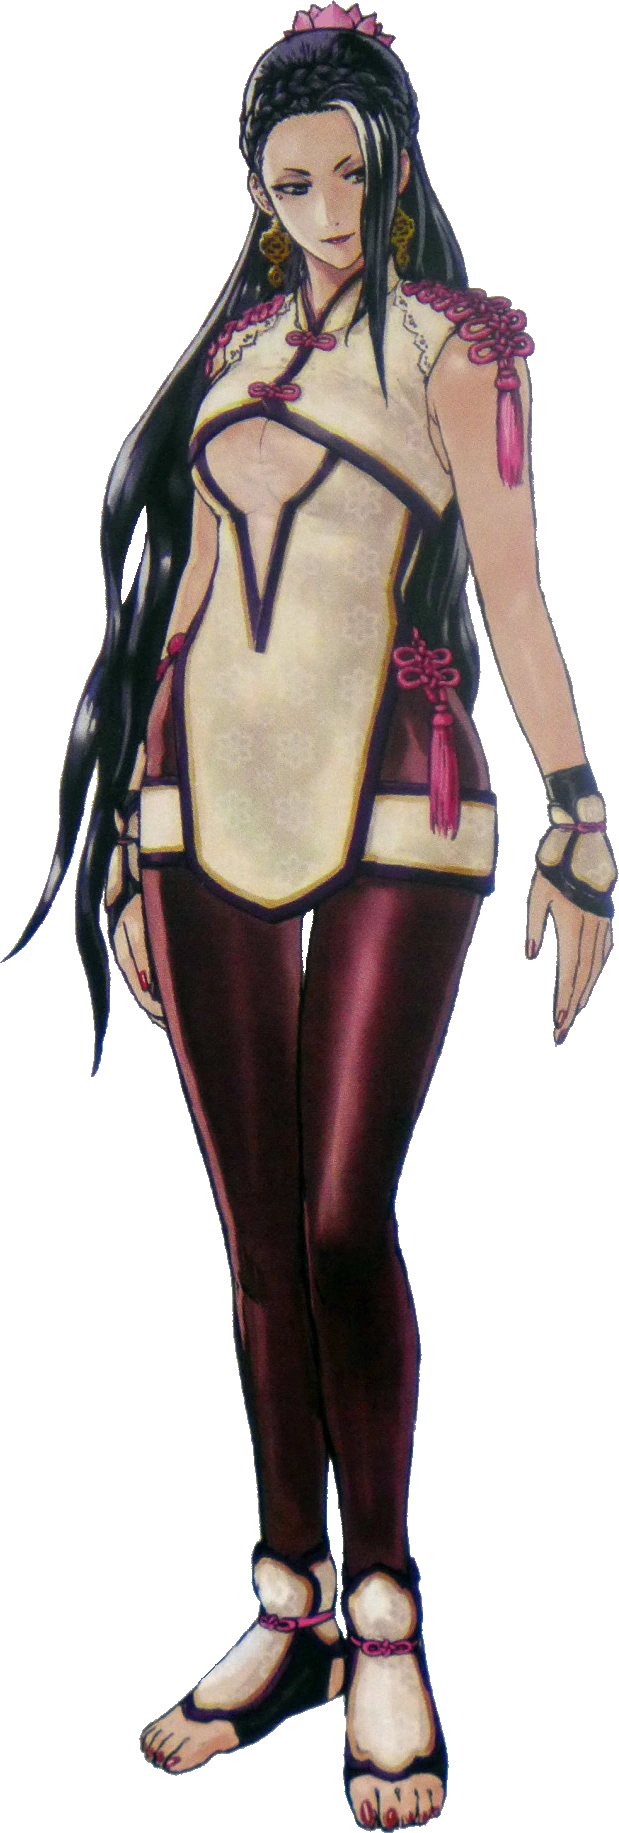
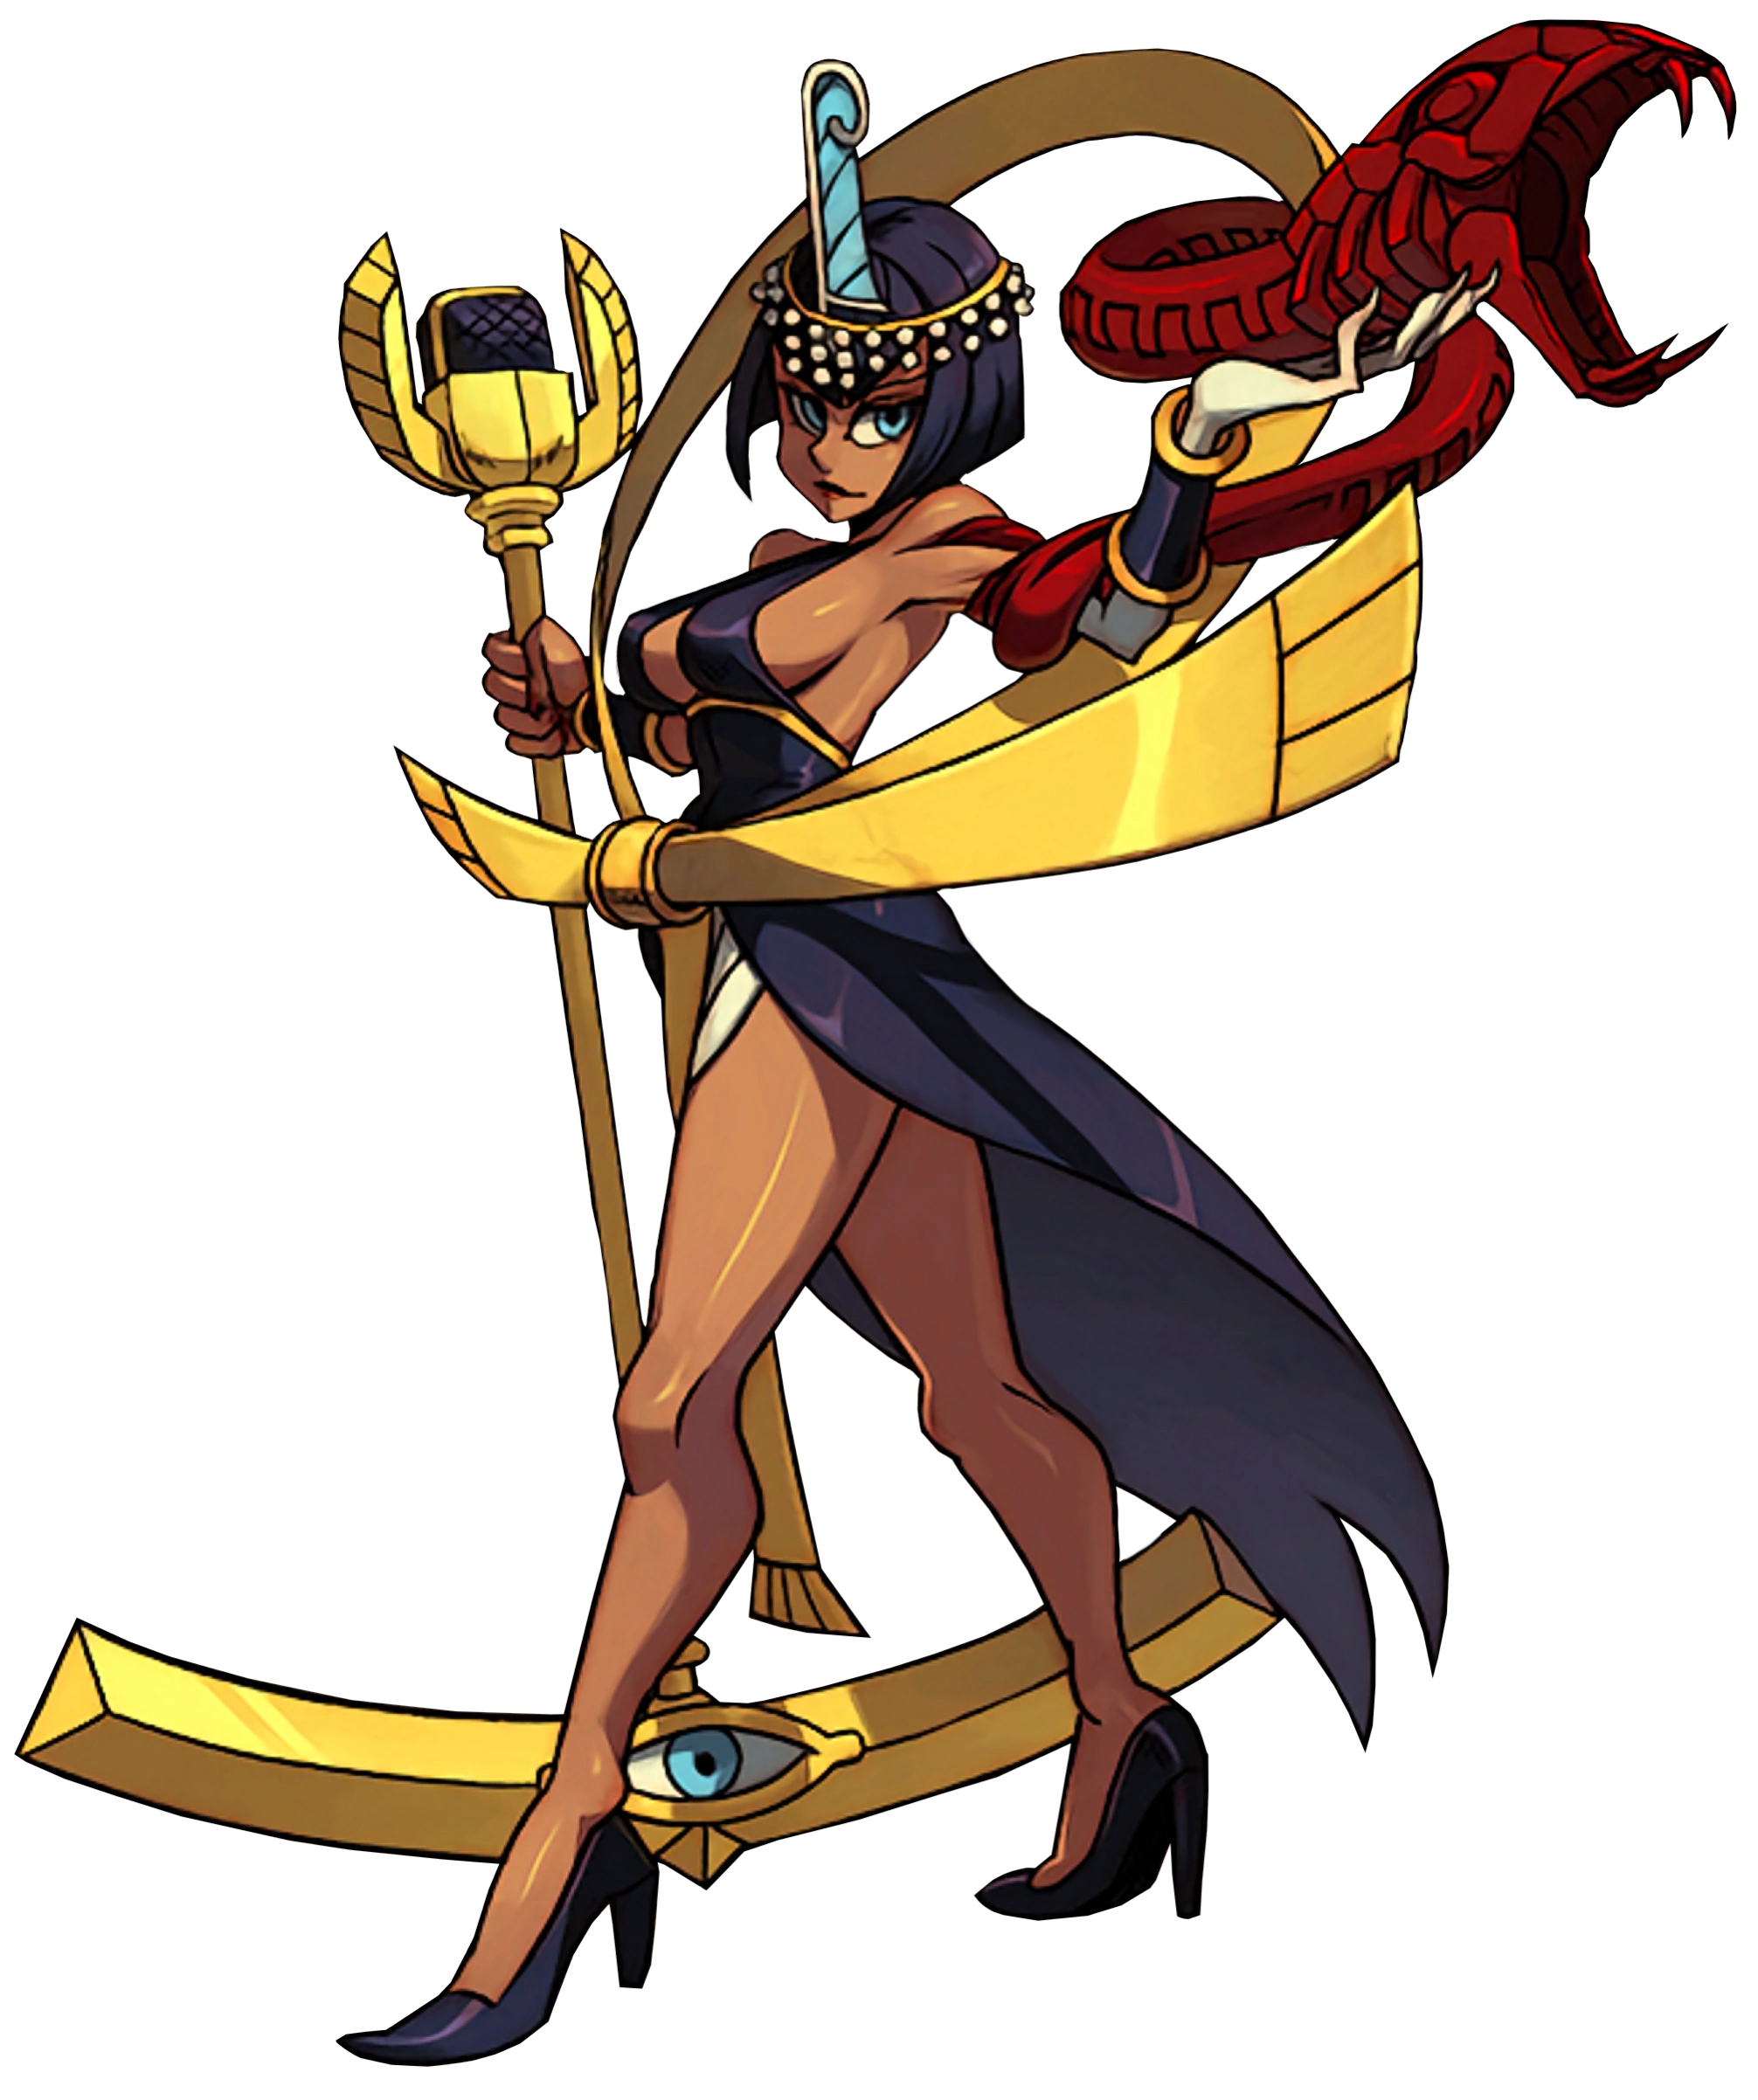
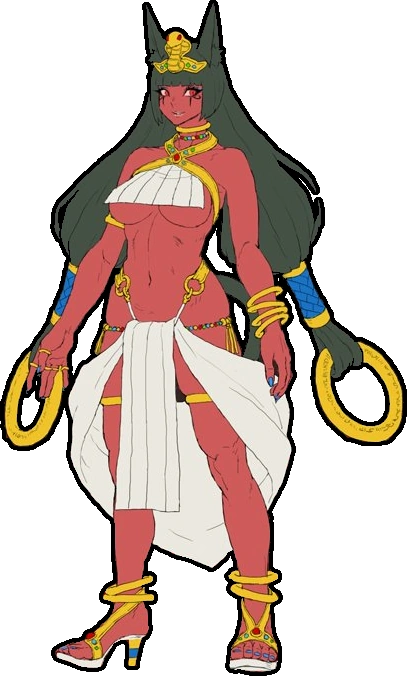 Cleopatra |
Cleopatra is a goddess reborn in the Sand Kingdom, in Tostarena's upside pyramid during a change to the past. Her old master is long dead and she no longer has to appease him, meaning that she has free reign to pursue whatever she wants. She knows the singer known as Eliza as a rival, surprised she's still alive after all this time. Using her servants Lovely Mummy and Mummy Cat as her henchlings, Cleopatra is a force to be reckoned when she wants to be, using her thunder and judgement to attack. MAX MODE MOVES
| ||||||
 Lovely Mummy |
One of Cleopatra's lackeys. Lovely Mummy is the favorite of the two prominent servants to Cleopatra, with a rumor that they are lovers. Cleopatra is quick to deny these, but Lovely Mummy isn't. Lovely Mummy orders around her own mummies to attack and has intoxicating attacks of her own. They also have moves to boost the power of Cleopatra, their team leader. MAX MODE MOVES
| ||||||
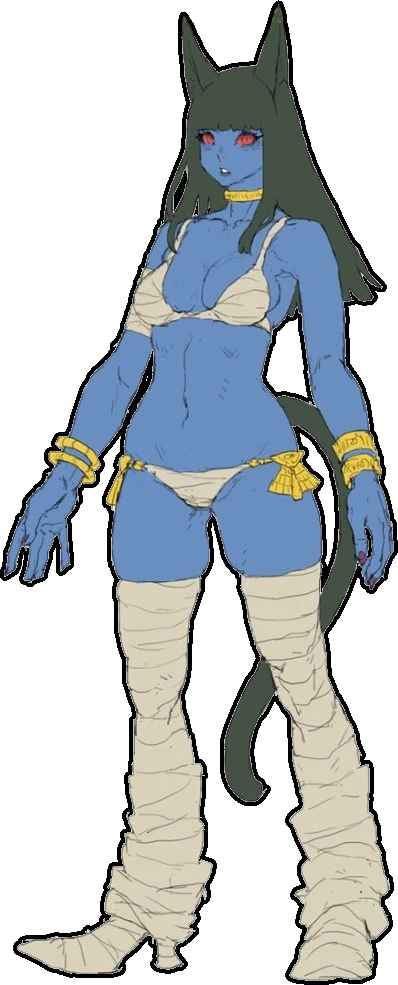 Mummy Cat |
Cleopatra's other henchwoman. She was originally from the Tyrant Pharaoh which Cleopatra formerly served and as such, tends to get the lesser end of the stick. She fights for her affection with Lovely Mummy, usually hardpressed to gain her favor in any way. Mummy Cat is generally weaker than Lovely Mummy but takes less power to use; the two more or less have similar movesets with some key differences. They also have moves to boost the power of Cleopatra, their team leader.
| ||||||
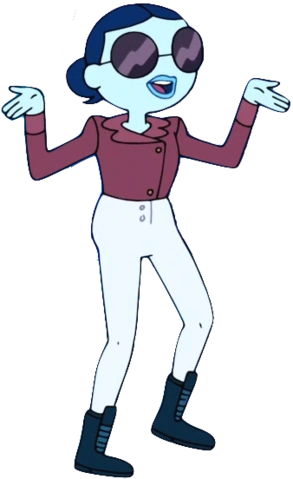
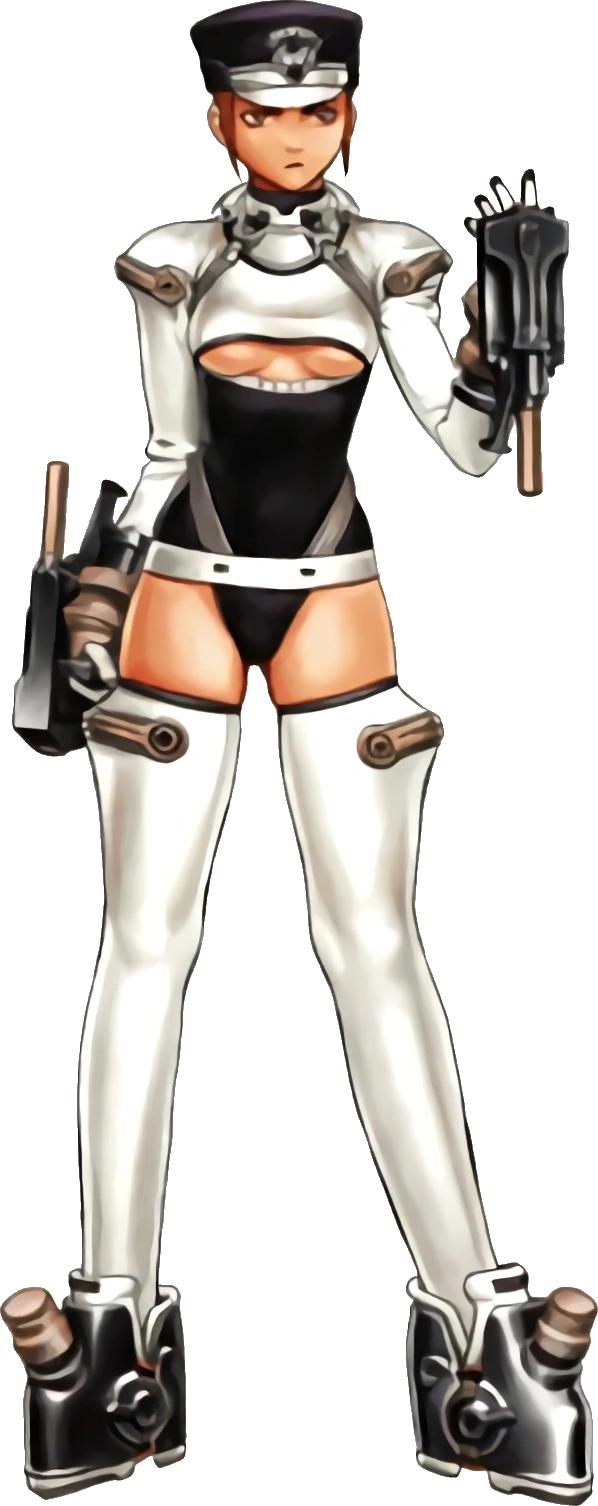
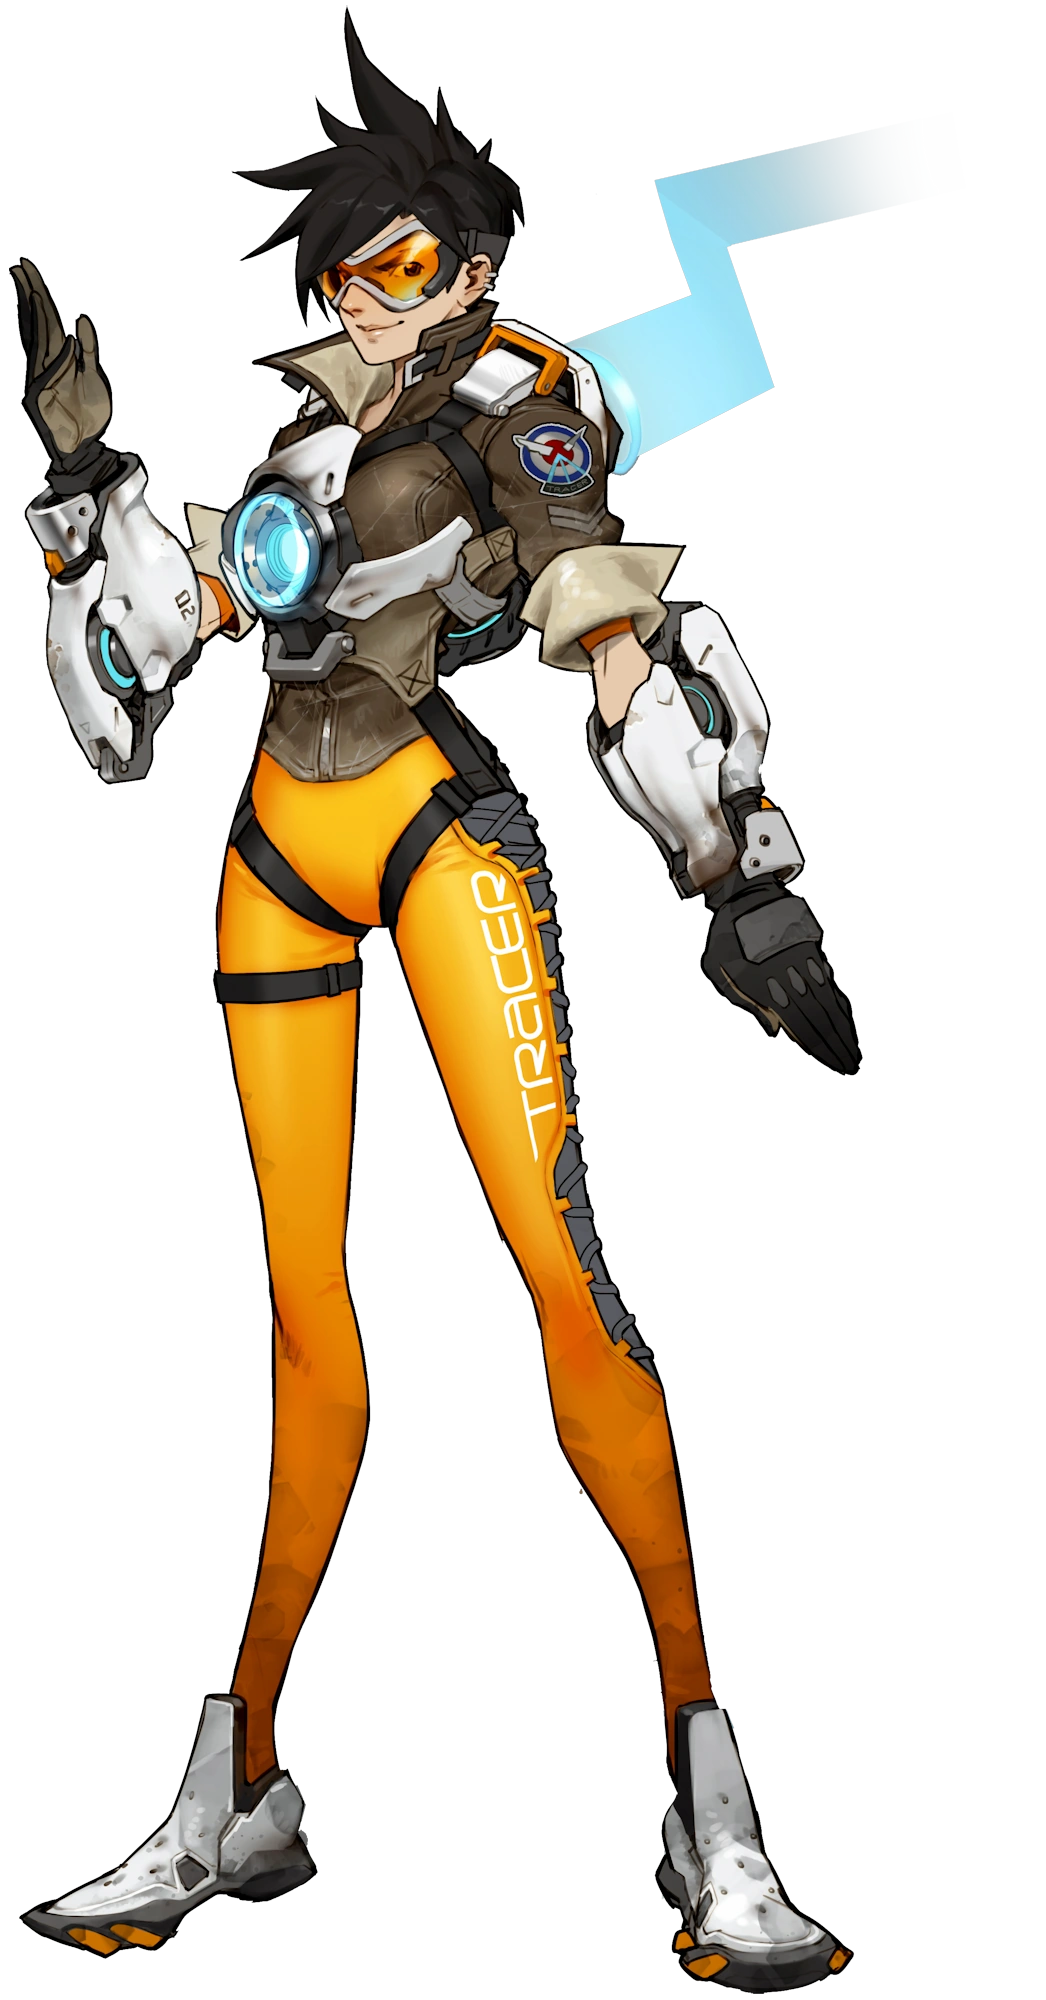 Tracer |
Using her innate chronal disassociation disorder, Tracer is able to time travel although at the risk of losing herself. Without a steady time travel method, Tracer is used by the Kingdoms to traverse through time to try and figure what's going on. While risky, Tracer can deattach herself from chronal accelerator to travel through the hoops of time at a random disorganized rate, leaving her and time itself incredibly vulnerable. When in battle, Tracer always wears the chronal accelerator, and uses it to travel forward and back through time in conjunction with a pair of pistols. TBA | ||||||
| The Girl and The Robot | |||||||
The Girl and The Robot pairing consists of:
| |||||||
 Zero Suit Samus |
Known as just Samus, this version of Samus comes from the Smash Kingdom, living in the Smash Mansion with her boyfriend R.O.B. As luck would happen it, those two are somehow wrapped in this time twister plot while on a date and gotta get cracking back into laboratories and stuff. Fun stuff. Samus is swift and nimble, using her paraylzer whip and shots to stun her foes for a quick second while she delivers fast powered kicks. TBA | ||||||
 R.O.B |
R.O.B is the boyfriend of Samus and there isn't much he wouldn't do for her. While the two have their disagreements, their trust and love is beyond their flesh and metal vessels and form the perfect couple. R.O.B is wrapped into a time twister conspiracy while trying to go on a date. R.O.B is a bit slower than Samus but with his spin attack and gyros, R.O.B can be formidable opponent on the ground if a bit easy to punish. He also can use his jets to escape some situations, although he has limited fuel. TBA | ||||||
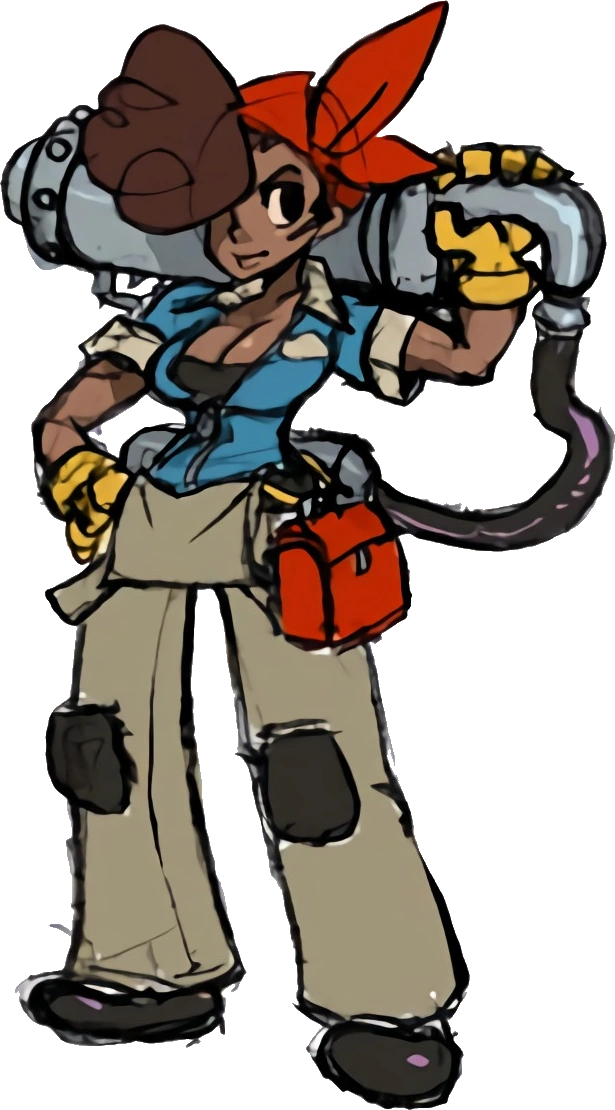
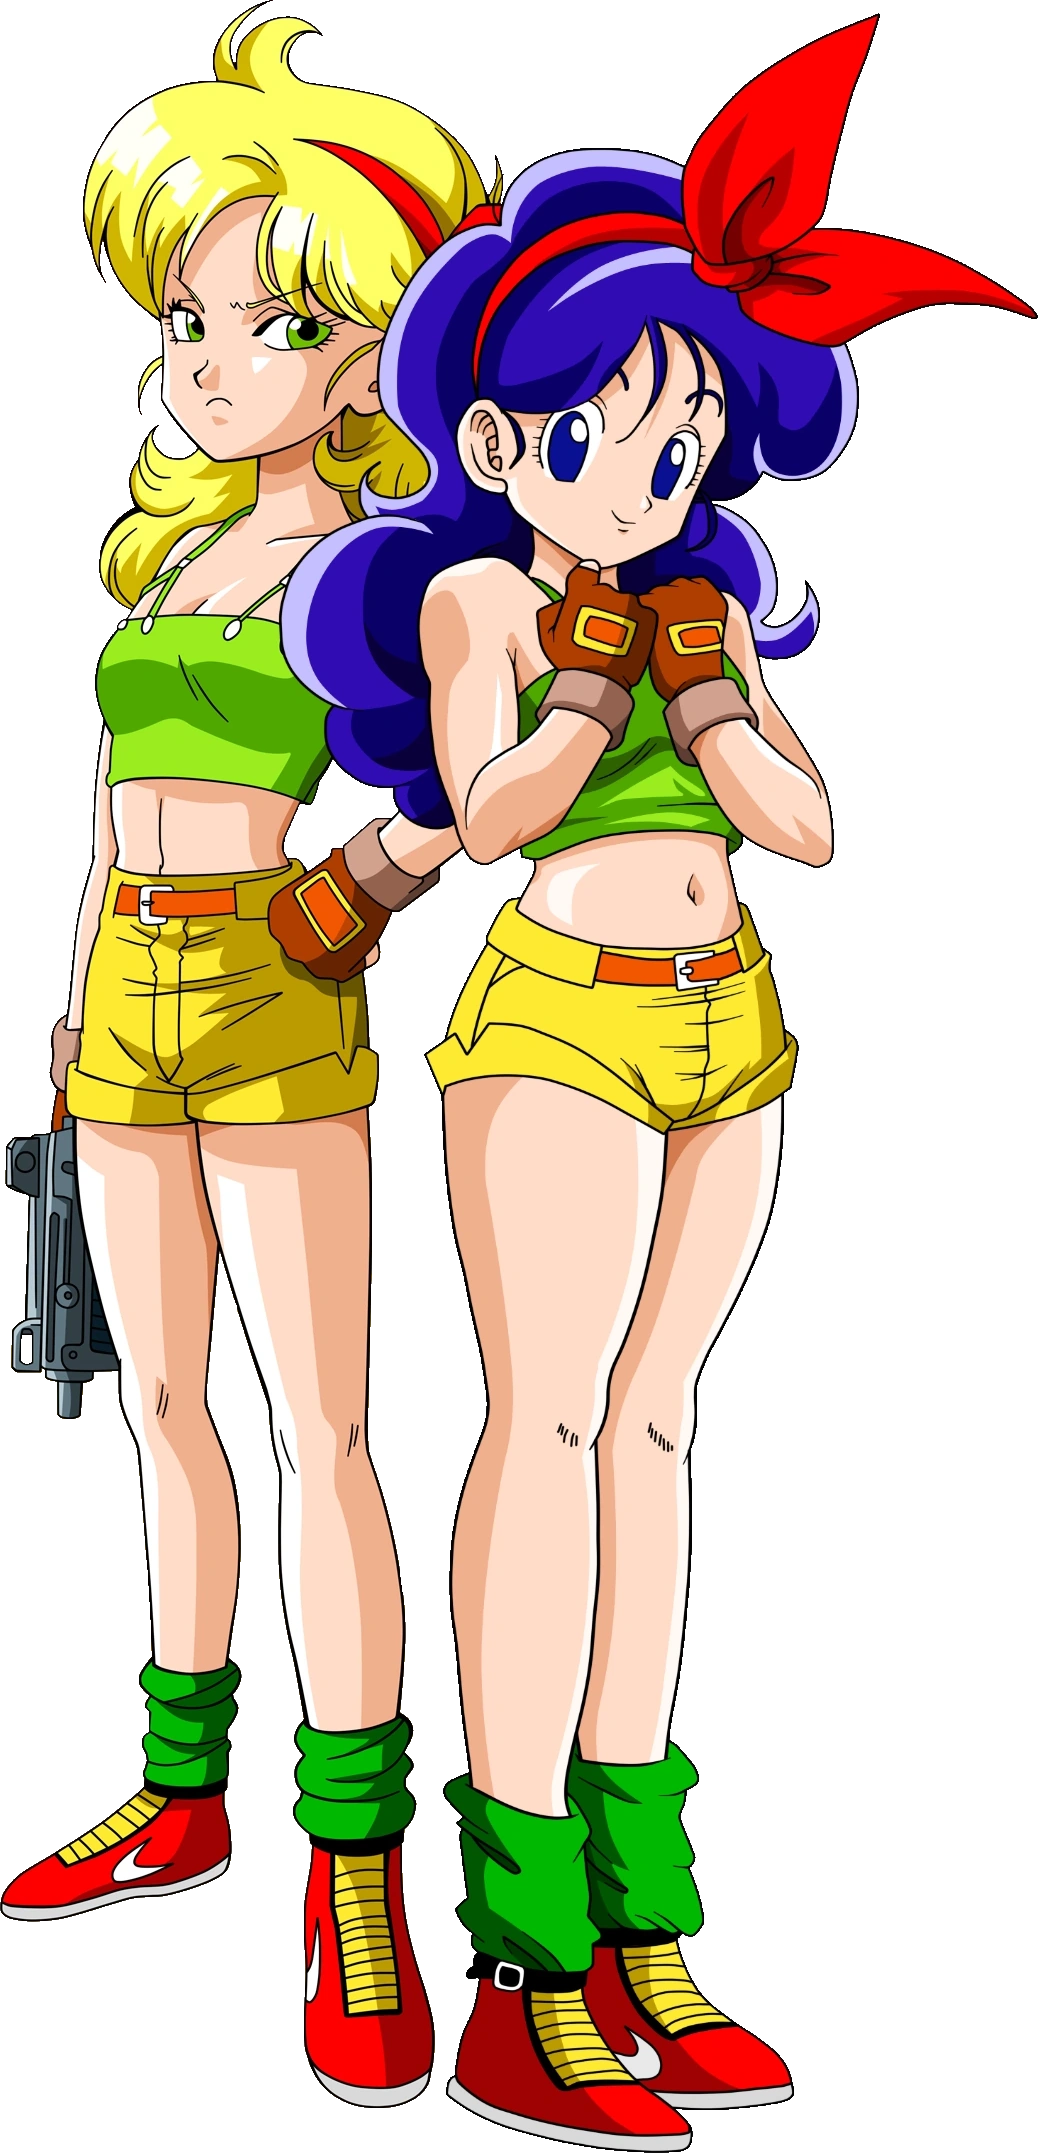 Launch |
Launch is a oddity, even amoung this crazy cast. She can be a sweet blue haired woman who uses capsules to attack one moment, and then a blond haired woman with a psychopathic criminal attitude. She can be a incredibly aggressive character with no defenses, or a character with a lot of defense but no reliable attack options. While she can take some getting used to, smart players can use both sides to their advantage. She sneezes on random or through her level 3 Lone Wolf move.
MAX MODE MOVES
Yellow Hair
| ||||||
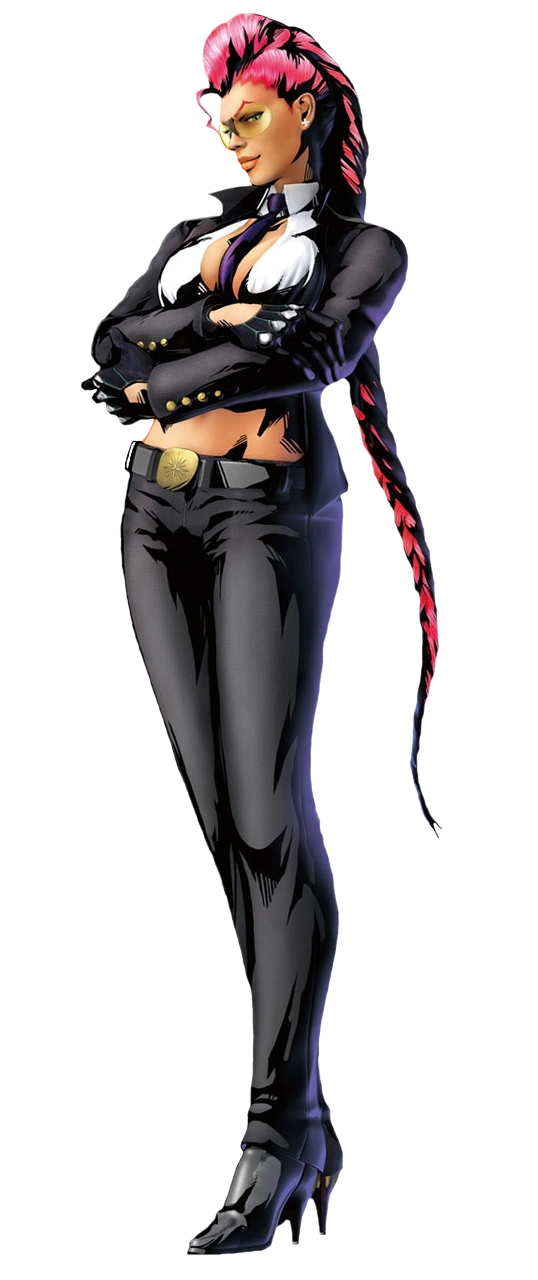 C. Viper |
C. Viper works for the CIA, working as a undercover agent. She is attempting to put a stop to the woman known only as Launch, notable for robbing the treasury of the Kingdom of New York. She uses secret weapons hidden in her outfit, which are metal knuckles that send out shockwaves and jet boots that add a flaming flair to her kicks.
MAX MODE MOVES | ||||||
| Black Lab Team | |||||||
Black Lab Team consists of:
| |||||||
 Parasoul |
Princess of the Canopy Kingdom and leader of the Black Egrets, Parasoul is now attempting to repair Valentine's relationship to the kingdom while refocusing on being a good leader for her people. Being the leader of the newly formed Black Lab Team, Parasoul uses explosives primarily in her moveset, through a living umbrella named Krieg.
MAX MODE MOVES
| ||||||
 Valentine |
While Valentine has mostly worked for her own agenda since being the last surviving member of the Last Hope, although she has been working for Parasoul as of late. Neither truly trusts each other, but they have both agreed that fighting will not solve anything. She is now a member of the Black Lab Team, working with Parasoul and Ms. Fortune. She mainly fights with ninja-like skills and medical equipment. MAX MODE MOVES
| ||||||
 Ms. Fortune |
Undead due to the effects of the Soul Gem she swallowed, Ms. Fortune cannot really die although she can feel pain. She was enlisted by Parasoul due to her unique abilities and is a mercenary working for the Black Lab Team. She can deattach her limbs from her body and use them as weapons, as well as harden her ears and tail to use them as weapons. MAX MODE MOVES | ||||||
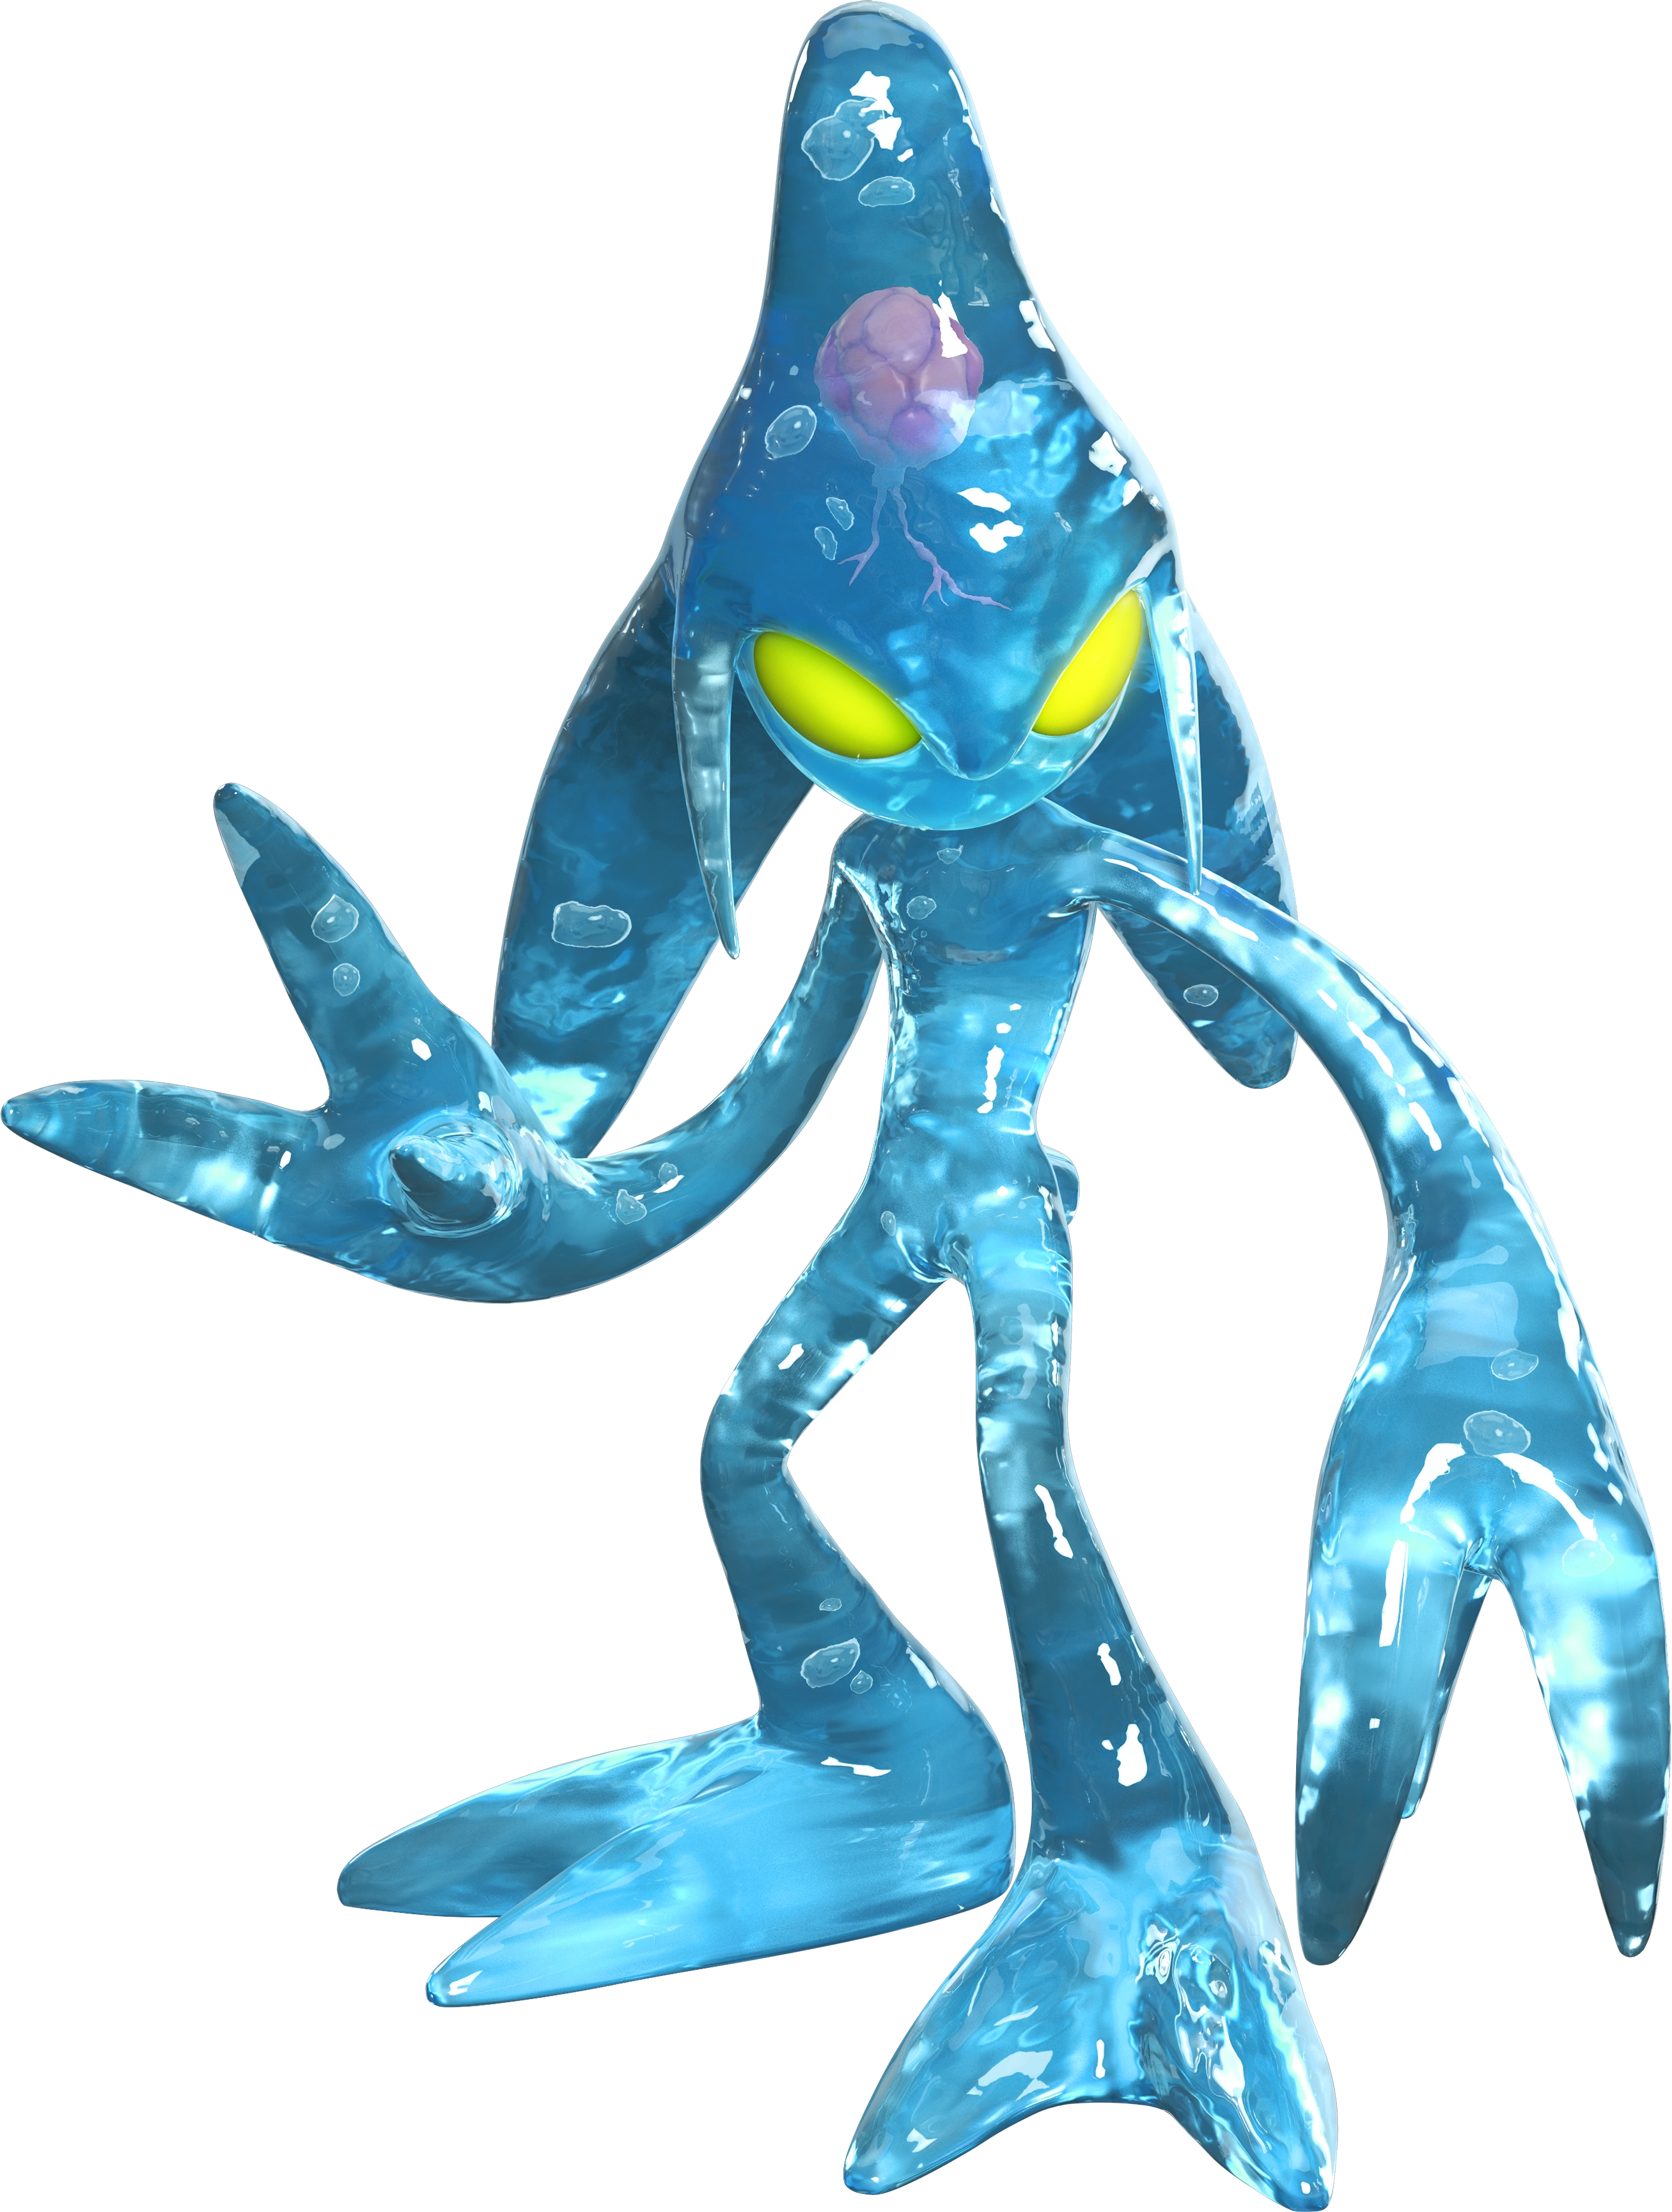 Chaos |
A mysterious force that was sealed in the Master Emerald before it was accidentally dropped and shattered, releasing the strange creature. It mutates upon getting the Chaos Emeralds, using the negative energy inside to transform into seven different forms. This is only it's base form, which is sluggish and has bad aerial game, but incredible reach due to it's extendable limbs and high attacking power. MAX MODE MOVES
| ||||||
| Partenaire Team | |||||||
Partenaire Team consists of:
| |||||||
 Ruby Heart |
TBA MAX MODE MOVES | ||||||
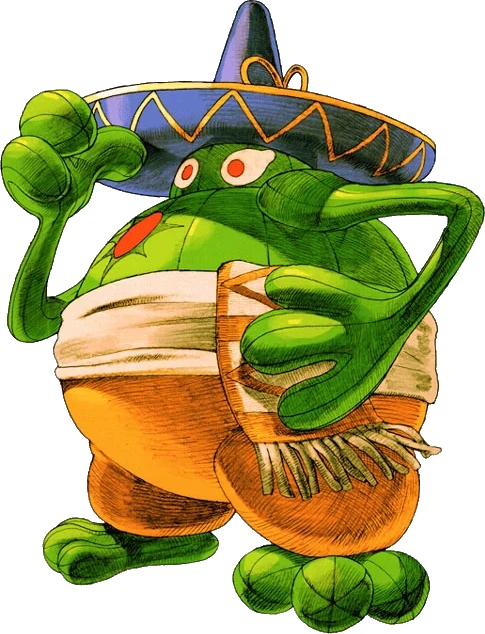 Amingo |
Amingo is from a race of people known as the "Man-Plants". He is characterized with a warm and caring personality, and does not seek to harm anyone, even people that are deemed evil. He carries around a guitar with him. While a overall jolly figure, he isn't above fighting, at least in the cases of fighting other fighters from the various kingdoms, as he sees it as mere spectator sport. MAX MODE MOVES
| ||||||
 SonSon |
TBA MAX MODE MOVES | ||||||
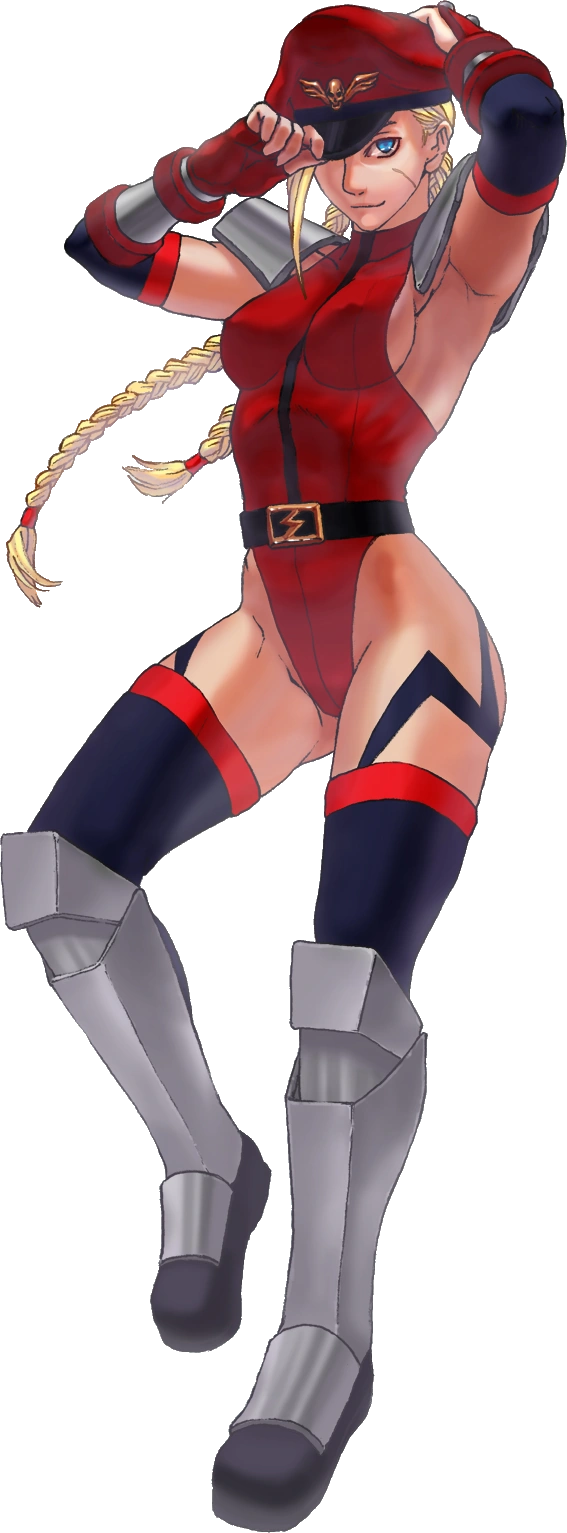 Ms. Bison |
Ms. Bison is M. Bison's soul in Cammy's body, inhabiting it and his immense power inside of her body. She has to fight the present version of the Street Fighter Team, consisting of Guile, Chun-Li and Menat, as well as their doubles that traveled in the past to try and recover Cammy before she was taken over by Ms. Bison. She attacks with a combination of M. Bison and Cammy's moves with twists to make them uniquely her's. MAX MODE MOVES
| ||||||
| Ruined Kingdom Team | |||||||
Ruined Kingdom Team consists of:
| |||||||
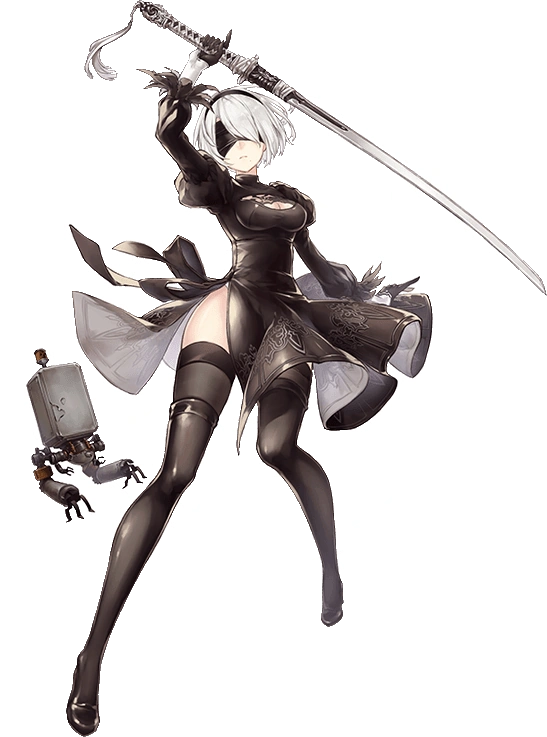 2B |
Part of a polyamorous couple with A2 and 9S, 2B is now a human and resides in the current time in a lost kingdom that is thought to have been completely destroyed to the people of Aeo. She attacks using one handed swords, giving her great offensive options but not many defense options. MAX MODE MOVES
| ||||||
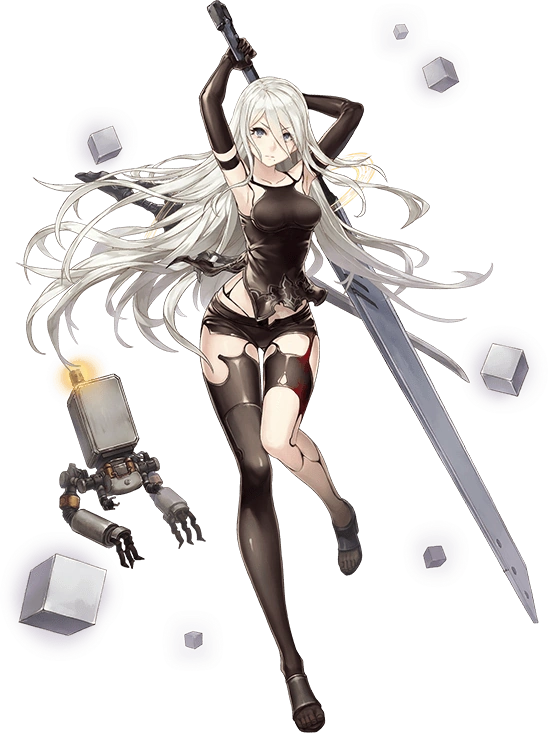 A2 |
Being apart of the polyamorous trio with 2B and 9S, A2 is somewhat softened up, especially now that she is now human. They work in the shadows of Aeo, although their role in the story doesn't become more pronounced until later on. She plays more aggressively than the other two in her team, and has a higher damage potential. MAX MODE MOVES
| ||||||
 9S |
9S is part of the polyamourous trio that makes up the Ruined Kingdom Team. He is considerably much nicer than A2 and 2B, although hosts a dark side to him that can be unleashed when he is furious. 9S isn't much of attacker, but his hacking moves have a lot of power behind them. MAX MODE MOVES
| ||||||
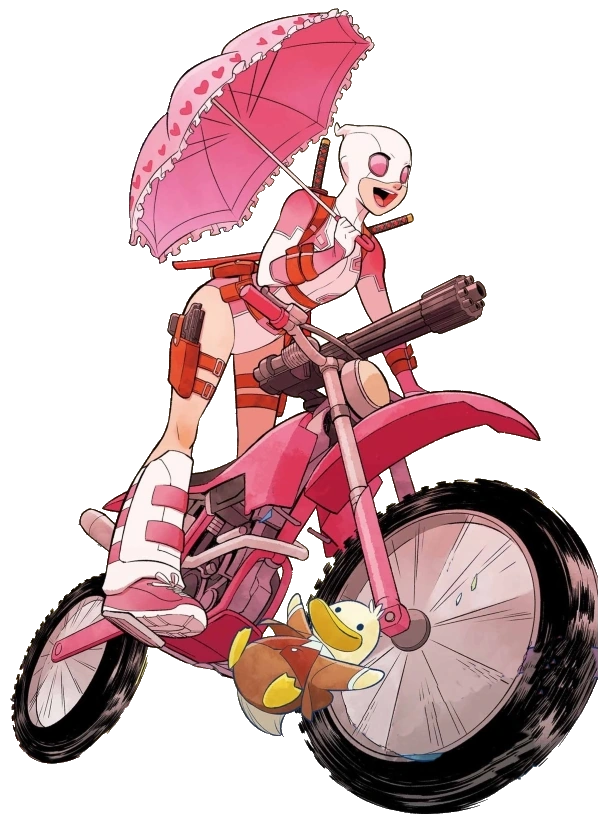 Gwenpool |
Gwenpool doesn't hail from Aeo's dimension, not originally anyway. She actually hails from a version of our own, under the name of Gwen Poole. She knows that she's in a video game, which makes her incredibly dangerous and makes her look incredibly crazy. She fights using twin katanas and other weapons, as well as breaking the fourth wall to her own benefit. MAX MODE MOVES
| ||||||
| Blade Team | |||||||
Blade Team consists of:
| |||||||
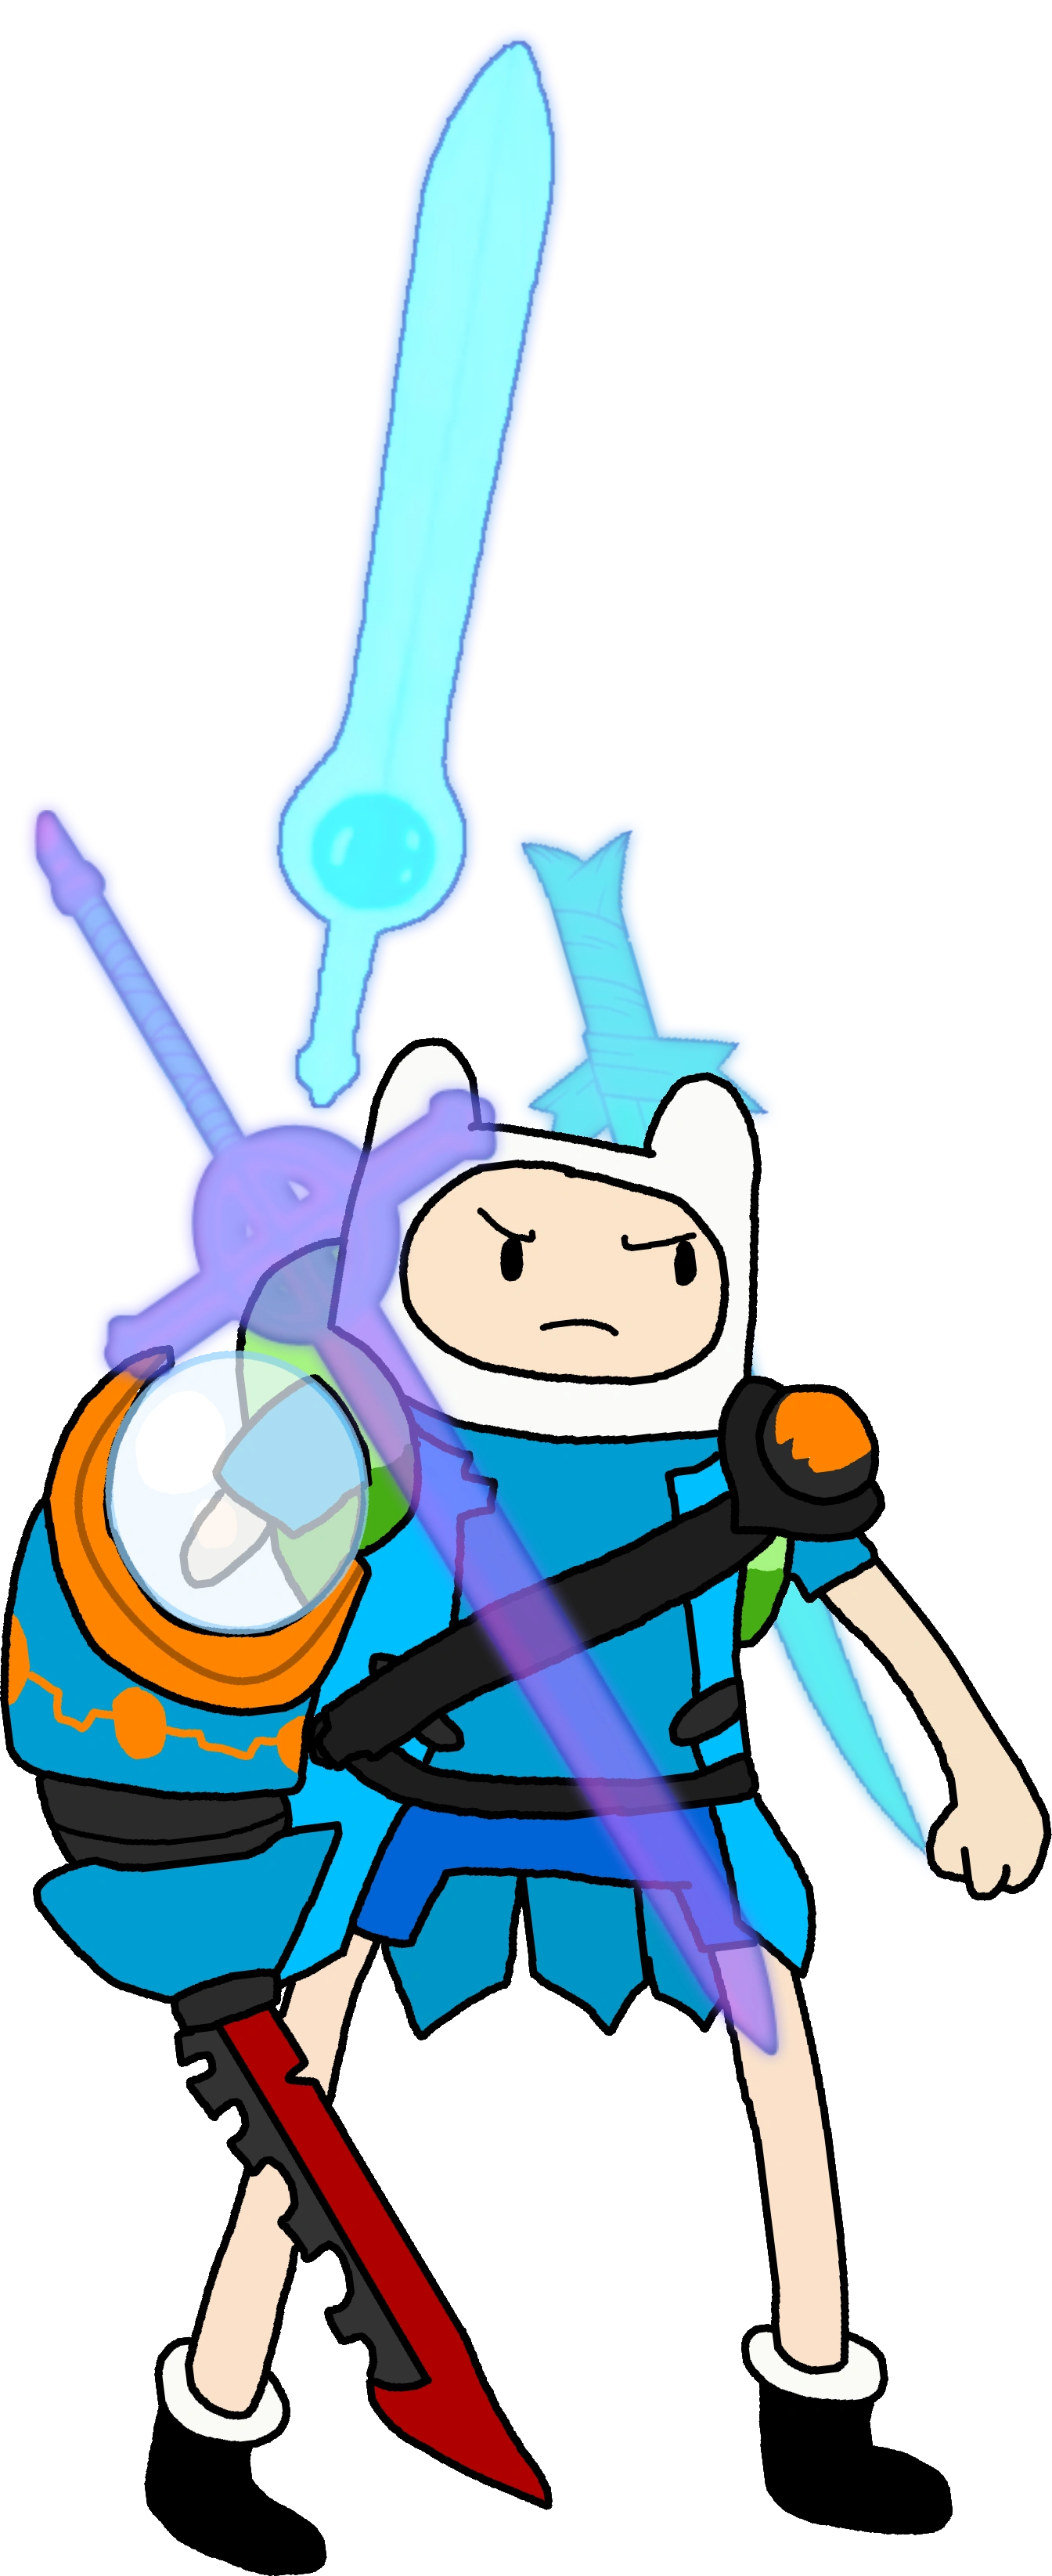 Blademaster Finn |
One of the survivors of a timeline where the Candy Kingdom fell, Blademaster Finn is a alternate version of Finn that uses the ghosts of his past blades to attack and gathers new ones across the Candy Wasteland to use. He is the leader of the Blades Team, and attacks using primarily with his swords. If his team is properly put together, he can use his team mates to attack. MAX MODE MOVES
| ||||||
Pyra/Mythra |
TBA MAX MODE MOVES | ||||||
 Natsu |
TBA MAX MODE MOVES | ||||||
| Bomb Team | |||||||
Bomb Team consists of:
| |||||||
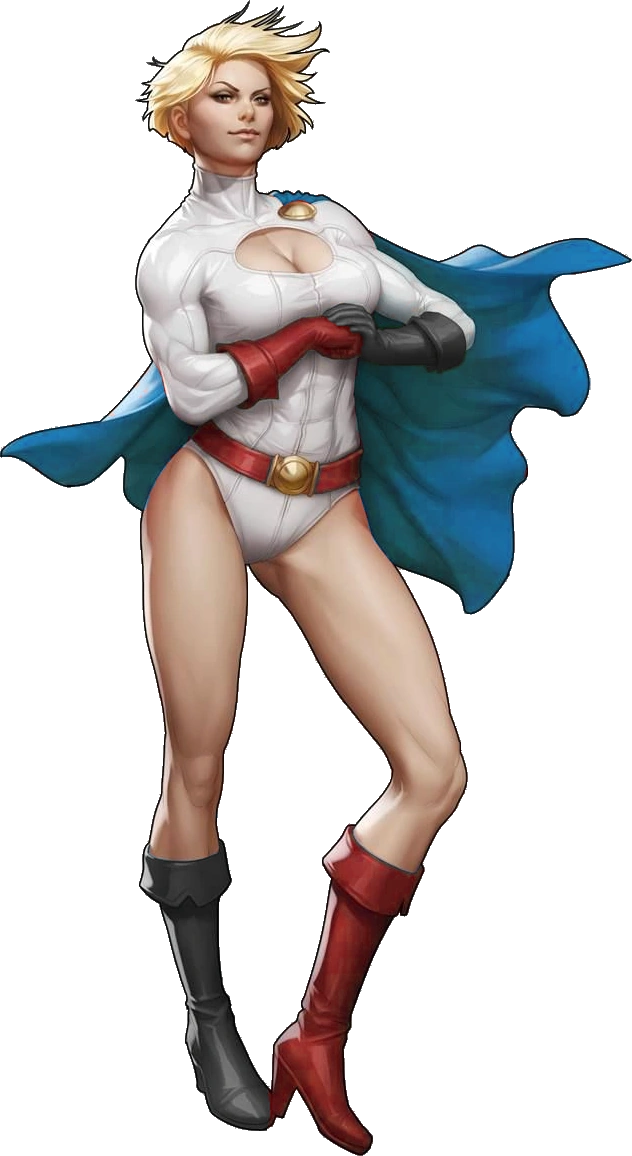 Powergirl |
Having landed in Coney Island, the landing made her lose her memory, which Harley Quinn is rather quick to take advantage of. She is some what of a crude, brutal character that has similar but not identical powers to Superman and various other Kryptonians. Harley Quinn and Powergirl work together to get out of a Time Twister that sucked up the mall they were in, requiring them to find their way out. She fights using her powers, which vary from electrically charged breath that paralyzes opponents or a wind vision that blows opponents back. MAX MODE MOVES
| ||||||
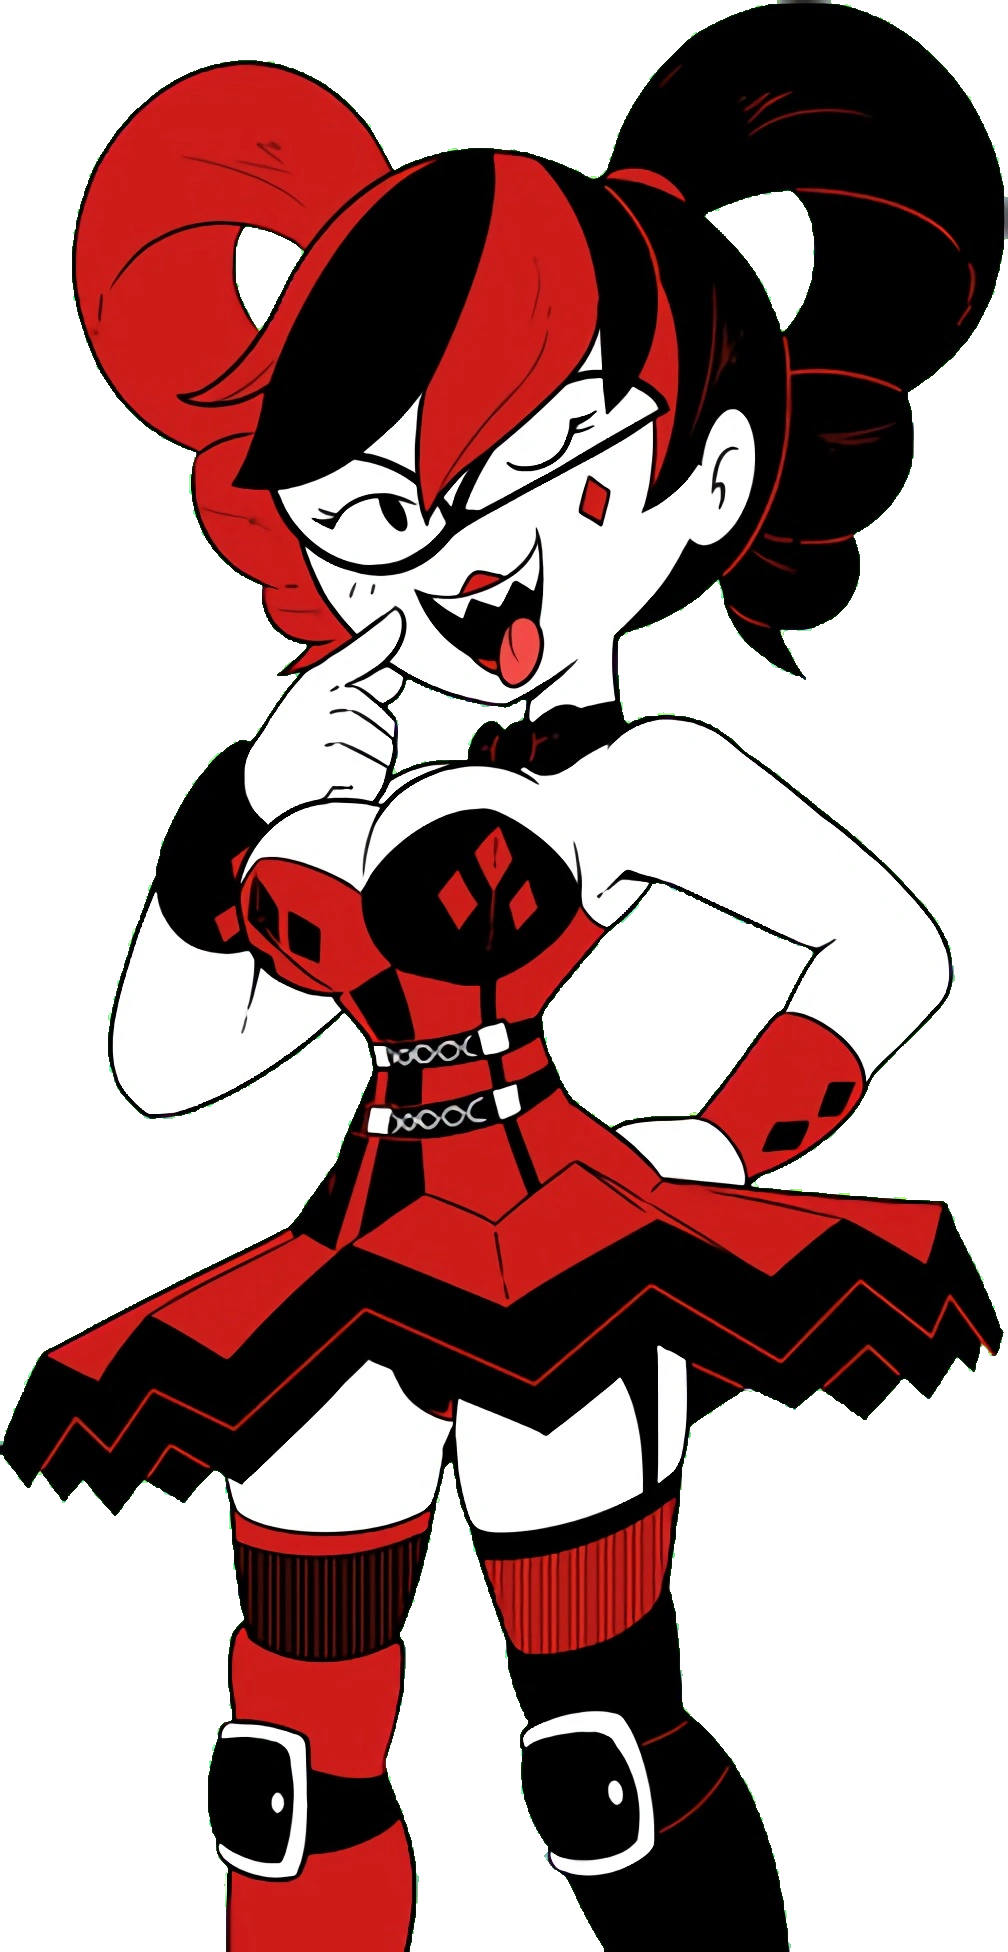 Harley Quinn |
TBA MAX MODE MOVES | ||||||
| Sisterhood of Mutants Team | |||||||
Sisterhood of Mutants Team consists of:
| |||||||
 Spiral |
TBA MAX MODE MOVES | ||||||
 Psylocke |
Psylocke's body was the body of the Asian assassin Kwannon, who worked under Spiral. Due to the separation of her and her past host, she has been trying to forge her own identity. That gets sidetracked when she is put under the control of one of her old commanders: Spiral. Spiral soon defects from Mojo and brings the brainwashed Psylocke with her to prevent the mere existence of Mojo by time traveling. She attacks with a combination of her psionic powers and her katana blade. MAX MODE MOVES
| ||||||
| Lakewood Plaza Team & Enid's Team | |||||||
Lakewood Plaza Team consists of:
Enid's Team consists of:
| |||||||
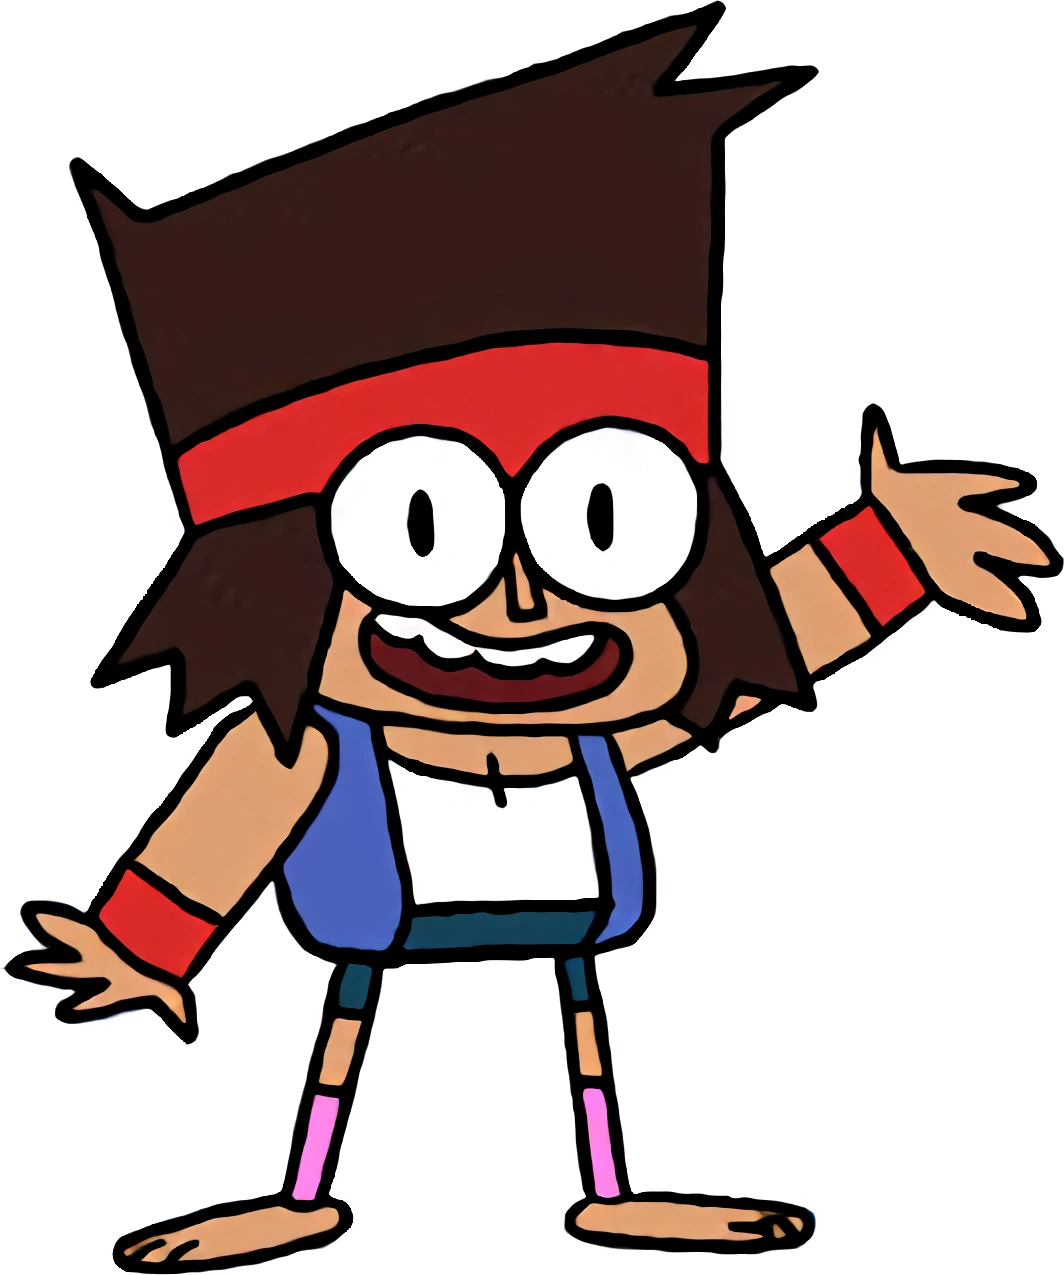 KO |
KO is a 6-11 year old that works at Gar's Bodega alongside Enid and Radicles. KO is eager to become a great hero, and has learned a lot of things along the way. While not the most powerful character, KO has a lot of tolerance for pain. He is also rather speedy, able to use a power slide that allows him to quickly move across the screen. Opponents might have hard time really being able to hit him! MAX MODE MOVES
| ||||||
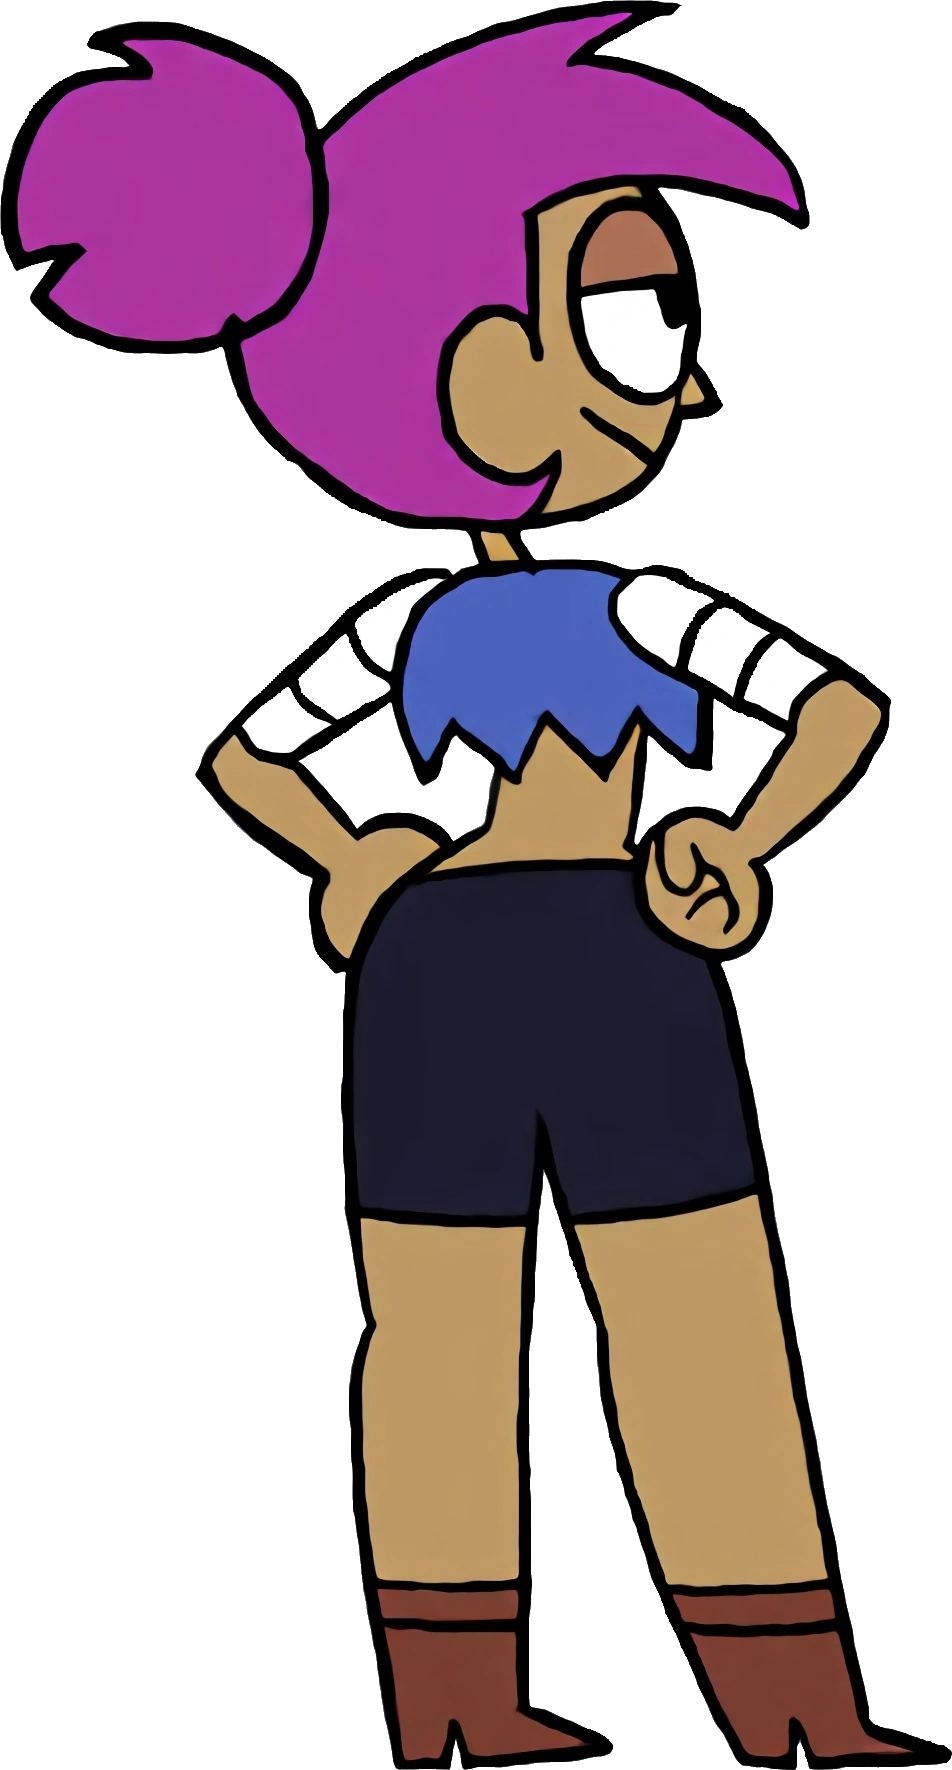 Enid |
Enid was born a witch but trained to be a ninja. She works at Gar's Bodega as a register girl, although she doesn't really care too much at preforming her job correctly until it's on the line. While comfortable with where she is right now, Enid seems to have a high interest in the POINT Enterance Exam, as she lost the exam to Elodie, her best friend, losing both the tournament and her best friend. She utilizes mostly kicks into her attack and seems fight almost in a effortless way that makes her look pretty cool. MAX MODE MOVES
| ||||||
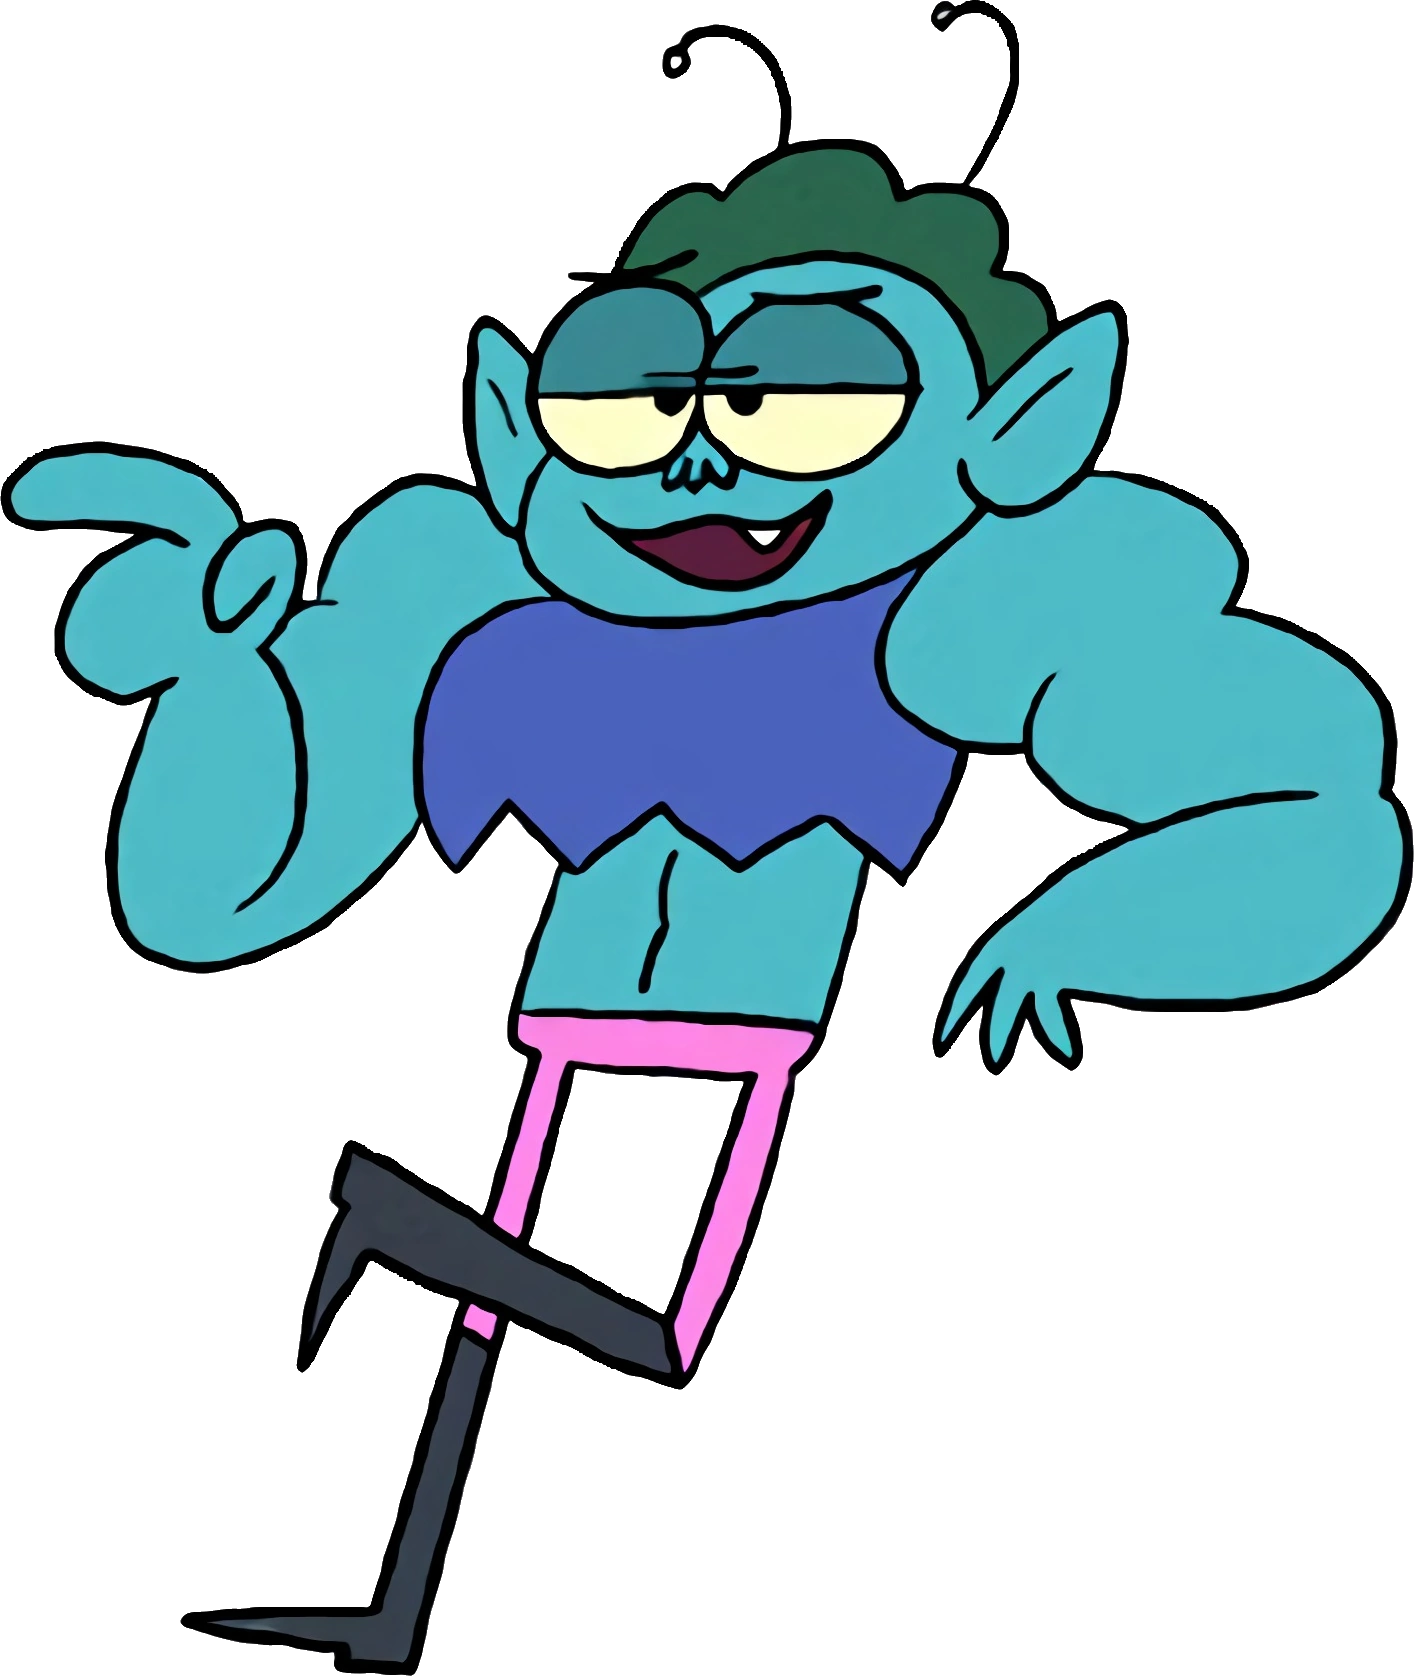 Radicles |
Radicles is a alien from another planet with a common telekinetic ability that allows him to levitate objects and shoot laser beams. He also works at Gar's Bodega as a employee alongside KO and Enid. While he often boasts about his strength and coolness, he also is a incredibly caring individual; although he isn't really open about this side of him. Radicles boasts a lot of strength to his attacks and his telekinetic powers are good at keeping opponents away while doing a lot of damage. MAX MODE MOVES
| ||||||
 Red Action |
Red Action comes from the future, following a time travel incident while she was on the run from the Hue Troop after breaking the Prysma Crystal. She quickly becomes attached to Enid due to her unique fighting style, as her's is merely a pastiche of the Hue Troopers before her. She becomes part of Enid's team during the POINT Entrance Exam arc. She primarily battles using her laser cannon(s), as well as summoning her Hover Tank to assist in battle. MAX MODE MOVES
| ||||||
 Punching Judy |
Considered one of the tougher fighters around the Lakewood Plaza, Punching Judy just kind of does what she wants, and what she wants to do is punch. She joins Enid's Team during the POINT Enterance Exam after being told she gets to punch people. Being incredibly powerful, Punching Judy lacks any defense and is rather slow, but she's easily one of the most powerful characters. MAX MODE MOVES
| ||||||
 Mitsuru Kirijo |
TBA MAX MODE MOVES | ||||||
| Elodie's Team | |||||||
Elodie's Team consists of:
| |||||||
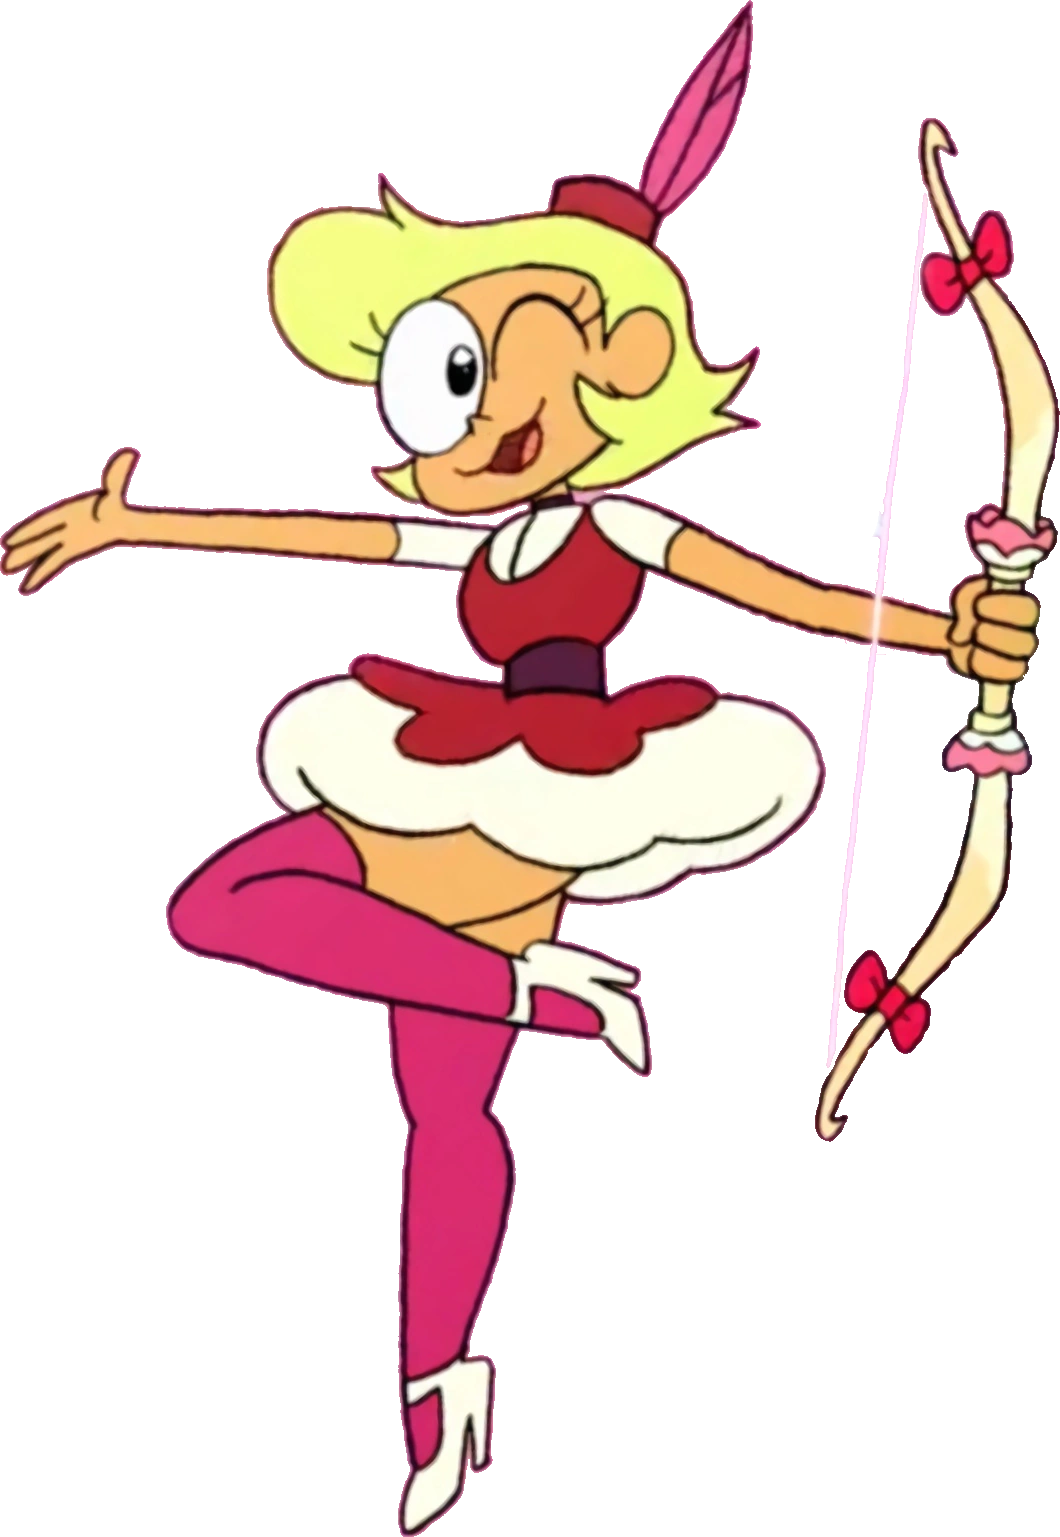 Elodie |
Elodie is already a member of POINT Prep, but she enters the tournament solely for the cause of destroying Enid and her team, enlisting a team of her own to counter hers. She has a huge inferiority complex that has only worsened since she ripped any friends from her life, and uses a blasé attitude to mask her insecurities. She uses mainly uses punches and kicks, as well as a bow and arrow to attack. She is mostly speedy, with her tradeoff being defense. MAX MODE MOVES
| ||||||
 Black Strategy |
Black Strategy is a part of the Hue Troop, a team who follows the directions of Ren Bo, a foreseerer of the future. She has begun to investigate this time period due to the time shenanigans going on, although she finds herself becoming part of Elodie's team after realizing Elodie's potential, as well as possibly getting Red Action to help the Hue Troop investigate. She is a master strategist and can use computer screens to defend and attack. MAX MODE MOVES | ||||||
 Holo-Pearl |
Holo-Pearl is enlisted into Elodie's Team due to Elodie possessing the training simulation herself. Holo-Pearl is comedically mechanical and only wants to duel, which Elodie feels is a perfect counter against the aggressive Punching Judy. It utilizes a rapier in it's duels, as well as graceful, almost dance like movement into how it fights. MAX MODE MOVES | ||||||
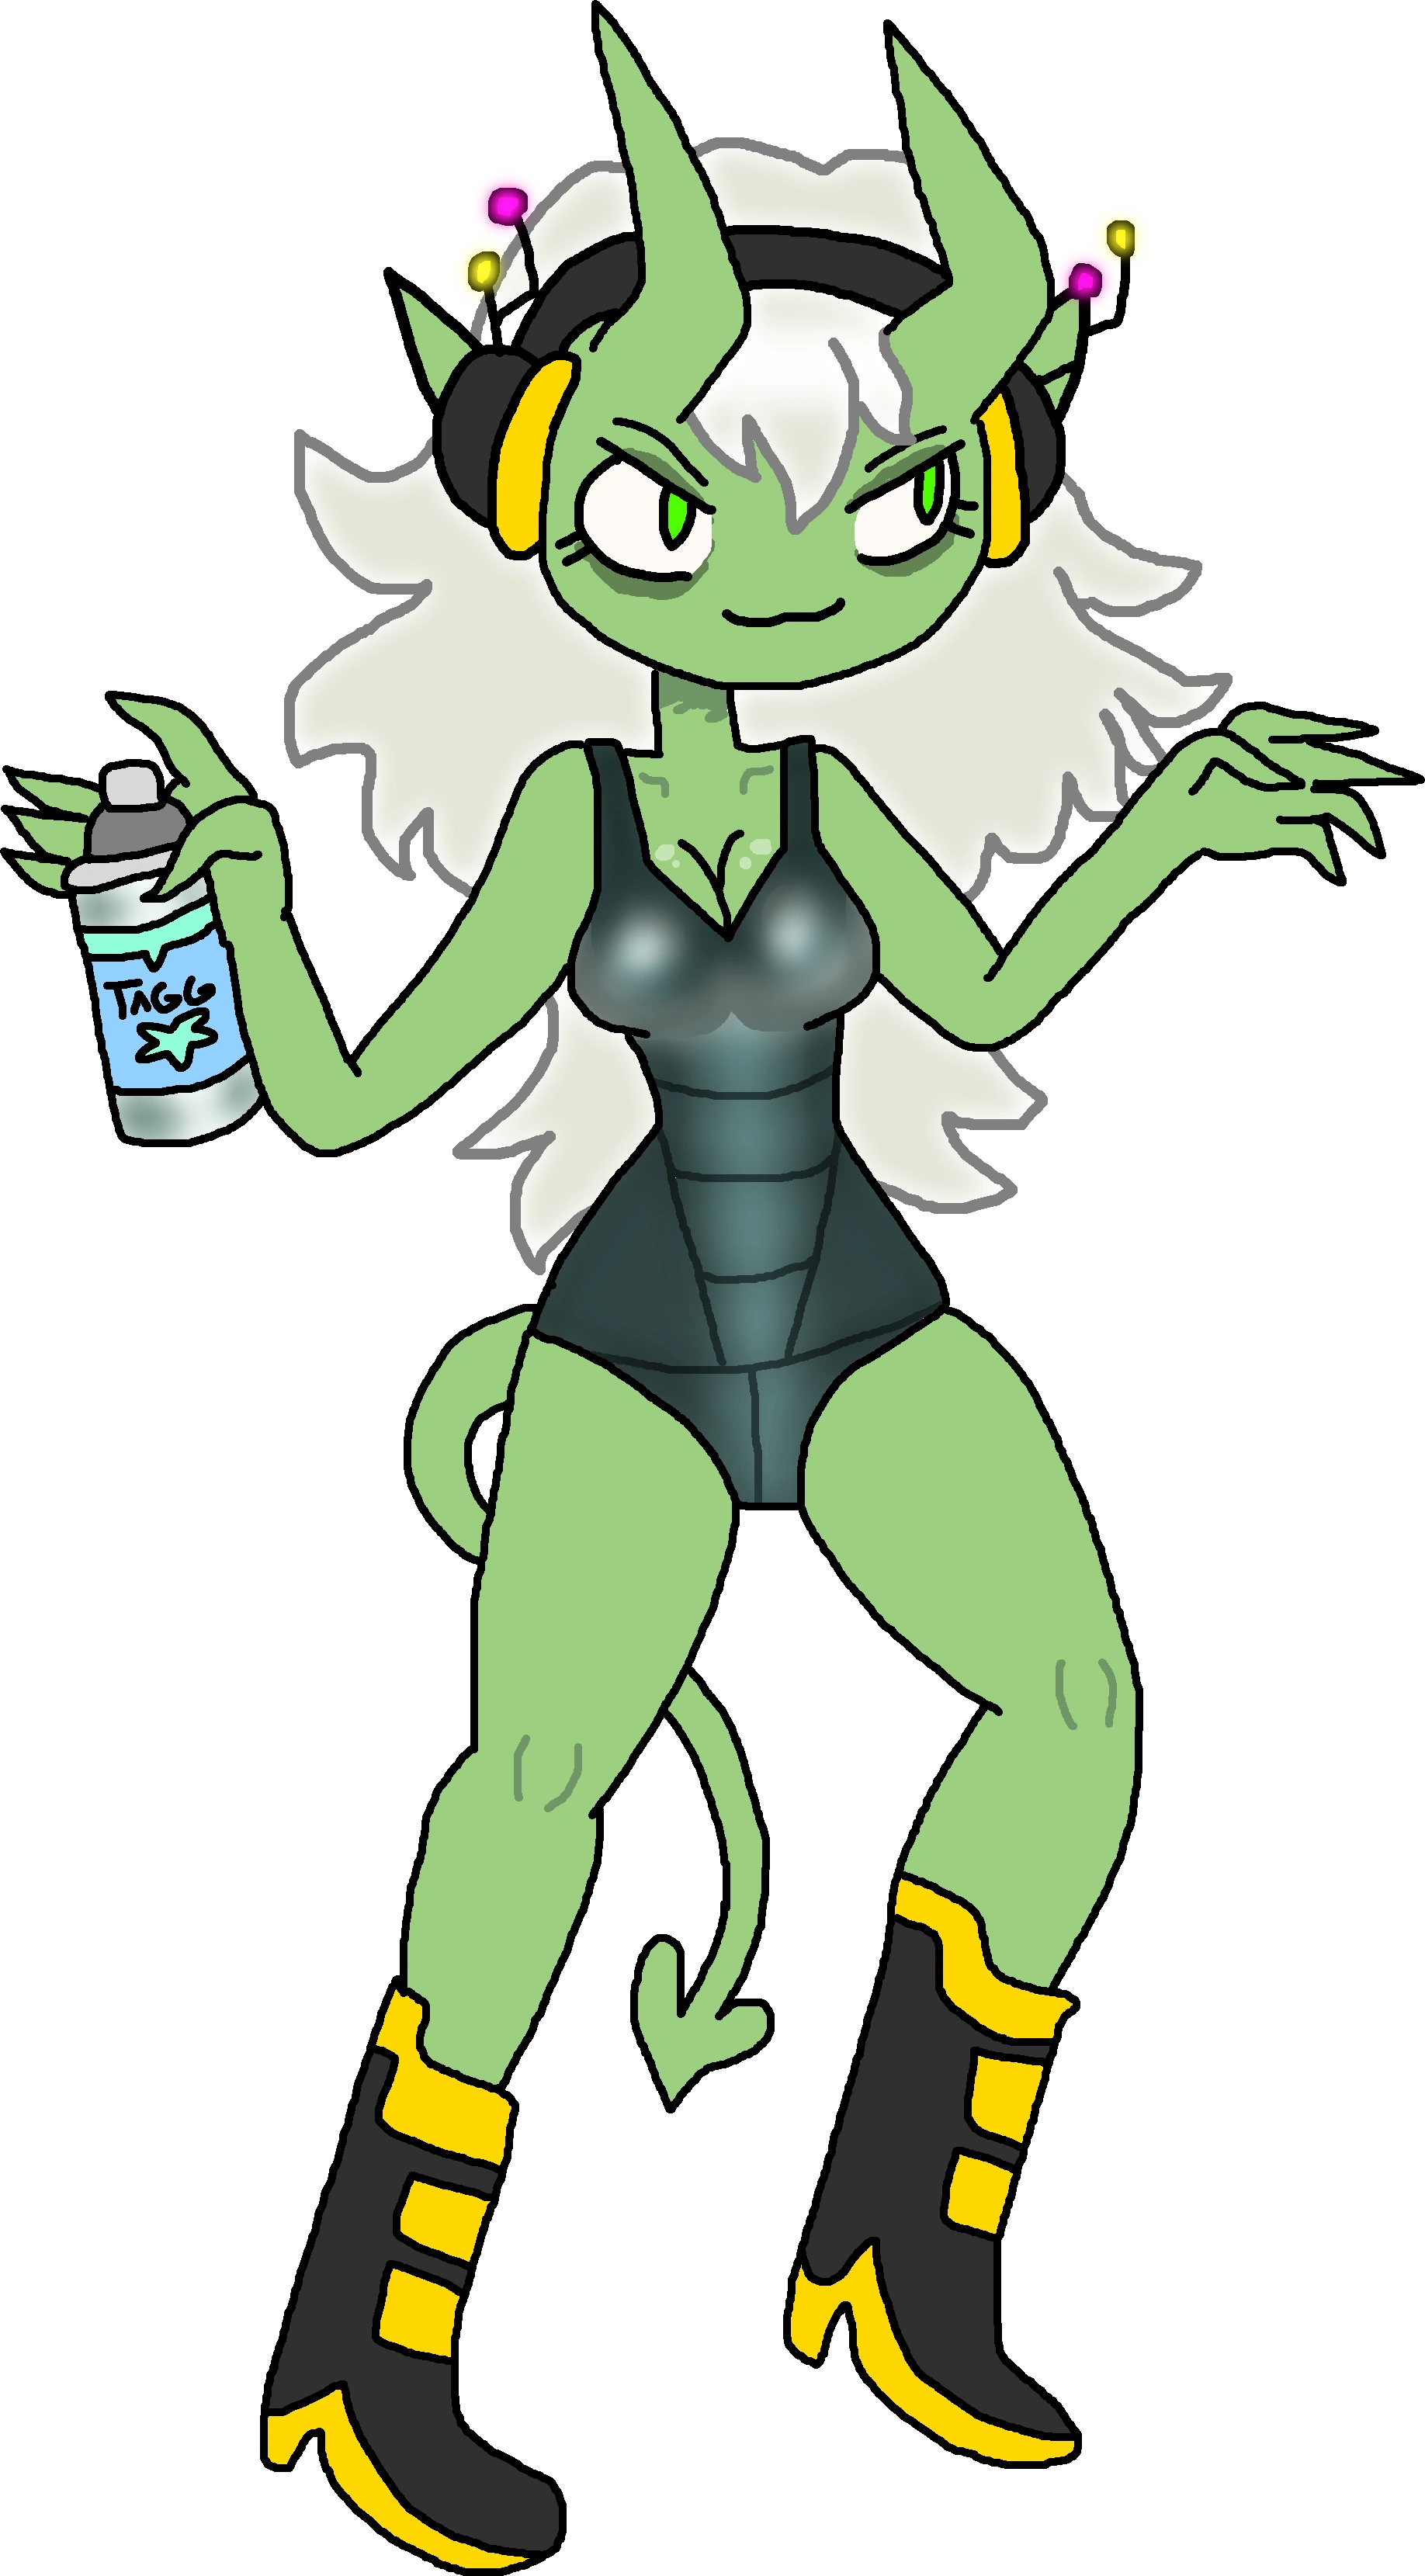 Absinthe |
Absinthe is a troublemaker demon that is often seen with her gang causing all kinds of trouble, whether it be vandalism or inciting riots. She has been on the run from the Cave Kingdom after graffiting their prized carved stone drawings. She can go through electrical lines, sap health using her green cube ability, or generate grind rails to attack. MAX MODE MOVES | ||||||
| Bliss Kingdom Queens | |||||||
Bliss Kingdom Queens consists of:
| |||||||
 Katsuragi |
A shinobi schoolgirl that has a bit of a reputation of being a pervert. She says this is a mask to hide her traumatic past, but many characters do not see the correlation between what happened to her parents and her personality. Since the Obelisk saga, Katsuragi and Taokaka have marked their own land of which they rule over, the Bliss Kingdom. They have their goals set on getting many pretty women to live there. She utilizes kicking attacks against her opposition with a pair of special, heavy boots. These boots boost her attacking power and speed, but leave her rather sparse on defense. MAX MODE MOVES
| ||||||
 Taokaka |
Taokaka is the dim-witted gaurdian of the Kaka village, although is a incredibly friendly figure to everyone she meets and likes to give everyone nicknames. She has since joined forces with Katsuragi to create the Bliss Kingdom, creating their own version of paradise by recruiting various pretty women to live there. She relies on her instincts as opposed to a trained fighting style, and she naturally uses magic element without even realizing how she's using it. MAX MODE MOVES
| ||||||
 Go Go |
TBA MAX MODE MOVES | ||||||
 Roger Rabbit |
Roger Rabbit is a frantic, over-anxious cartoon rabbit that tends often stutters, even while shouting. His abilities are endless and he can endure any punch thrown at him except when dealt with ink thinners, which will permanently kill him. However, he can only do "anything" so long as it's funny. He comes from the desolate Toon Kingdom, which was ravaged in a Dip attack, and him and several other big name toons perform across the several kingdoms of Aeo. MAX MODE MOVES
| ||||||
| Saiyan Team | |||||||
Saiyan Team consists of:
| |||||||
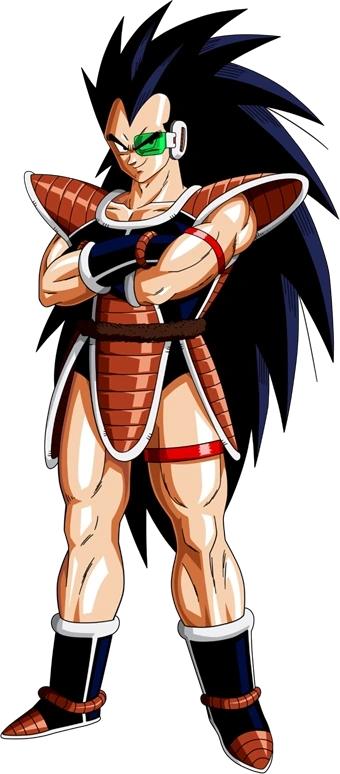 Raditz |
Raditz is one of the few remaining Saiyans hailing from Sadala, searching for planets to claim for the now disassembled empire. He is a arrogant yet cowardly warrior, picking off those he sees as weaker through his scouter, which tells him the power level of his opponents. He is afraid of death, a trait unusual for his species. He works under the command of Vegeta and Nappa, who in turn work under Frieza. He uses high speed attacks as well as ki attacks in his moveset, making him a fast but defenseless character. MAX MODE MOVES
| ||||||
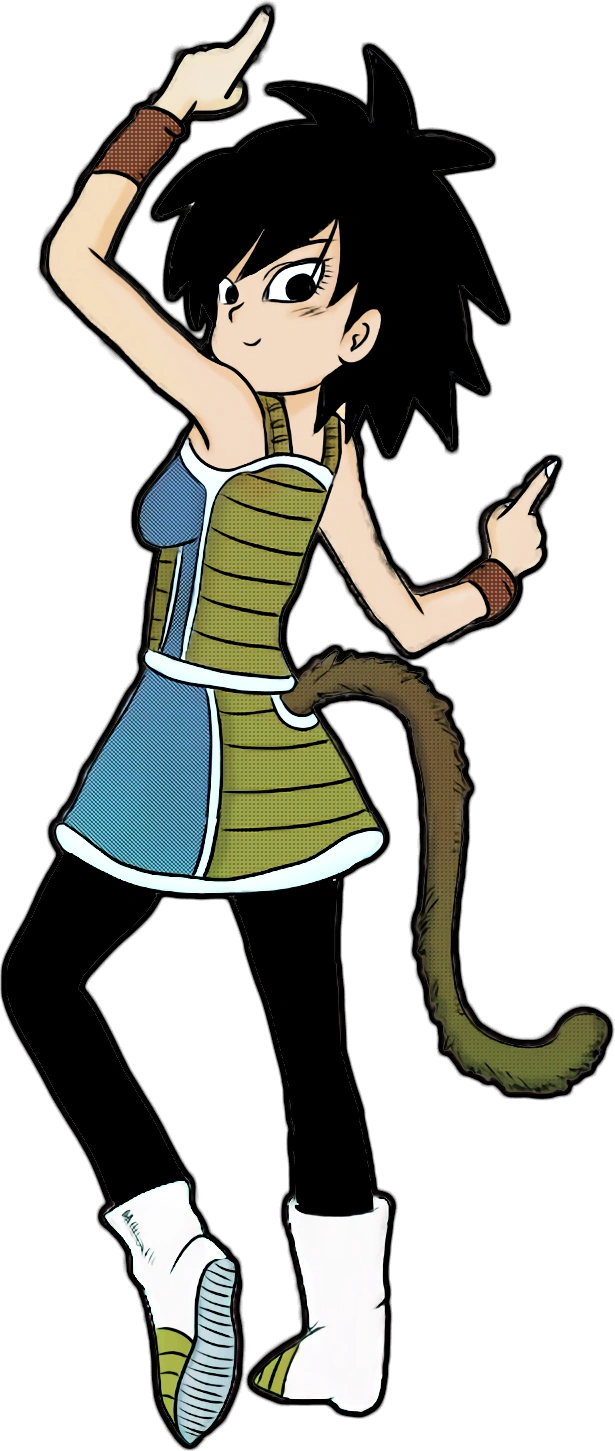 Gine Art by kiradaidohji |
The wife of Bardock and the mother of Raditz, Gine is part of the Saiyan trio that landed on Aeo, looking to conquer it. While not really cut out for fighting, she has a surprising amount of power at her disposal, which was why she was sent with Raditz and Nappa to Aeo. She is a support character, using her abilities to either defend herself or power-up her team mates. MAX MODE MOVES
| ||||||
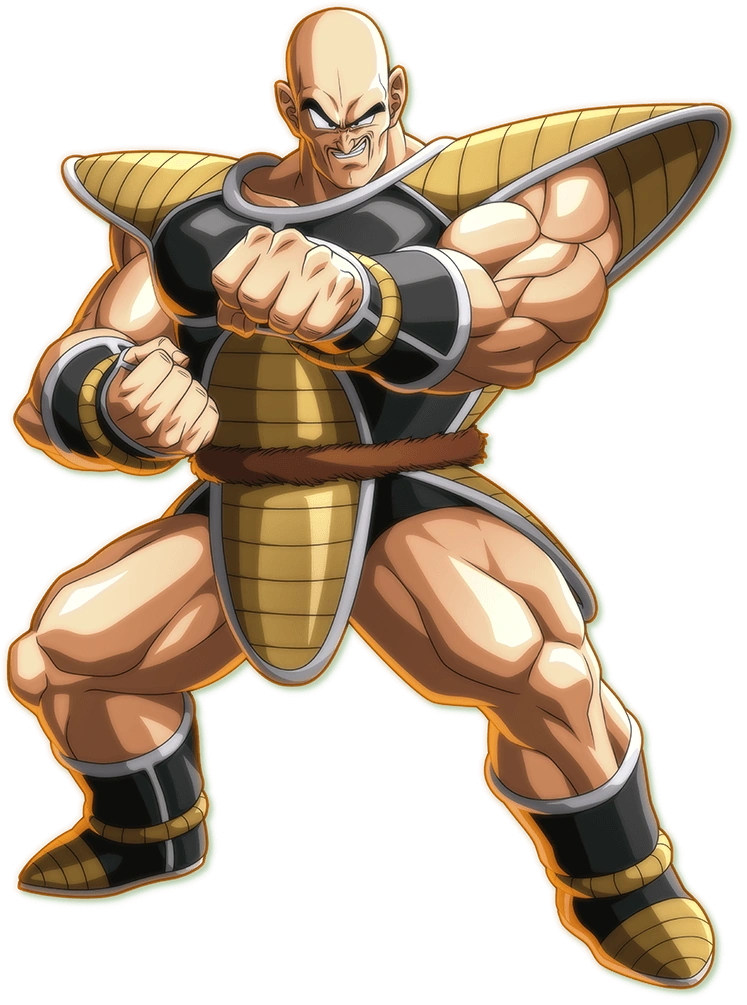 Nappa |
A elite Saiyan hailing from Planet Vegeta, he serves under Vegeta and as such, is part of the mission to conquer Aeo. He loves to destroy to a absurd degree, often beginning his invasions by asking to destroy a town. Unlike Raditz, he seems to respect his opponents, congratulating them if they use techniques he deems impressive. Nappa also has a very cocky personality, as he enjoys toying with his opponents. MAX MODE MOVES
| ||||||
| Black Egrets Team | |||||||
Black Egrets Team consists of:
| |||||||
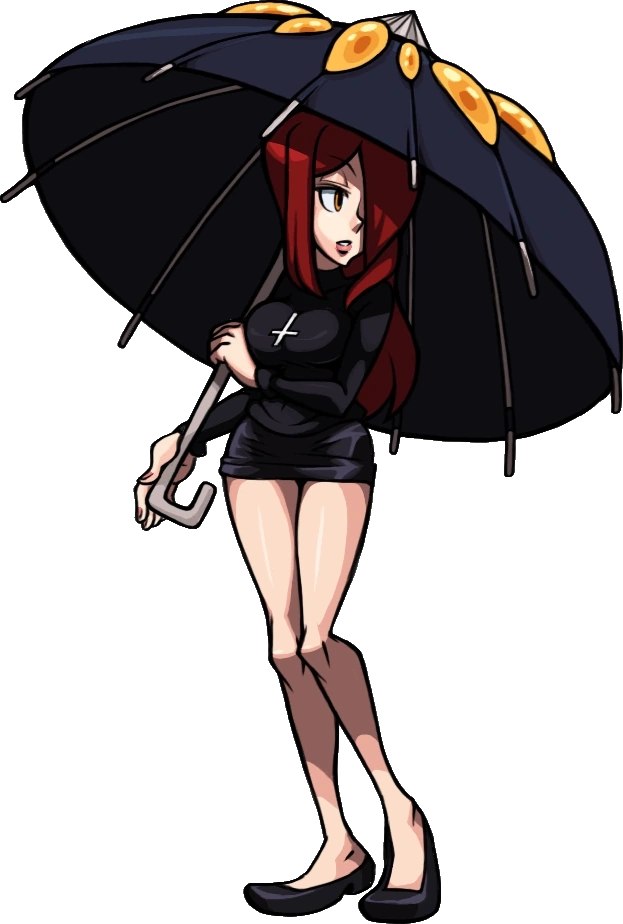
 Umbrella |
The sister of Parasoul, left in charge when the Black Lab Team went off on a mission. She is carefree, often spoiled, and wants nothing to do with any kind of responsibility that Parasoul is used to. She finds herself getting wrapped up in the plot anyway, and ends up leading her own team of Black Egrets consisting of herself, Molly, and Roxie. Umbrella’s fighting style relies on her living weapon known as Hungern, who has a insatiable appetite. It's power increases the longer it's not used to attack, meaning that players need to choose when to use their special attacks. MAX MODE MOVES | ||||||
 Molly |
Molly is the communications officer for the Black Egrets, often seen fiddling with dials or otherwise keeping the communication channels open. When not operating machinery, she often comes across as rather vacuous and air-headed, blindly following her teammates orders without understanding them. She is especially subservient to Parasoul, who she always salutes to upon mention or sight. Molly fights as a set-up character, using relay points to set up her attacks, building up to punishing combos. MAX MODE MOVES | ||||||
 Roxie |
Roxie is The Black Egrets's ace mechanic, always pulling things apart to see how they work. She enjoys sandwiches especially because of this, and works with Molly to create incredible fighting machines. Her playstyle is a heavy rushdown character with an emphasis on priority attacks rather than agility, which means that her attacks, although slower, will destroy weaker attacks. She uses various tools she has lying around as her profession as a mechanic. MAX MODE MOVES | ||||||
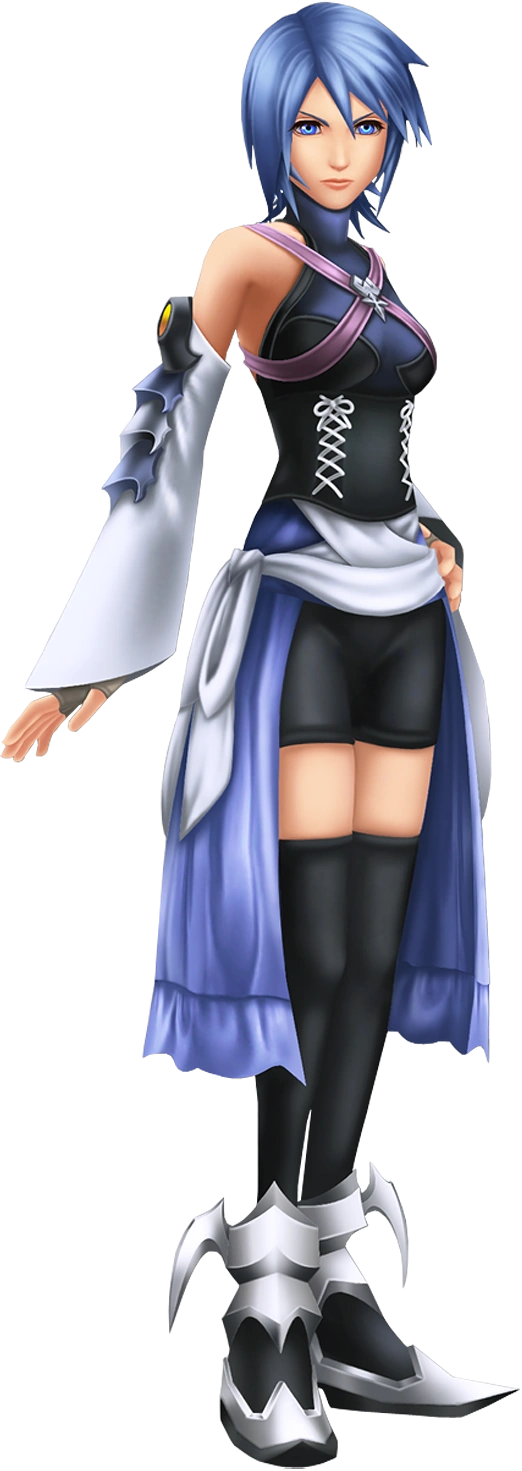 Aqua |
Aqua is a Keyblade Wielder, formerly trapped in the Realm of Darkness before being freed during the course of the P.O.I.N.T. Entrance Exam arc. Aqua is a "tricky" character, being mostly balanced through power and speed, of which she doesn't excel in either one but isn't terrible with either one. She can block attacks with Barrier and use the Keyblade to fend off opponents, but what she is truly skilled in is magic, able to use specialized elemental attacks to really damage opponents. MAX MODE MOVES | ||||||
| Hyrule Warriors Team | |||||||
Hyrule Warriors Team consists of:
| |||||||
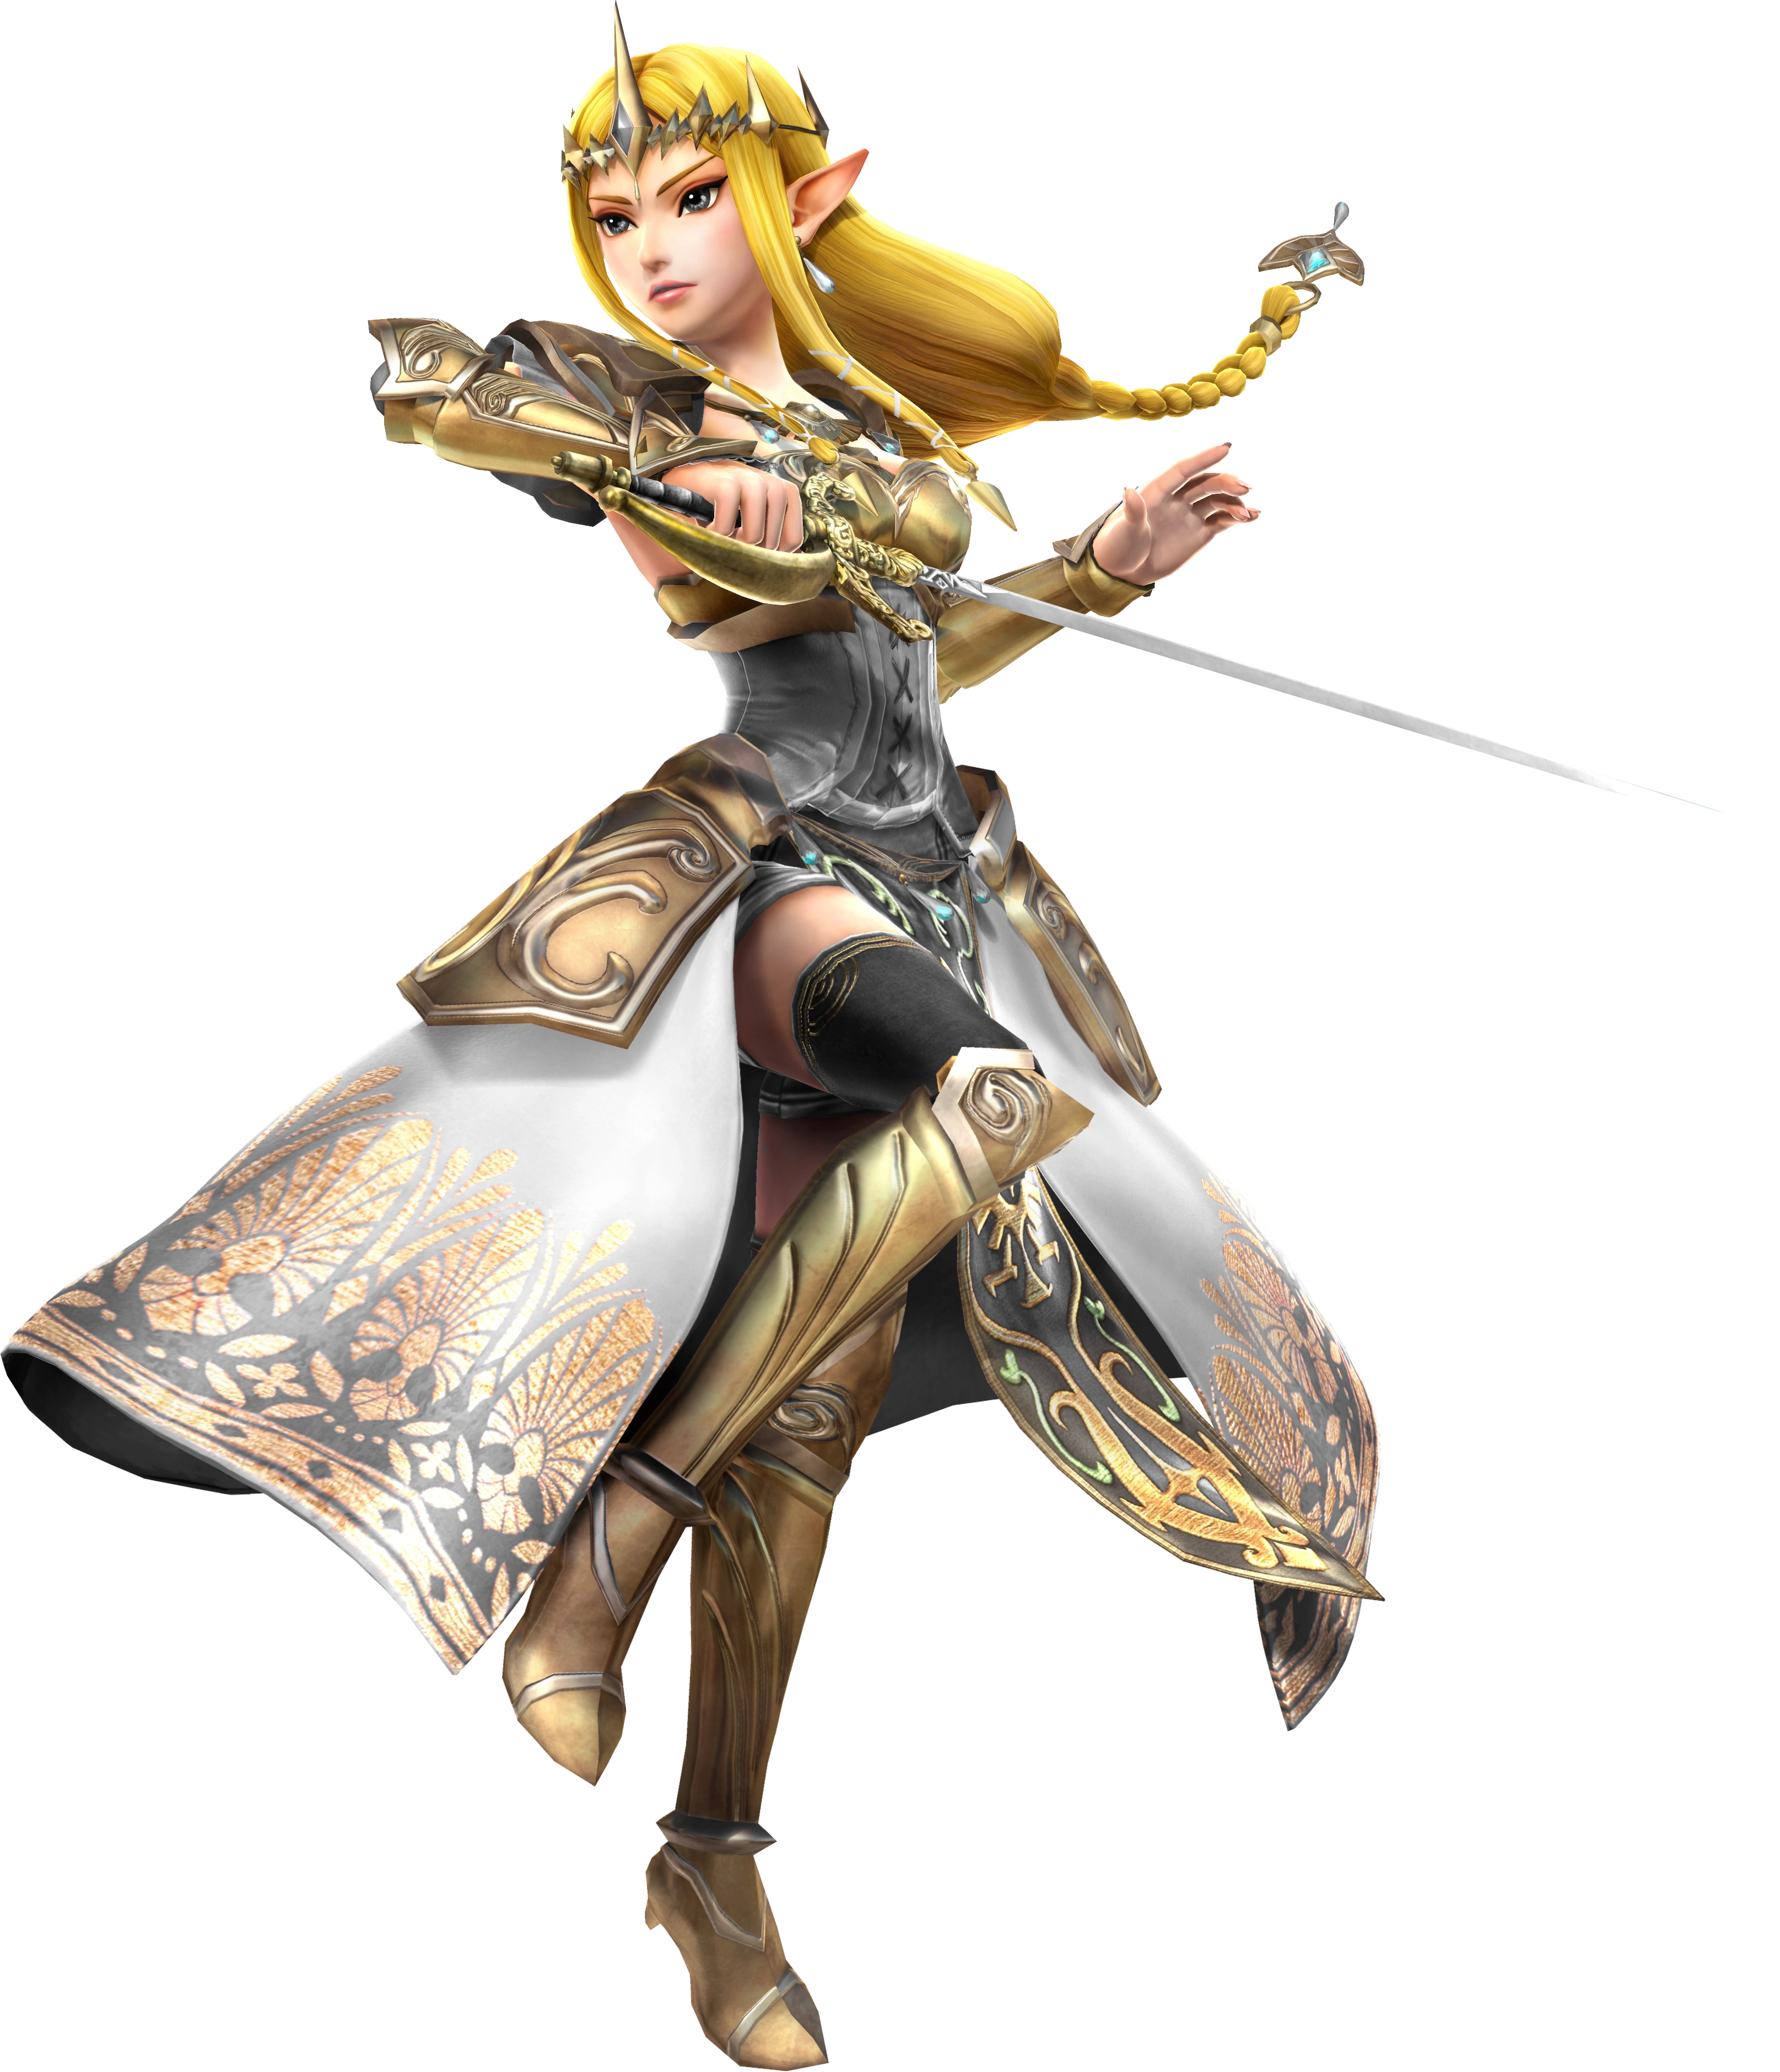 Princess Zelda |
Princess Zelda is the ruler of the Hyrule Kingdom, as well as the leader of the Hyrule Warriors Team. Since the Obelisk saga, Hyrule has entered a new golden age, building advanced machines and helping out other kingdoms in a method they call "anti-conquest", which is to populate these kingdoms with Hyrulian colonies and build up a massive empire. Zelda fights using a enchanted rapier, with a blade so sharp it'll go through even Gorons. MAX MODE MOVES | ||||||
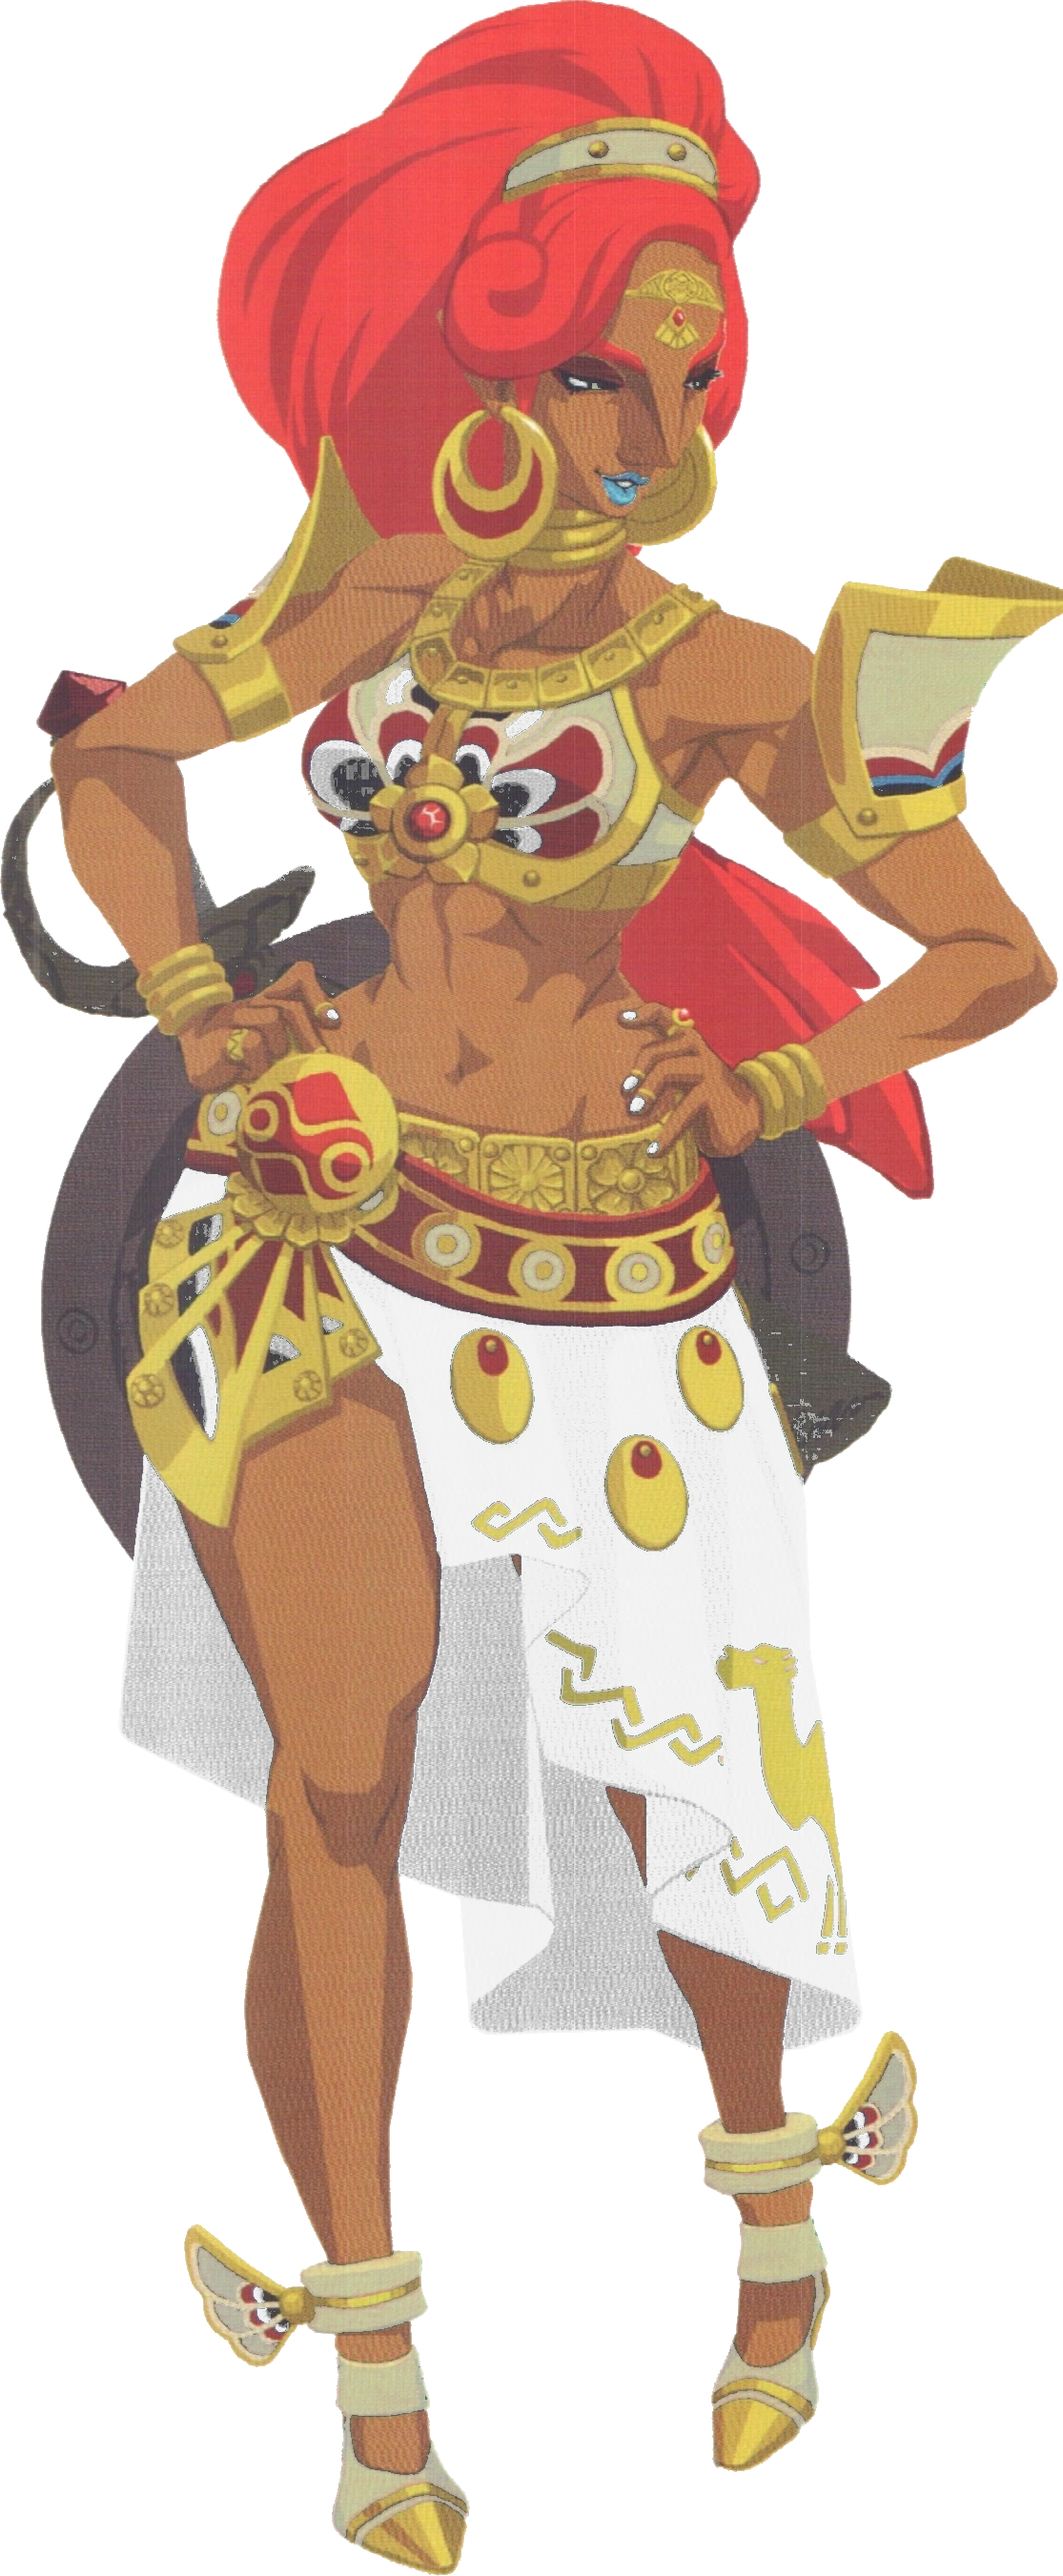 Urbosa |
Urbosa comes from the Gerudo Kingdom, which was helped by the advancements of the Hyrule Kingdom nation. Urbosa serves with Impa as Princess Zelda's retainers, wanting to make up for the "sins" of her people. Urbosa is considered a quite powerful warrior of impeccable skill, strength, and speed. She wields the Scimitar of the Seven and the Daybreaker shield and uses them in her moveset. MAX MODE MOVES | ||||||
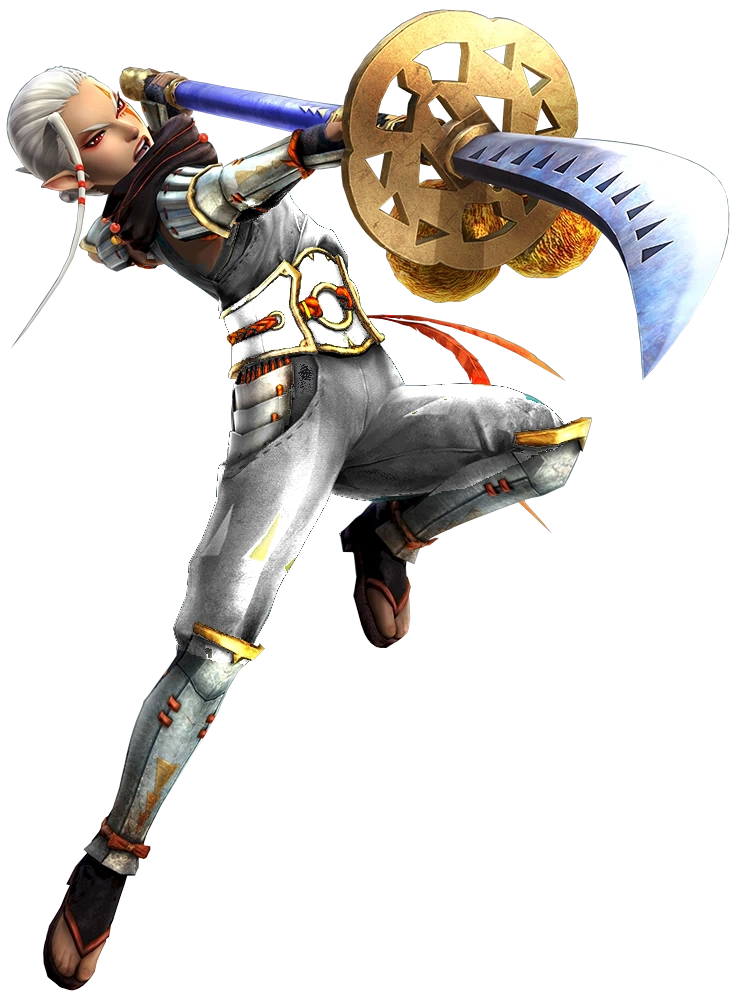 Impa |
Impa serves as a retainer for Princess Zelda, wearing a new white robe since her appearance in the Obelisk saga. She is accredited to the enlightment of Hyrule's new age, yet she can't help but feel that entire cultures, including her own are being erased thanks to this so-called enlightenment. As such, she fights on a strange shaky ground, but that doesn't stop her accuracy. She uses huge blades with one hand and can use a variety of elemental magic to her advantage. MAX MODE MOVES
| ||||||
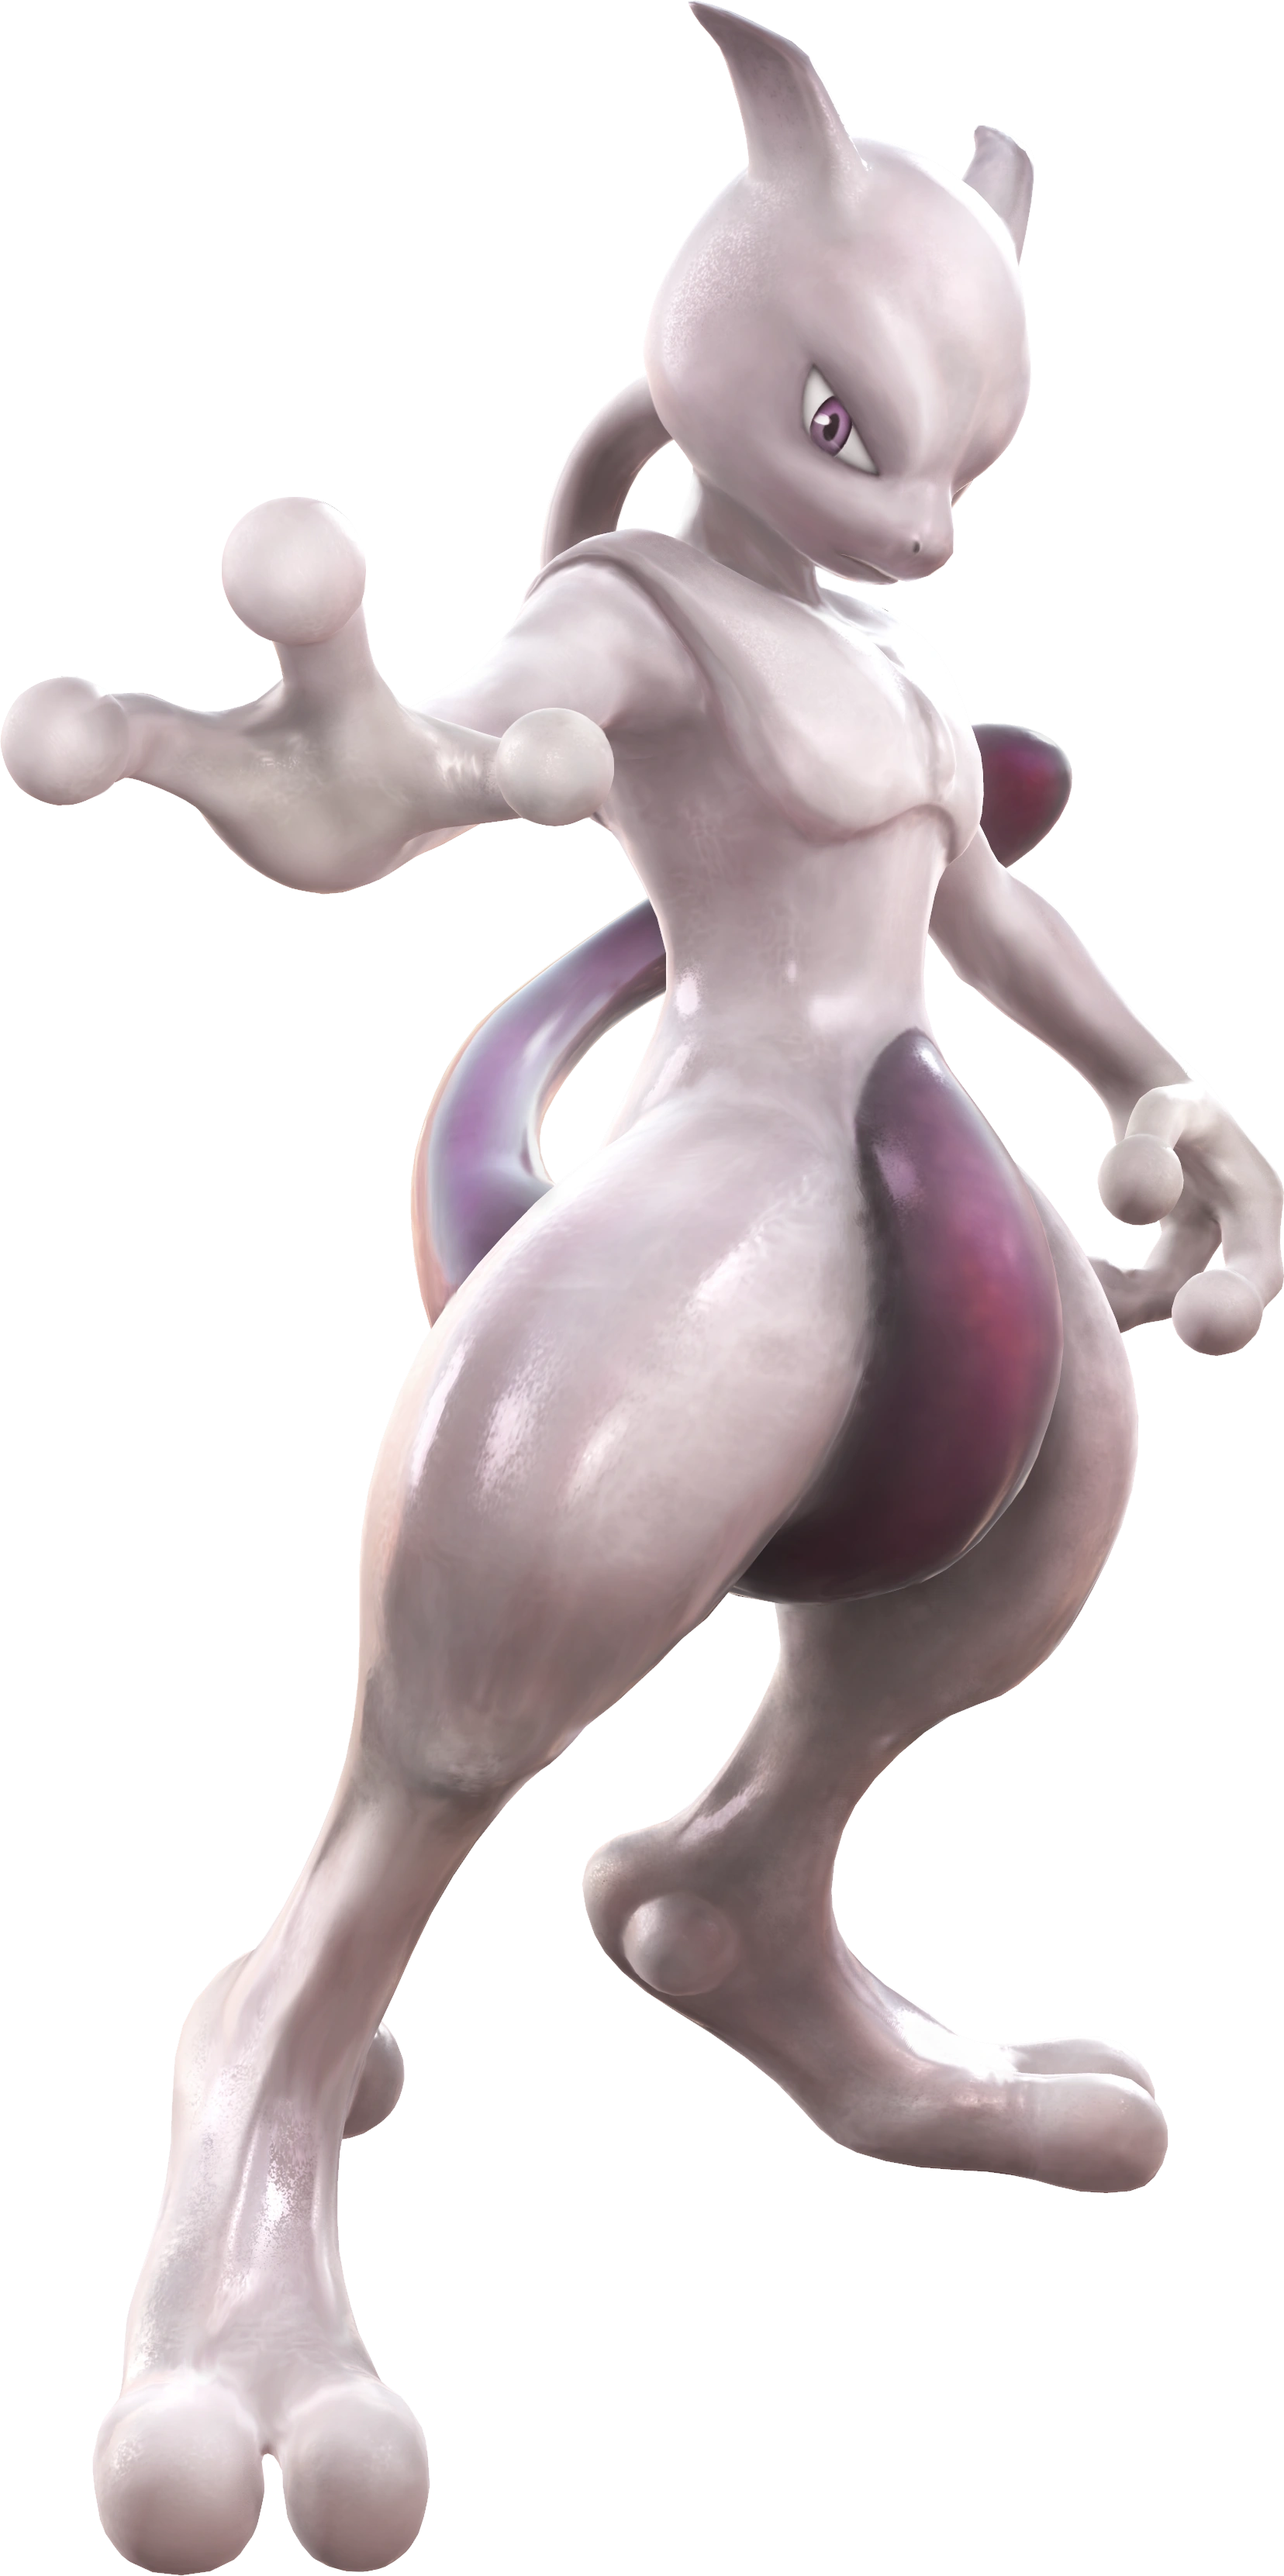 Mewtwo |
Mewtwo is a experiment created as a superior clone to Mew, the genetic ancestor of all Pokemon. However, the scientific power of humans failed to endow it with a compassionate heart. As such, it hosts anger and disgusts towards all beings and thinks only about destroying it's opponents, usually toying with them by only using a fraction of it's true power. It uses it's physic abilities to attack, being able teleport and stun opponents with eye contact. MAX MODE MOVES | ||||||
| Twin Vipers & Emerald Theft Team | |||||||
Twin Vipers consists of:
Emerald Theft Team consists of:
| |||||||
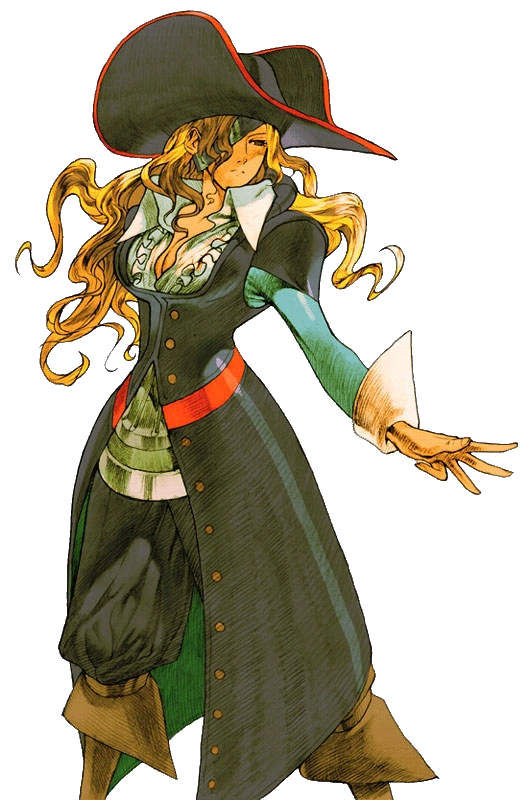
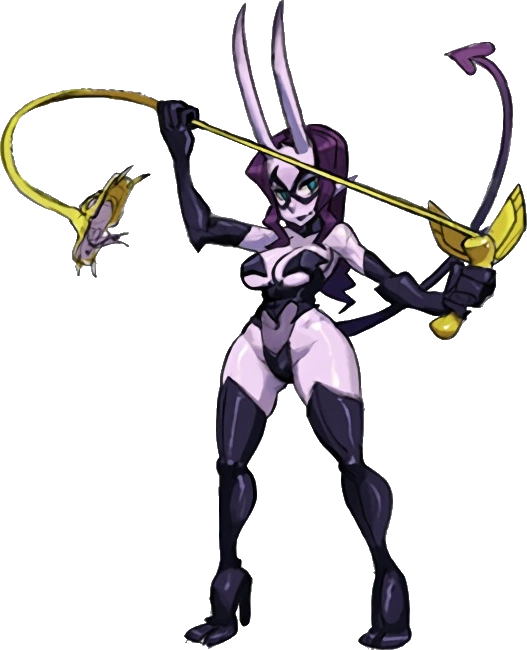
 Eliza |
Eliza is a celebrity diva hailing from New Meridan, although beyond this facade she is the host of Sekhmet, which takes residence in her skeleton. She is the mistress of Albus and Horace, her bodyguards, although lately she has taken up D. Violet as a new bodyguard that fights along side her. Together, they form the Twin Vipers pairing. She fights primarily using blood, using it to form various weapons. She also utilizes a speedier but weaker side to her, aka Sekhmet. MAX MODE MOVES
| ||||||
 D. Violet |
D. Violet is the new, somewhat aggressive and dominating body guard of Eliza. She is actually the school teacher Mrs. Victoria, but the two live seperate lives as far as either is concerned, as neither seem to know of the other's existence. D. Violet attacks with her living weapon, known as the Pazuzu Whip. MAX MODE MOVES | ||||||
| Midoriya Team | |||||||
Midoriya Team consists of:
| |||||||
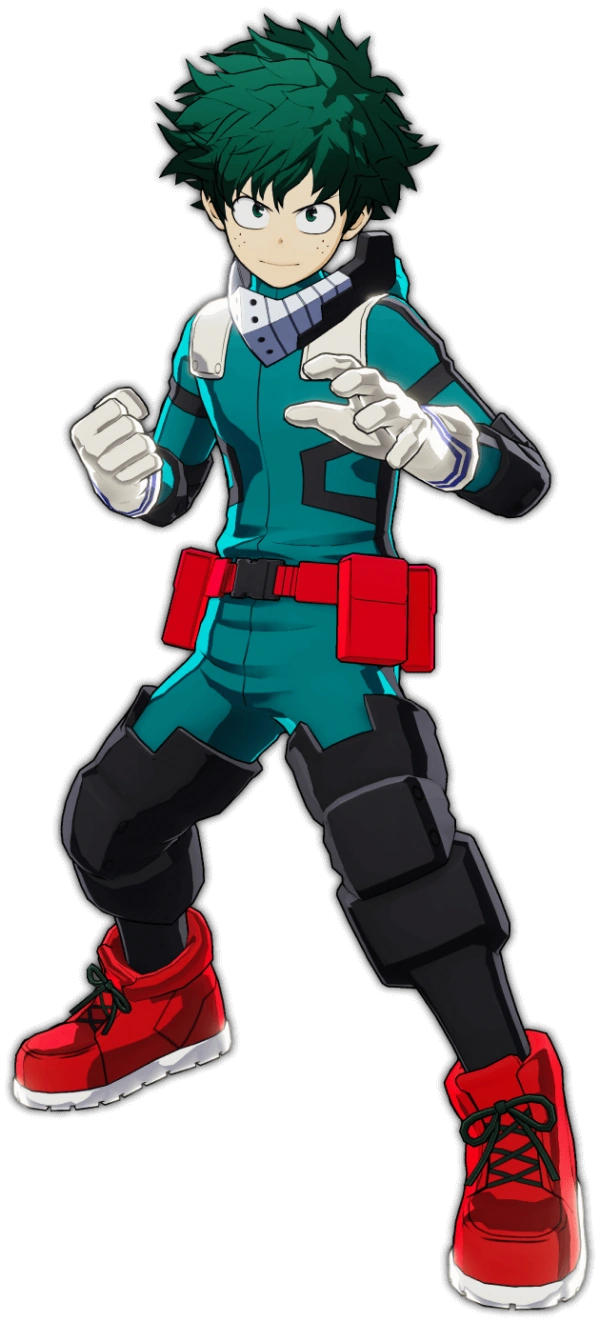 Izuku Midoriya |
Izuku Midoriya was born without any powers, or as his Kingdom understands them, Quirks. While he never gave up on the hope of becoming a hero, he had to rely on his wit and thinking for most of his life. Now bestowed with the power of One For All, Izuku must learn to control his massive strength while keeping in mind the limits of his own body. Izuku controls VERY differently from your average character, as almost all his MAX MODE moves will leave him permanently damaged for each round and damage him. However, his moves are incredibly powerful. MAX MODE MOVES
| ||||||
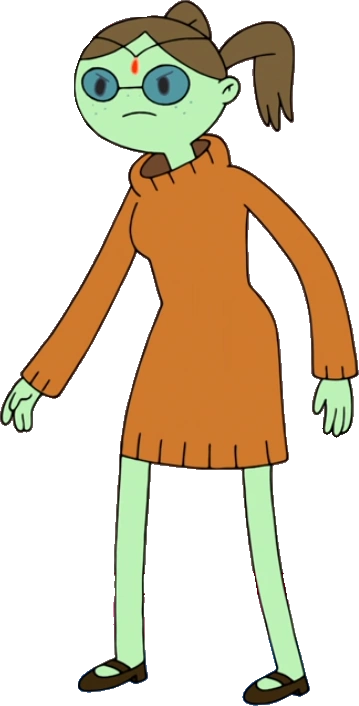
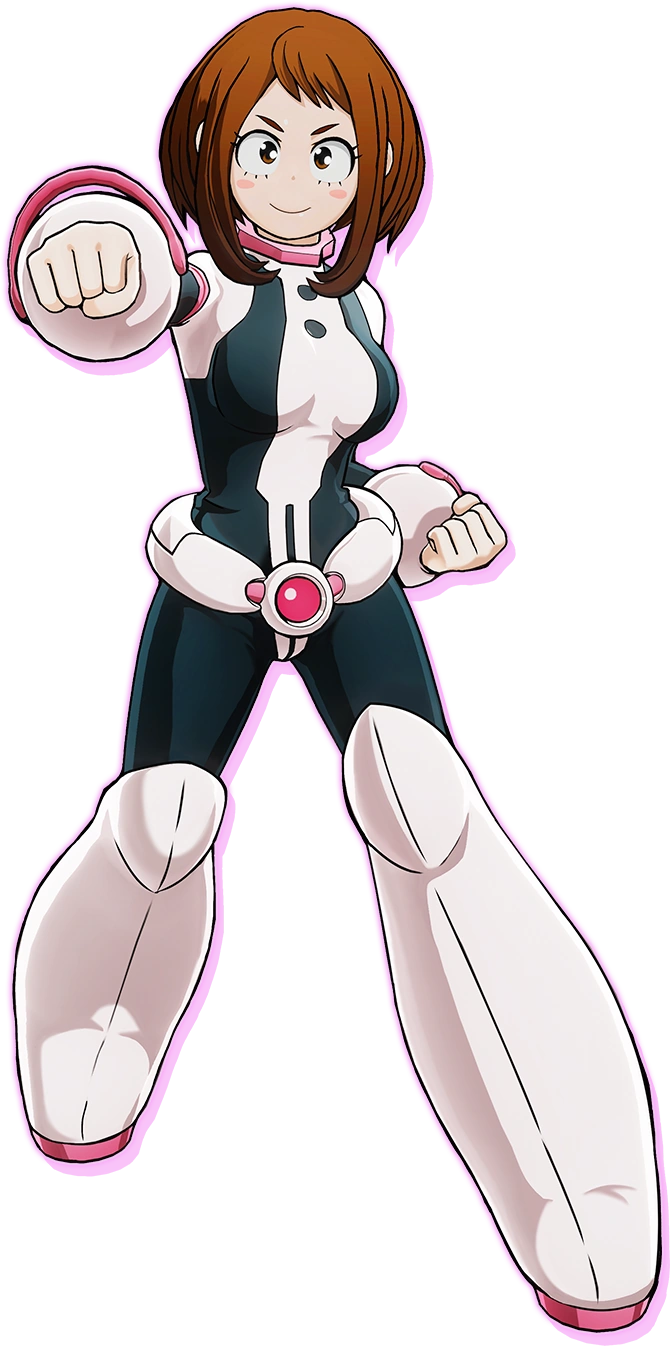 Ochaco Uraraka |
Ochaco Uraka is a bubbly lively student of UA, part of Class A. She forms part of Team Midoriya in the POINT Prep Exams, and she has the quirk to make objects weightless and float. She looks up to Izuku and was the inspiration behind why he went by "Deku" for his hero name. She and Izuku actually share many traits, such as exaggerating their emotions. MAX MODE MOVES
| ||||||
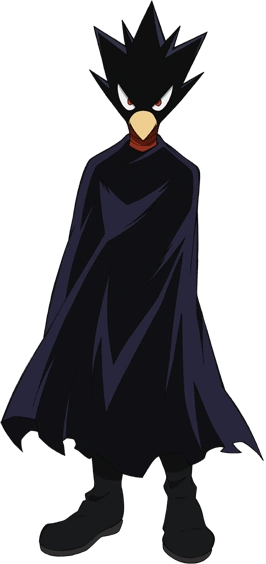 Fumikage Tokoyami |
Fumikage Tokoyami is another student from UA from Class A who joins Team Midoriya, although their role in the group is cut short when an accident during the POINT Prep Exams forces them to exit the tournament. Fumikage calls upon his quirk known as Dark Shadow, which is a shadowy beast that can materialize outside of his body and be used to attack or defend. Light allows him to control Dark Shadow, although it also makes him unable to tap into it's full potential. MAX MODE MOVES
| ||||||
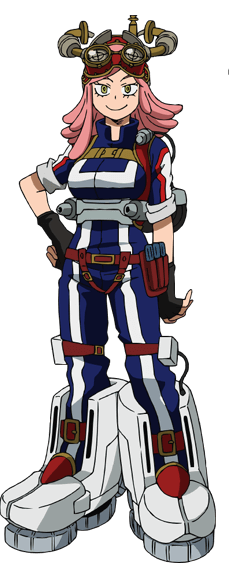 Mei Hatsume |
Mei Hatsume is a student hailing from UA who comes from Class 1-H, focusing on Support. She joins Team Midoriya after Fumikage Tokoyami is hospitalized, using her inventions which she calls her "babies" to fight. She and Izuku actually do share some interests in cataloging quirks, although she tends to be a bit too self-centered. MAX MODE MOVES
| ||||||
| Bakugo Team & Internship Team | |||||||
Bakugo Team consists of:
Internship Team consists of:
| |||||||
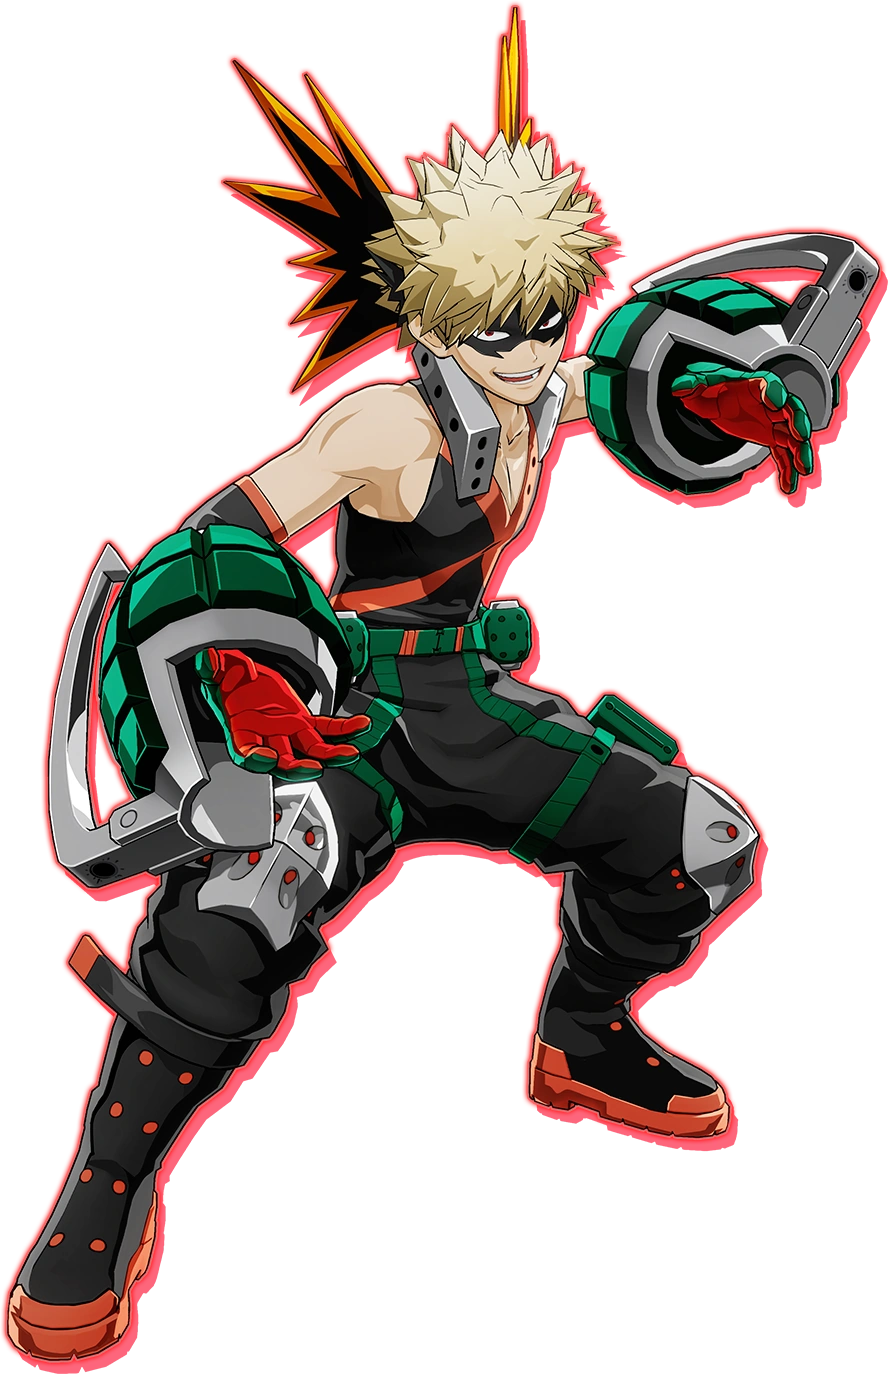 Katsuki Bakugo |
Katsuki Bakugo has been a childhood friend of Izuku, although the two drifted away due to Bakugo's change in attitude when he discovered his Quirk. Bakugo now attends UA, and his hatred for Izuku makes for a interesting dynamic, as Bakugo is constantly distracted by his rival. He is the leader of the Bakugo Team. MAX MODE MOVES
| ||||||
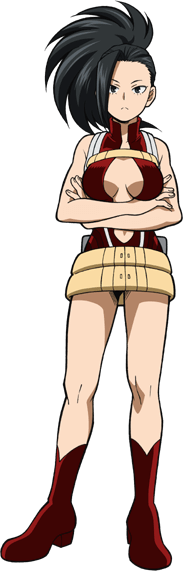 Momo Yayorozu |
Momo Yayorozu is a student that got into UA through recommendation, and for good reason: her Quirk is able to create any object she has an understanding of how it is made. Pressured into joining the Bakugo Team, she uses her power to help her team mates. She can be rather blunt at times and tends to accidently reveal her family's huge wealth at times, although not out of malice. MAX MODE MOVES
| ||||||
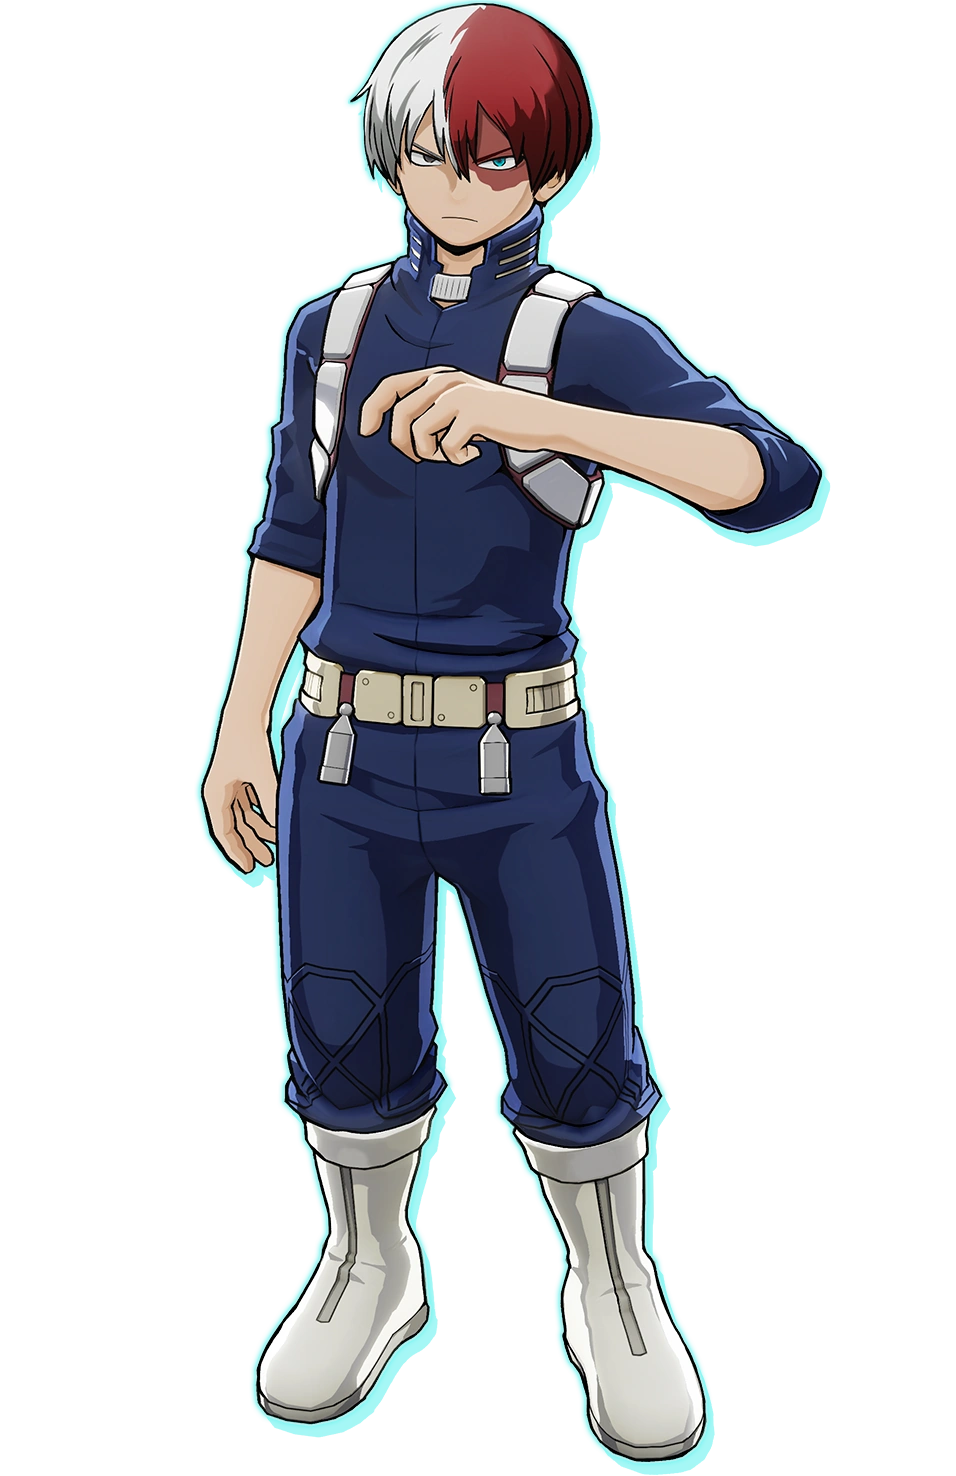 Shoto Todoroki |
Shoto is another UA Student that got in due to recommendations, and he only uses half of his quirk. Born out of his father's need to create a child with a quirk better than his, Shoto can use fire and ice powers to attack, but Shoto only ever uses the ice quirk because his father was a cause of trauma for his entire family. He joins the Bakugo Team out of pressure. MAX MODE MOVES
| ||||||
| Sonic Team | |||||||
Sonic Team consists of:
| |||||||
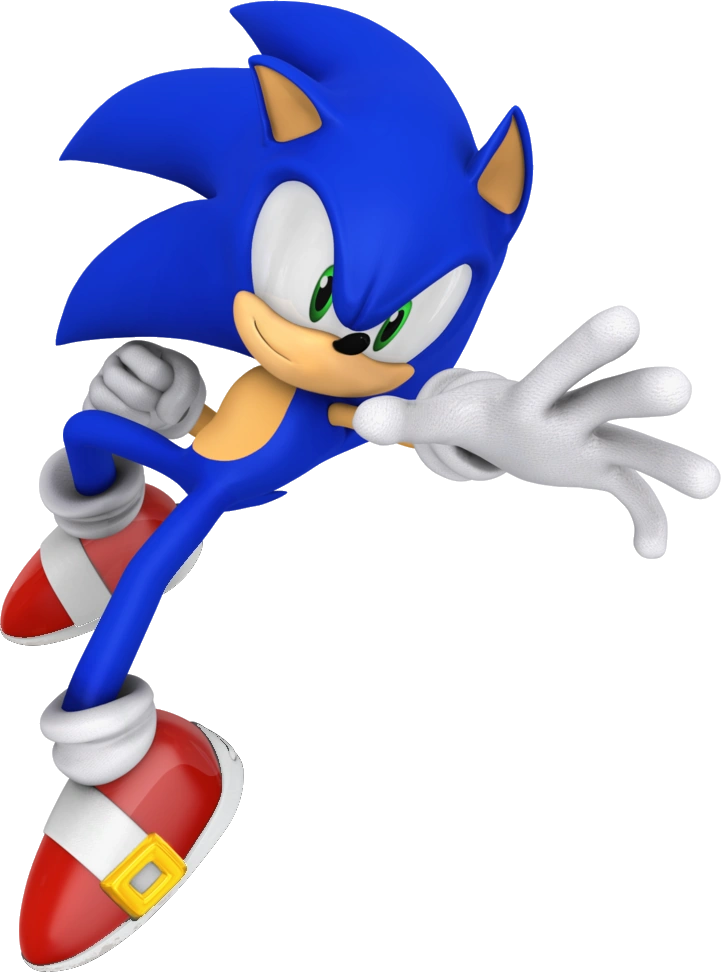 Sonic the Hedgehog |
Sonic the Hedgehog is the speediest Hedgehog alive. Picking up partially from Dark Team's story and YoRHa Team's story from the original game, Shadow and Rouge have left Eggman, given that he was defeated and Shadow and Rouge no longer feel like they need him for their plans with the Chaos Emeralds. When they learn a mysterious new creature named Chaos is after the Emeralds, the group heads to stop it. Sonic is speedy, but comes at the cost of both defense and attacking power. MAX MODE MOVES
| ||||||
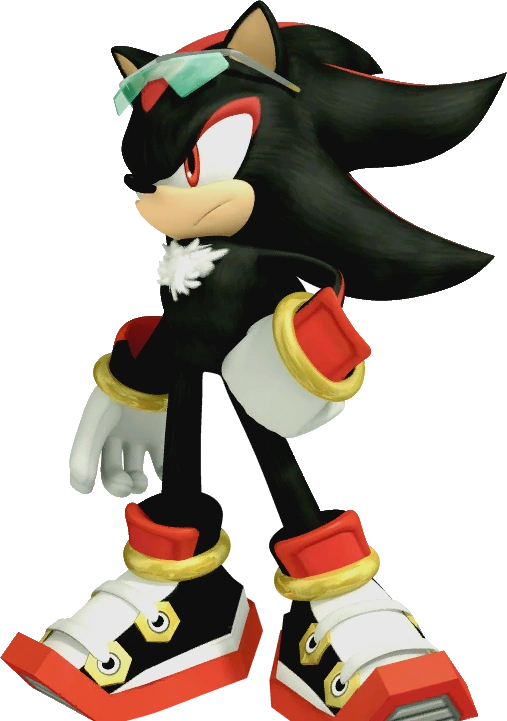 Shadow the Hedgehog |
Shadow the Hedgehog has left Dark Team and joined Sonic Team to hopefully get near the emeralds. He and Rouge are genuine friends at this point, although the same cannot be said for him and Sonic. Shadow relies on strength more than Sonic, at the cost of some of his speed and a lot of his defense, although his MAX MODE moves allow him to control a lot of the fighting space. MAX MODE MOVES
| ||||||
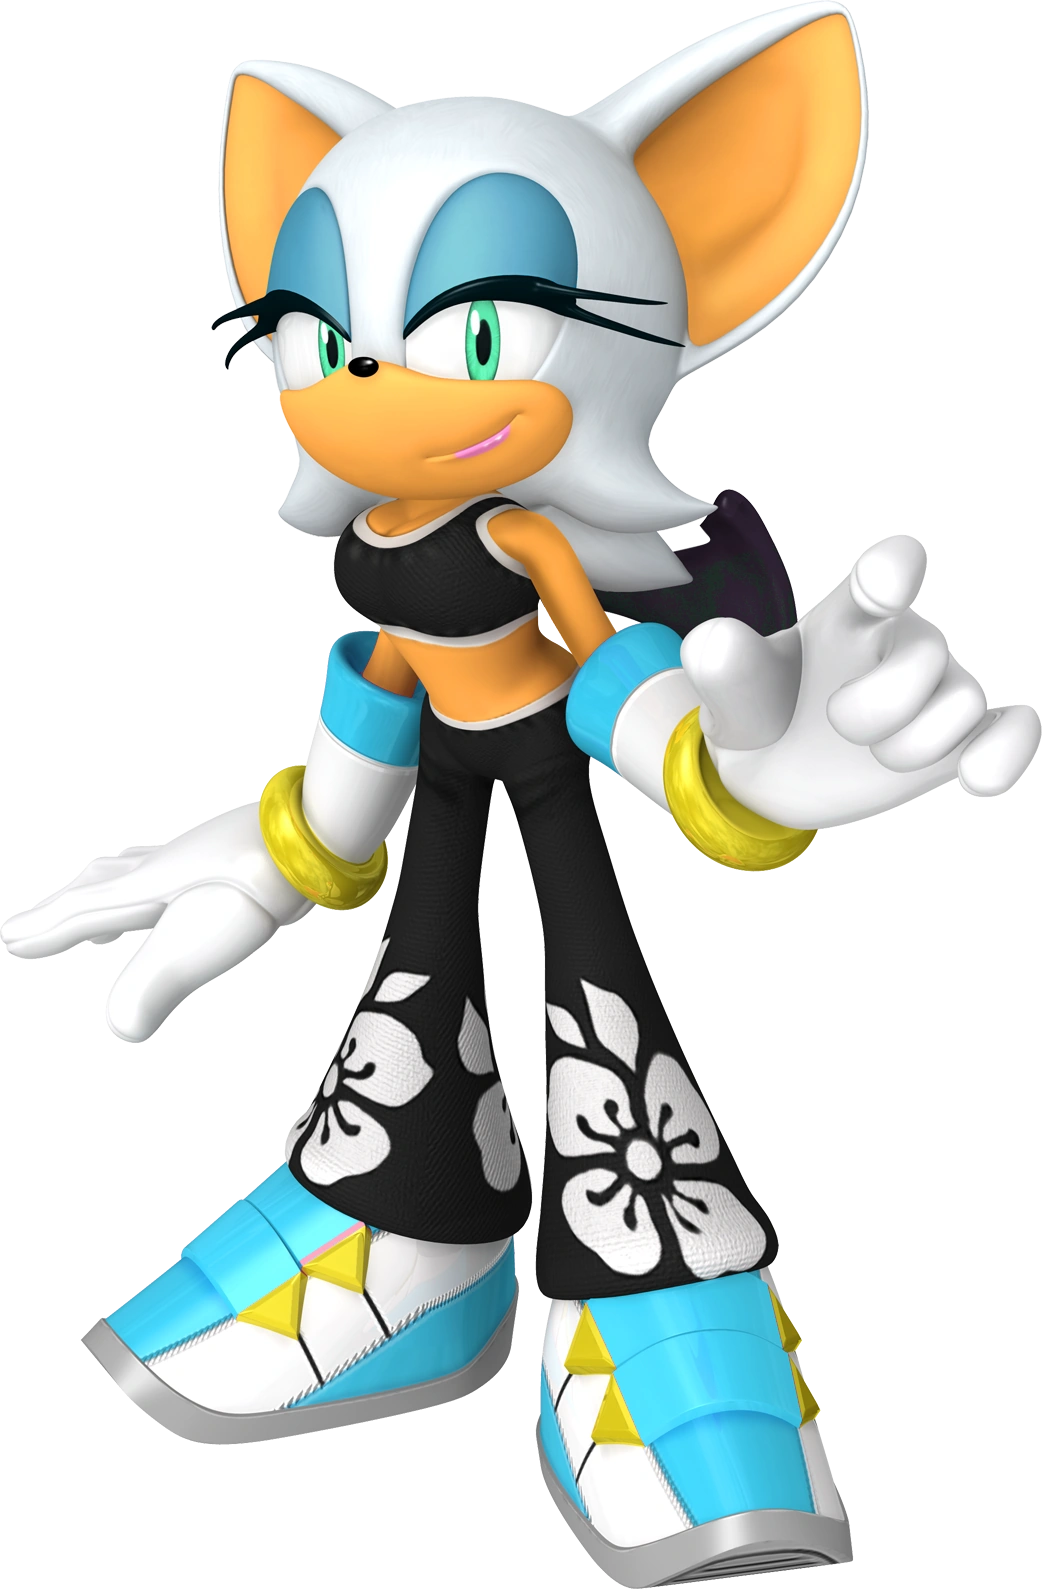 Rouge the Bat |
Rouge the Bat is a thief by trade, mostly interested in dazzling diamonds and riches. Her motivations for the most part remain a mystery to those stupid enough to trust her, as she is only in for herself. Working together with the mad doctor Eggman and Shadow the Hedgehog, Rouge's more in for the buffer of safety they provide, although plans to turn on them as soon as possible. She uses super-level kicking power and flight in her moveset, being a primarily aerial character. MAX MODE MOVES
| ||||||
| Scissor Blade Team | |||||||
Scissor Blade Team consists of:
| |||||||
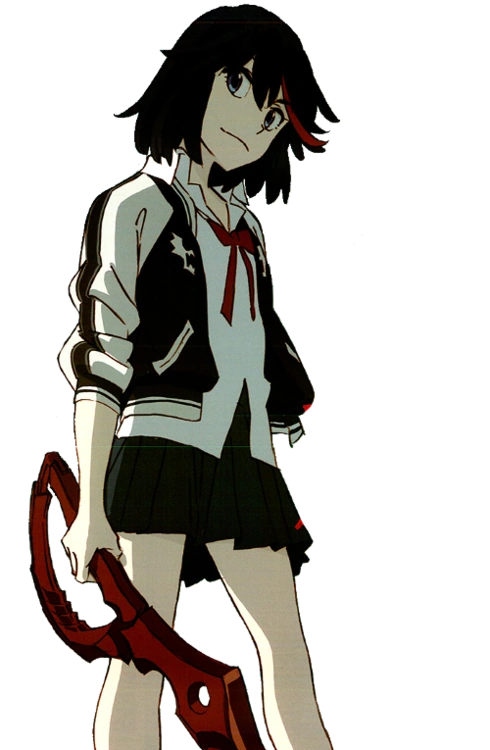 Ryuko |
Ryuko is living with her sister and her girlfriend in the dream home they wished for from the Obelisk, although she can't help but feel something is awry when others report receiving wishes from the Obelisk. Her moveset uses the red scissor blade and her fast and powerful moveset, but her defense is somewhat weak. She unleashes Kamui Senketsu at the start of battles. MAX MODE MOVES
| ||||||
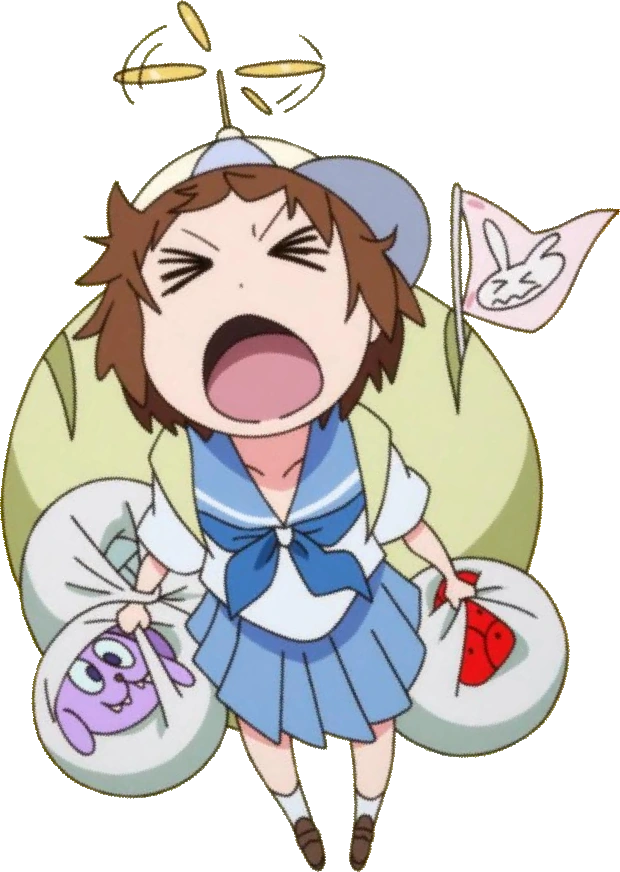 Mako |
Mako is Ryuko's girlfriend, who is goofy and energetic, breaking any kind of rules with her mannerisms. Hailing from a poor family, Mako is a foodie and is extremely lighthearted, managing to make even the darkest moments just a bit brighter. She fights using a bat that can fire missiles out of it as well as golden brass knuckles. MAX MODE MOVES
| ||||||
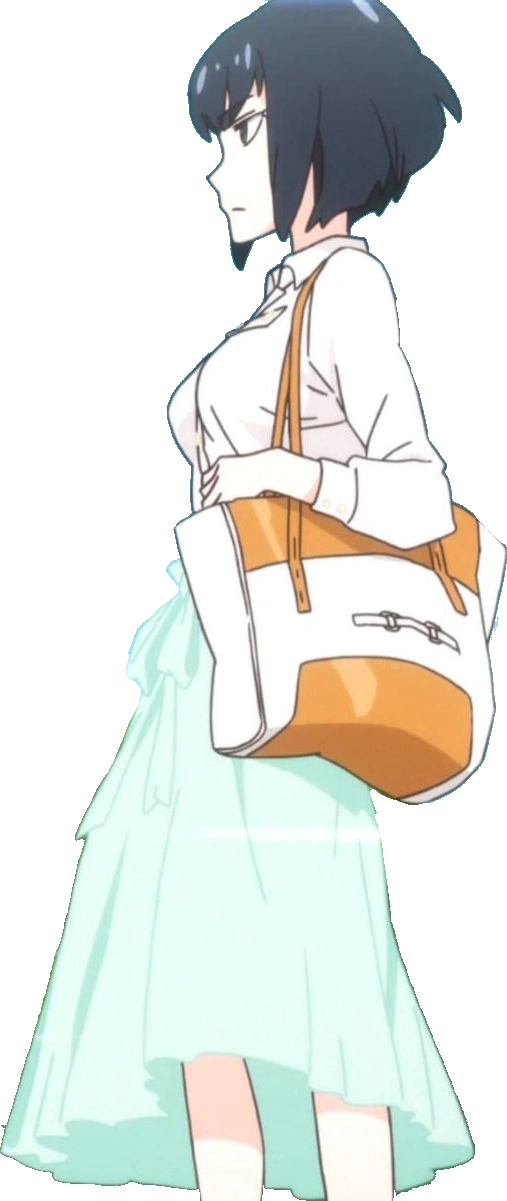 Satsuki |
Satsuki is the sister of Ryuko, and lives with Mako and Ryuko in their dream home. She is fairly soft around her friends, but incredibly cold and dominating in her discussions with those she finds are enemies. She is outfitted with the blade Bukuzan and Kamui Junketsu, which she equips on when the battle begins. She is a incredibly powerful character that is slower and less aggressive than Ryuko, with her attacks doing extra damage towards the tips. MAX MODE MOVES
| ||||||
| Life Fiber Duo | |||||||
Life Fiber Duo consists of:
| |||||||
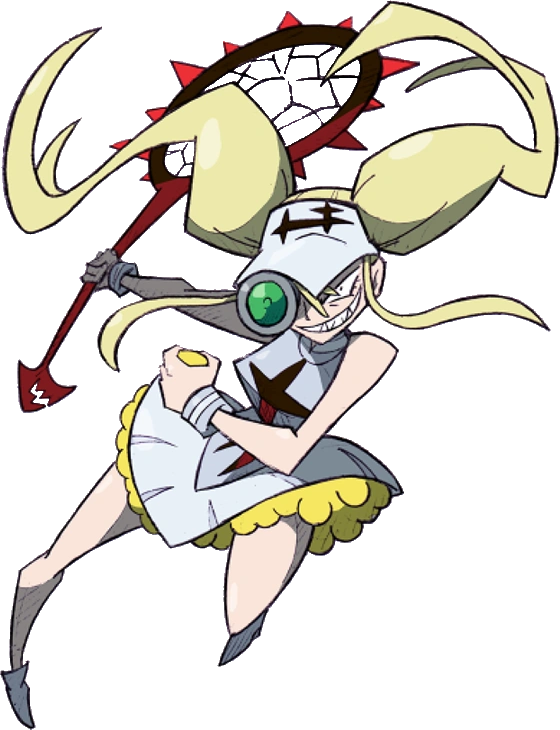 Omiko Hakodate |
Defeated once again, Omiko Hakodate swore up and down to defeat the Scissor Blade Team, training with ex-student Maiko Ōgure who also harbors a grudge against the group. The two have actually formed quite the relationship since then. Using a giant tennis racket and tennis balls to attack, Omiko has good offense and melee attacks but not much in the way of defense. MAX MODE MOVES
| ||||||
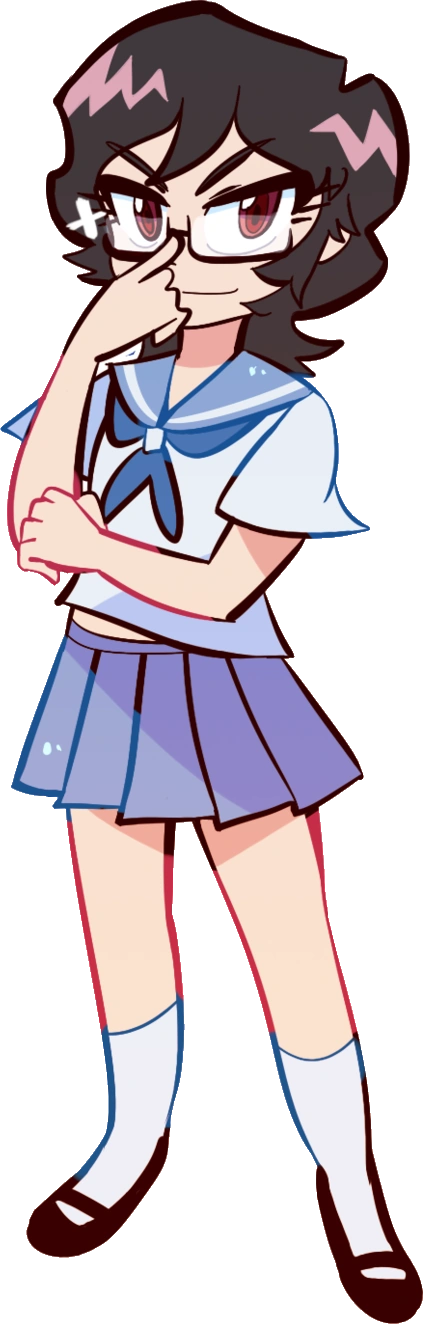 Maiko Ōgure |
A No-Star student from Honnōji Academy who previously tipped Omiko about the Obelisk and since has begun training with her to extract revenge on Ryuko. They have actually become romantically attached since then, and still share the common goal to take down Ryuko, and by extension, the whole Scissor Team if they have to. Maiko is from the former Traps Department, so her gameplay is more about setting up the opponent for a nasty surprise if they fall into something she planted earlier. MAX MODE MOVES
| ||||||
| Lily Pirates | |||||||
Lily Pirates consists of:
| |||||||
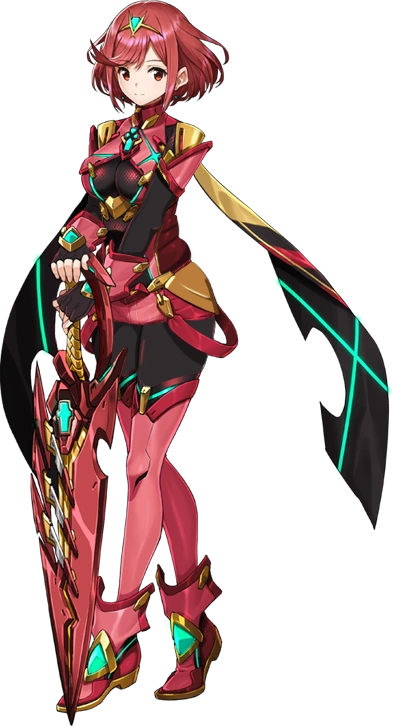
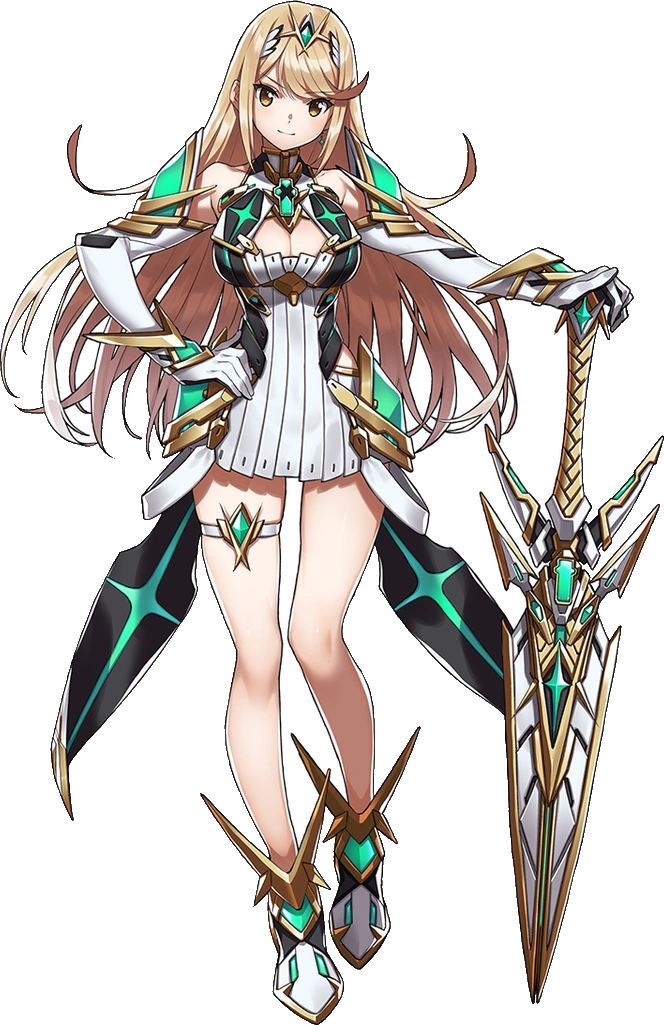
Unlockable Characters[]
| Unlockable Characters | |||
| Character | Information | ||
|---|---|---|---|
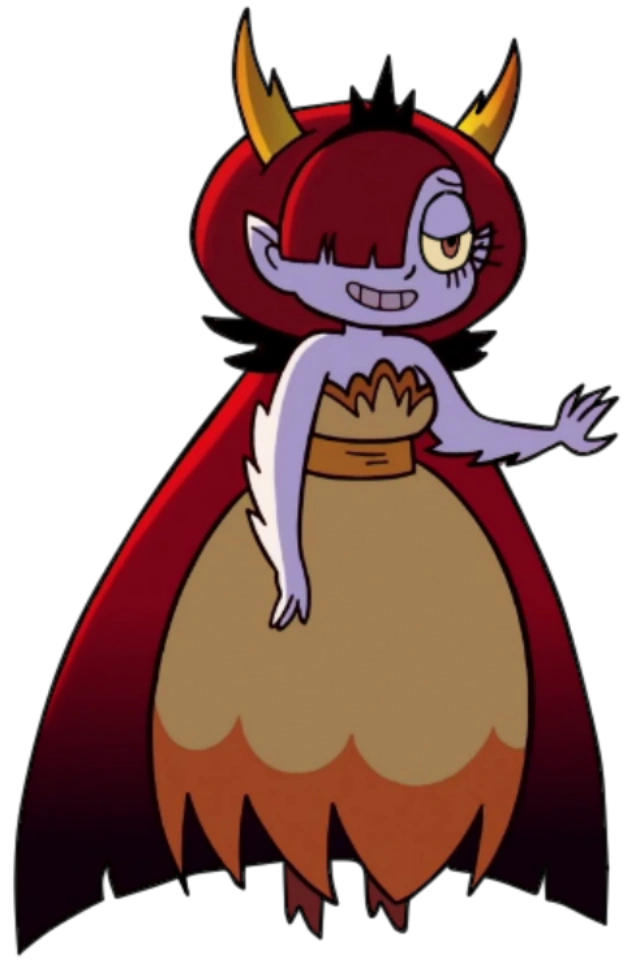 Hekapoo |
Hekapoo is the forger of all dimensional scissors and a high ranking member in the Magic High Commission. She tends to be a trickster to those she sees as lower than herself. She is generally a laid-back character but doesn't take well to disrespect towards her or her work. She uses fire and portals in her moveset, being able to get close and away from her opponent quickly while dealing damage. Unlocked through any of the following methods:
MAX MODE MOVES
| ||
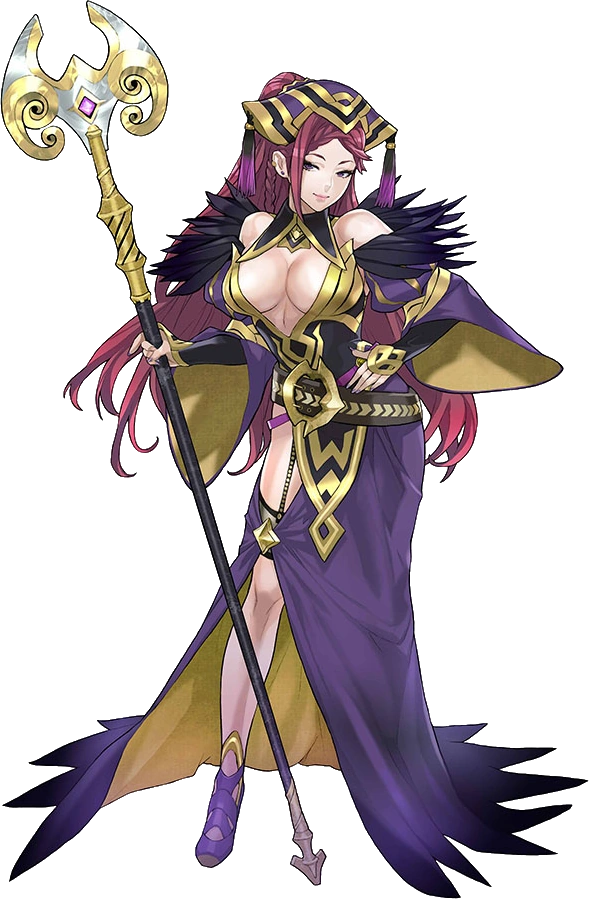 Loki |
Loki is a servant of the Emblian Empire, with the unique ability to shape shift. She plans to use the Time Twister to create a greater hold over the world of Aeo, with the Emblian Empire taking control of the kingdoms. She can use her shapeshifting powers and dark magic staff to battle. Unlocked through any of the following methods:
MAX MODE MOVES
| ||
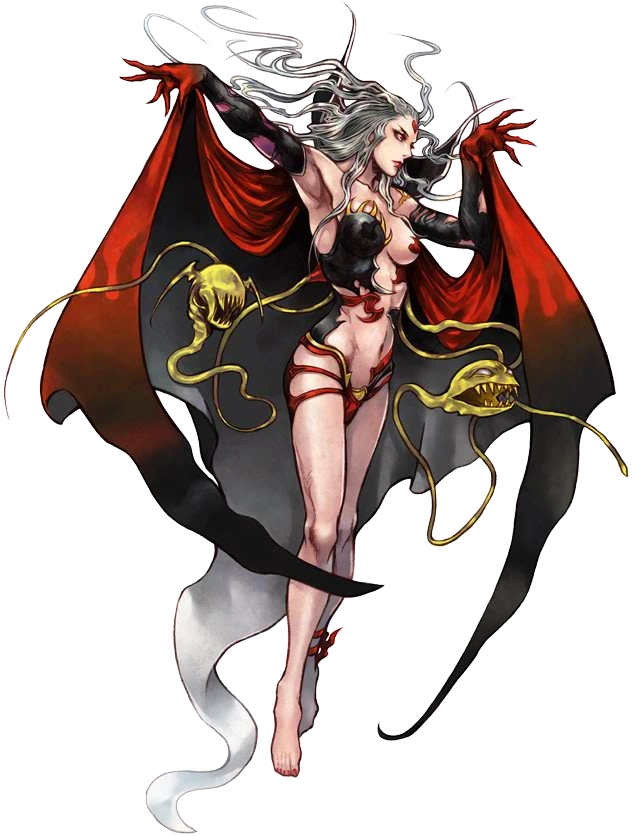 Cloud of Darkness |
When the balance of Light and Darkness is disturbed, the Cloud of Darkness emerges and attempts to pull Aeo into a new age of darkness, aligning itself with villains. It uses a attacking style known as Bane of Life, which utilizes wide array of powerful energy beam attacks to drain the opponent's HP. She also attacks using the teethed tentacles attached to herself. Unlocked through any of the following methods:
MAX MODE MOVES
| ||
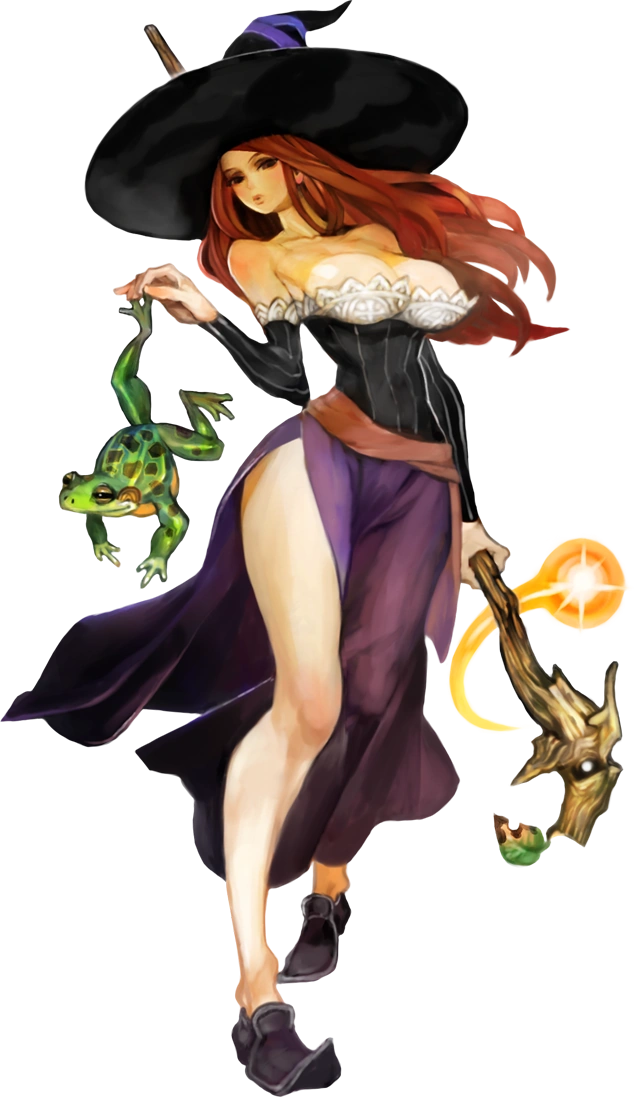 Sorceress |
A bewitching woman with knowledge of dark magic. She isn't super powerful in sheer attacking power, but she can seriously help her team by turning her enemies into frogs and summoning food. She can use her necromancy magic to summon skeletons. She's a great addition for most teams, able to completely mess with your opponent's team but her attacking power isn't great and if she's the only one on the field, you may find it hard to do much to your opponent. Unlocked through any of the following methods:
MAX MODE MOVES
| ||
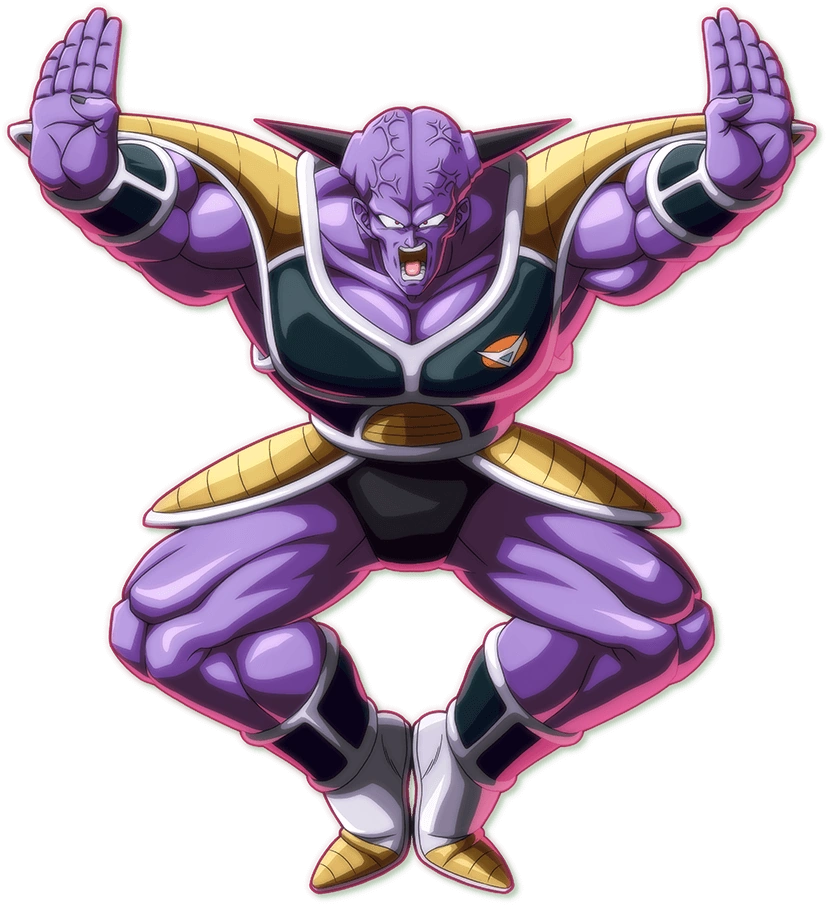 Captain Ginyu |
The loyal captain of the eccentric Ginyu Force, preferring to fight fair whenever possible. He has unwavering loyalty to Frieza, who will follow him very much to the very end. He always researches the mission beforehand and is quite developed in ki fighting. He uses a variety of ki attacks and can power himself up at the cost of defense, but his deadliest ability is to temporarily swap bodies with his opponent. Unlocked through any of the following methods:
MAX MODE MOVES
| ||
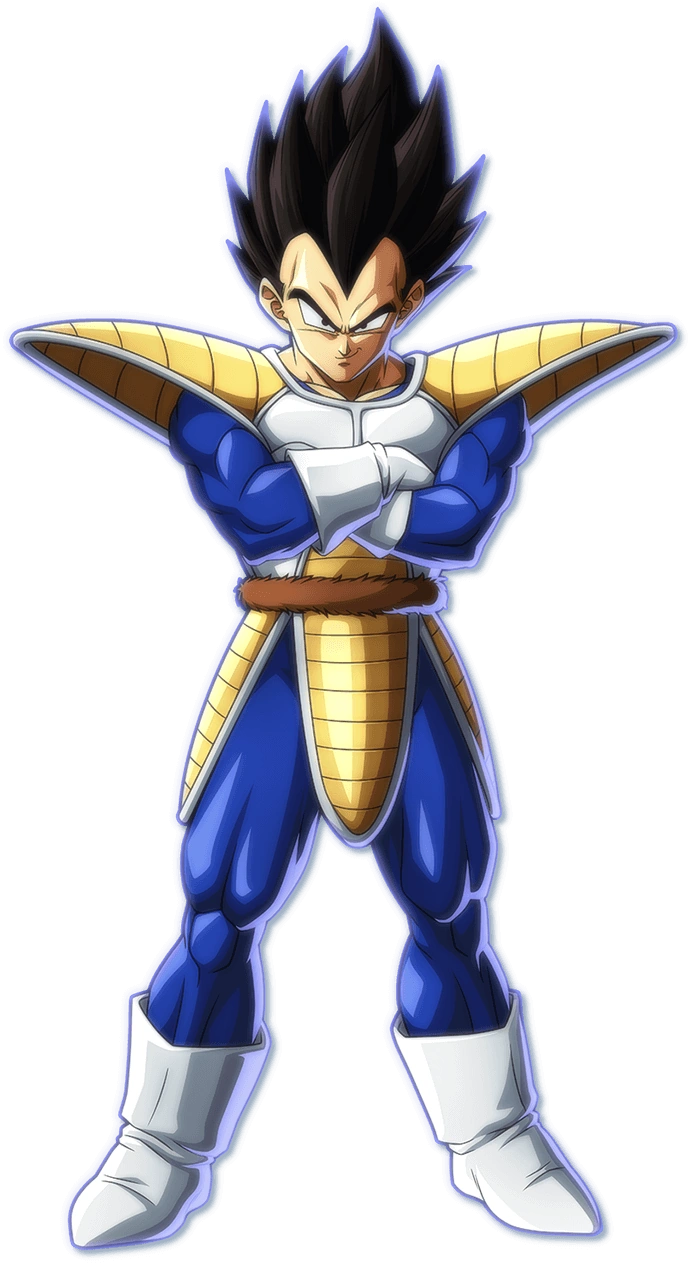 Vegeta |
Vegeta is a Saiyan Prince and incredibly proud of it. An arrogant warrior, Vegeta was a ruthless killer when he was working for Frieza, but when Vegeta turns on Frieza, he ends up being a powerful ally for Aeo. While his motivations cannot be fully trusted, his power is great... but is it enough to take on Frieza? Unlocked through any of the following methods:
MAX MODE MOVES
| ||
 Frieza |
Frieza is a emperor and a monster existing outside of Aeo, who invades it for it's Dragon Balls. He is ruthless and conniving, having destroyed the home planet of the Saiyans and countless others before it. While he has a ton of people that fight for him, he has his own power that he keeps in check with multiple forms, which he can change into by will. In his final form here, Frieza is quite the quick and fearsome fighter. Unlocked through any of the following methods:
MAX MODE MOVES
| ||
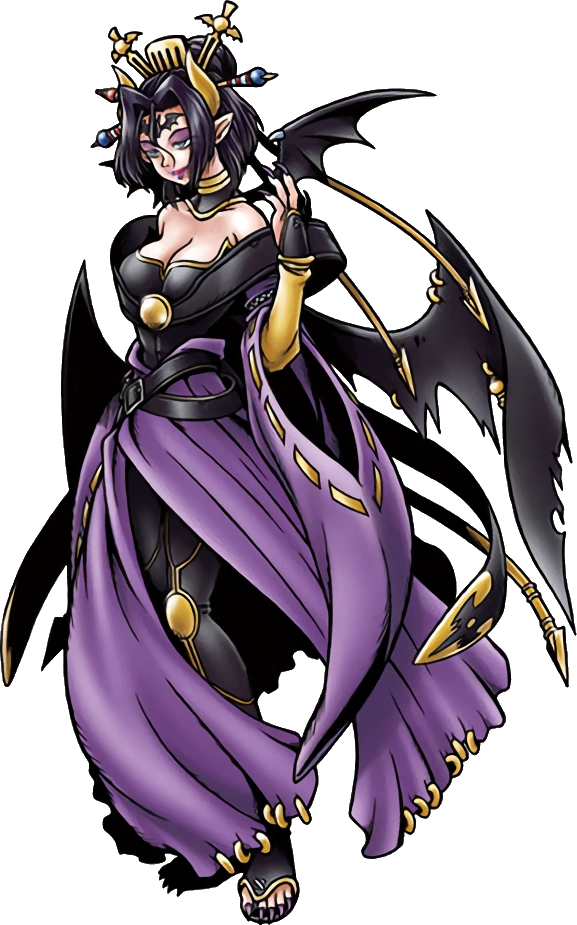 Lilithmon |
TBA Unlocked through any of the following methods:
MAX MODE MOVES | ||
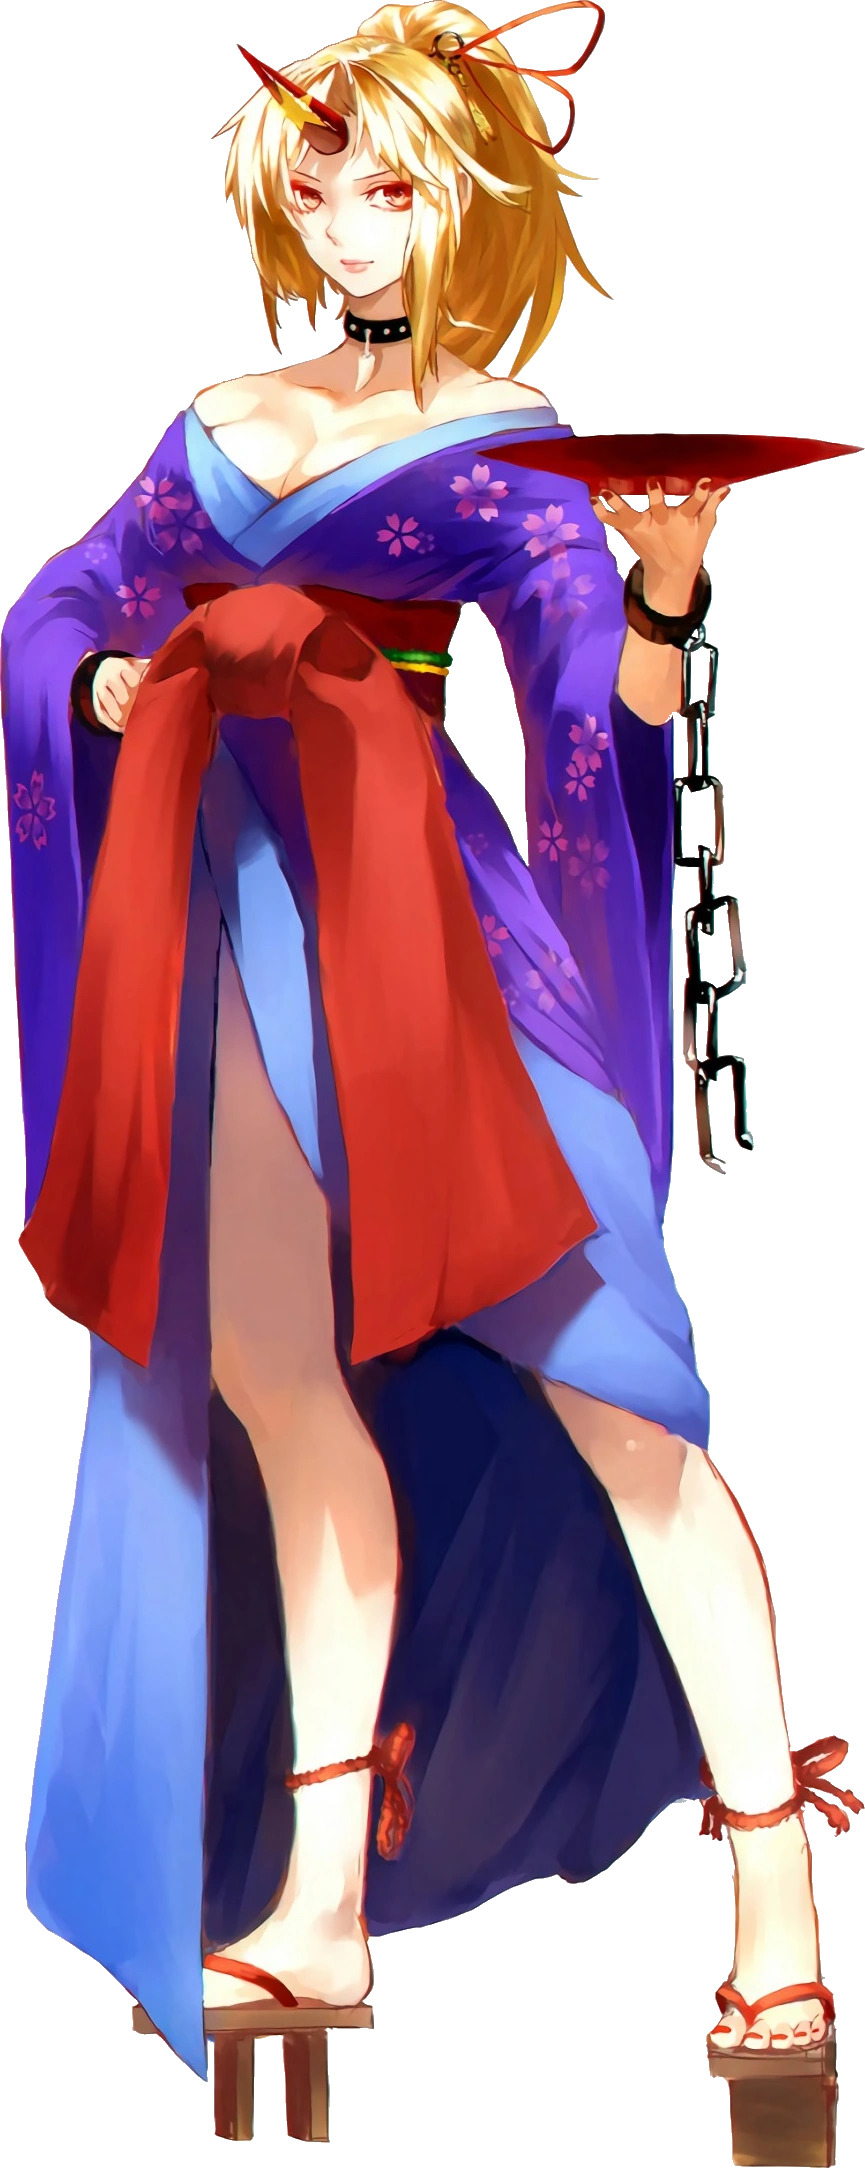 Yuugi Hoshiguma |
A oni hailing from the Ancient City; known for her immense strength, she is notable in that she never drops the bowl she's holding around while in battle. She likes to get drunk and fraternize with her fellow oni. Her immense strength comes at the cost of speed, but she can be a difficult opponent for characters without much power behind them. Unlocked through any of the following methods:
MAX MODE MOVES
| ||
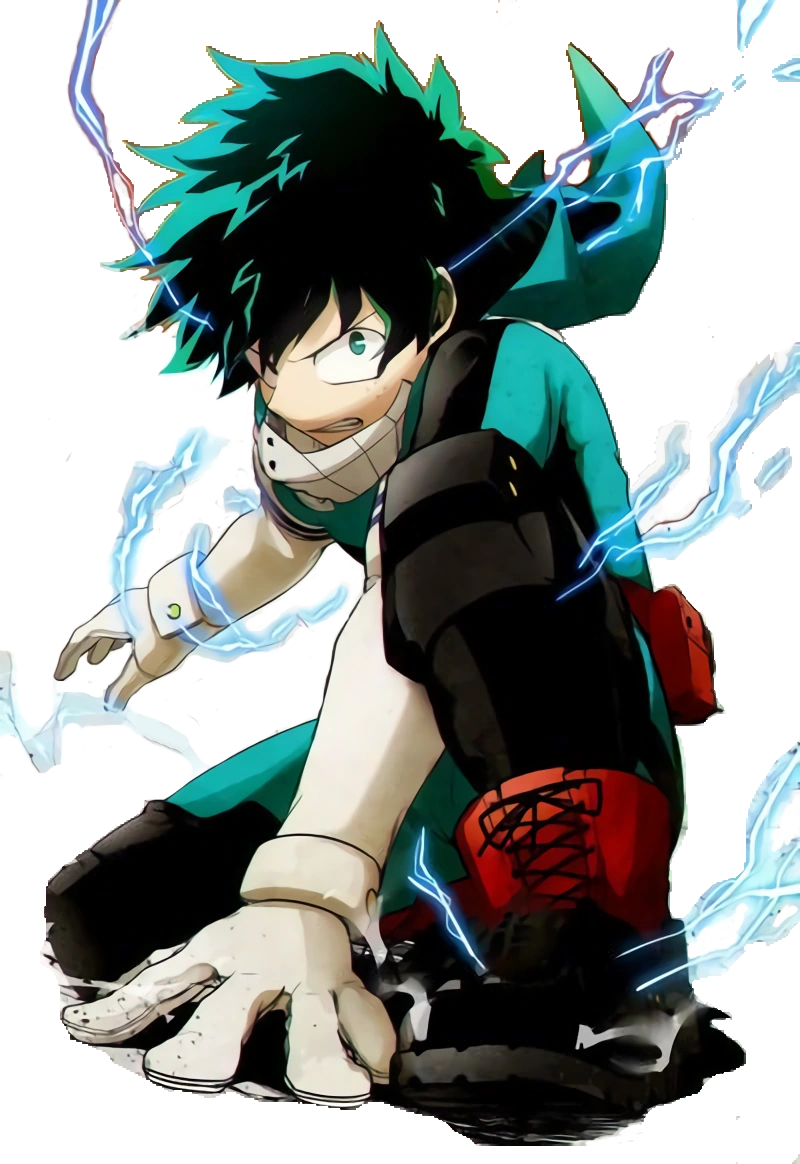 Deku (Full Cowl) |
Izuku, through the training of UA and Gran Torino, has learned to use 20% of One for All in a technique known as Full Cowling without breaking any of his body. While he lacks the complete devastating power of his original attacks, he makes up for it being able to execute his moves more safely and being able to move much faster. Unlocked through any of the following methods:
MAX MODE MOVES
| ||
Cala Maria |
Hailing from the sea and tied to a devil's contract, Cala Maria is a mermaid that quickly becomes a frightening gorgon and one of the only characters on the roster that takes two slots in team selection. When defeated in the first round, Cala Maria returns in the next round in her second gorgon form. In her first form, she attacks using fish from the sea and ghosts of her past victims. In her second form, she tends to get electric eels to attack for her instead, as well as using stone versions of the fish she summoned from last round. Unlocked through any of the following methods:
MAX MODE MOVES | ||
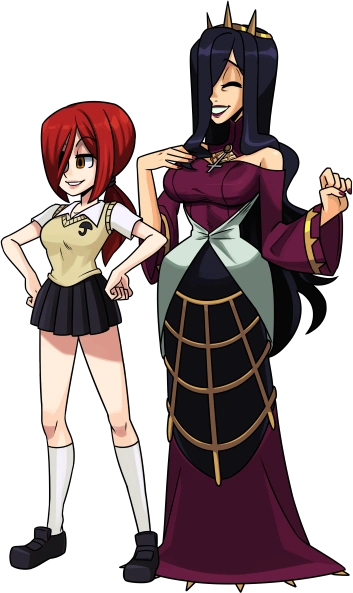 Queen Nancy & Young Parasoul |
Queen Nancy, the ruler of the Canopy Kingdom in the past, has to train her daughter Parasoul to one day take up the reigns of ruling the kingdom. Queen Nancy is actually the primary fighter, with Parasoul following her or staying put on her command. She uses the living weapon Todd, a golden umbrella-like weapon that unfolds into a bunch of sharp knives. Parasoul, who still uses Krieg, helps her in her attacks by either launching napalm at the opponent when away from Queen Nancy or provides additional cover to her mother. Unlocked through any of the following methods:
MAX MODE MOVES
| ||
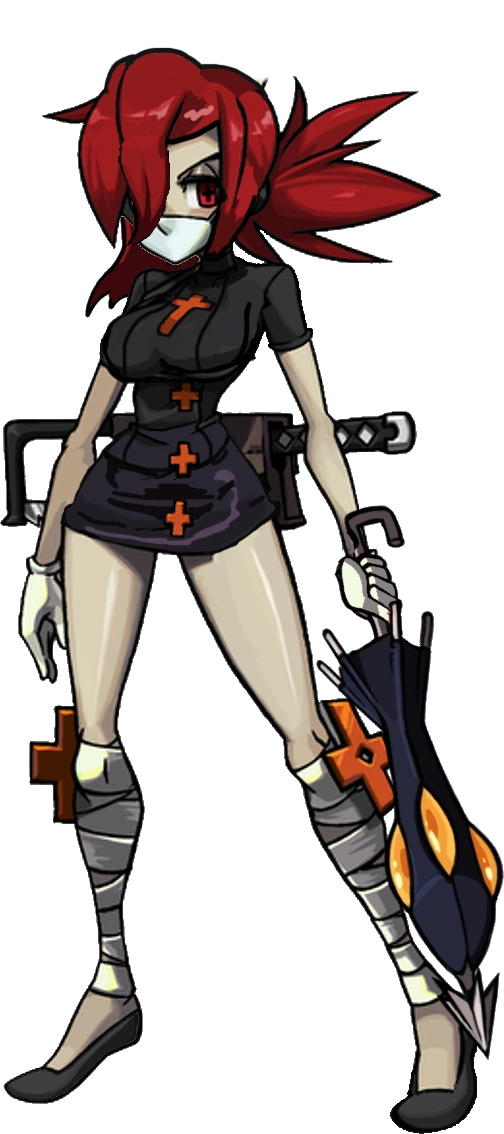 Valasime |
To serve Brain Drain's needs, the souls and bodies of Parasoul and Valentine were fused together in another timeline. With masochistic inclinations, Valasime combines the best and worst of Parasoul and Valentine, proving to be a tough challenge for the Black Lab Team. She fights using a combination of Parasoul and Valentine's moves. Unlocked through any of the following methods:
MAX MODE MOVES
| ||
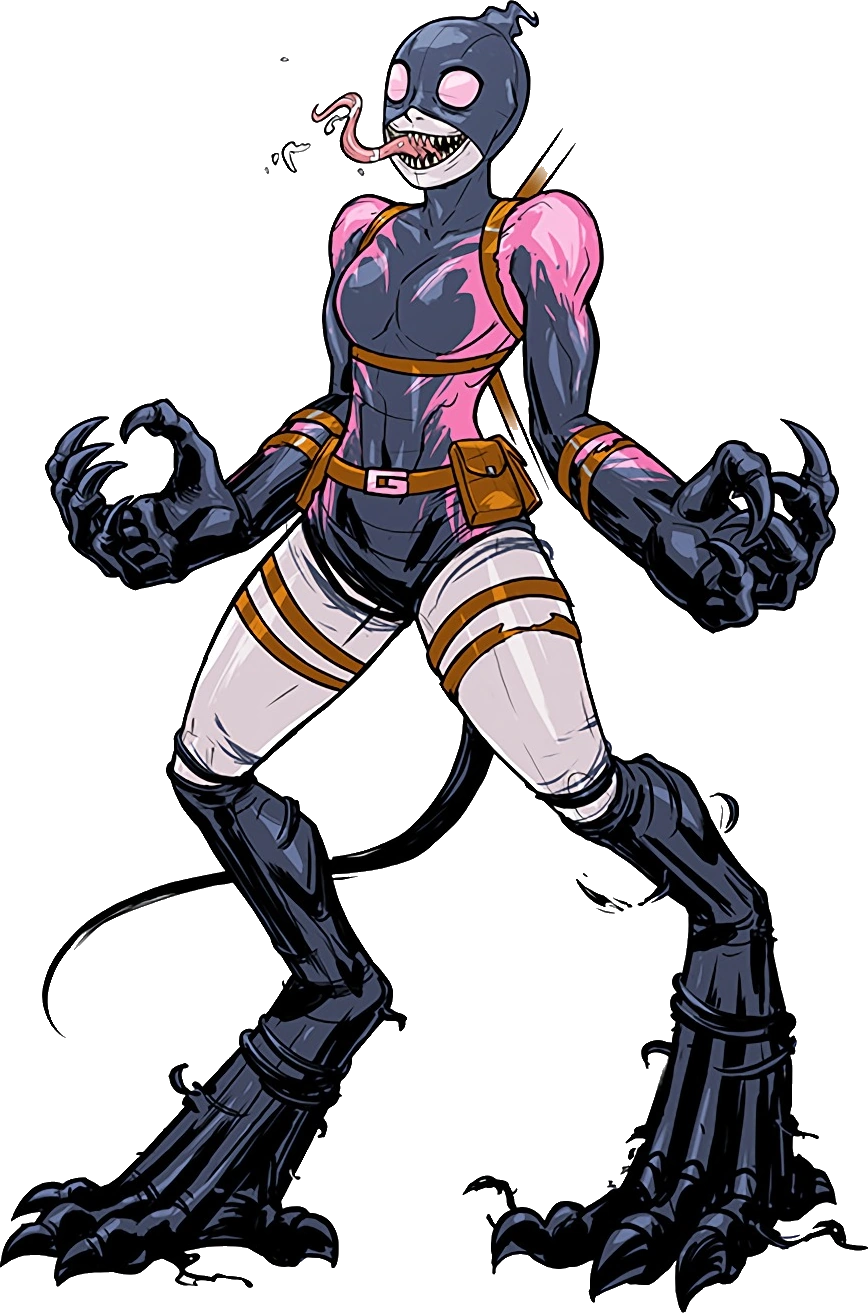 Venomized Gwenpool |
Gwenpool and Candy Venom are pretty close friends during the course of Fight for the Future, so much so that the two combine into this form that combines both of their abilities and personalities, a symbiotic relationship that actually has some benefits to both parties. Venomized Gwenpool utilizes Venom's symbiote powers and Gwenpool's fourth wall breaking abilities, as well as some shapeshifting, to create a truly unique moveset from the sum of it's parts. Unlocked through any of the following methods:
MAX MODE MOVES | ||
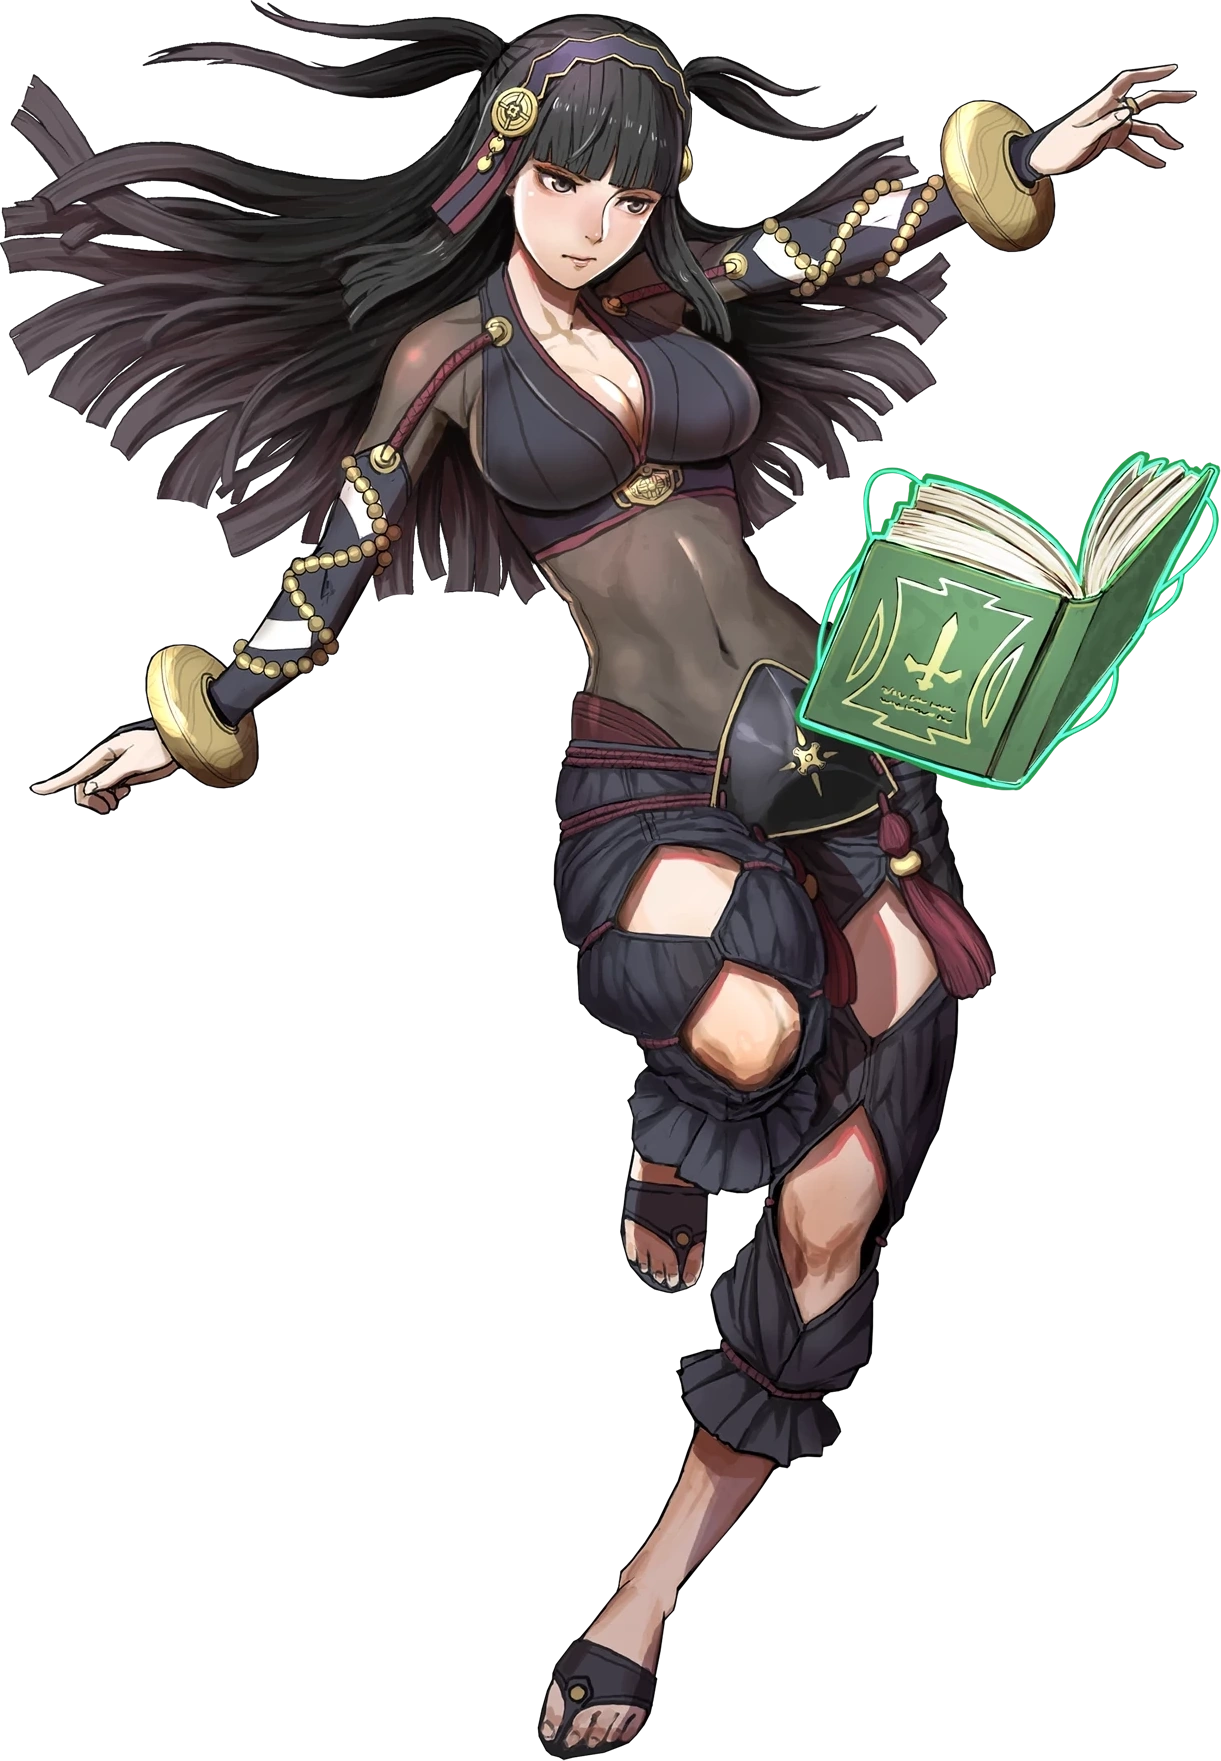 Rhajat |
A distant descendant of Tharja from the future, summoned by way of the Askr Breidablik. Rhajat is a loner that is obsessed with Corrin, planning to steal her away from Tharja. She's a cold figure that prefers to work on her own, attacking with Spirit Scrolls that summon the spirits of rats, bulls, and oxes. Unlocked through any of the following methods:
MAX MODE MOVES | ||
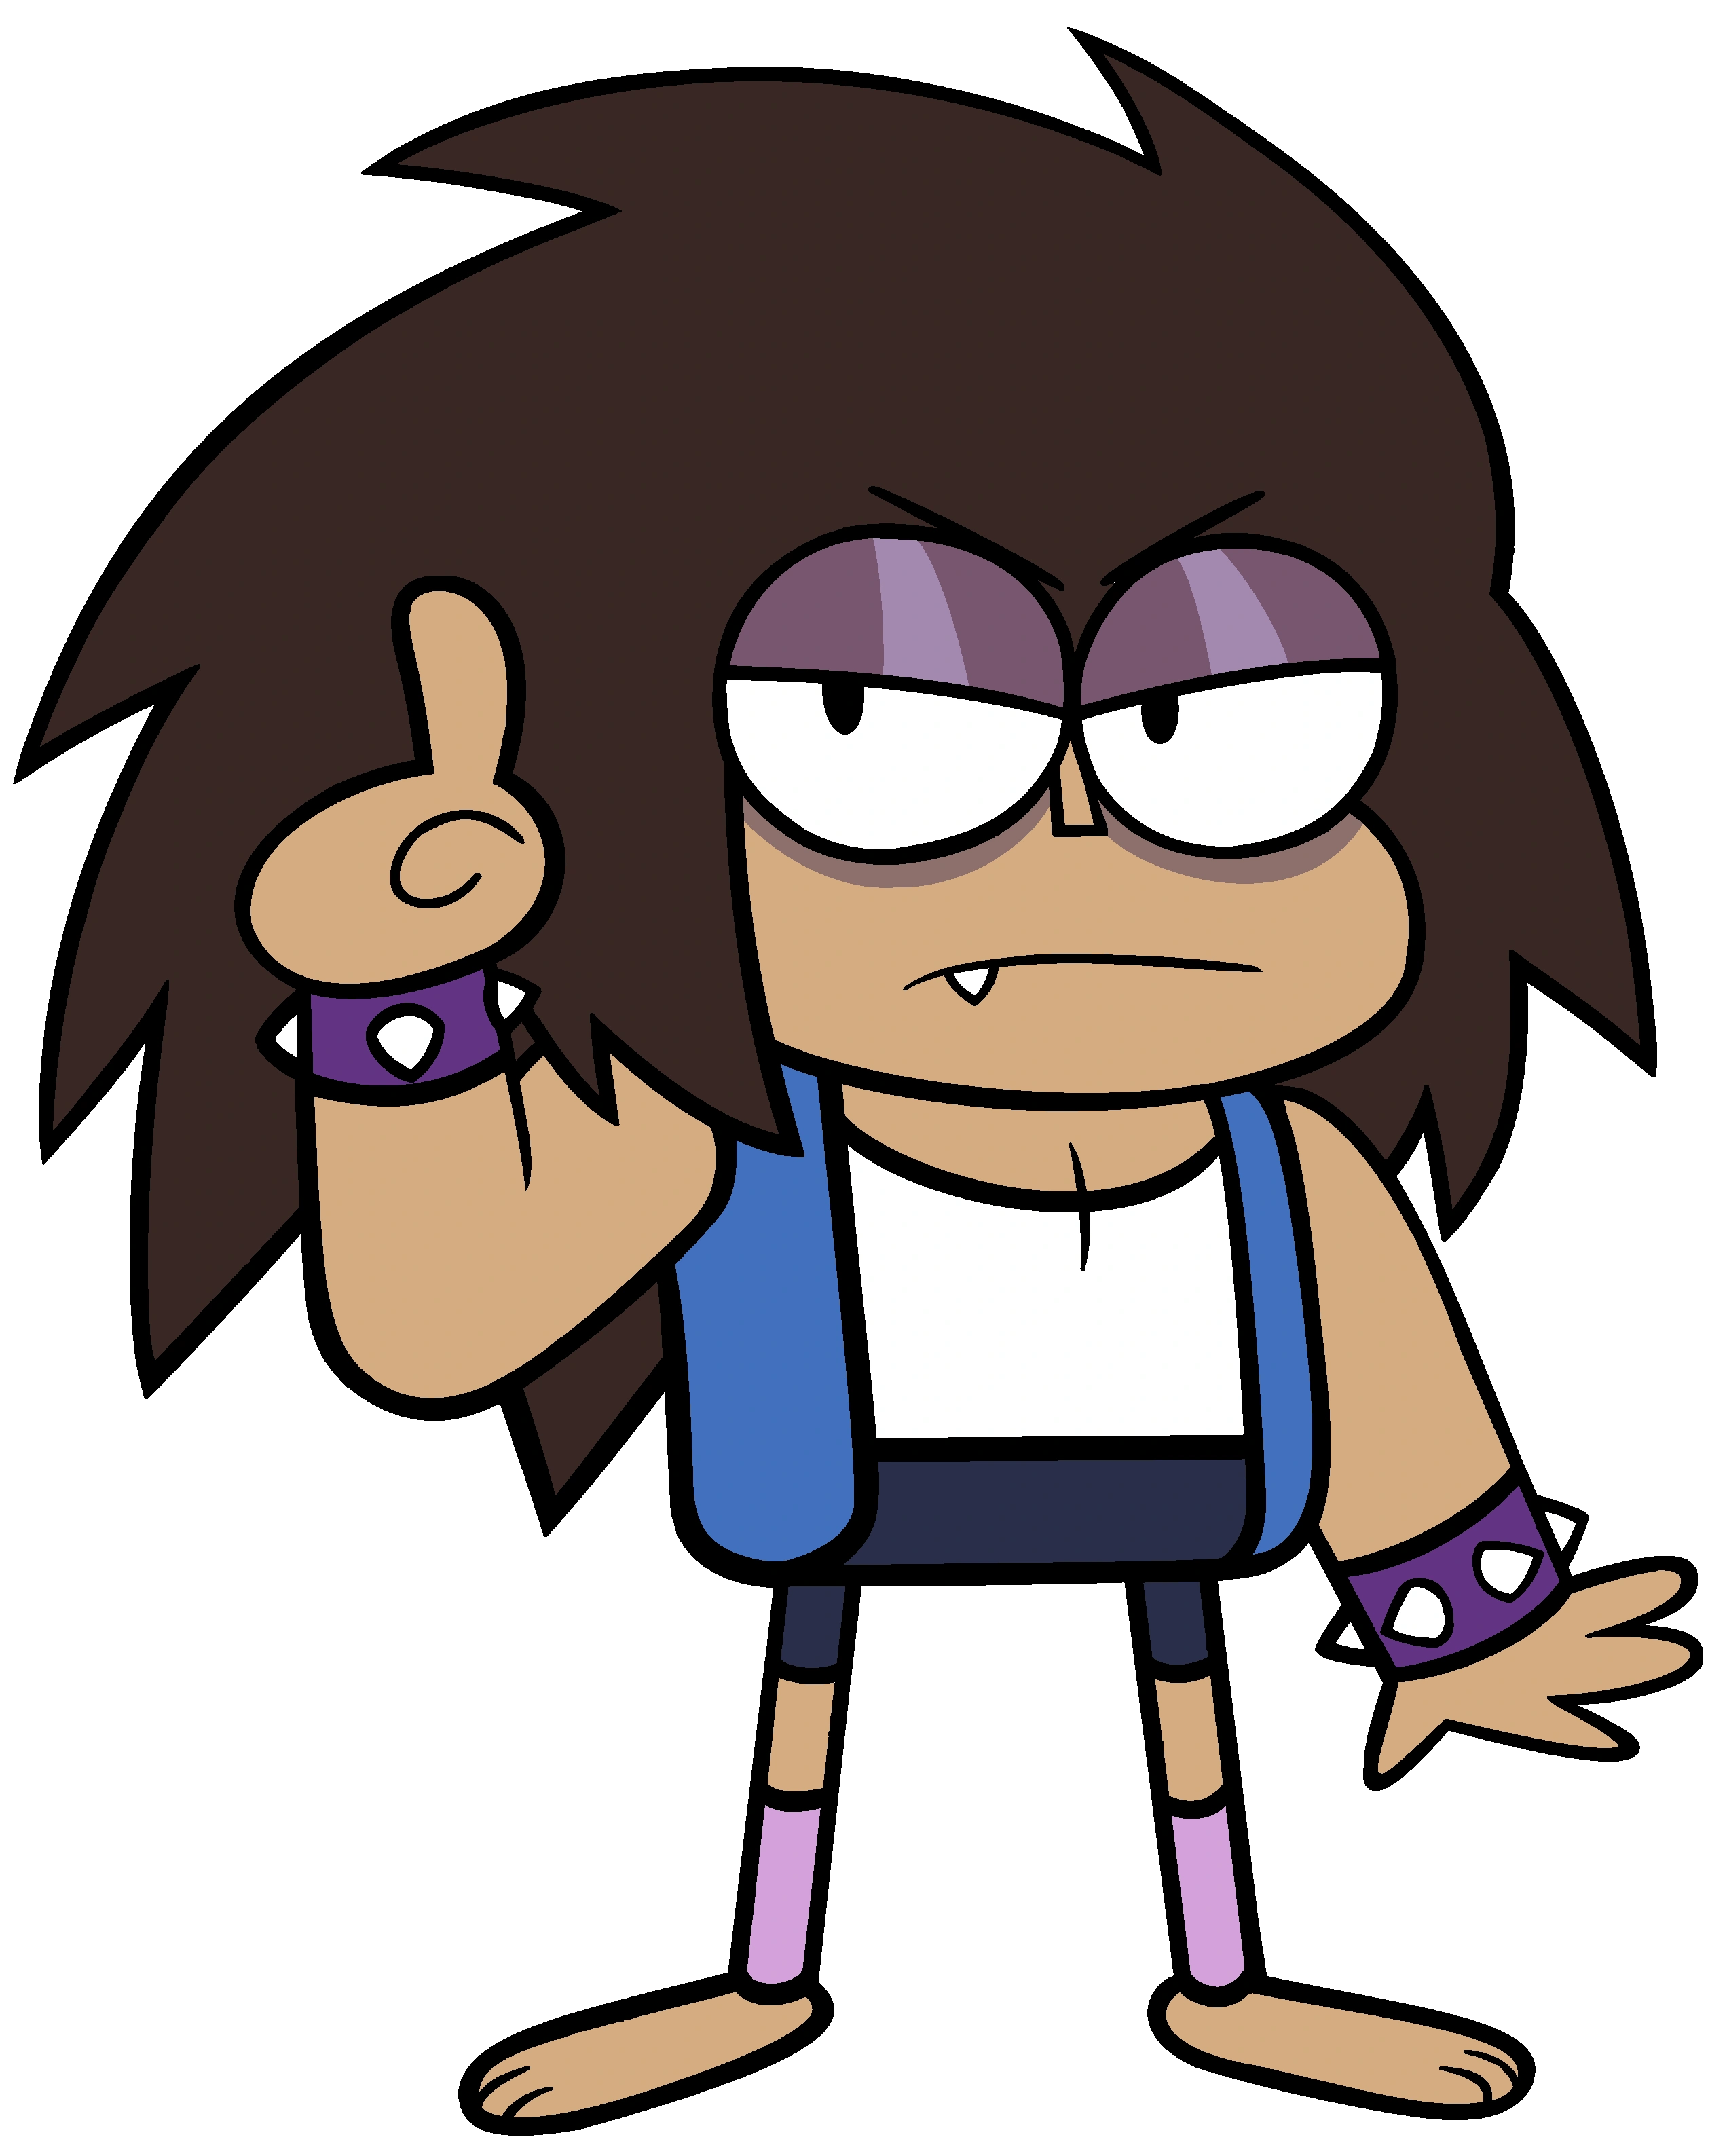 Turbo KO |
KO's dark form, powered by anger and other negative feelings sealed within his subconscious. TKO is much stronger than KO in almost every respect, but he is utterly aggressive and attacks everyone he sees, as well hosts a ton of angst. While incredibly powerful, TKO has a couple drawbacks to his beserker playstyle; namely his only shield uses a teammate to shield attacks, hurting them and that none of his attacks are cancellable and are easy to punish. Unlocked through any of the following methods:
MAX MODE MOVES | ||
| Menancing Machines Team | |||
Darrell, Shannon, and Raymond are all unlocked through any of the following methods:
| |||
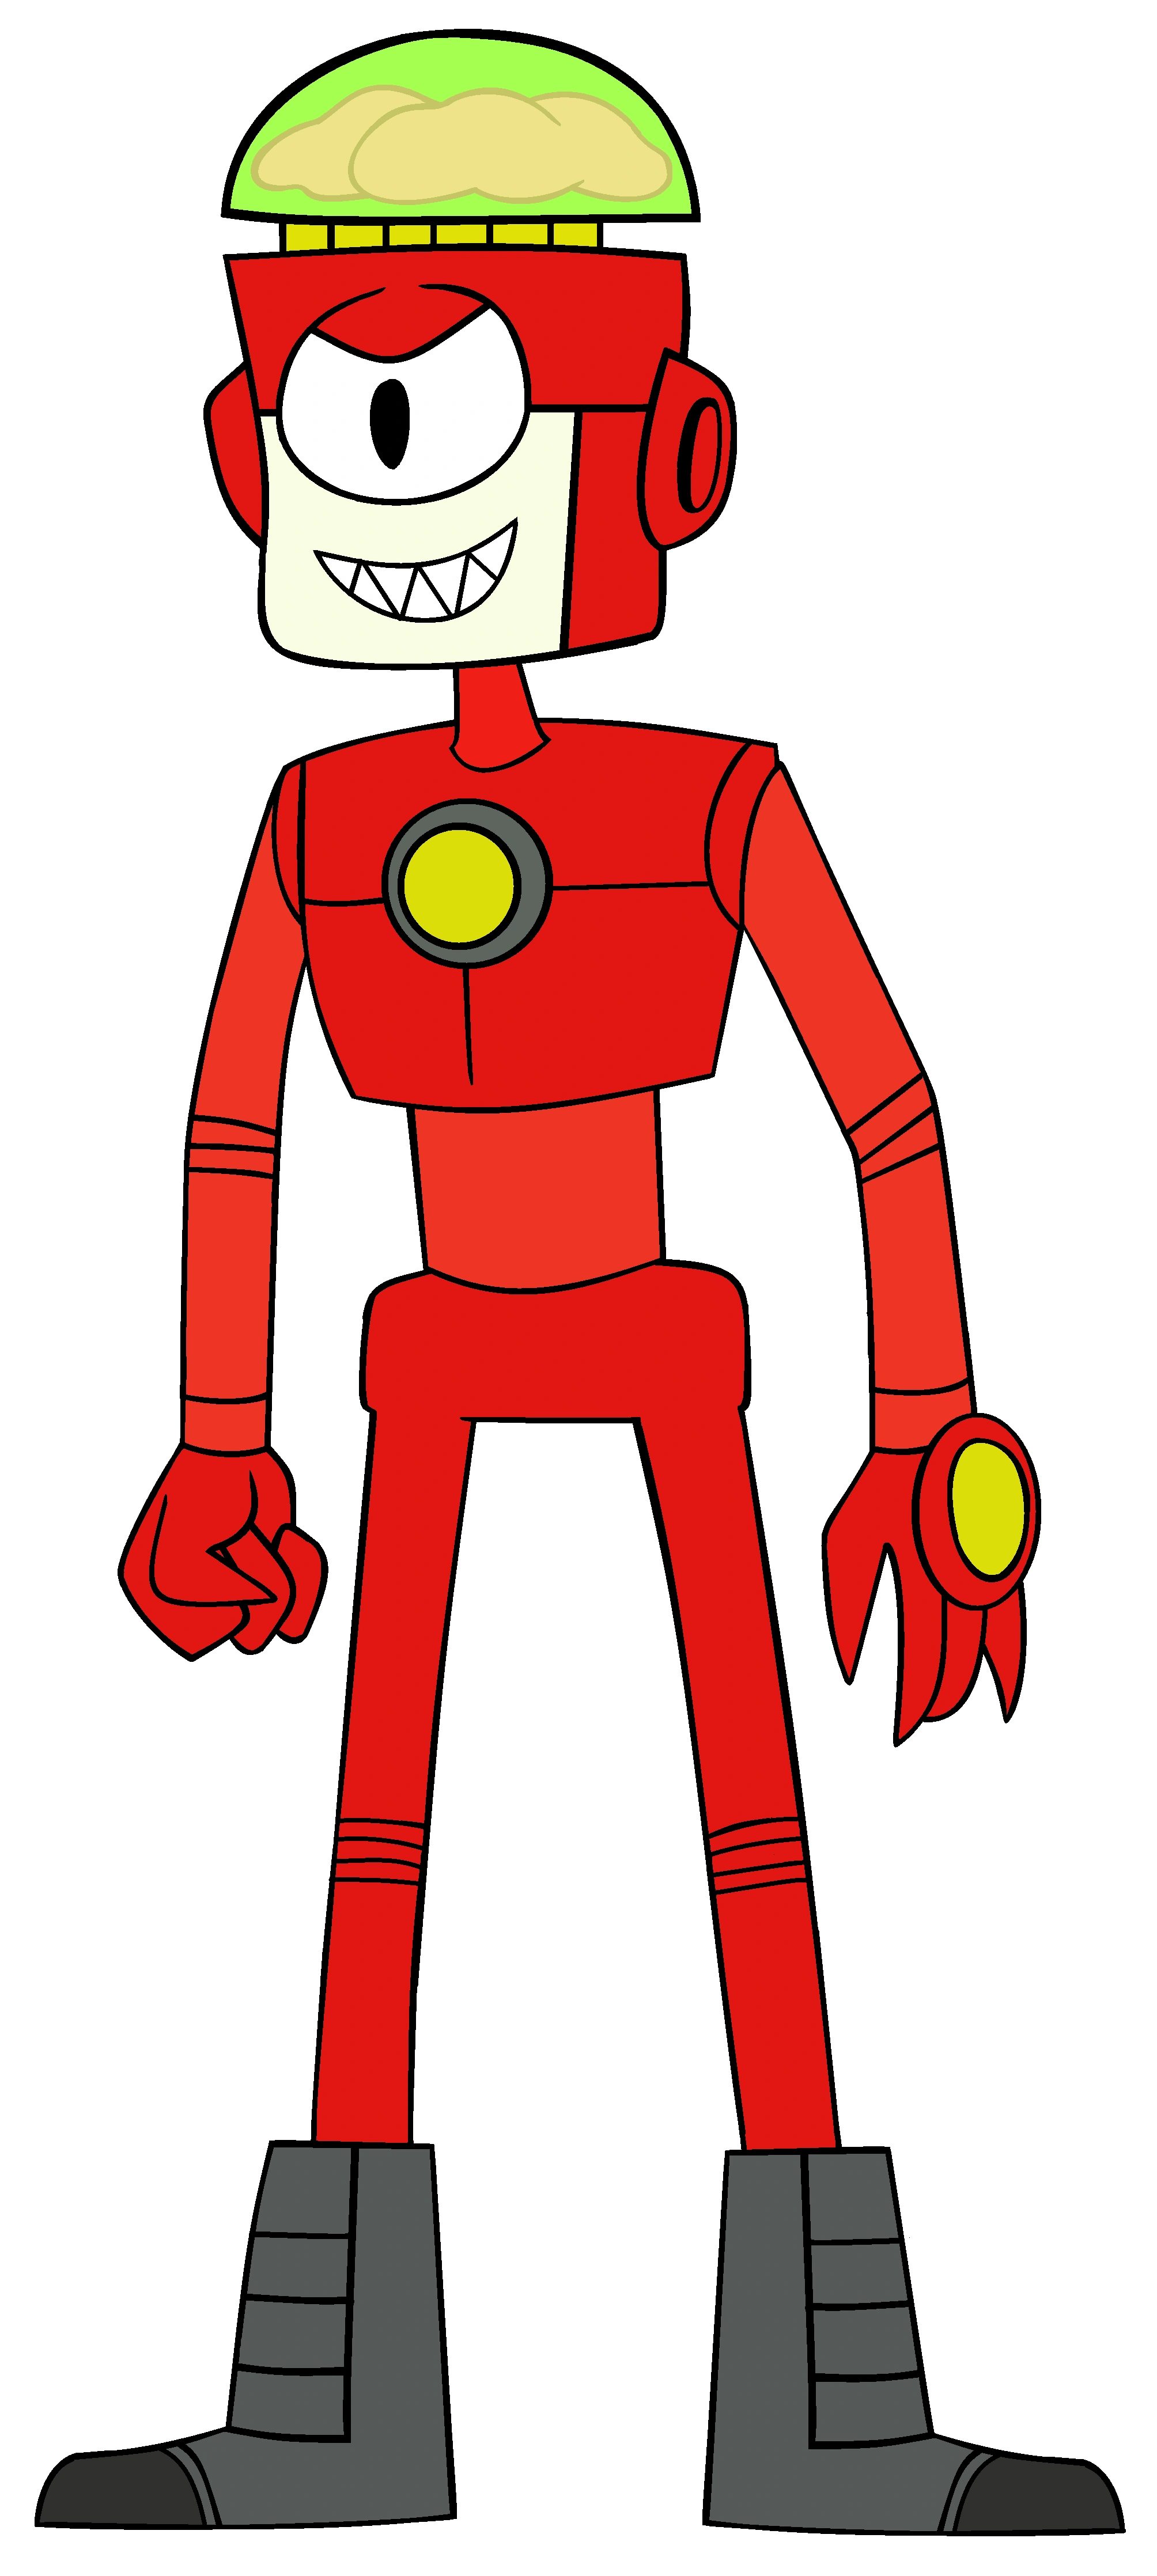 Darrell |
A level -4 robot created by Lord Boxman, Darrells can come in multiples but they all share the same thoughts and personality, consisting mostly of "trickery, persistence, and stupidity". Darrel was actually one of the three non-obelisk bosses from the original game, but in this installment he is a full-fledged character part of the Menacing Machines Team. He attacks using laser blasts and various other robotic abilities. MAX MODE MOVES
| ||
 Shannon |
A level -4 robot created by Lord Boxman, Shannons are obnoxious and act spoiled. She is locked into a rivalry with her brother Darrel, although the two do secretly care for each other, as evident in the fact they teamed up to form the Menacing Machines Team with Raymond. Shannons can transform into various weapons, primarily buzzsaws. Shannon is a quick character that can do a lot of damage but is easy to defend against. MAX MODE MOVES
| ||
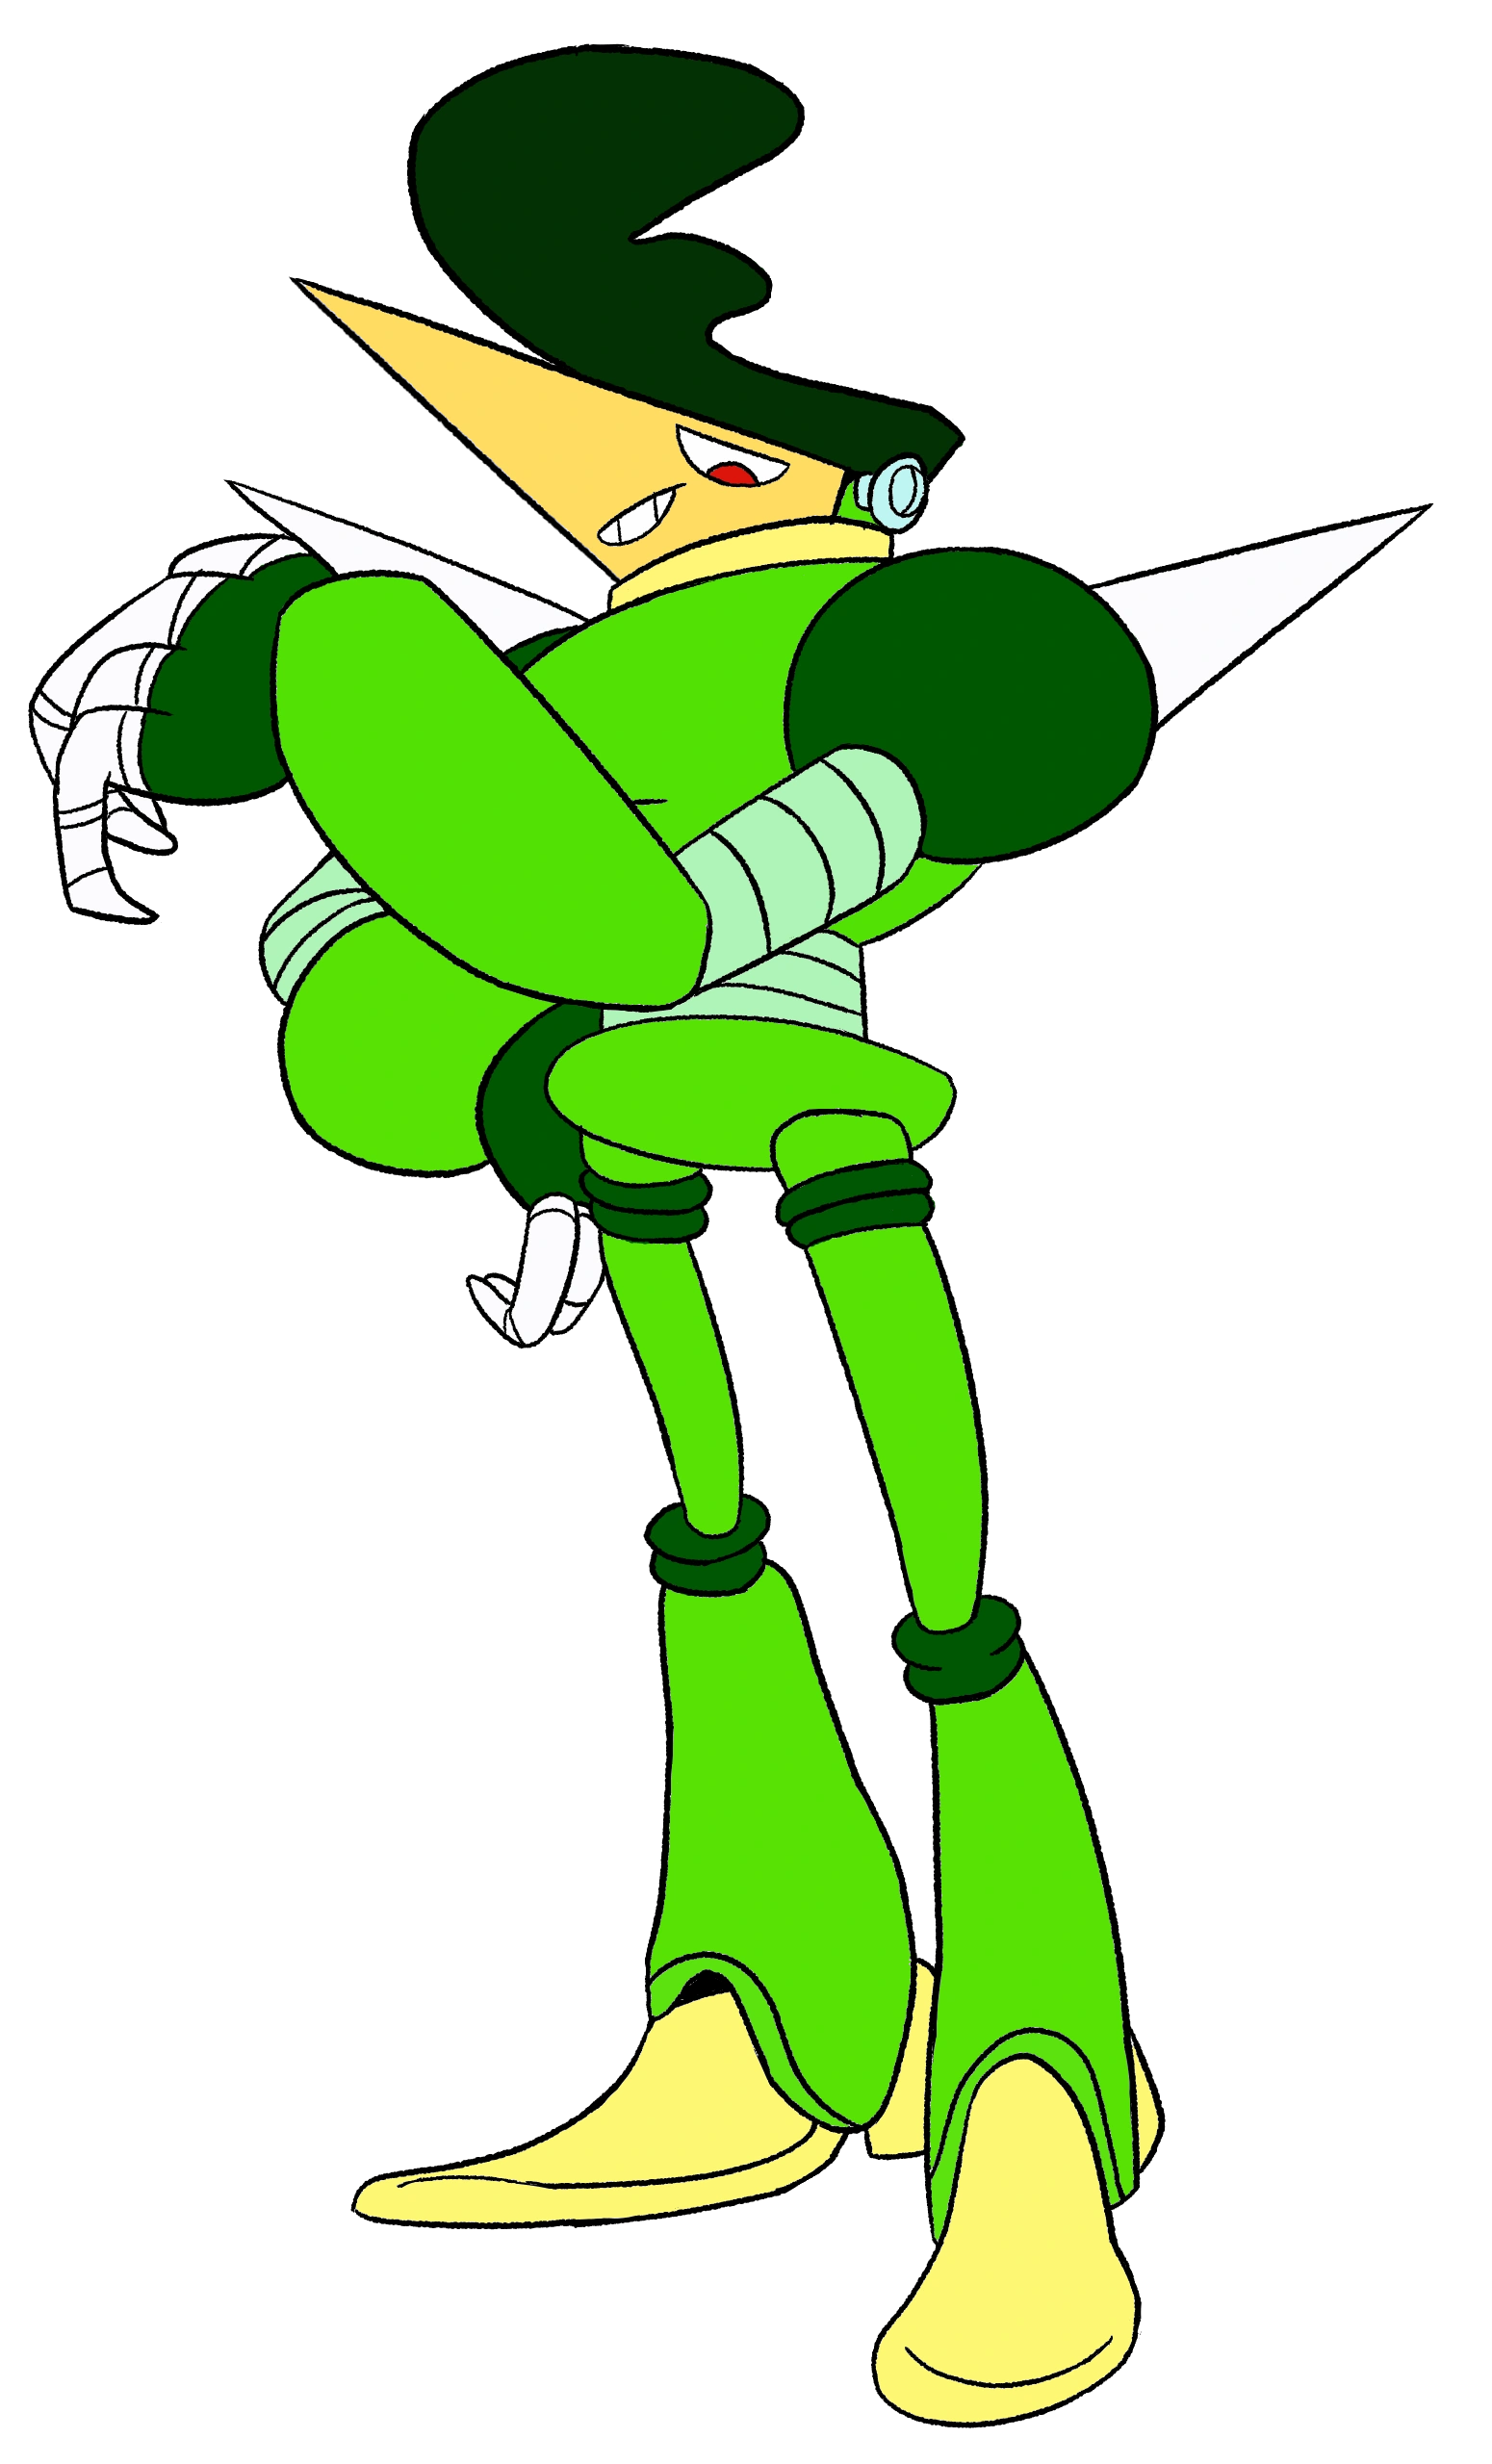 Raymond |
A level -4 robot created by Lord Boxman, Raymonds are incredibly flamboyant and egotistical. He has a sports and roses motif that utilizes for all of his moves, giving him a flair that Shannon and Darrell don't have. He considers himself as the leader of the Menacing Machines team, although barely does anything. Raymond generally attacks with projectiles but has a uncontrollable urge to gloat after preforming his attacks, which can sometimes lead to delays in movement. MAX MODE MOVES
| ||
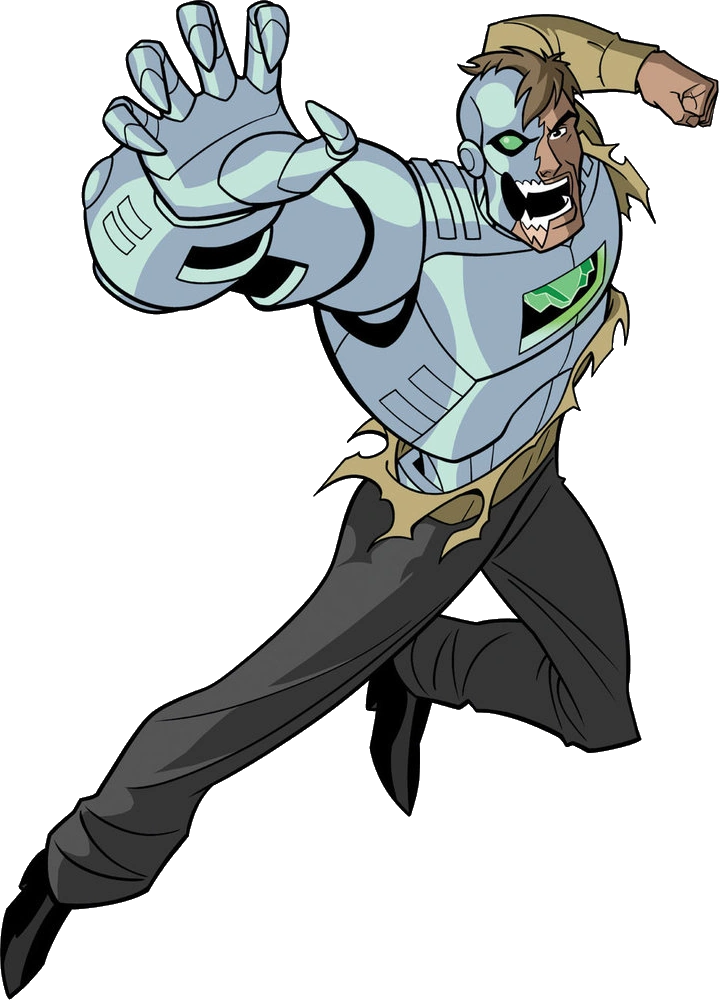 Metallo |
Metallo was formerly a man named John Corben, a criminal for hire, but was caught and jailed by Superman. Having transferred his body into a robotic one to escape his terminal disease, John Corben re-dubbed himself Metallo. Having come across Powergirl and her gal pal Harley, Metallo uses his deadly Kryptonite heart to attack. He has the ability to change the color of his Kryptonite, altering it's effects. Unlocked through any of the following methods:
MAX MODE MOVES
| ||
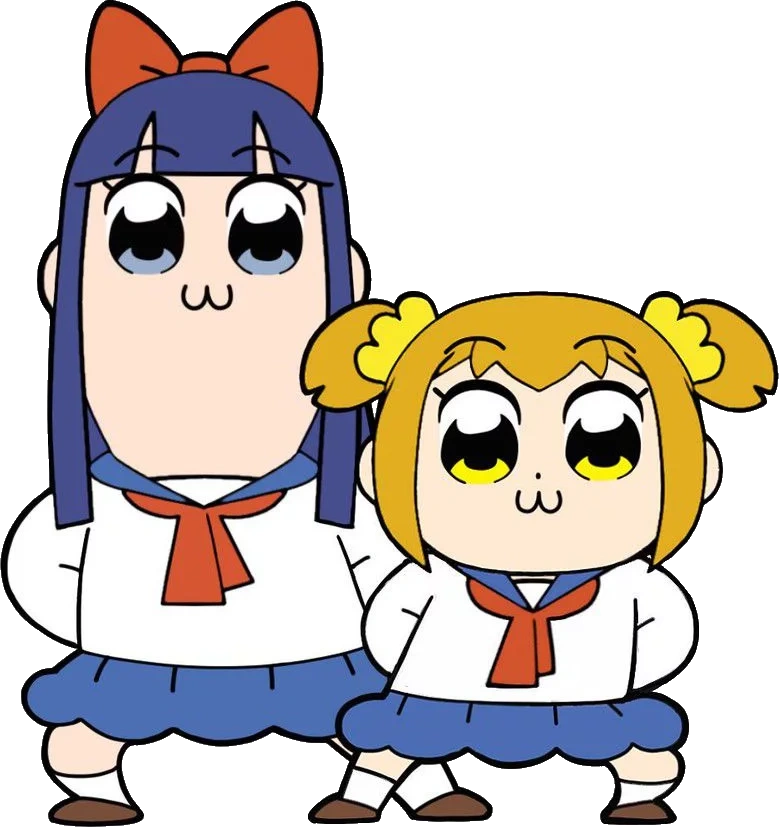 Popuko and Pipimi |
Popuko and Pipimi are a duo that goes by the moniker of Popteamepic, and they're not here to so much fight as much as they are to break the universe itself. Breaking the fourth wall is just what they do, as normal as breathing is. Unlocked through any of the following methods:
MAX MODE MOVES | ||
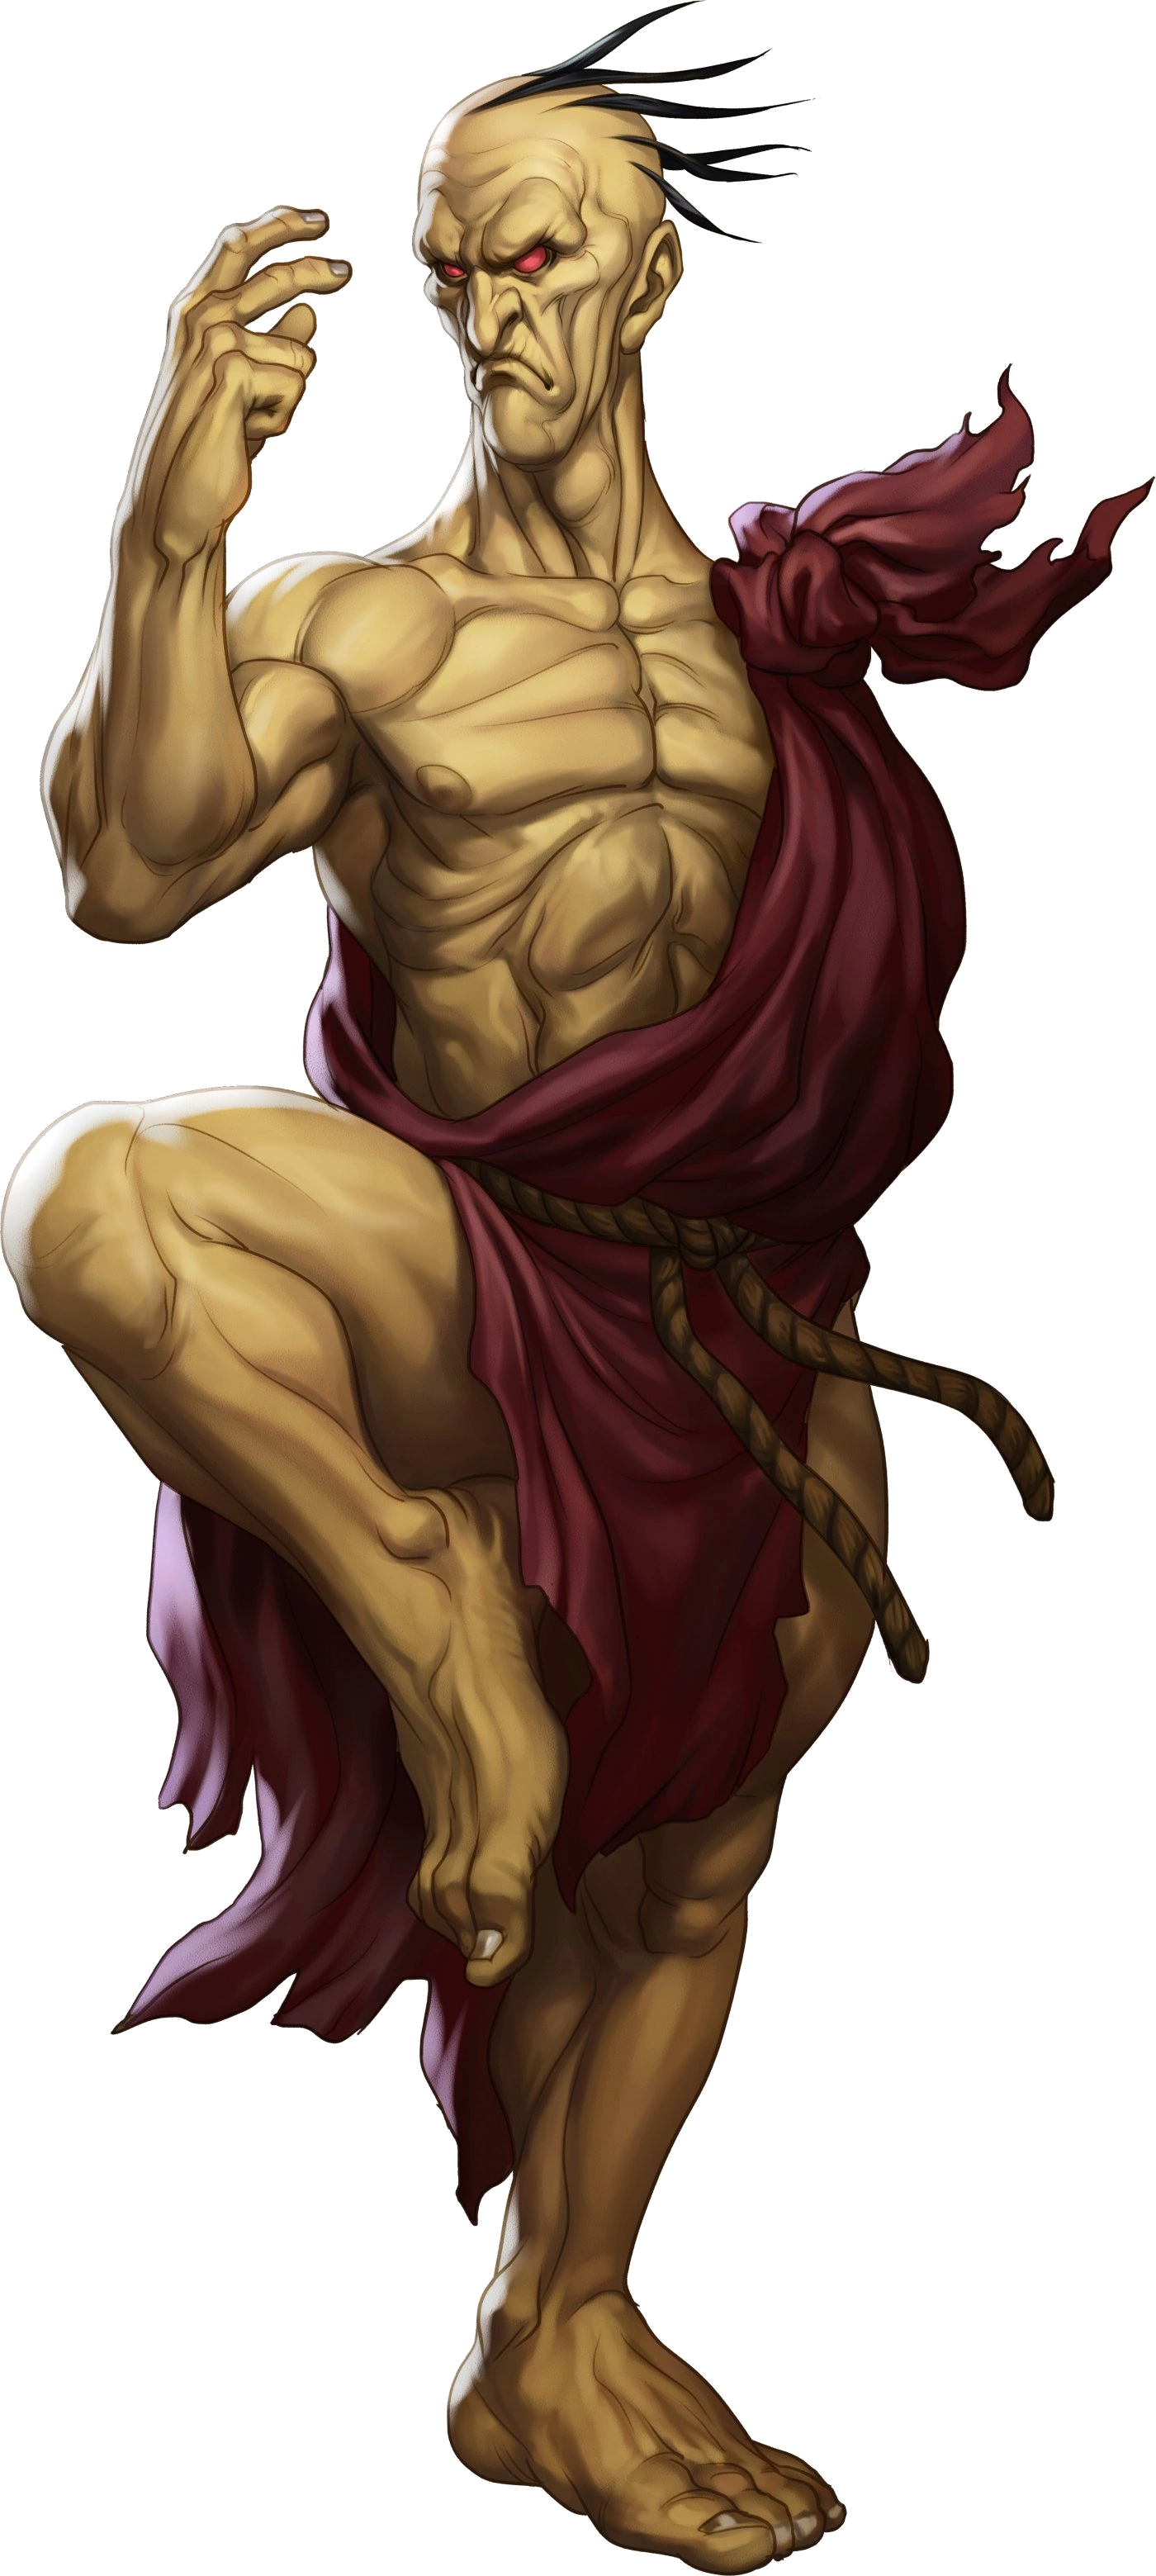 Oro |
Oro is a 140 year old man who has discovered the secret to immortality. He is a hermit and in a league of his own, occasionally showing up to fight masters of battling to show them just how distant their path to obtain that title actually is. His battling prowess has him magically seal off one of his arms just to give other opponents a chance at actually beating him. Unlocked through any of the following methods:
MAX MODE MOVES | ||
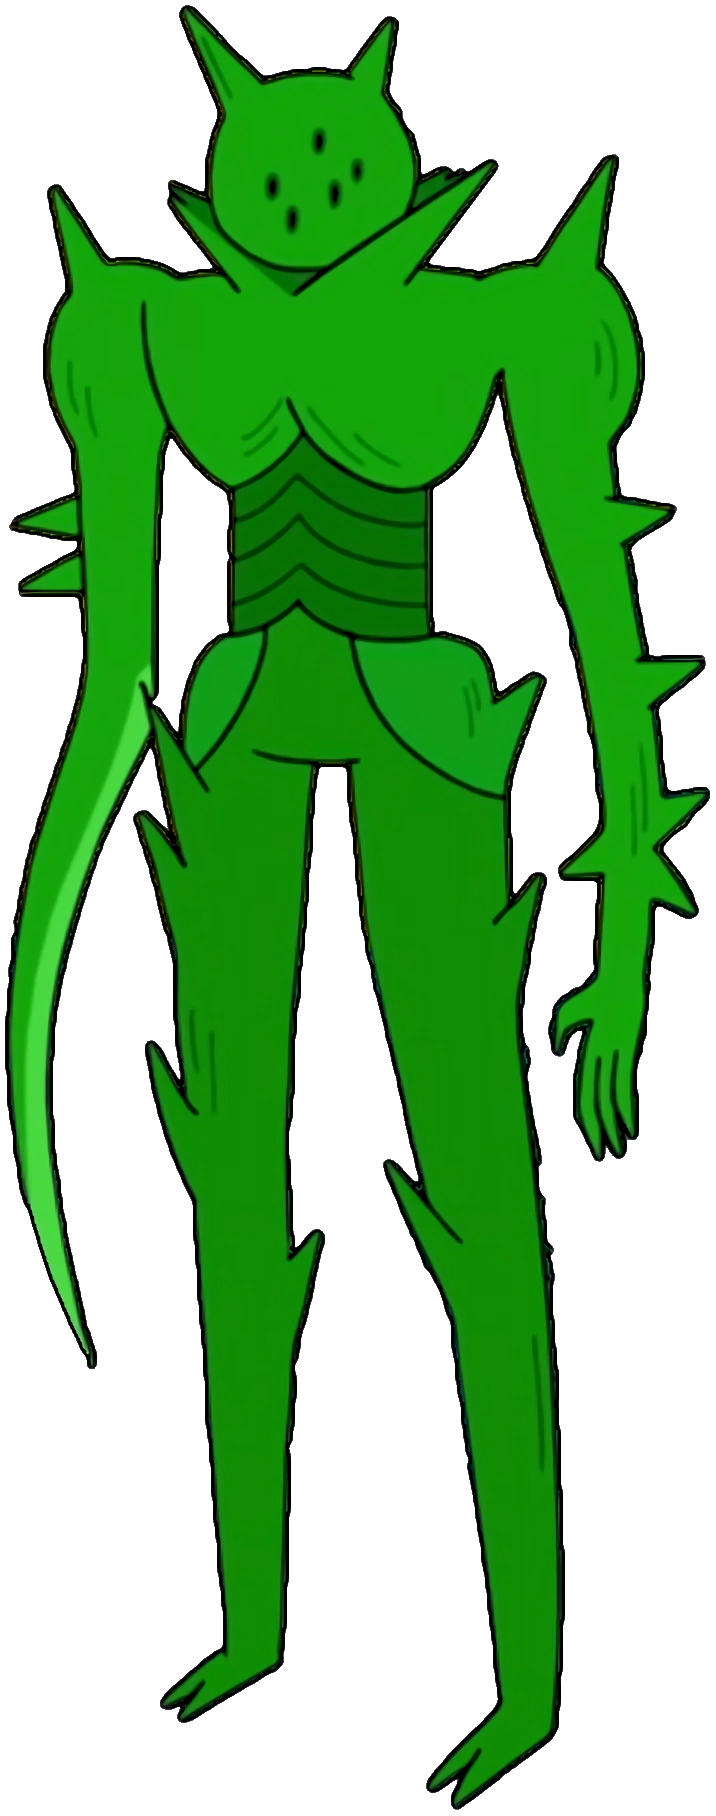 Green Knight |
??? Unlocked through any of the following methods:
MAX MODE MOVES | ||
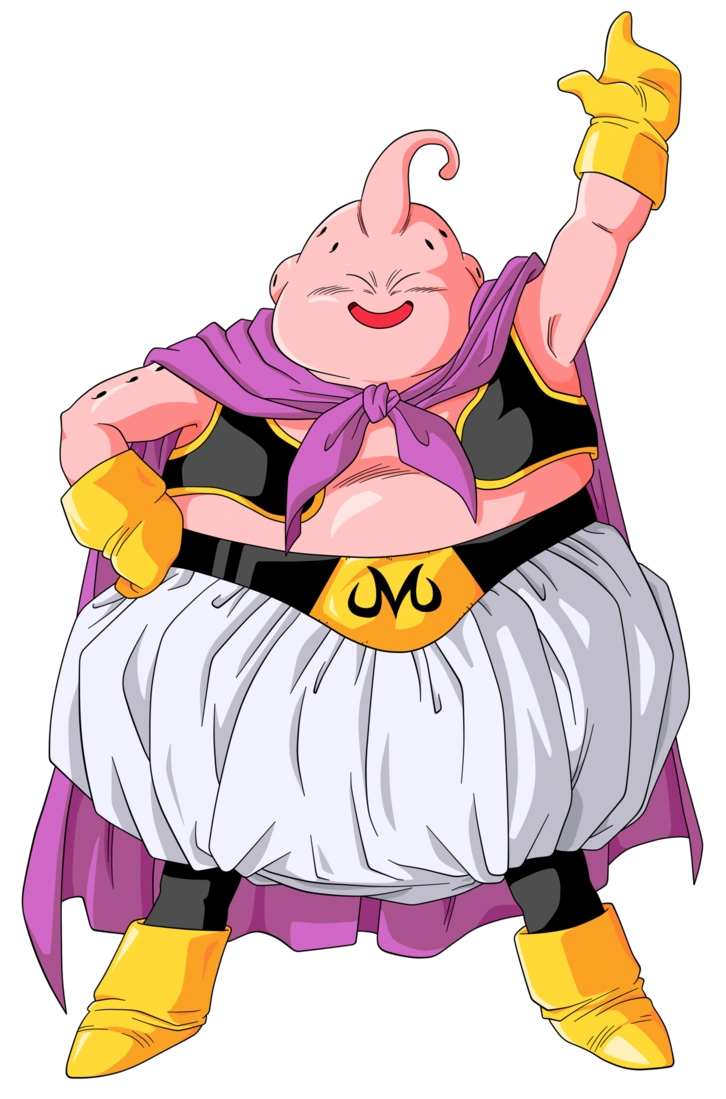 Majin Buu |
Majin Buu is unleashed during the events of the Unchained Time Saga, taking on the form of Innocent Buu, who has no sense of right or wrong and a childish personality that's backed by unspeakable power. He's a truly fearsome foe with a bouncy movement, as well as strange yet powerful attacks like the Cookie Beam and mouth laser beams. Unlocked through any of the following methods:
MAX MODE MOVES
| ||
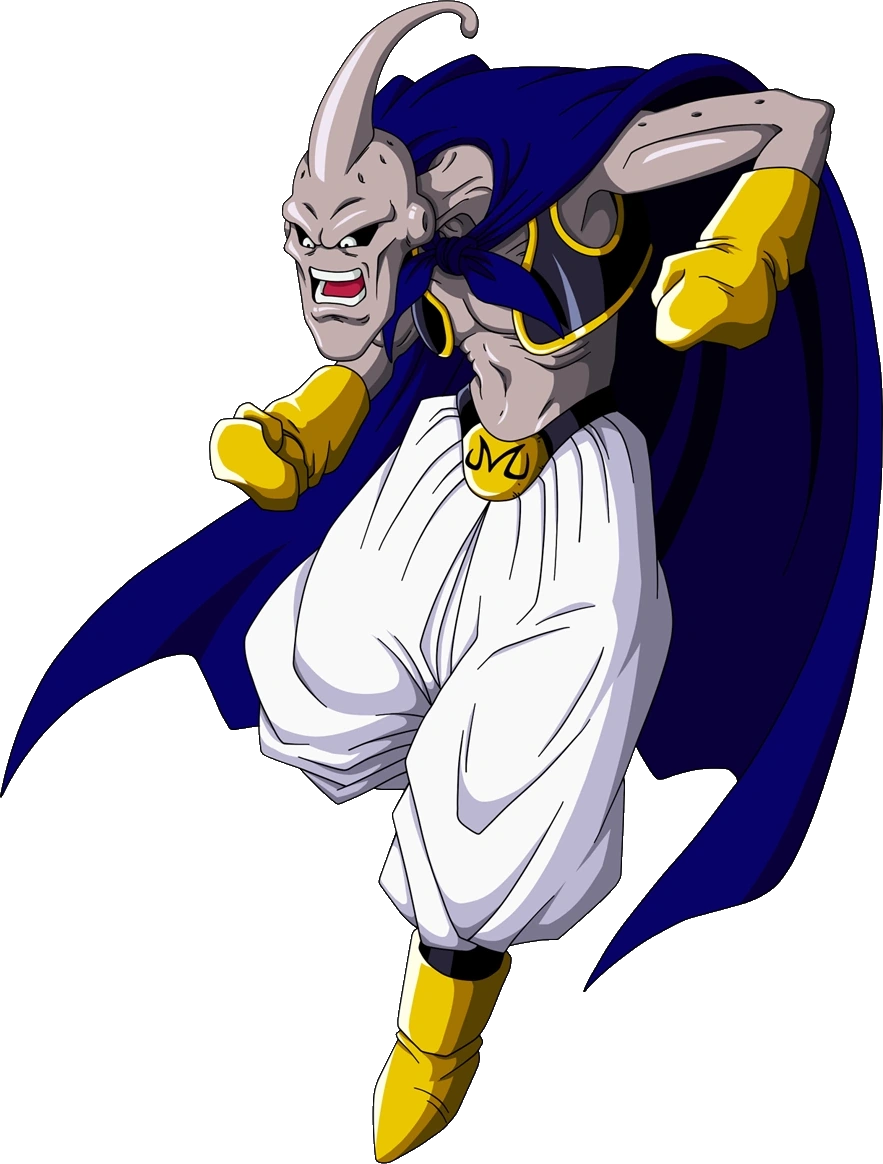 Evil Buu |
Innocent Buu attempts to destroy the evil within him by expelling it, which creates this gangly looking creature known only as Evil Buu. Evil Buu may not have all the powers Majin Buu has, but he's still an absolute cunning menace and may be the smartest of the forms Buu has. Unlocked through any of the following methods:
MAX MODE MOVES
| ||
 ??? |
??? Unlocked through any of the following methods:
MAX MODE MOVES | ||
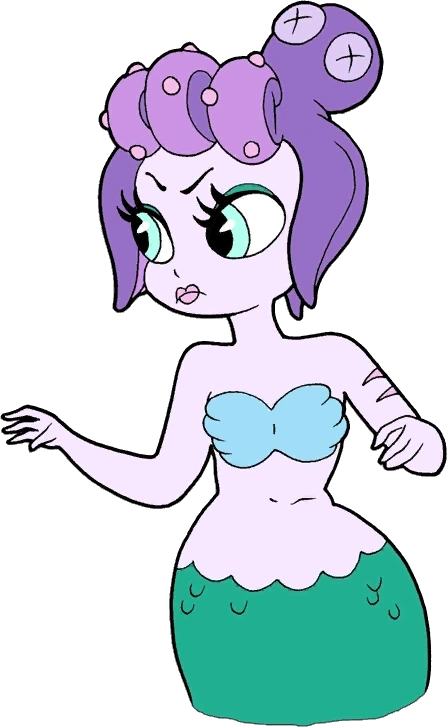
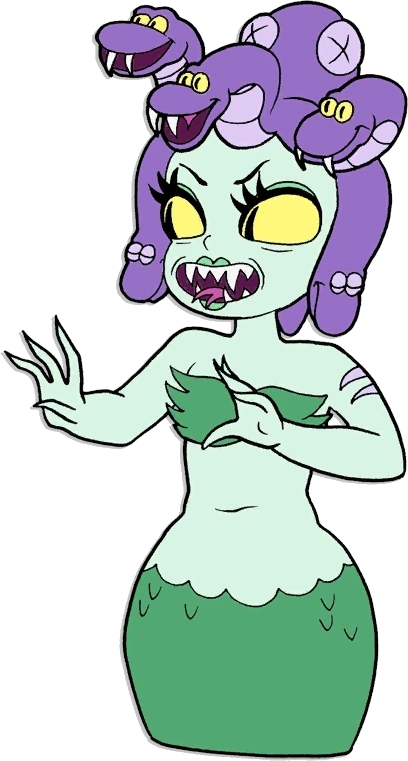
Teams & Pairs & Solo Characters[]
Similar to the last game, there are characters that belong in a team together. There also pairs of characters that belong together. Then there are characters that are considered "solo characters". This lists all the teams, pairs, and solo characters. The Phantogram system awards characters lined up this way.
| Teams & Pairs & Solo Characters | |||
| Standalone | |||
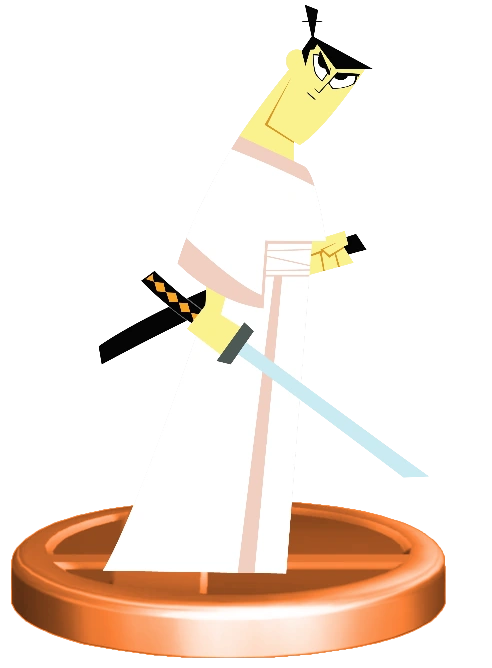 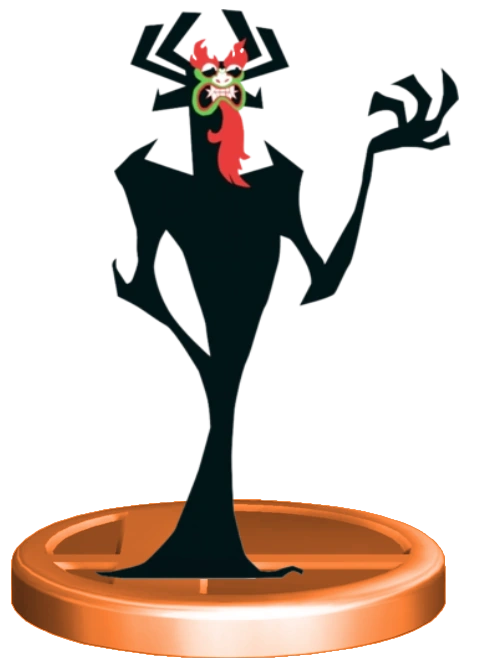 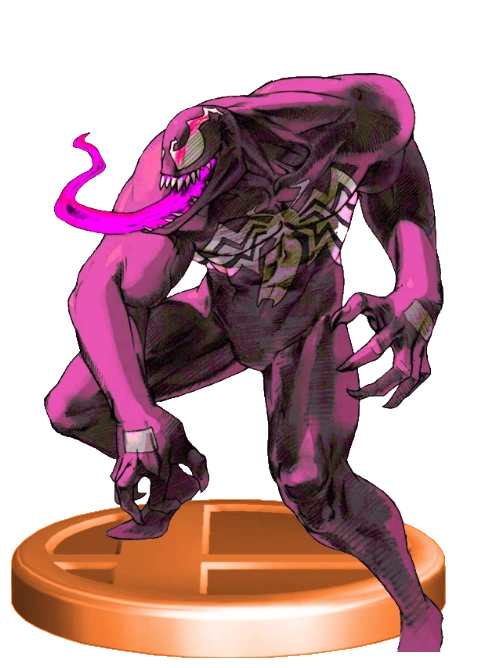 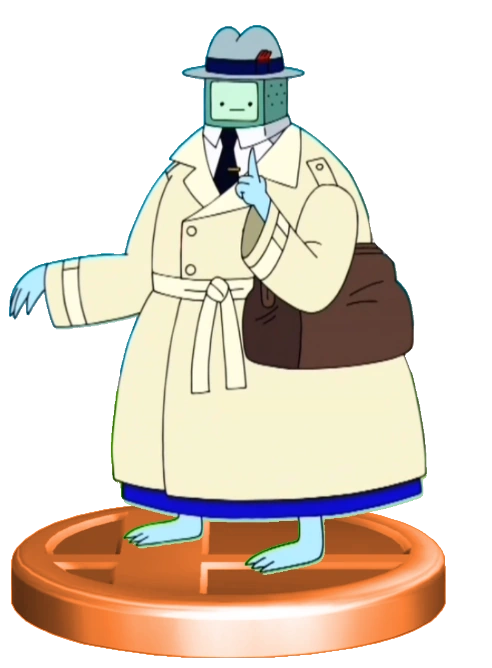 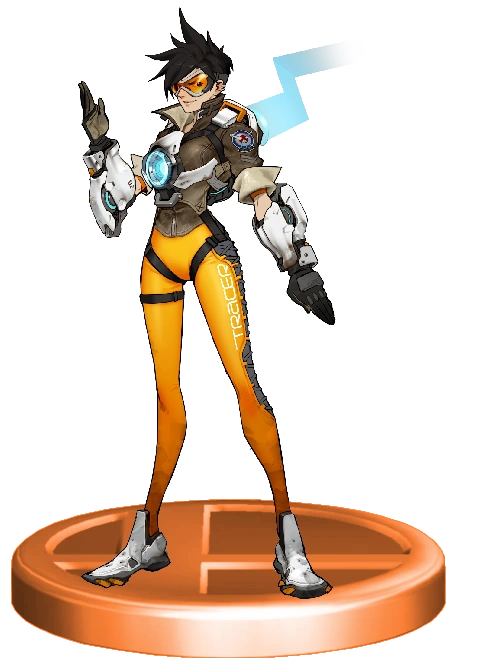   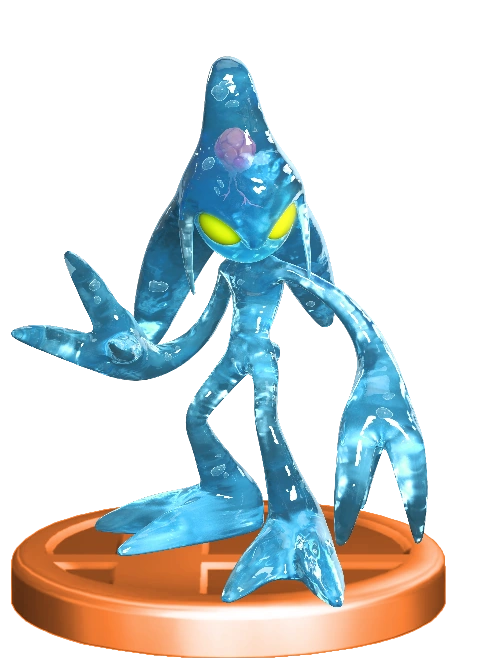 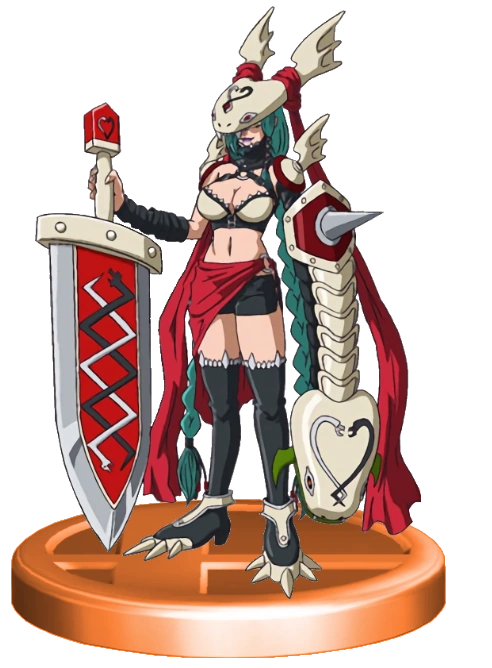 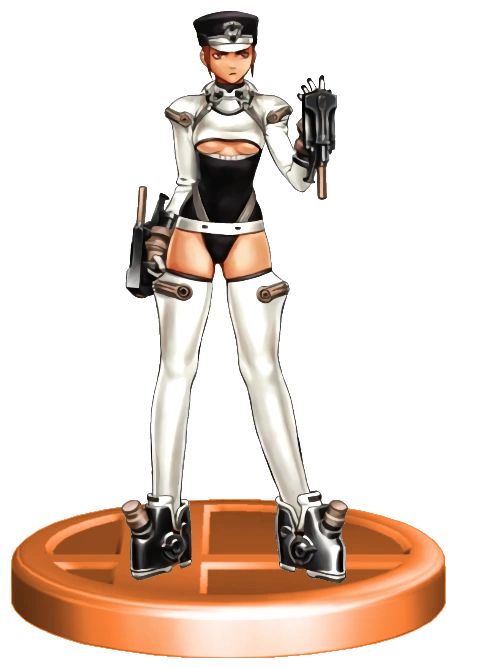 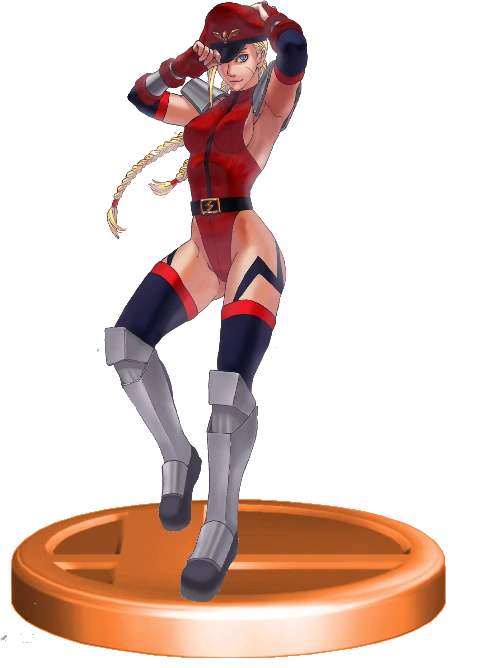 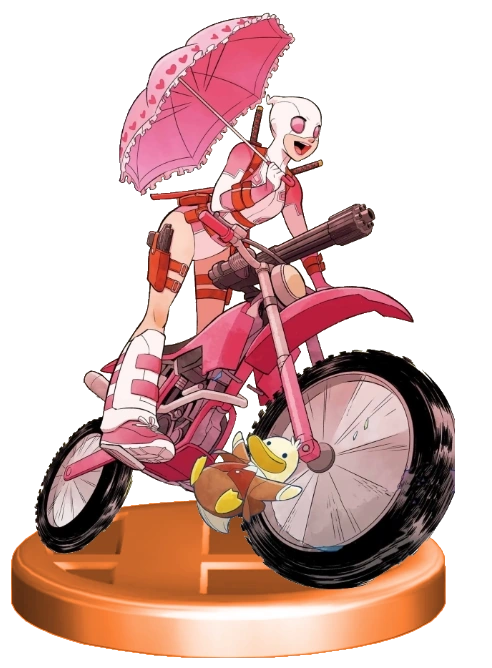 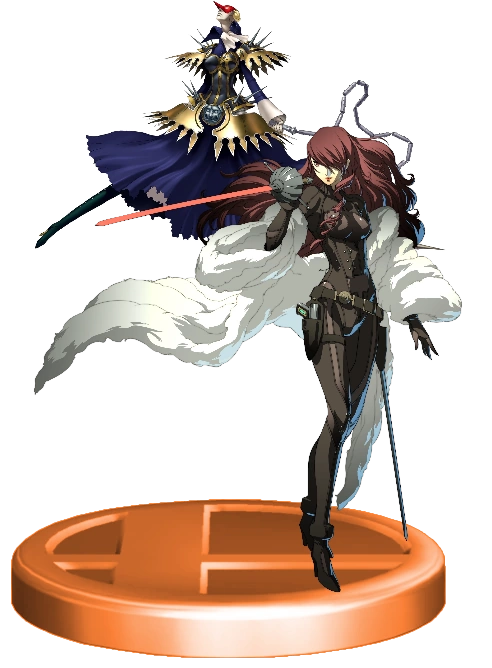 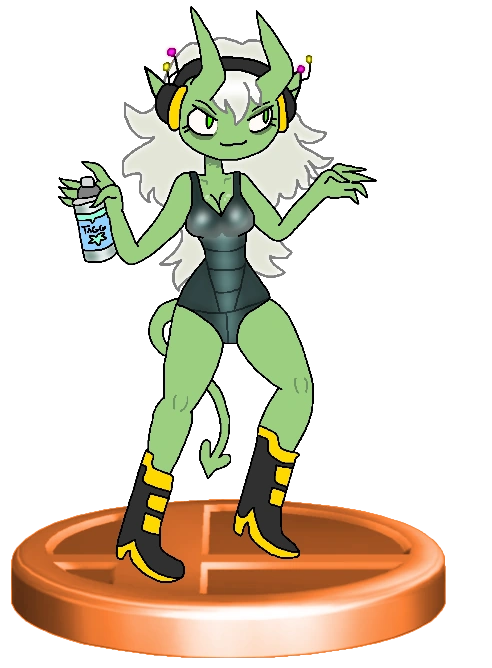 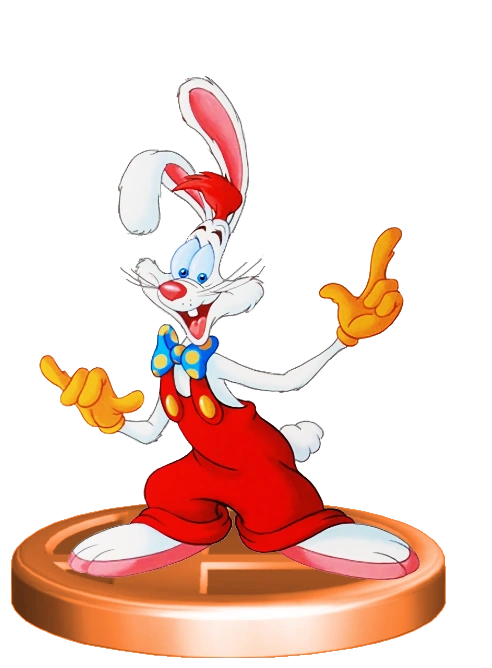 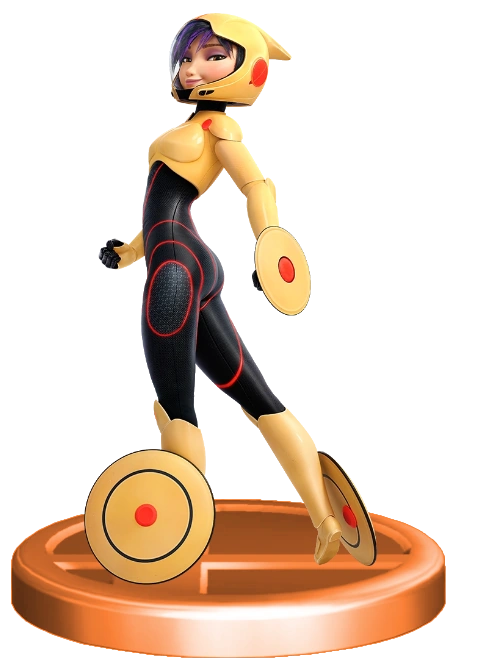 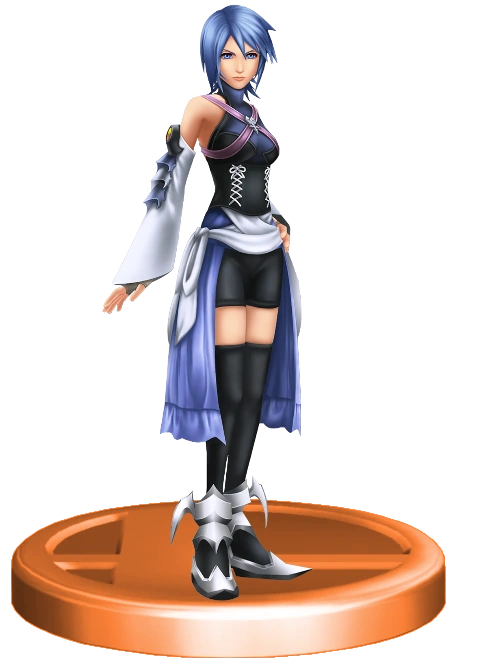 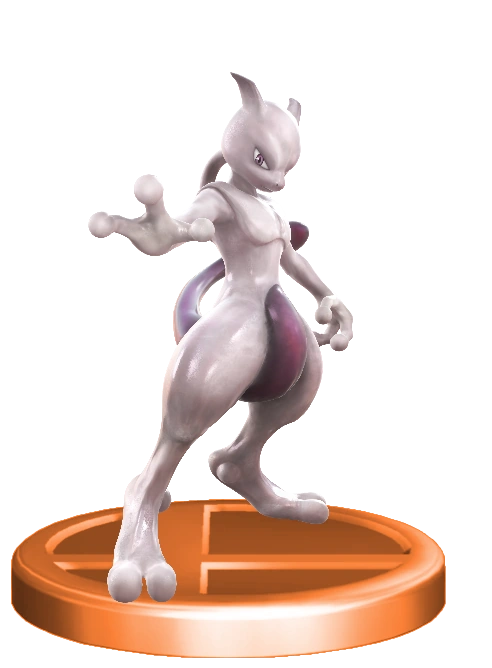 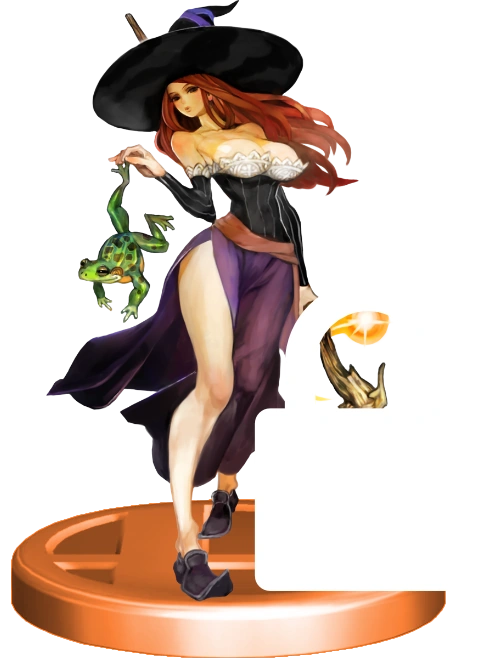 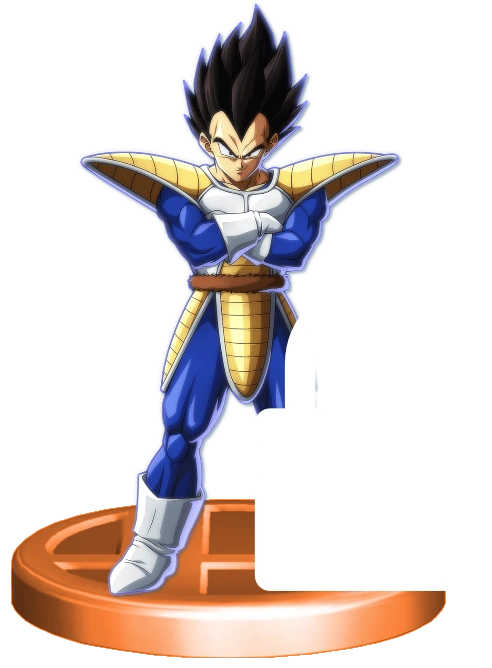 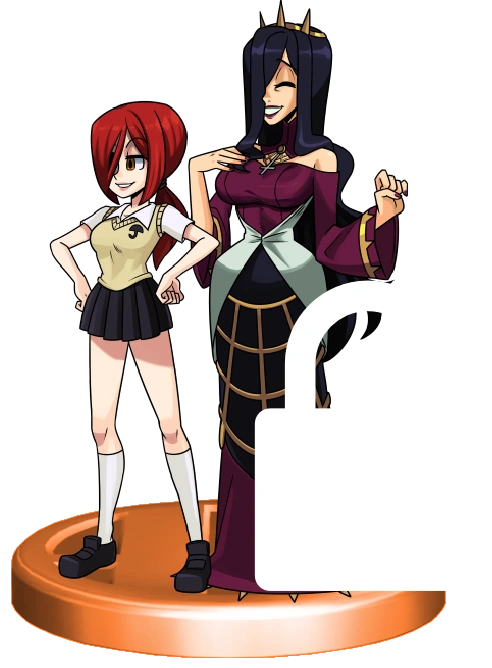 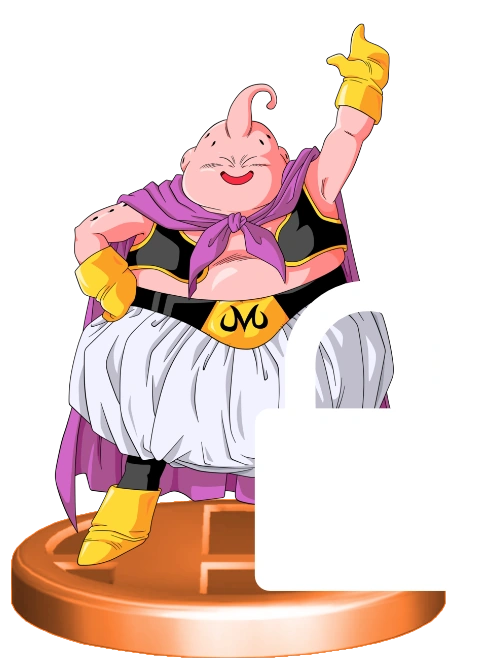 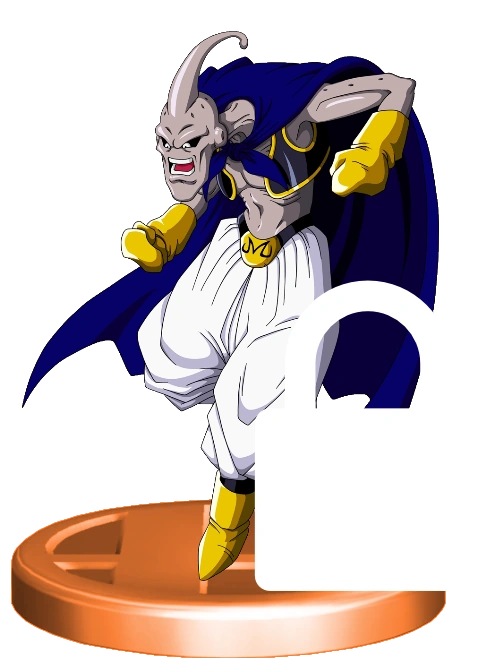 These characters do not fit into any team or pairing. Samurai Jack, Aku, Candy Venom, Salesman BMO, Tracer, Launch, C. Viper, Chaos, Minervamon, Solis R8000, Ms. Bison, Gwenpool, Mitsuru Kirijo, Absinthe, Roger Rabbit, Gogo, Aqua, Mewtwo, Hekapoo | |||
| Starting Teams | |||
| Team | Characters | ||
|---|---|---|---|
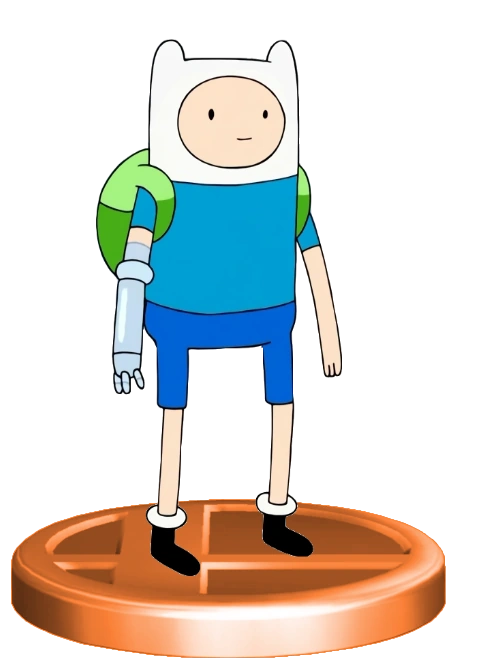 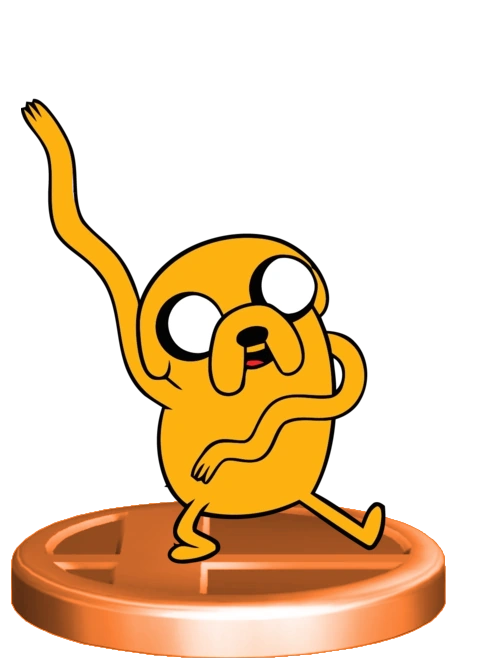 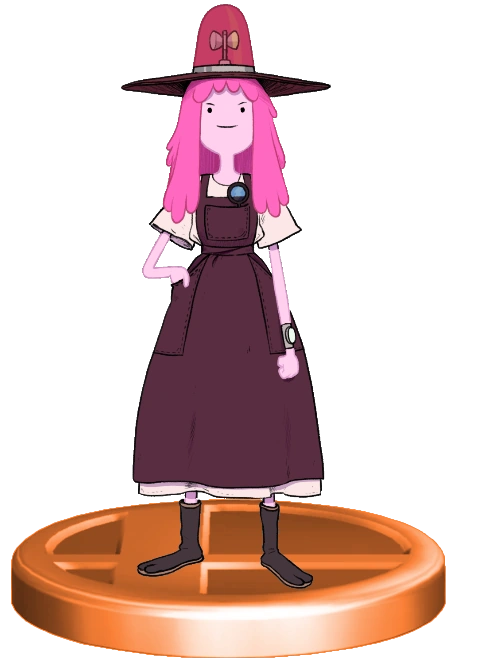 Candy Kingdom Team |
The princess and her protectors, hailing from the Candy Kingdom. This trio is a bit more fragmented than normal due to Princess Bubblegum working behind the scenes on the time problem.
Finn, Jake, Princess Bubblegum | ||
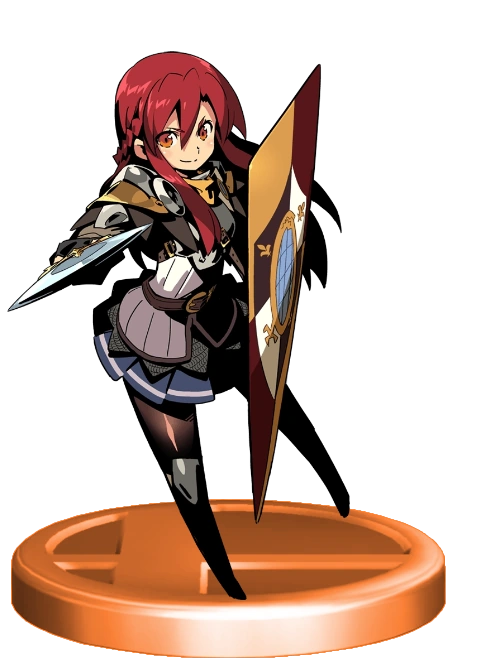 Candy Knights Team |
Finn, Jake, and Raquna form this alternate team for the Candy Kingdom, being the protectors of the Candy Kingdom. While there is some rivalry between Finn and Raquna, they work well as a trio.
Finn, Jake, Raquna Sheldon | ||
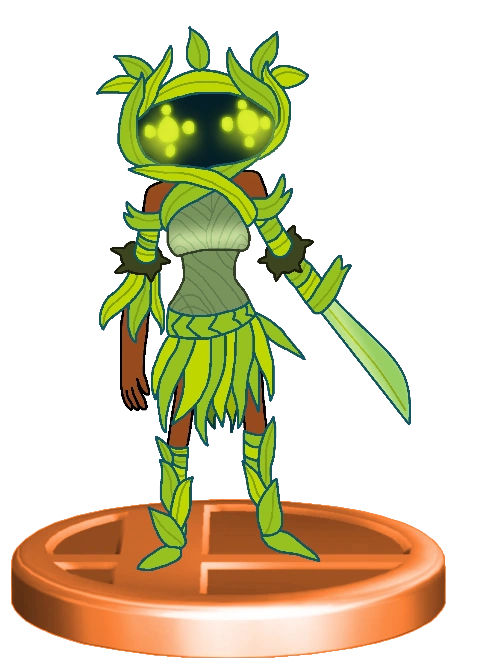 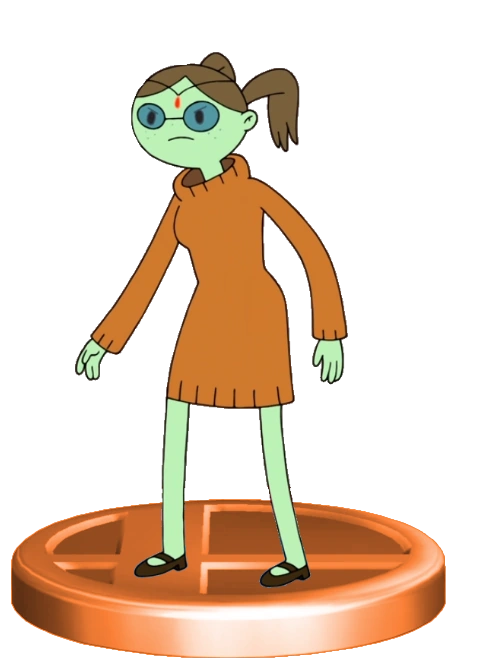 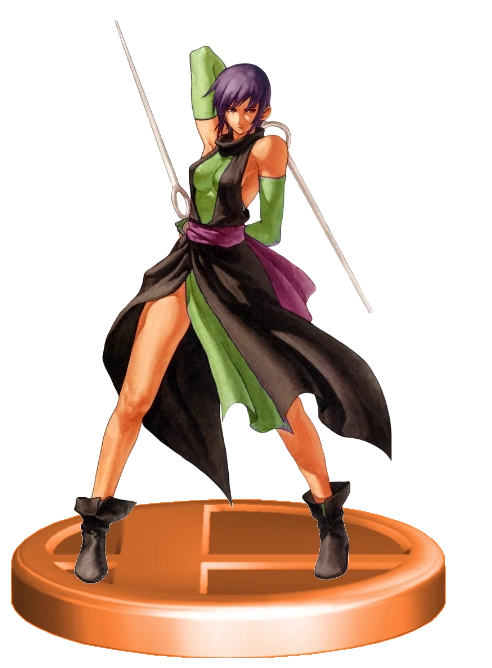 Cursed Team |
Glade just wants to be left alone, but Dr. Princess wants to help her overcome her trauma and to enlist her help to stop the Time Twister, as well as her own private personal reasons. Joining them is a yet to be revealed character.
Glade, Dr. Princess, Shiki | ||
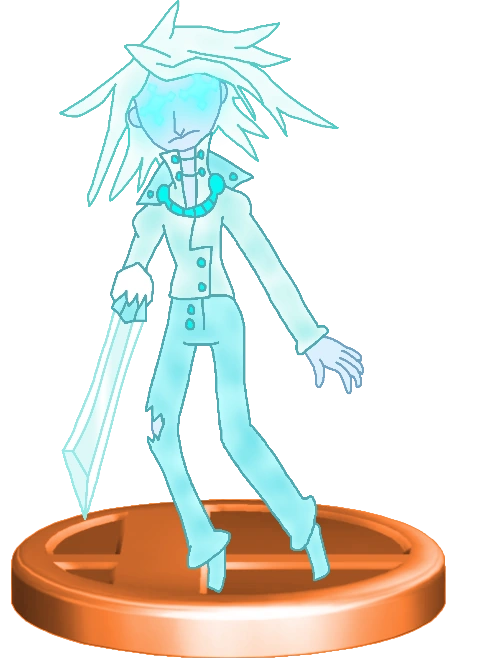 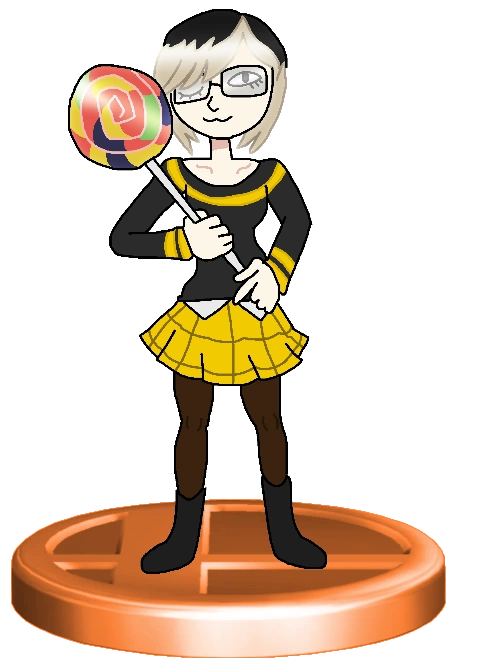 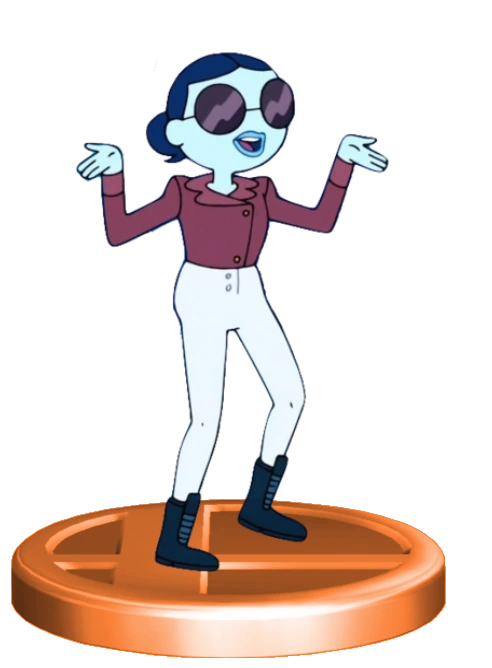 Elemental Gathering Team |
Frost, born in the South Town Kingdom but raised and trained in the Ice Kingdom by Patience, intends to gather the three other elementals. Joined with him are the quirky but deadly Kat Jannings and Patience St. Pim. What is their goal? Nobody knows...
Frost, Kat Jannings, Patience St. Pim | ||
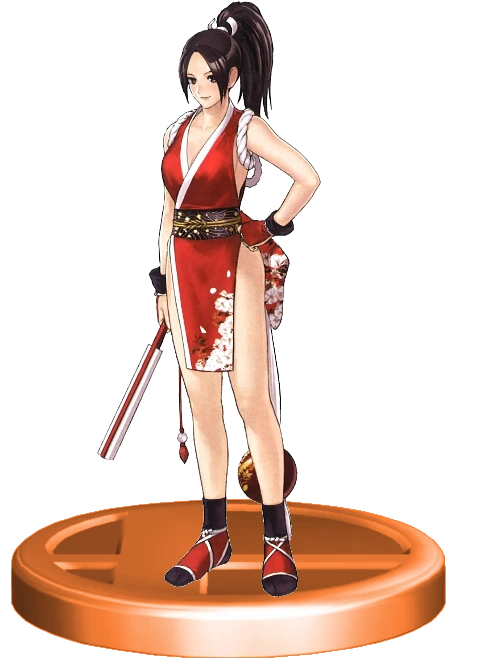   Mai Team |
Mai, now a famous idol, has to keep up her popularity in the face of her new rival Maki. She is joined by her bodyguards/back-up performers Luong and Angel.
Mai Shiranui, Luong, Angel | ||
| Maki Team | Maki is Mai's rival, with her more punk attitude gaining her plenty of attention, both good and bad which infuriates Mai Shiranui. She is joined with Felicia and Poison, two of her bodyguards who also assist in her performances.
Maki Genryusai, Felicia, Poison | ||
| Neo Southtown Team | A reformed Southtown Team that is no longer led by Mai since she left the group, the new addition Shermie plans to use the Time Twister to reawaken Orochi while the group struggles internally to fight her plans due to her massive power.
Alice, Blue Mary, Shermie | ||
| Sand Kingdom Team | Queen Cleopatra and her mummies are on the prowl due to the strange on goings with time travel. Cleopatra, now free to do what she wants due to her master's death, is now attempting to stop her old rival Eliza.
Cleopatra, Lovely Mummy, Mummy Cat | ||
| The Girl and the Robot | Samus and R.O.B are a happy couple who tend to work together on cases they've been given. They have been sent out by the Candy Kingdom to locate Joke's End to get to Crait so they can find the Crait Dragon Balls.
Zero Suit Samus & R.O.B | ||
| Black Lab Team | Since the Lab 8 Team is no more and Valentine has begun to work for the Canopy Kingdom again, this team was formed in the time twister crisis under the leadership of Parasoul, with mercenary Ms. Fortune tagging along.
Parasoul, Valentine, Ms. Fortune | ||
| Partenaire Team | Formed by Ruby Heart and consisting of a crew of herself, Amingo, and SonSon, the group previously counted on the forces of many kingdoms to defeat the being known as Abyss. He has now returned, in a much stronger form, requiring the crew to once again defeat him.
Ruby Heart, Amingo, SonSon | ||
| Ruined Kingdom Team | Now that the YoRHa Team has escaped the future and become human, they reside in the abandoned remains of the Ruined Kingdom, a kingdom that was ravaged by something big that still lives in there. They work in the shadows to keep Aeo safe, and will not come out of those shadows until the time is right.
2B, A2, 9S | ||
| Blade Team | From a alternate timeline where the Candy Kingdom has fallen, Blademaster Finn is the only surviving member of the cataclysm and has since been amassing hundreds of blades to deal with any challenge out there in the Candy Wasteland. He is joined by two living blades: Pyra and Natsu.
Blademaster Finn, Pyra, Natsu | ||
| Bomb Team | Powergirl, having crashed into Harley Quinn's place on Coney Island, has lost her memory, which Harley Quinn is too quick to take advantage of. After recovering her memory no thanks to Harley, the two women have to work together when the mall they're in is caught inside the Time Twister.
Powergirl and Harley Quinn | ||
| Sisterhood of Mutants Team | Spiral regains Psylocke's loyalty by force and now seeks to go back in time to follow Mojo's orders- of which she is getting tired of. She finally snaps against Mojo and bringing the powerful Psylocke with her- go back in time to prevent the existence of Mojo.
Spiral and Psylocke | ||
| Lakewood Plaza Team | Formed from KO, Enid, and Radicles, this trio are the heroes of the Lakewood Plaza, always fighting Lord Boxman's bots and time after time proving themselves to be true heroes. The POINT Entrance Exam, however, sparks old feelings in Enid, and not exactly happy ones.
KO, Enid, Radicles | ||
| Enid's Team | Formed during the POINT Entrance Exam, Enid splits off from KO and Radicles after they appear to be dead weight to her, forming a new team with Red Action and Punching Judy. This team excels in combat and proves to be quite formidable during the Enterance Exam... is it enough to beat Enid's rival Elodie?
Enid, Red Action, Punching Judy | ||
| Elodie's Team | Elodie is already part of POINT Prep, but joins the Entrance Exam tournament solely to crush her rival Enid. She backstabs and plays off the trust instilled into her to get what she wants, and her team is meant to be a counter to Enid's own team.
Elodie, Black Strategy, Holo-Pearl | ||
| Saiyan Team | The Saiyan Team couldn't arrive at a worse time for the heroes, as they plan to conquer Aeo under the behest of Vegeta and Frieza. These alien warriors are a serious threat against any team that stands in their way!
Raditz, Gine, Nappa | ||
| Bliss Kingdom Queens | Having claimed a small part of land on Aeo since the Obelisk saga, Katsuragi and Taokaka now rule over their own kingdom known as the Bliss Kingdom. They intend to make a good place to stay so pretty women are inclined to live there, even though right now it mostly consists of a tree house and a inflatable pool...
Katsuragi, Taokaka | ||
| Black Egrets Team | Umbrella is the temporary leader of the Black Egrets team, which Parasoul was formerly the head of before she formed the Black Lab Team with Valentine and Ms. Fortune to investigate the site of the Obelisk. The team is highly skilled, although their new leader is rather young and couldn't be less concerned about battles.
Umbrella, Molly, Roxie | ||
| Hyrule Warriors Team | Princess Zelda leads the Hyrule Warriors team, featuring her retainers from the Gerudo Kingdom and Sheikah Kingdom. They have been "enlightened" thanks to the Obelisk, and seek to spread their power across Aeo through "anti-conquest" methods.
Princess Zelda, Urbosa, Impa | ||
| Twin Vipers | Eliza has a new body guard that joins her in battles known as the lust-powered Deep Violet. The two form a powerful duo that is willing to threaten and destroy anyone in their path that doesn't bend to their dominating will.
Eliza, D. Violet | ||
| Emerald Theft Team | Formed to steal the Master Emerald from Angel Island, this team might as well not be a team at all; Ms. Fortune only steals the Master Emerald under Eliza's threats and does all the work.
Eliza, D. Violet, Ms. Fortune | ||
| Midoriya Team | Formed to take on fighters in the POINT Entrance Exam, Izuku formed this team with Ochaco and Fumikage. Fumikage is hospitalized later on, requiring a new member named Mei Hatsume. Over Izuku's training, he learns how to use the ability Full Cowl to use his powers more effectively.
Izuku Midoriya or Deku (Full Cowl) | ||
| Bakugo Team | Formed to take on fighters in the POINT Entrance Exam, Bakugo enlists the power of UA's recommendations students, who are blessed with very powerful and useful quirks. Bakugo's rage ends up being a uniting factor for Shoto and Momo later on, leaving the team to begin a new one with Tsuyu.
Katsuki Bakugo, Momo Yayorozu, Shoto Todoroki | ||
| Internship Team | Momo and Shoto leave Bakugo after the tournament to form a new team with Tsuyu to take on the ongoing time-warping threat. With their quirks, the three make a pretty powerful team!
Momo Yayorozu, Shoto Todoroki, Tsuyu Asui | ||
| Sonic Team | Shadow and Rouge have left Eggman and teamed up with Sonic to track down the Chaos Emeralds to try and defeat a new threat known as Chaos, who comes from the shattered remains of the Master Emerald.
Sonic the Hedgehog, Shadow the Hedgehog, Rouge the Bat | ||
| Scepter Team | TBA
Cia, Volga, Linkle | ||
| Scissor Blade Team | With their dream home set up thanks to the Obelisk, Ryuko, Mako, and Satsuki live and love in comfort. Ryuko is not totally relaxed though, as she senses something strange about the fact a lot of the people they knew were given their wishes from the Obelisk. When the Candy Kingdom asks for back-up from the group, the Scissor Blade Team returns to action!
Ryuko, Satsuki, Mako | ||
| Life Fiber Duo | TBA
Omiko Hakodate, Maiko Ōgure | ||
| Lily Pirates | TBA
Bonne Jenet, ???, ??? | ||
| Unlockable Teams | |||
| Team | Characters | ||
Menacing Machines Team |
Boxman sends his forces through the Time Twister, mostly because he wants to feel like he's part of the action. Comprising of the robots Darrell, Shannon, and Raymond, the three form the Menacing Machines Team!
Darrell, Shannon, and Raymond | ||
Gumbald City Team |
TBA
Uncle Gumbald, Chicle, The Green Knight | ||
Stages[]
| Stages | |||
 Dust Graveyard |
A graveyard that is filled with dusty corpses that could be brought back to life as Dust Zombies. Rather misty and dark... FLOWMOTION INTERACTABLES
| ||
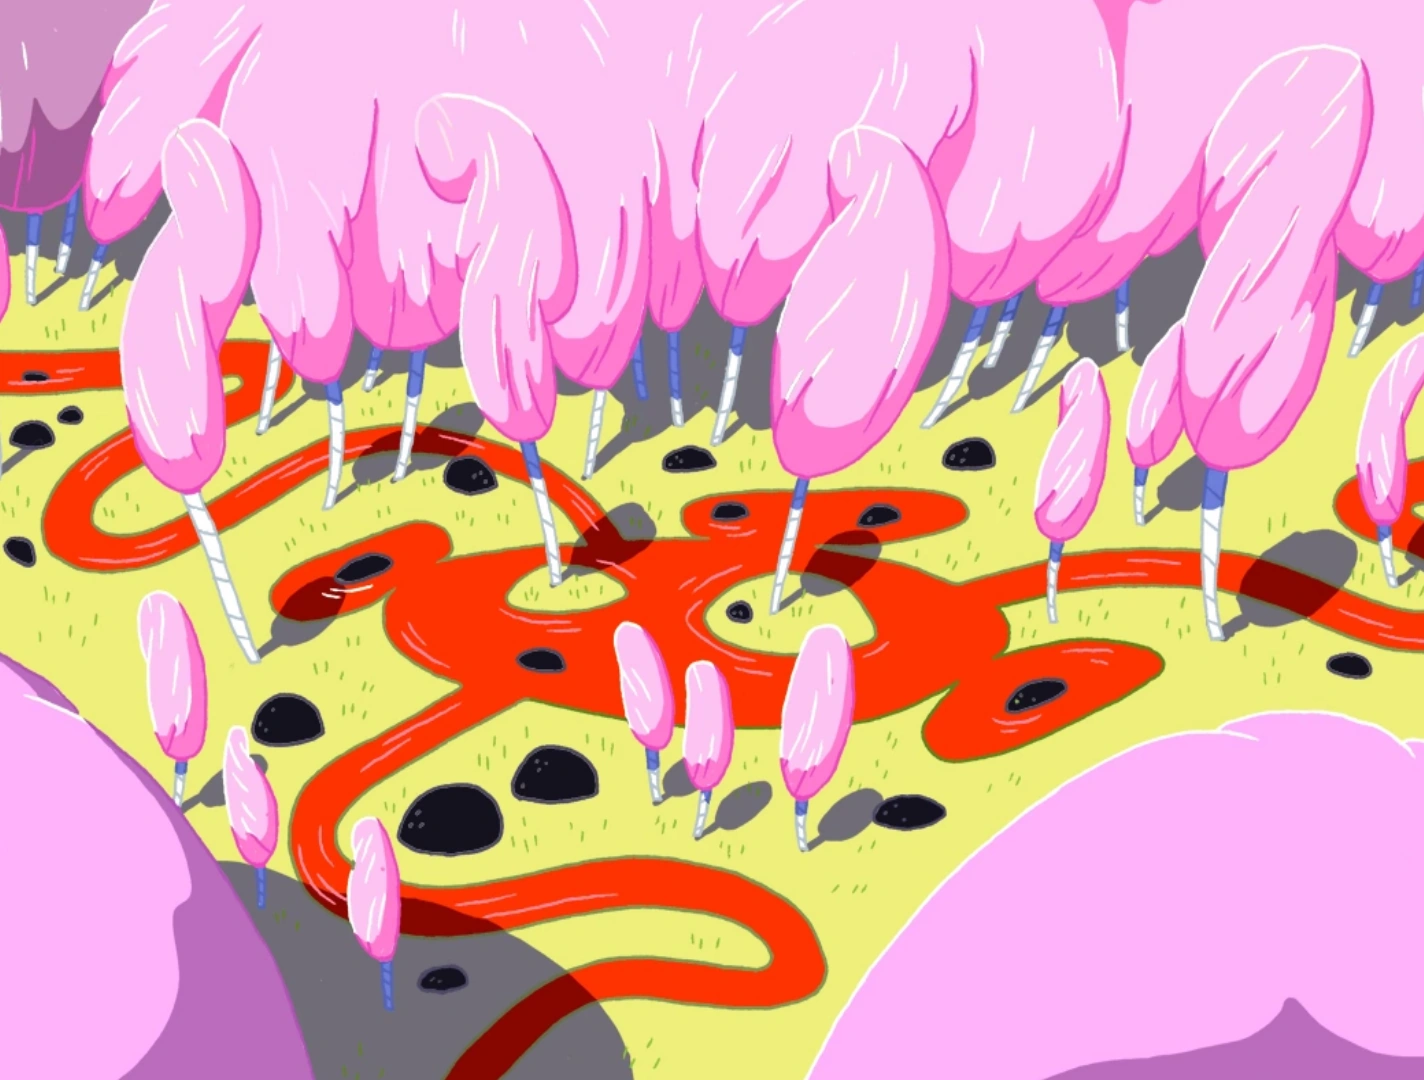 Cotton Candy Forest |
A bright pink forest made of Cotton Candy, near the outskirts of the Candy Kingdom. FLOWMOTION INTERACTABLES
| ||
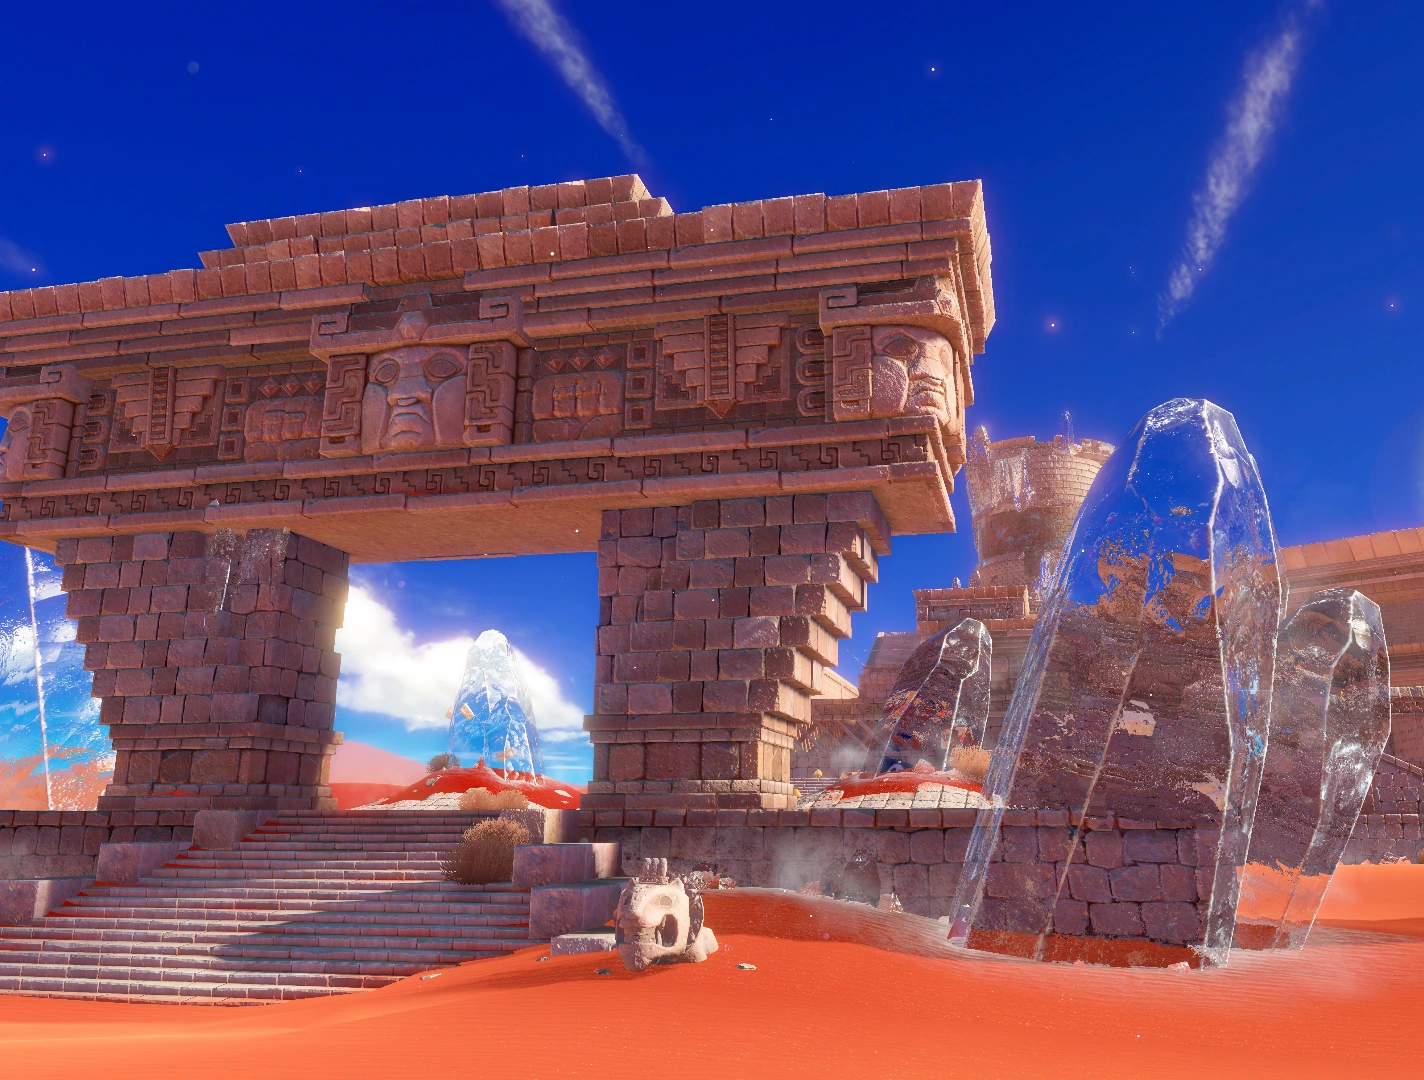 Sand Kingdom |
The Sand Kingdom is a desolated area that was the home of the Tyrant Pharaoh and Cleopatra. They were sealed in the Inverted Pyramid, which begins to rise over the course of your fight here. FLOWMOTION INTERACTABLES
| ||
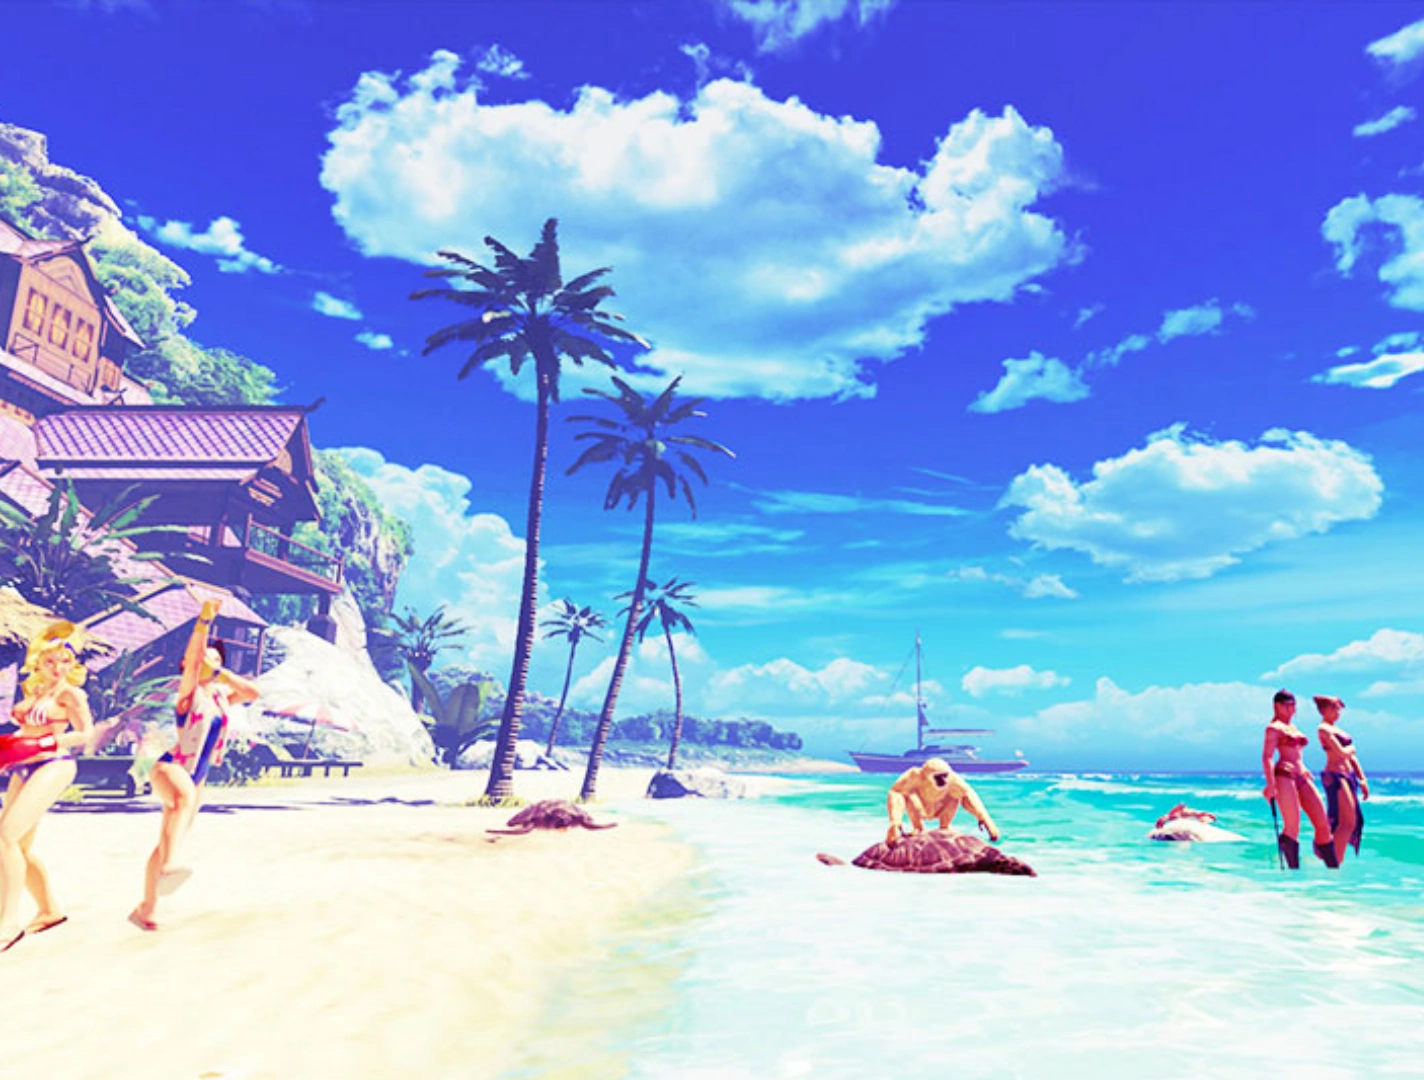 Kanzuki Beach |
Located just south of the Sand Kingdom is Kanzuki Beach. This beach is owned by the Kanzuki family and features many beach goers in the background. Interestingly, the water in this stage recedes over the playing arena. FLOWMOTION INTERACTABLES
| ||
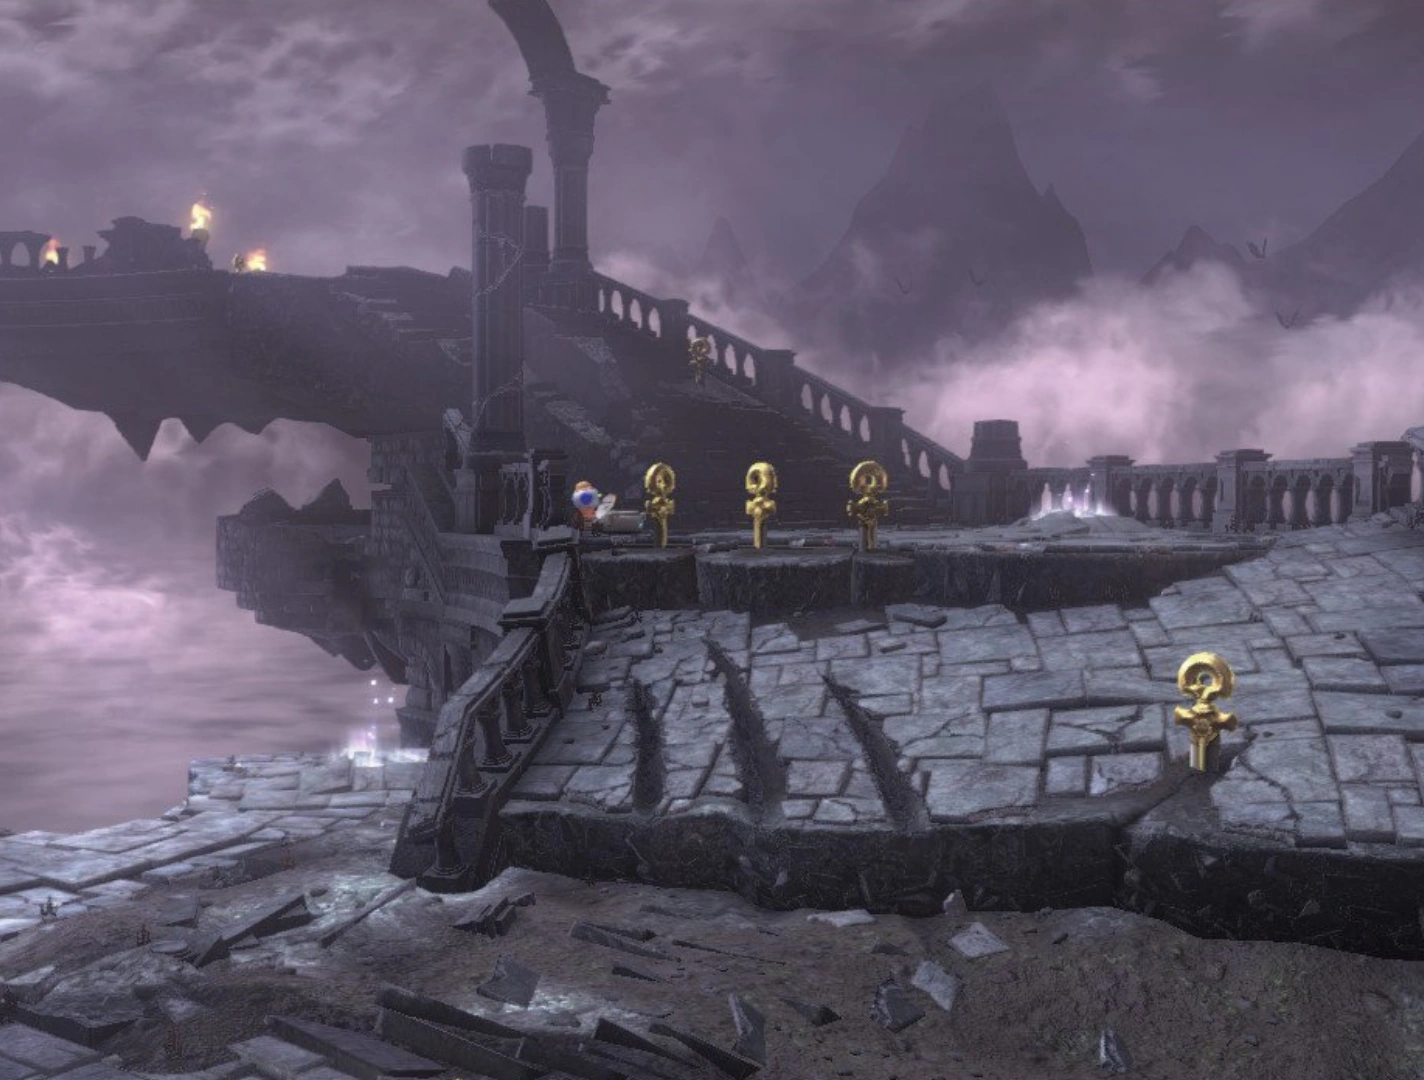 Crumbleden |
Located in the Ruined Kingdom, Crumbleden is the home of 2B, A2, 9S and the Ruined Dragon. This kingdom once used to be something more, but now it is a charred corpse of what it once was. FLOWMOTION INTERACTABLES
| ||
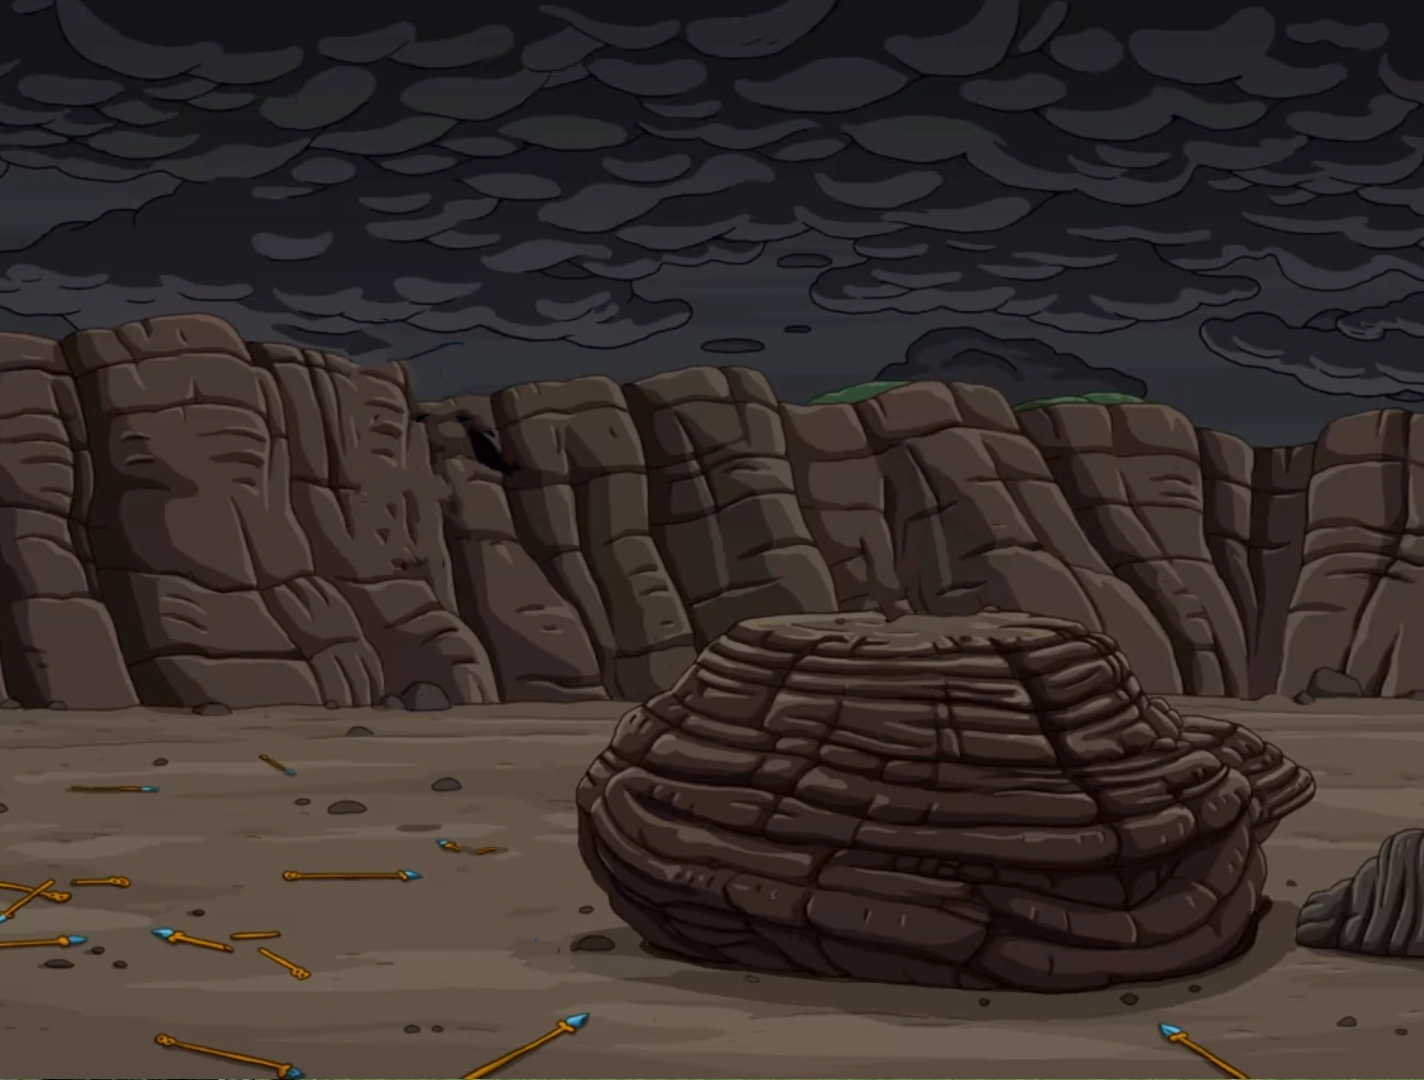 Bubblegum Battlefield |
Outside the Candy Kingdom, a battleground was formed ages ago by a warfaring Bubblegum and her kingdom. It has laid dormant of any actual battles for years, until mysterious invaders from another planet began to invade. FLOWMOTION INTERACTABLES
| ||
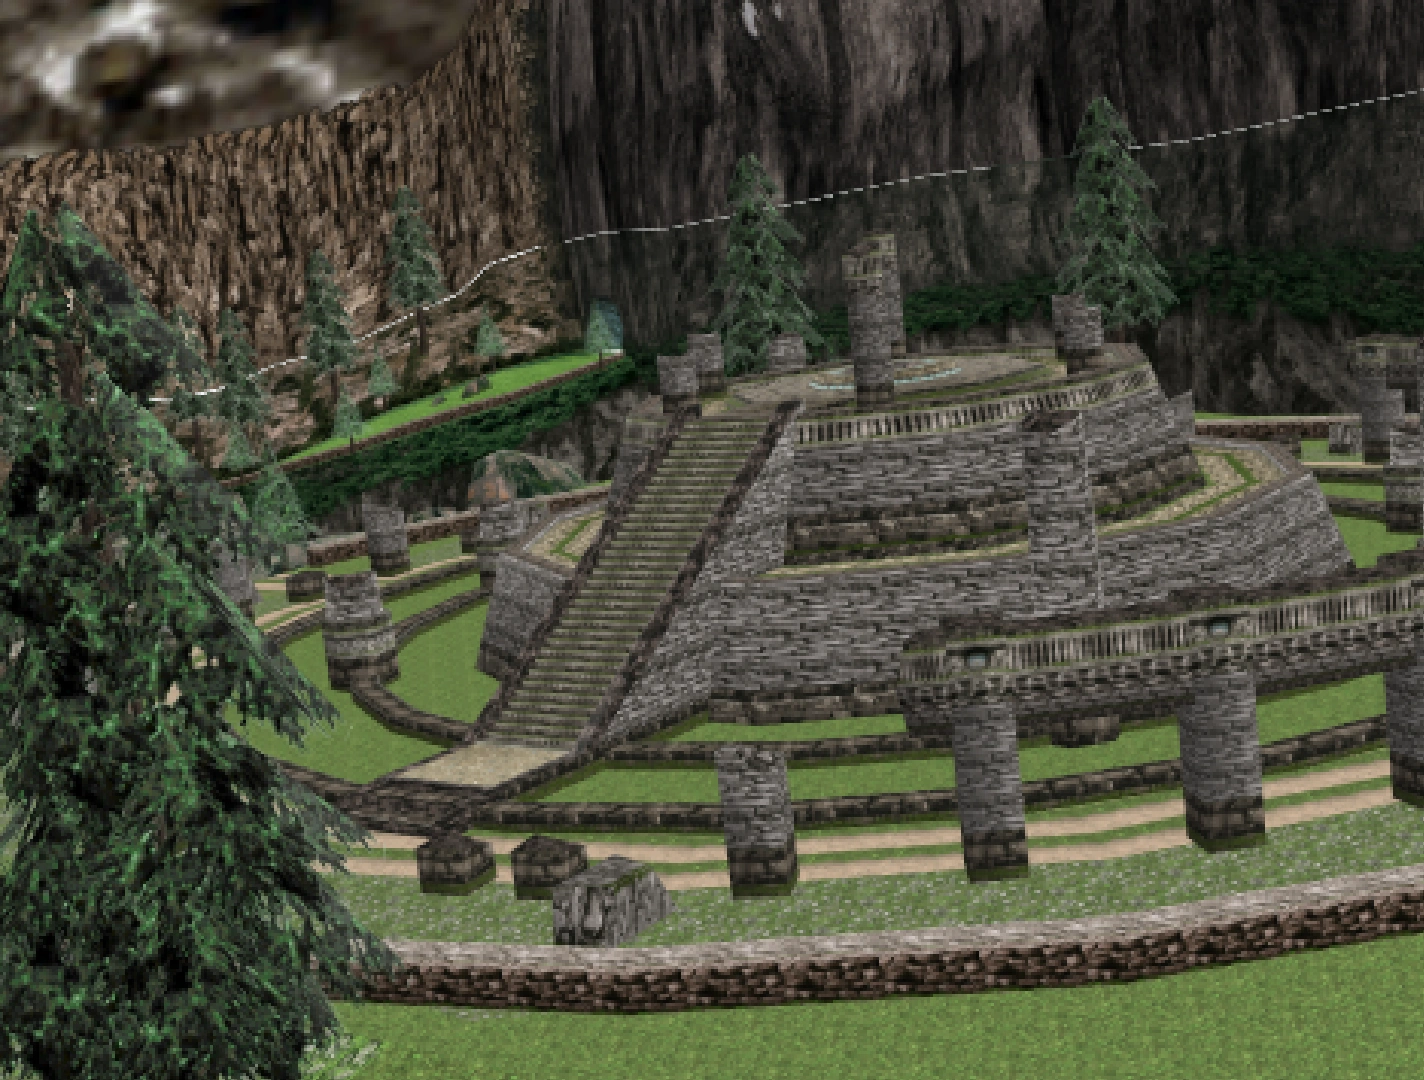 Angel Island |
Angel Island is the resting ground of the Master Emerald, guarded by Knuckles. It is a floating island just above Aeo, although not many have been able to get there, out of fear of the guardian. FLOWMOTION INTERACTABLES
| ||
 Entropy Pit |
Hidden underneath the Obelisk Battleground, where the Obelisk once stood is a giant black pit with black veins crawling out from the hole. Inside, mankind's sins have done a substantial number on the place and there's no telling what evil lurks inside. FLOWMOTION INTERACTABLES
| ||
 Krizalid Stage |
The center of the organization known as N.E.S.T.S, this stage is filled with machinery and weapons. FLOWMOTION INTERACTABLES
| ||
 30 Rockefeller Center |
30 Rockefeller Plaza is an American Art Deco skyscraper that forms the centerpiece of Rockefeller Center in Midtown Manhattan, New York City. It is often nicknamed "30 Rock" and hosts the headquarters of NBC, where Elizabeth Lemon and the crew of TGS with Tracy Jordan work at. FLOWMOTION INTERACTABLES
| ||
 Rainbow Room |
The Rainbow Room is a fine-dining restaurant and event space previously run by the Cipriani family on the 65th floor of 30 Rockefeller Plaza in New York City. It is the second highest restaurant in New York. FLOWMOTION INTERACTABLES
| ||
 Forgotten Shore |
The Forgotten Shore is part of Krawk Island, also known as the Pirate Kingdom. Gold often comes up to the surface. FLOWMOTION INTERACTABLES
| ||
 Nomansian Island |
Nomansian Island is a remote location away from everything else. Although it has a natural beauty, it's sinister underpinnings aren't too far away. FLOWMOTION INTERACTABLES
| ||
 Tsumisumbri Glacier |
A collection of glaciers near the Ice Kingdom and more specifically, the Tsumisumbri mountains. An interesting note about this stage is that Vegeta is challenged here when you first unlock him outside of story mode, literally breaking out of the ice. FLOWMOTION INTERACTABLES
| ||
 Joke's End |
A frozen palace that has long since been abandoned, hosting a gate way to Another World. In folklore in Aeo, it is said to be the graveyard for bad jokes, although looking inside the palace confirms this is merely a legend. FLOWMOTION INTERACTABLES
| ||
 Another World |
Another World is a interdimensional space that can be used to shorten the distance between locations that have warp pipes. It hosts the creatures known as Burrbos and seems to have a link to some of Aeo's desolated locations. FLOWMOTION INTERACTABLES
| ||
 Crait |
Crait is a planet with white salt across it's red dirt; it's very desolate and holds a old rebel base used against the forces of Frieza. White crystalline creatures known as Vulptices scurry across the surface of the planet. FLOWMOTION INTERACTABLES
| ||
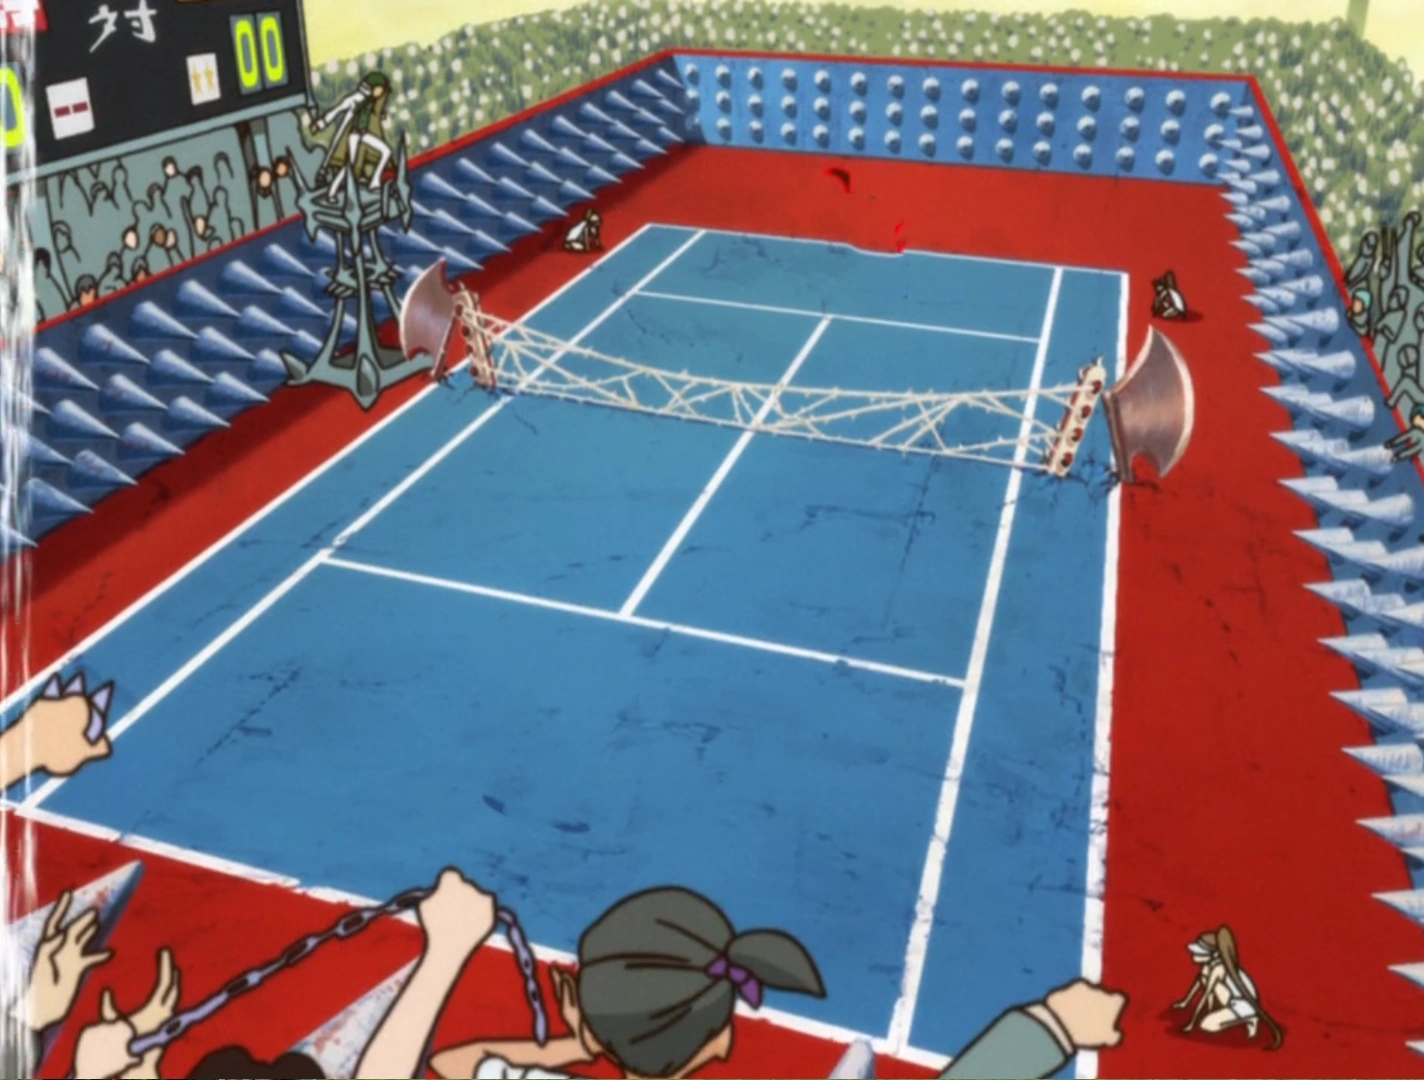 Hakodate Court |
Omiko Hakodate's tennis court where she faced off Ryuko. The walls are lined with thorns and the net is held together with two giant axes and thorn-like netting. A cheering crowd shouts on the fighters. FLOWMOTION INTERACTABLES
| ||
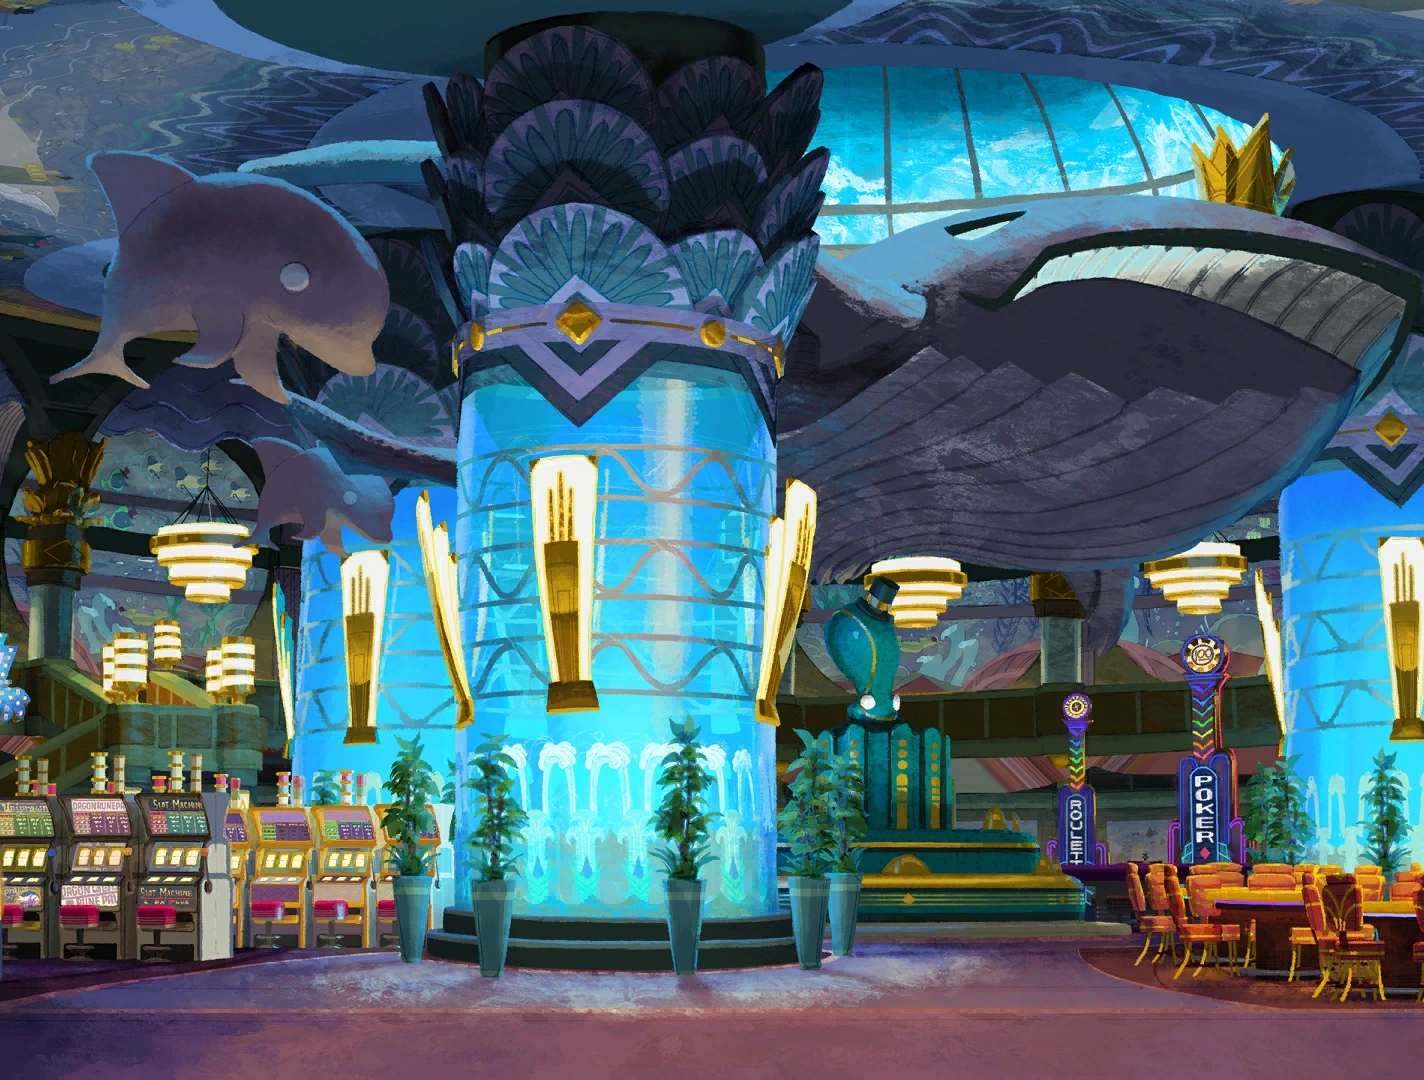 River King Casino |
Taking place in the heart of New Meridian's River King Casino, the decor consists of slot machines, blackjack tables, and a host of gamblers looking to win big. The casino is a Medici Mafia hangout. FLOWMOTION INTERACTABLES
| ||
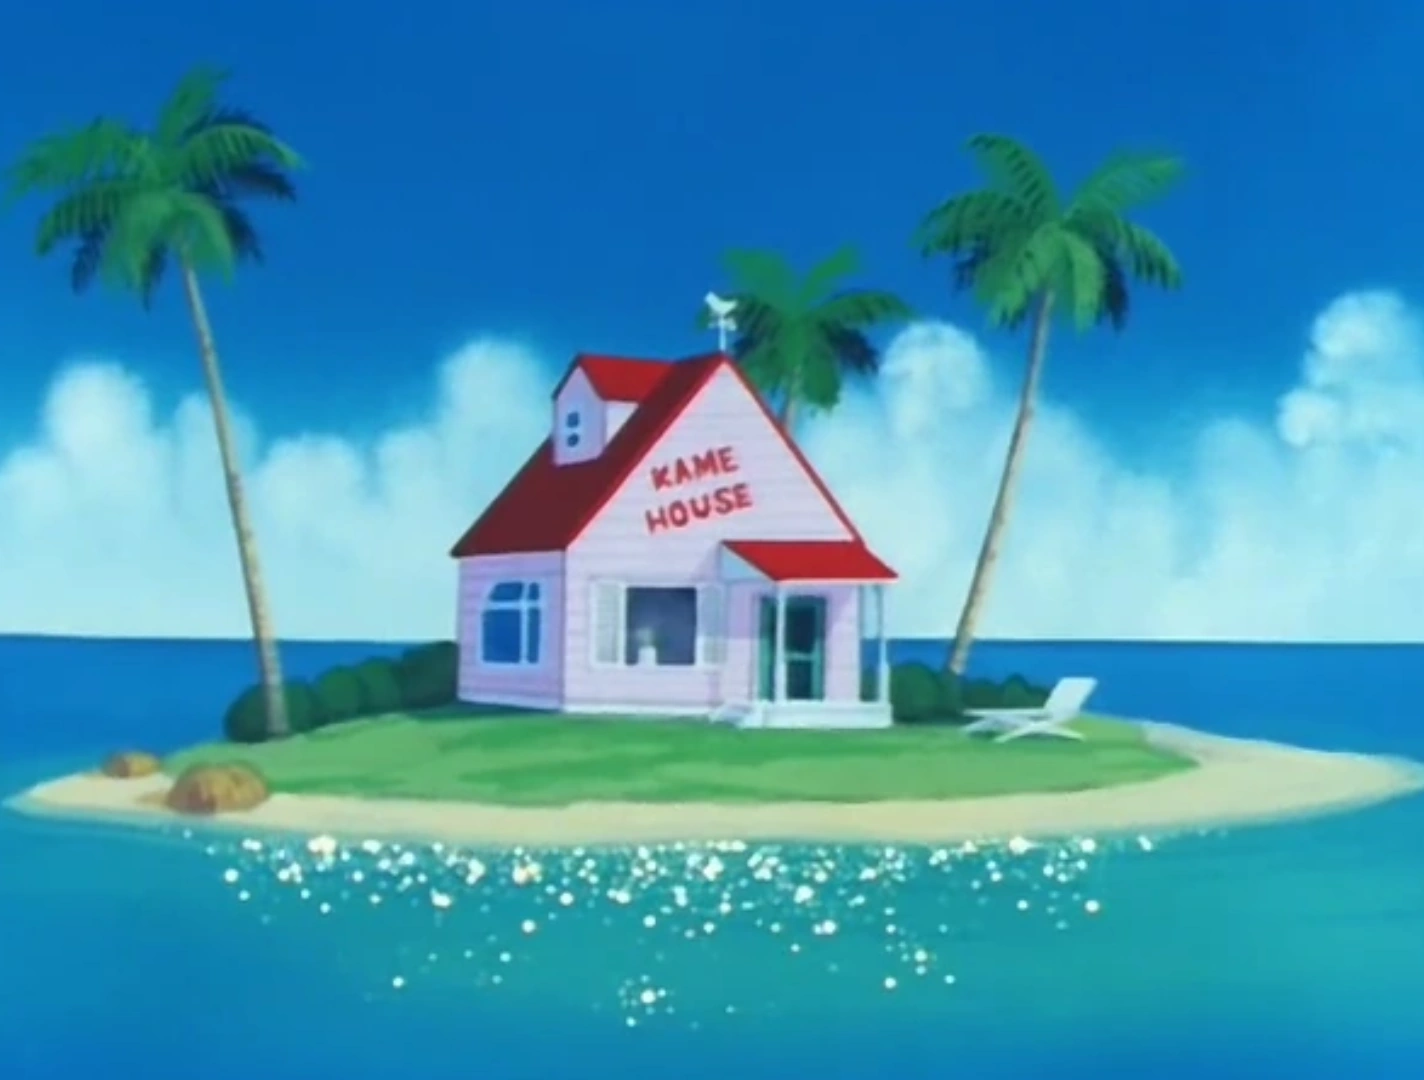 Kame House |
A isolated island home to Master Roshi and Turtle, as well as Krillin. It was a training stronghold for Goku before he retired from fighting to raise a family. FLOWMOTION INTERACTABLES
| ||
Bosses[]
Bosses are special characters that only appear during Story Mode; while they may look and act similar to playable characters, they have special attributes that make them different from how playable characters play. For instance, during their MAX MODE, they normally only have two special moves to execute. They may also have moves in their standard moveset that may possibly do more damage than the usual Level 1 special.
| Boss Characters | |||
| Character | Information | ||
|---|---|---|---|
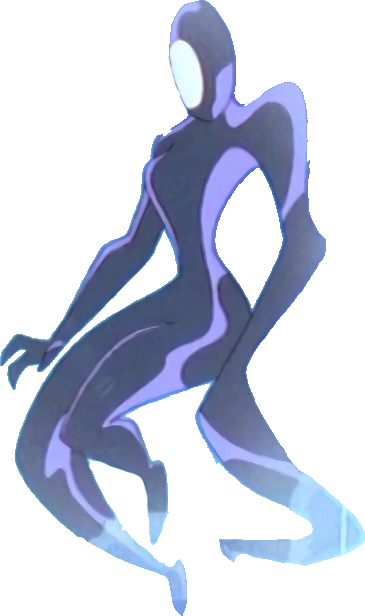 Inque Morpher from the Future |
Inque is a time displaced being summoned into the Inverted Pyramid in the Sand Kingdom during the War for Aeo saga. Inque's body is an inky substance she can shape into a variety of forms or liquify herself to slip through cracks and slide across surfaces. She hails from the future, and disappears as quickly as she came. Her strategy is weak against aerial attacks, so take advantage of that. MAX MODE MOVES
| ||
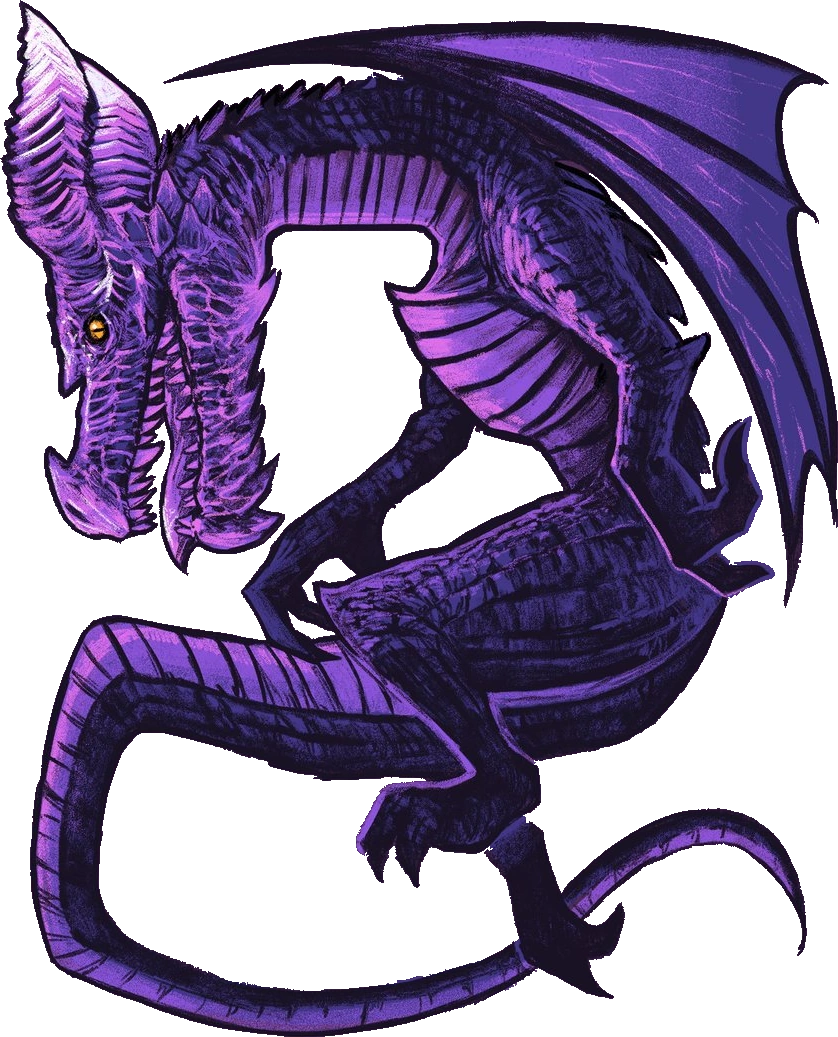 Lord of Lightning Ruined Dragon Art by Chris Szczesiul |
The Ruined Dragon, or the Lord of Lightning in legend, was behind the destruction and desolation of what is now known as the Ruined Kingdom. It shoots out a purple lightning from it's mouth in the form of spinning wheels and shockwaves and is quite large, with much of it's full body being unseen in the actual fight. MAX MODE MOVES
| ||
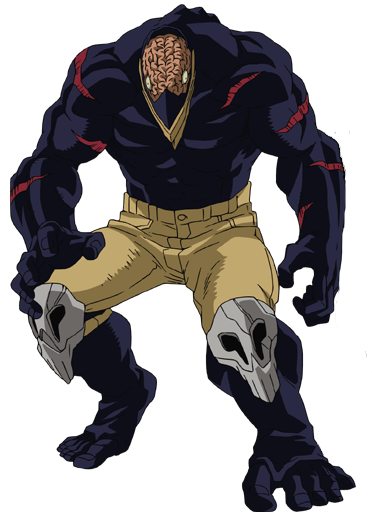 Nomu Mindless Monster |
Nomu is an artificial creation created by an unknown party that uses a shock absorption and regenerative quirk to be an ultimate tool of physical destruction. Due to these quirks, All Might assists in battle to help defeat him. MAX MODE MOVES
| ||
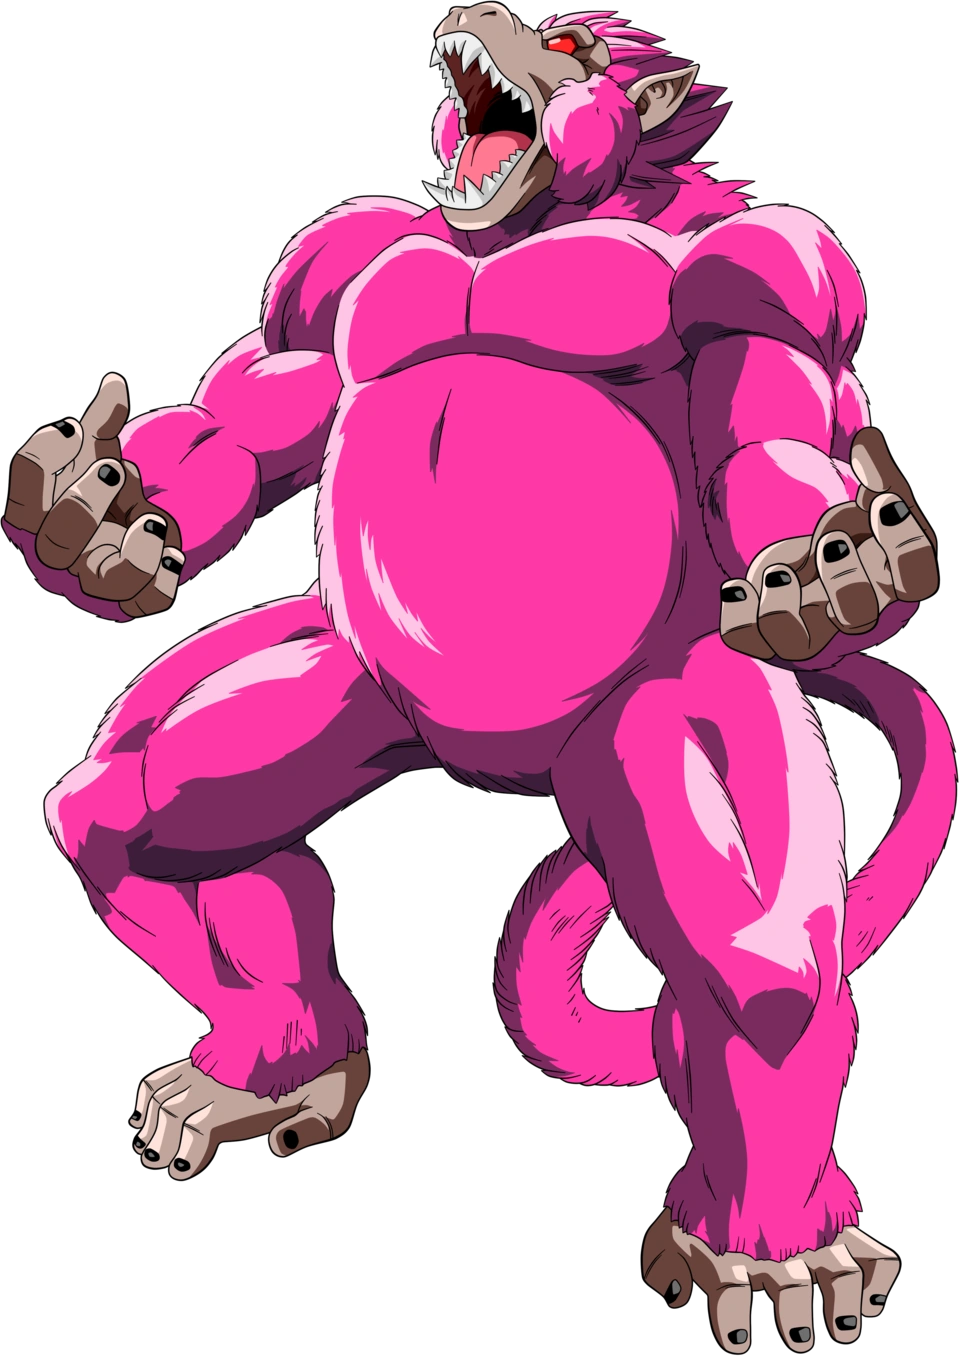 Pink Moon Great Ape Gine Moon-Lit Gine |
TBA | ||
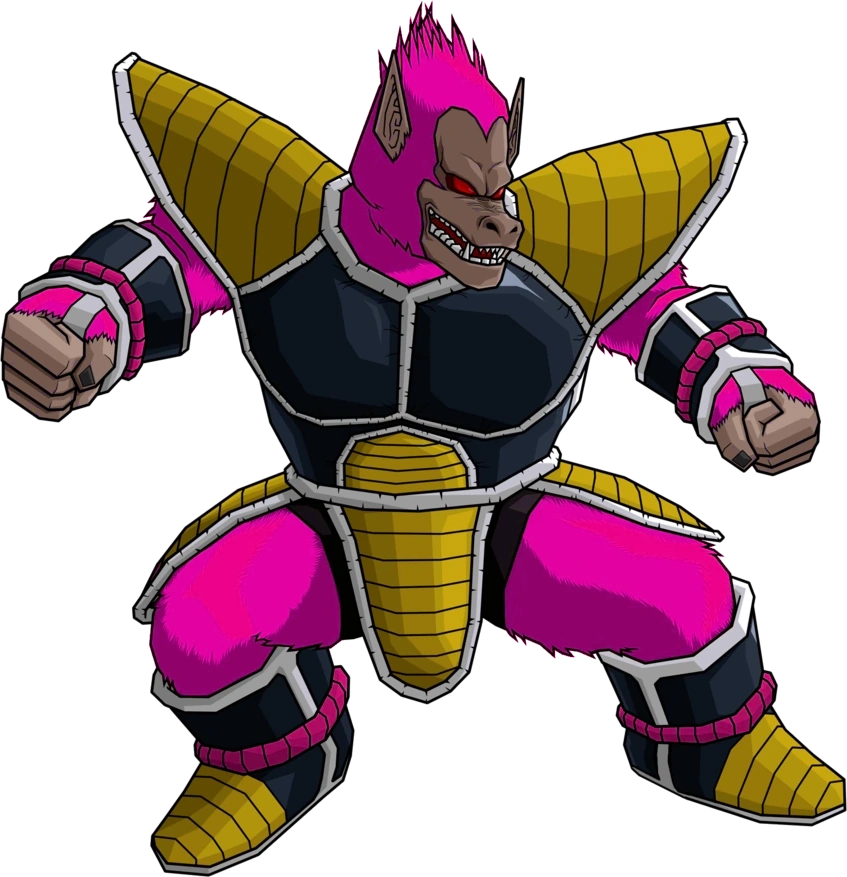 Pink Moon Great Ape Nappa Lunar Powered Nappa |
TBA | ||
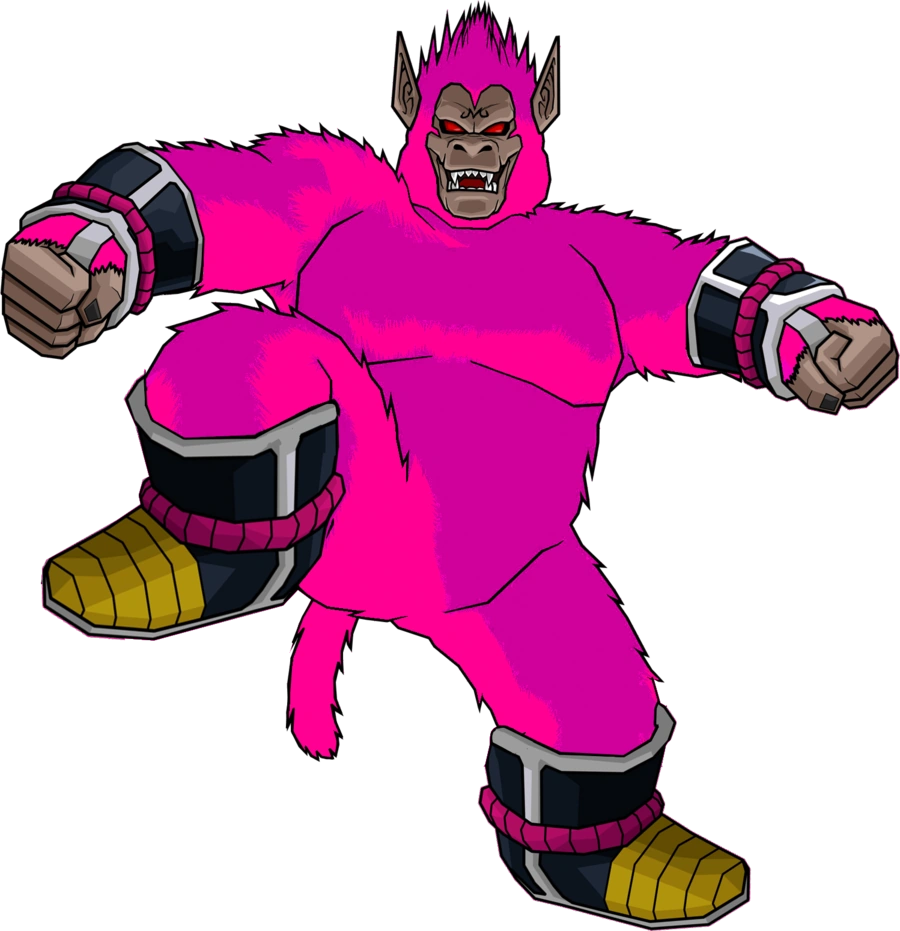 Pink Moon Great Ape Raditz Blutz Wave Raditz |
TBA | ||
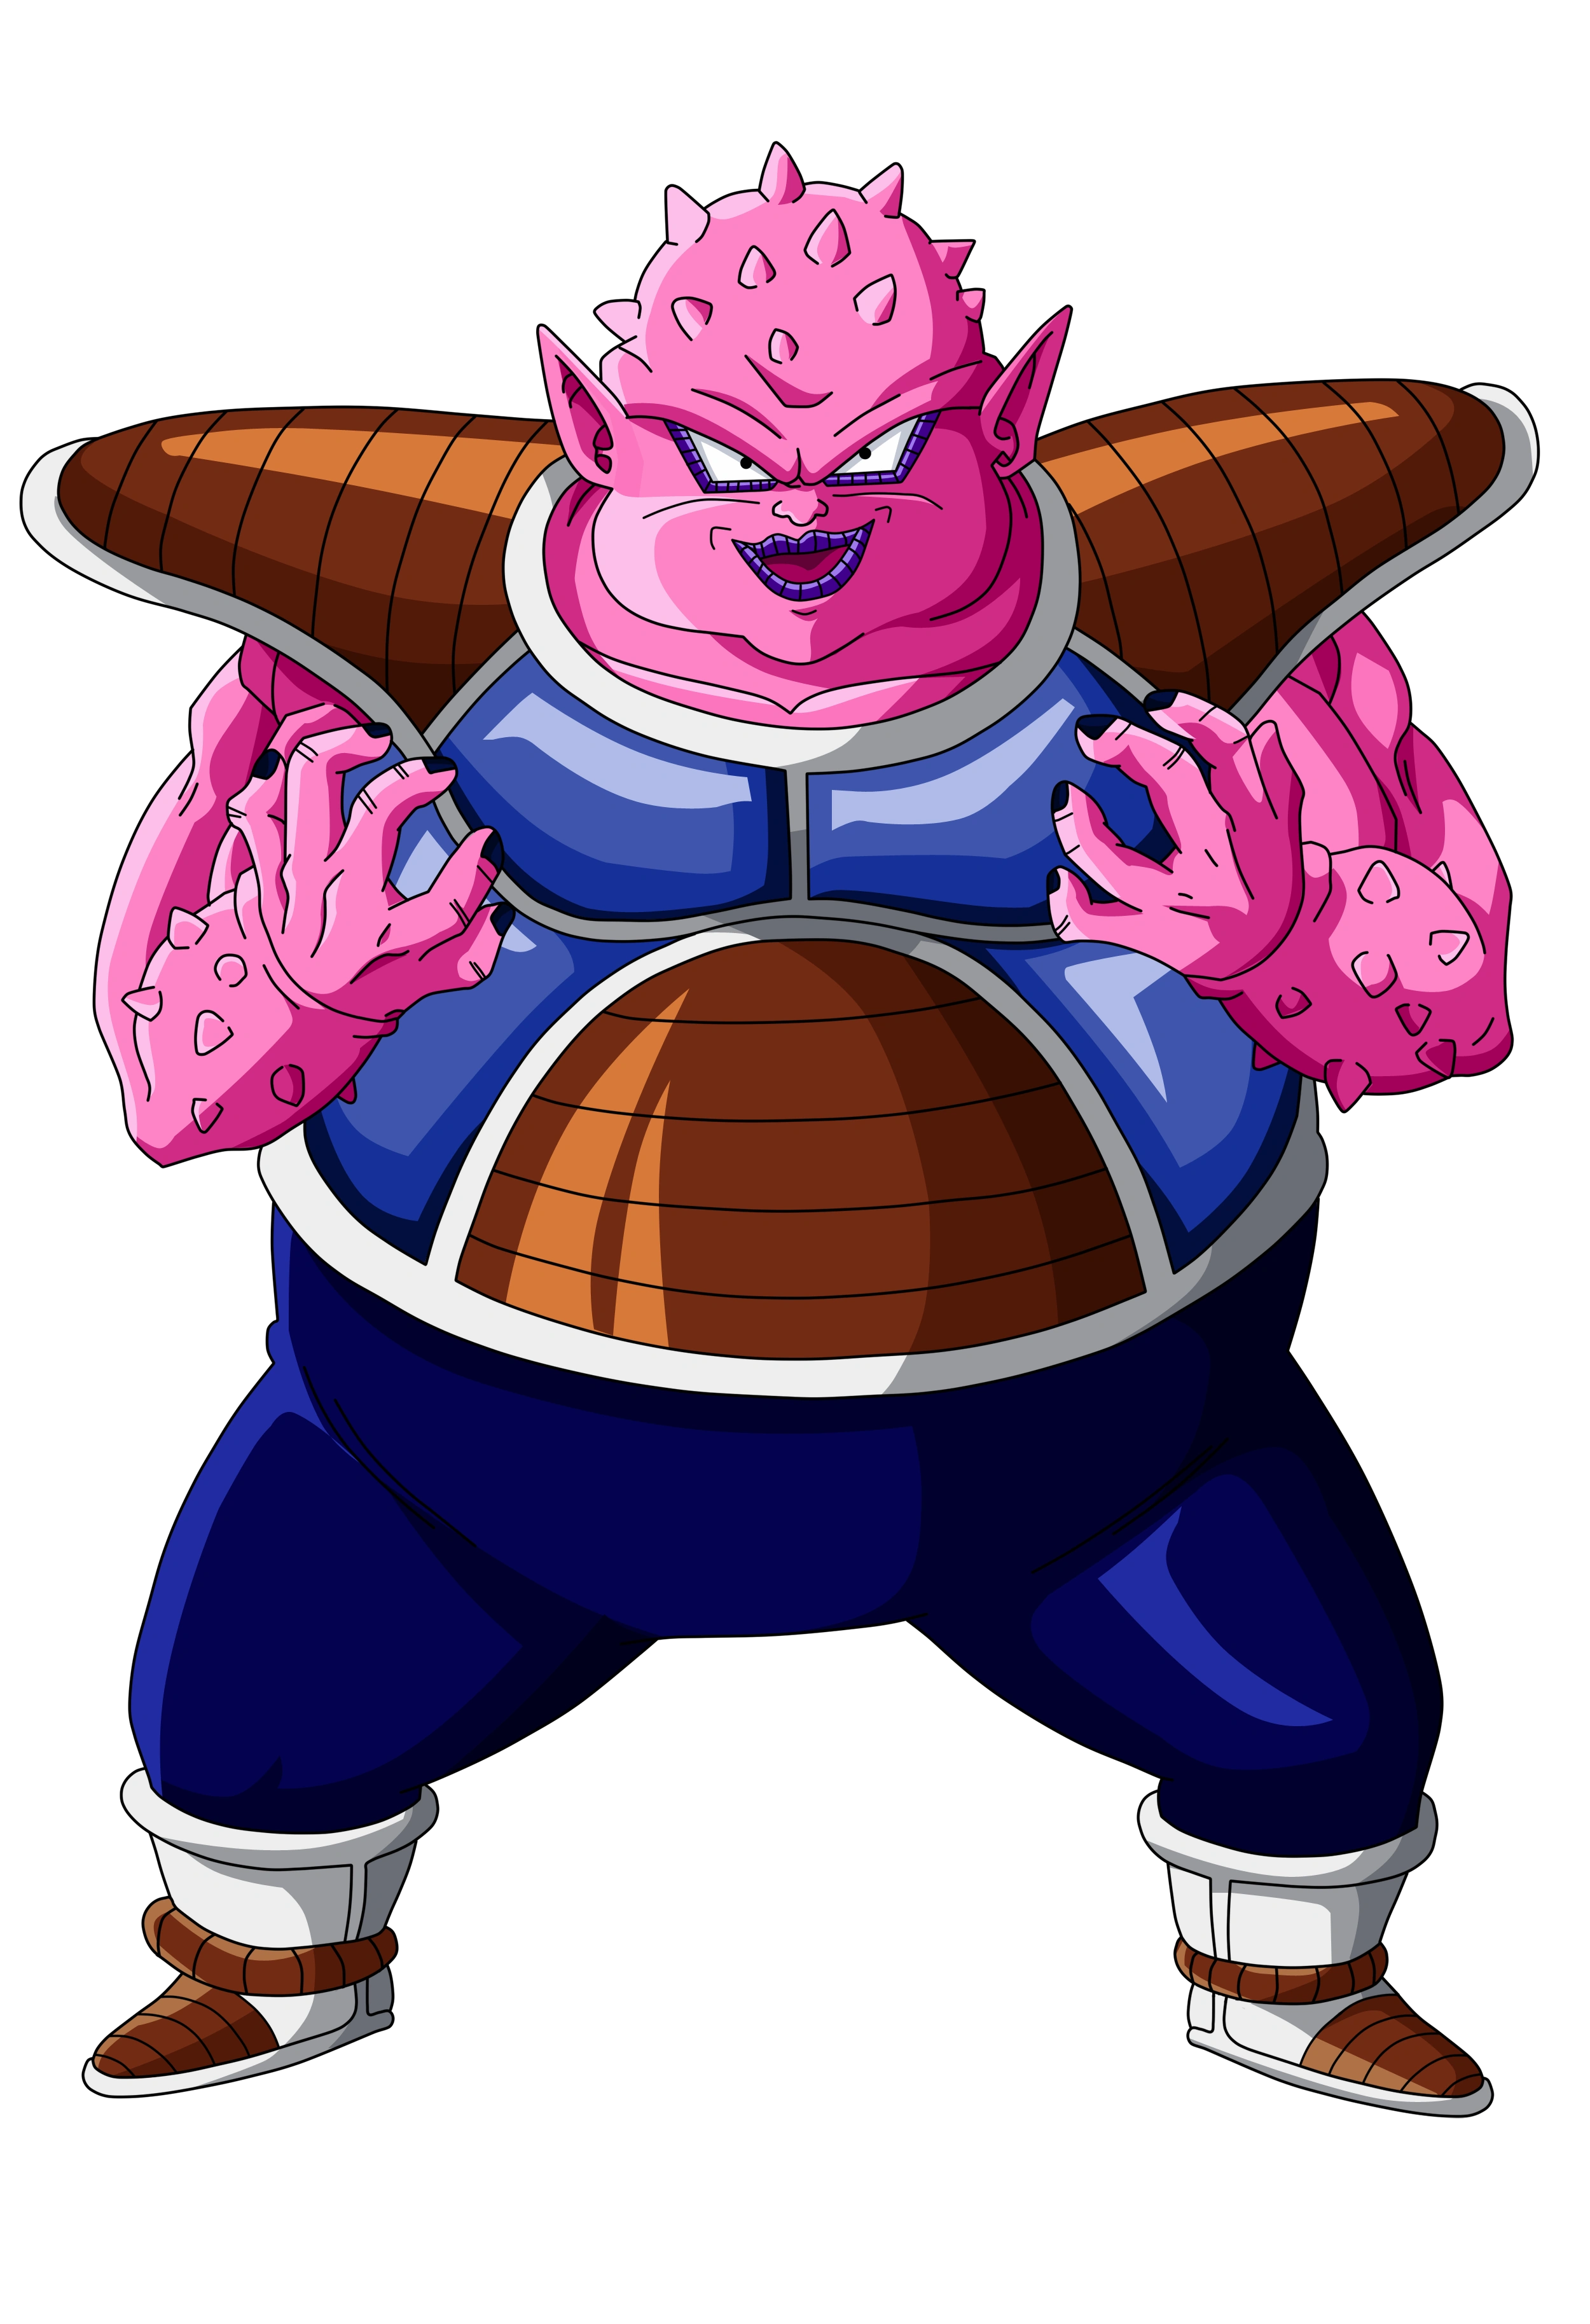 Dodoria Frieza's Brash Henchman |
TBA | ||
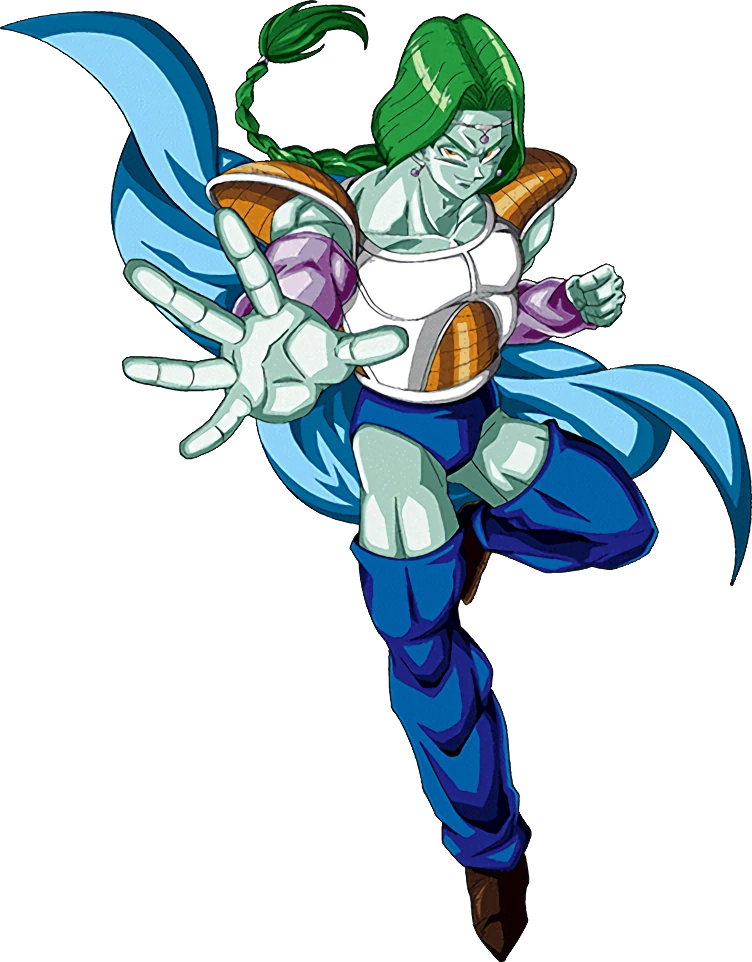 Zarbon Frieza's Refined Henchman |
TBA | ||
 Commantis Gigabyte Mantis |
TBA | ||
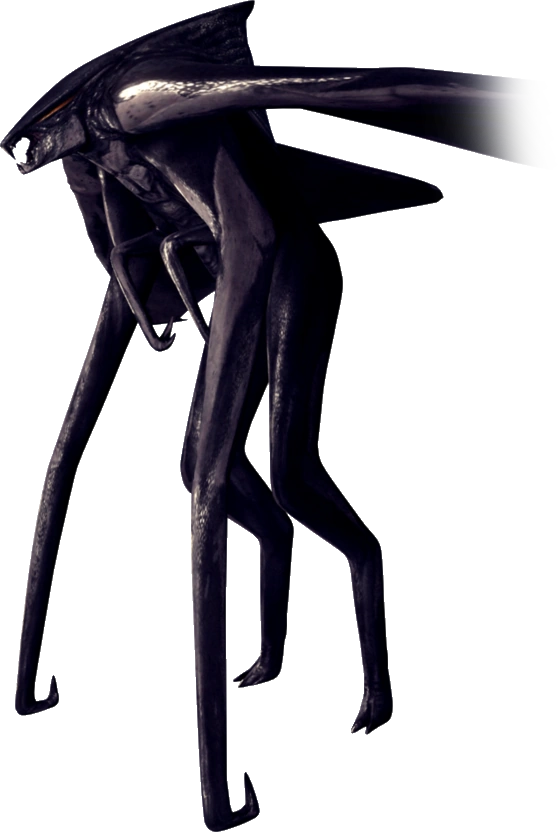 MUTO Massive Unidentified Terrestrial Organism |
TBA | ||
 Salvation's Syndrome Zero Point Conduit |
TBA | ||
Battle Enemies[]
In the Enemy Battle mode and minigame the player will be tasked with attacking enemies until the Enemy Lifebar is down. In the minigame, only a single wave occurs, while in the Enemy Battle mode there are multiple waves. Enemies do not have super moves. They also appear in segments of the Story Mode.
| Enemies | |||
| Character | Information | ||
|---|---|---|---|
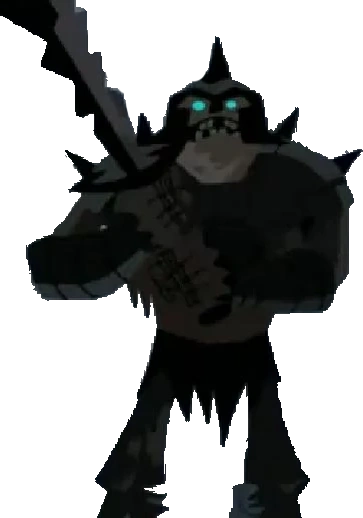 Dust Zombie |
Dust Zombies hail from the Dust Graveyard, and can be defeated in a single attack, turning them into dust. They however, are far from weak, and can do a lot of damage when they attack the player. | ||
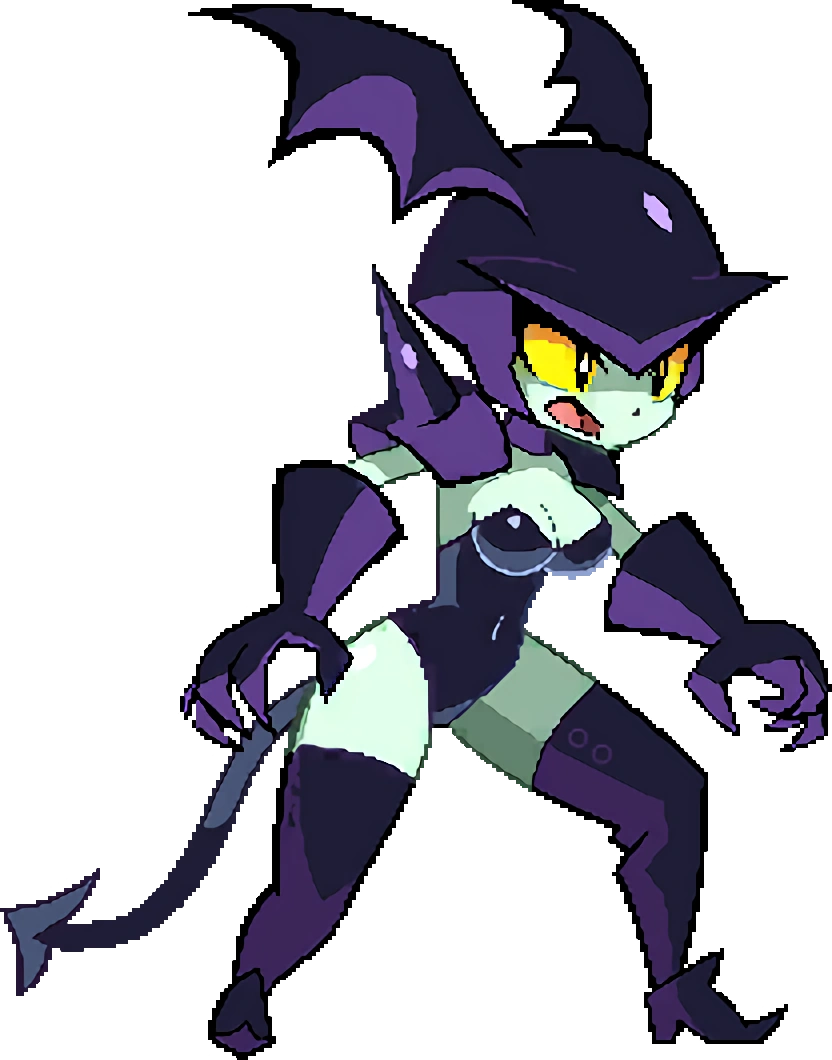 BatGal |
Attacks from a distance using a chain and can flutter towards their opponent by transforming into a bat. They can be defeated in three strikes. | ||
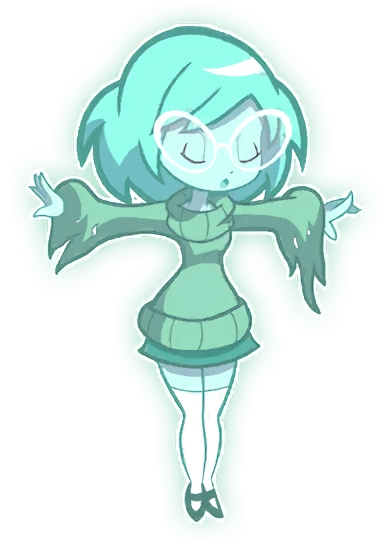 Ikki |
This mischievous specter loves to hide in treasure chests to surprise unsuspecting people. She will attempt to leech life out of the player and the player must avoid them until she goes back into the ground. | ||
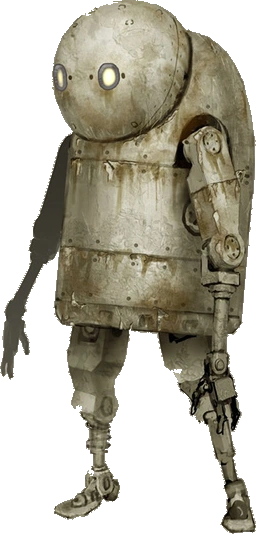 Small Biped |
A small machine lifeform with limbs similar to those of a human. Its less-than-sizeable build makes it well-suited to swift attacks. It uses a spear to attack, poking at it's foes usually ineffectively. | ||
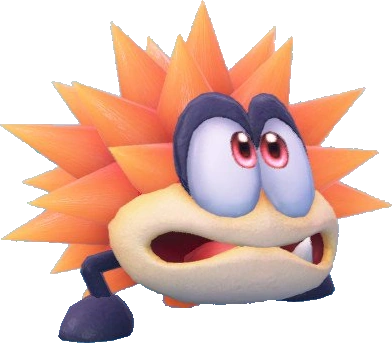 Burrbo |
These spiked buggers only appear in the odd, geometric "Another World" segments found in the story mode, only able to move through jumping and cannot be stomped on but can be taken out in a single attack. They quickly pop out of the ground once defeated, so the best way to take care of them is just moving after defeating them so you're out of harm's way. | ||
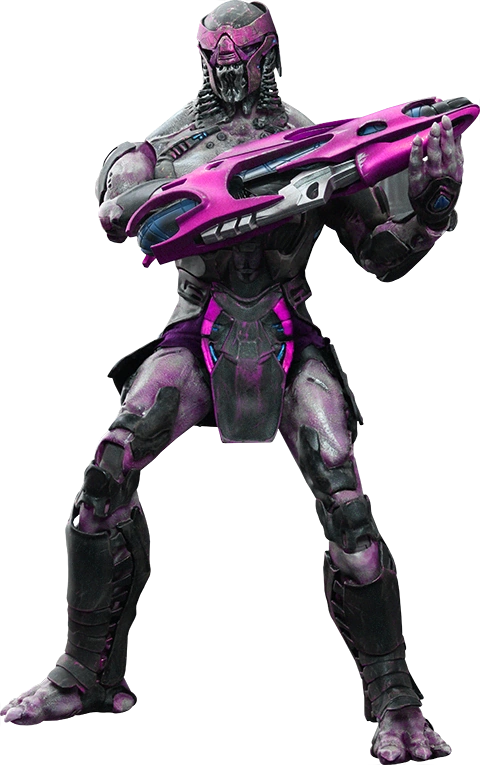 Chitauri |
These Chitauri are a race of warriors bred to fight, recieving controls from a distant ship that they portal out of in order to invade. In order to stop the Chitauri from portaling in, you need to destroy the ship that can be found though a portal located on the stage. The Chitauri themselves are aggressive but are very sluggish fighters that fight using laser cannons and sticks. | ||
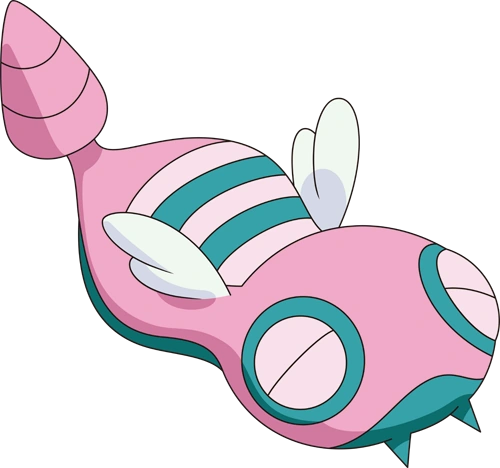 Dunsparce |
Dunsparce look weak and friendly, but are cabable of hoisting the player and drop them into holes, in which they need to button mash in order to escape lest they be attacked by Dunsparce. | ||
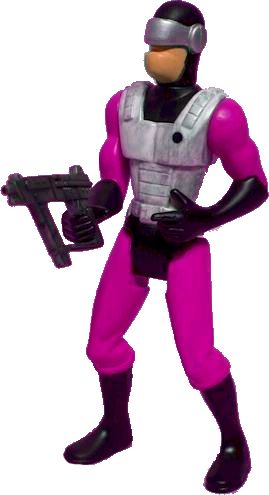 Nomansian Guard |
Nomansian Guards are the preferred henchmen of Syndrome, who uses guns that have ball bullets that expand and weigh down their targets and ride around in dangerous Chopper machines that fly quickly across the screen and can cut down their targets. | ||
 Worm |
Worms crawl across the ground slowly, ocassionally picking up their heads for a short-range shockwave attack. They are rather weak and can be defeated incredibly easily. | ||
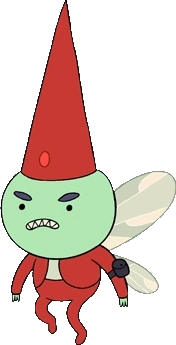 Flyin' Gnome |
Flyin' Gnomes are just jerks and use their lightning to zap at opponents. They can fly across the stage and while they can be persistent, they go down pretty easily. | ||
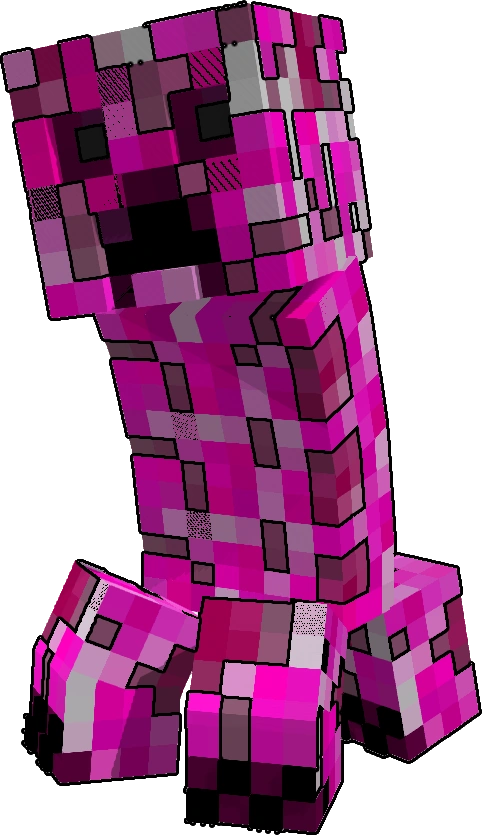 Creeper |
Creepers follow after their target and explode when they get close to them, doing hefty damage. Defeating them or getting far enough away from them so they lose interest in you is a good way to get these creeps off your tail. | ||
 Waddle Doo |
Waddle Doos are pretty simple; they don't even necessarily walk towards you or attack you all things considered. They kind of just go forward and attack of their own accord, using a laser whip. They can be taken out in two hits. | ||
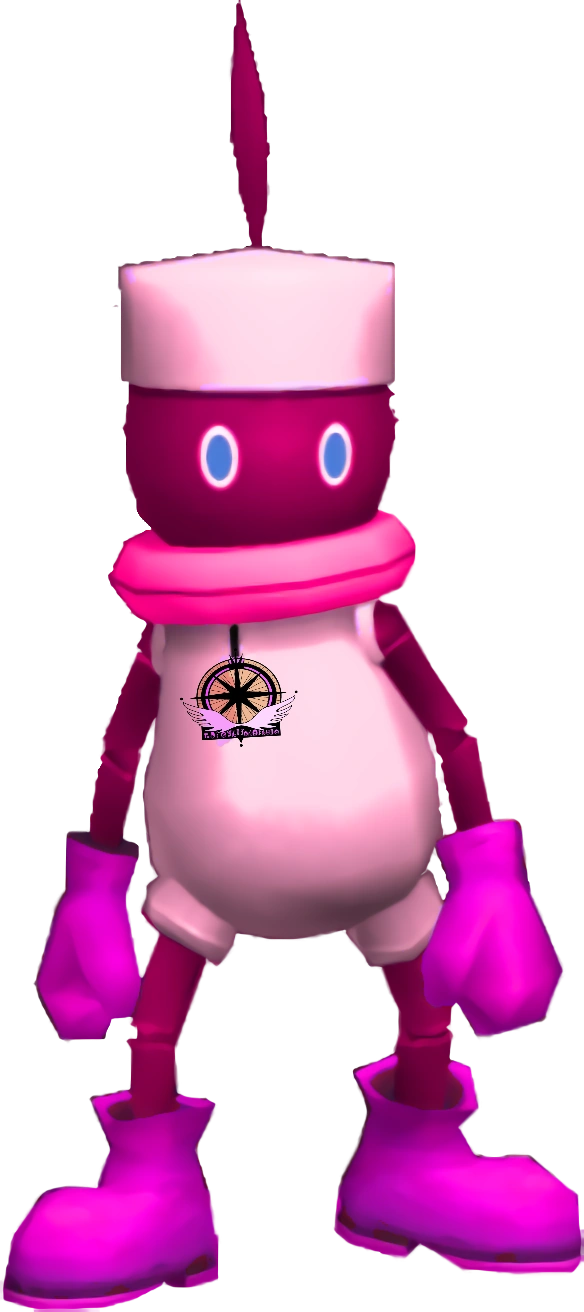 Primid |
Primids have their own moveset which they will use against to fight you with, as the base Primid doesn't have a weapon on them. They can be taken out pretty easily as they are kind of a weaker opponent. | ||
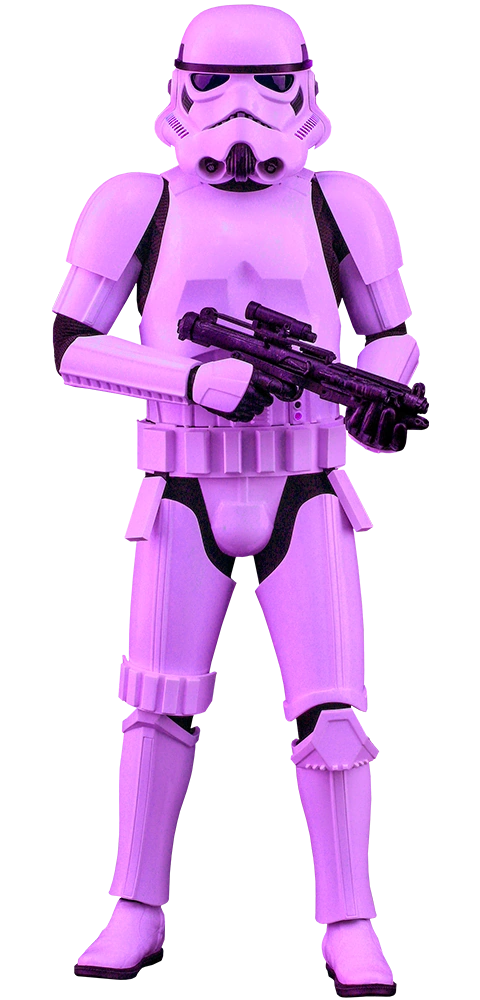 Stormtrooper |
Stormtroopers blast at their target, although rather inaccurately and usually miss the player. They take six hits to take down, which makes them somewhat stronger than most enemies but because they don't really put up much of a fight, they shouldn't take too long to take out. | ||
 Heartless Shadow |
Heartless Shadows move around quickly and in swarms, scratching at their target to attack. They can be taken out in one or two attacks. | ||
 Mask Koopa |
These creepy Koopas wear masks on their head. It charges straight forward, not being wary of attacks or the things around it. They harm the player on touch. When defeated, the Mask Koopa drops it's mask which can be used as a projectile to use against other enemies. | ||
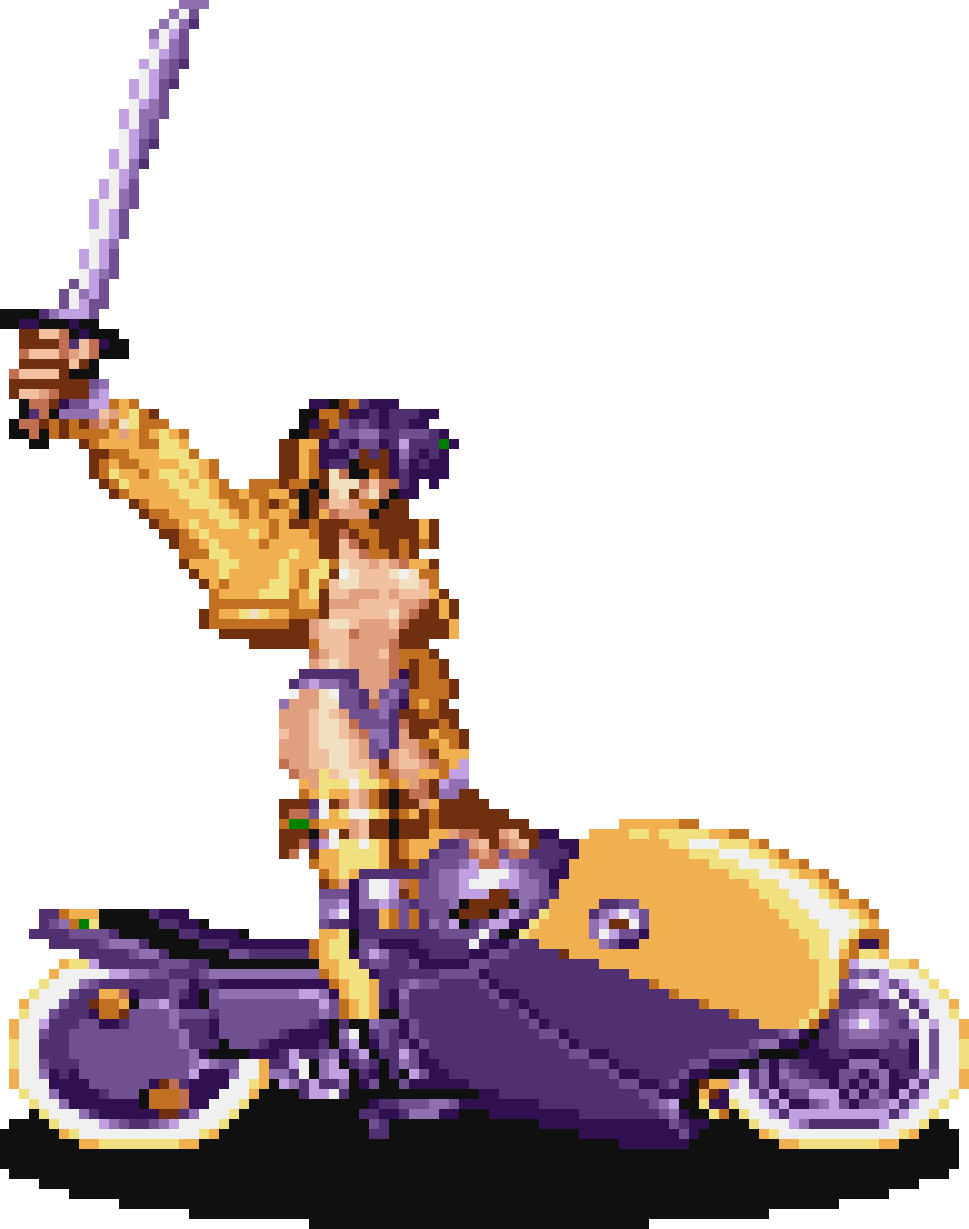 Biker Gal |
Biker Gals ride across the stage, the motorcycles they ride having a front wheel that can turn into a spiked cutter in a moment's instant. They can also fire off a rifle and attack with a katana. | ||
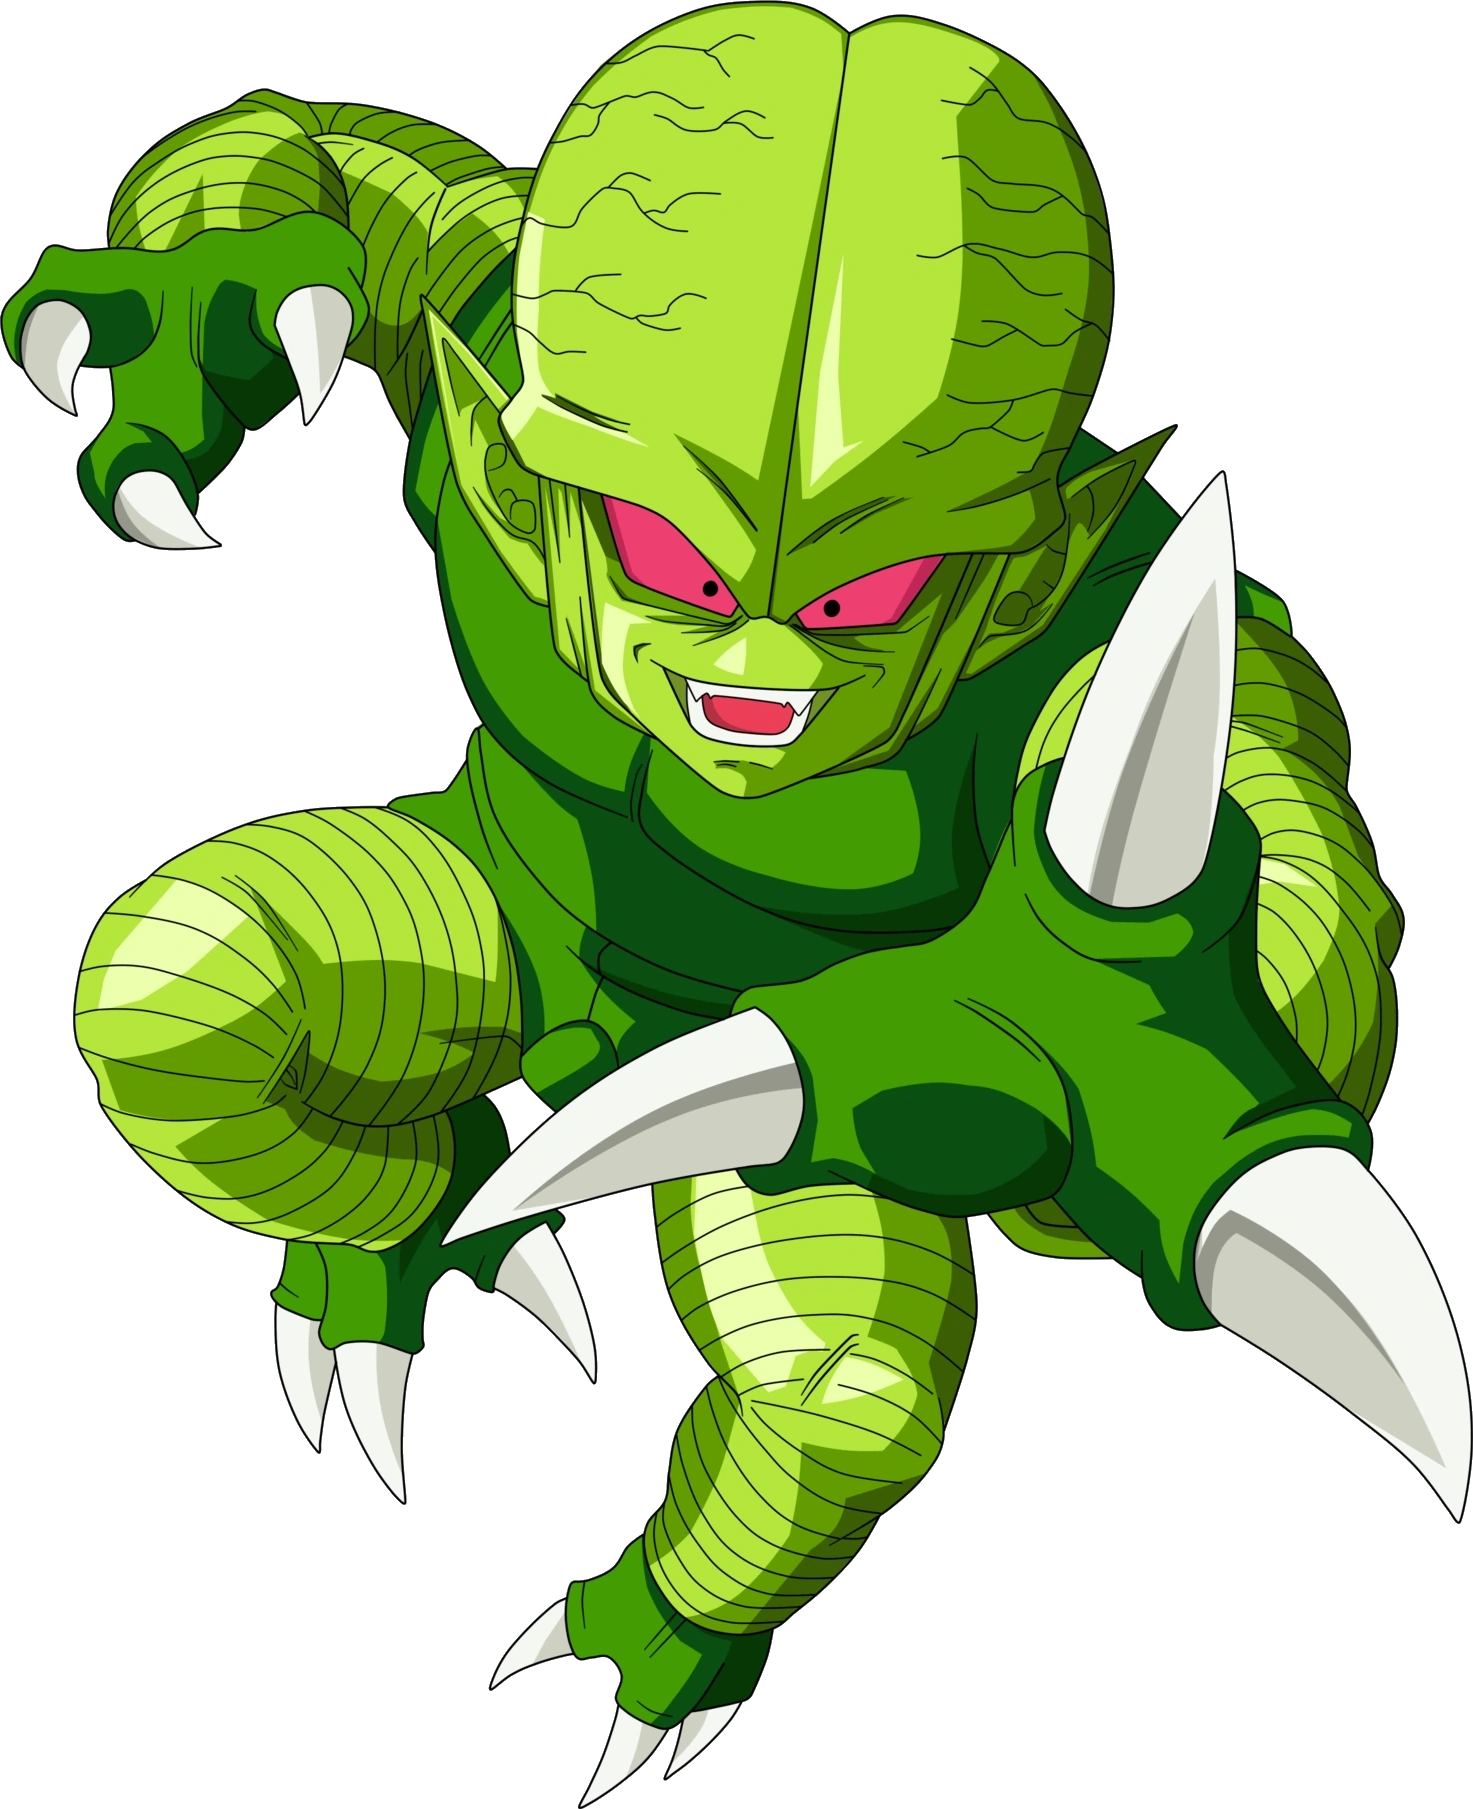 Saibamen |
Saibamen were cultivated by the Saiyans as mooks for their own ends. While quite powerful, the average fighter shouldn't find them too much trouble to deal with. They attack using ki attacks and acid implanted in their head, and have as much health as a average fighter. | ||
 Skeleton |
Skeletons rattle as they move towards the player, keeping their distance as they fire arrows at the player. The player may want to use ranged attacks or try to defeat them quickly with melee attacks. | ||
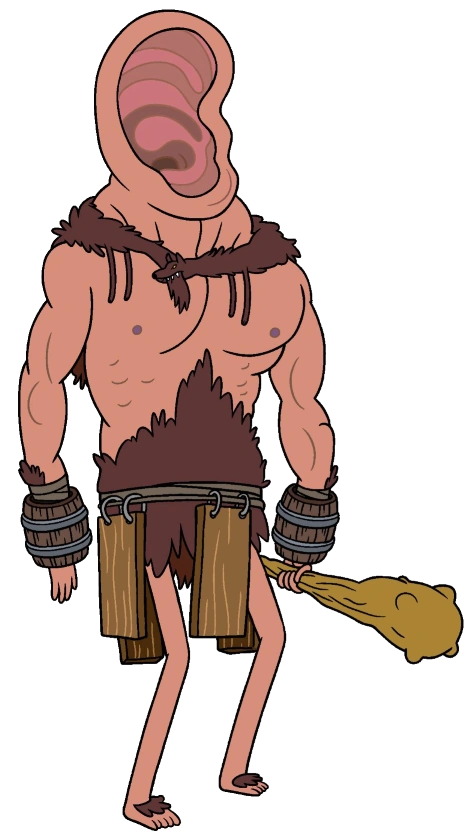 Earclops |
Earclops are giant, strong enemies that are impacted by loud sound attacks or hitting them directly in the ear, which is a huge weakness for them. | ||
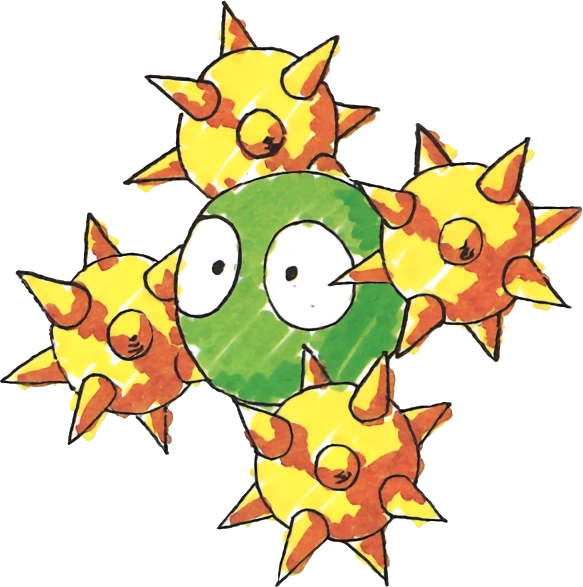 Orbinaut |
Orbinauts are spheres that keep spiked spheres around them for defense. They move back and forth while their spiked spheres spin around them; with a well timed attack the player can hit them but touching them will do damage. | ||
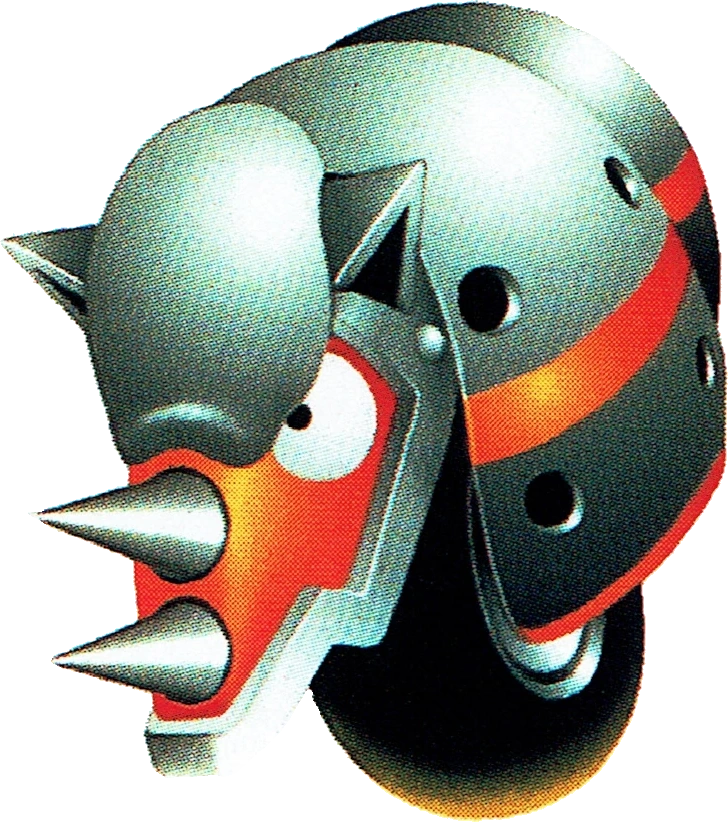 RhinoBot |
Rhinobots move back and forth and try to dash into the player if they see them, doing tremendous damage if they succeed. They can be taken out with an attack from behind. | ||
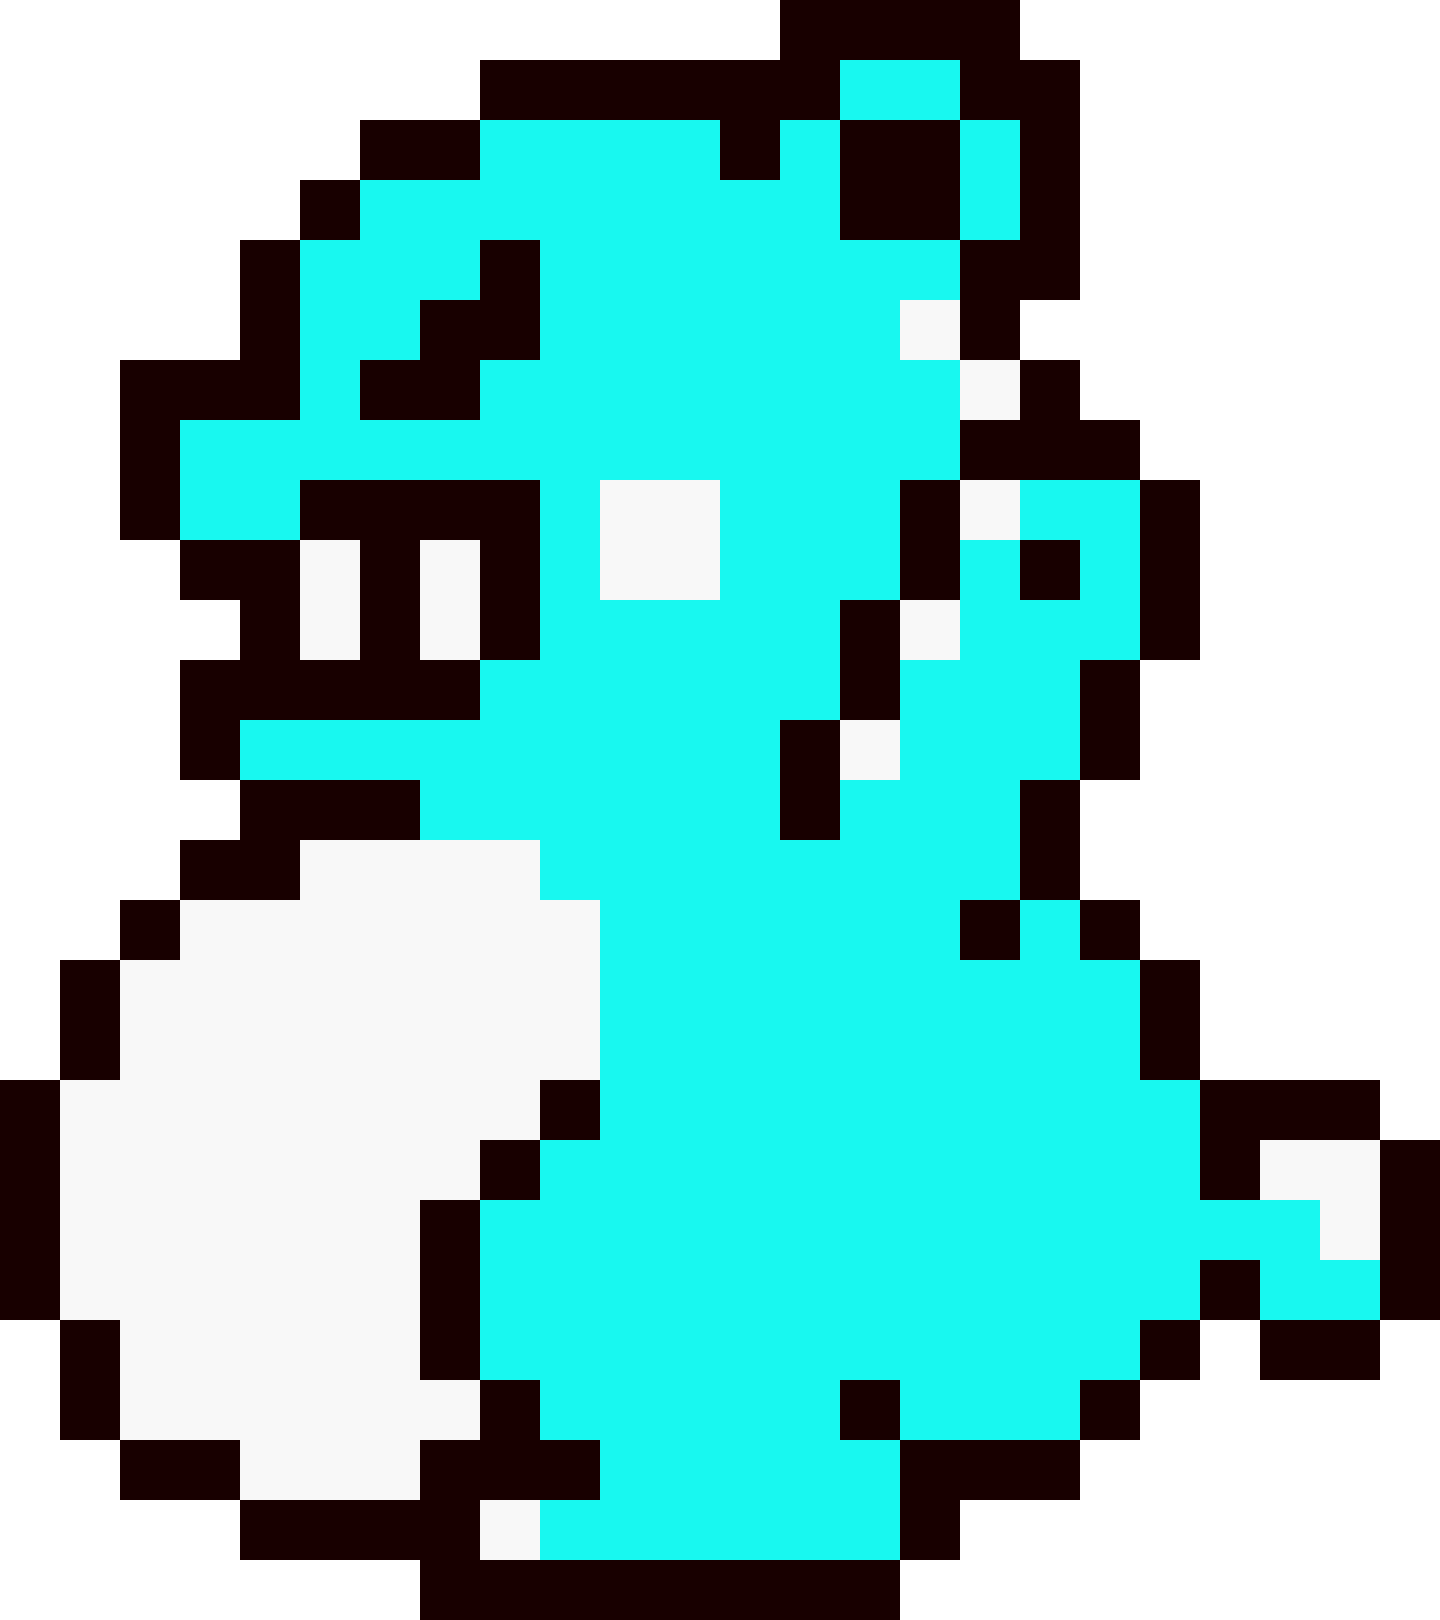 Brr Bear |
A cold bear that fires off a rather damaging freezing projectile attack. They are stunned instantly by any attack and can be dispatched rather easily. They cannot be carried and used as a projectile, however. | ||
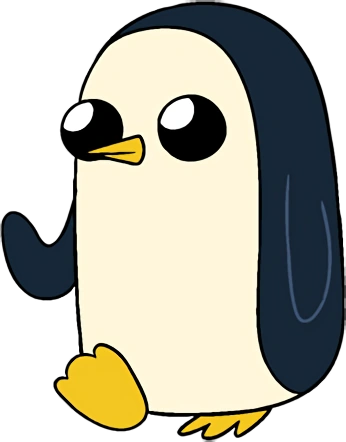 Penguins |
Penguins walk around and become enraged when attacked, calling for other penguins to join in and attack. Your best bet is just to try and avoid hitting them, although their defense isn't great so you can take them out easily... just an army might be a bit much to deal with. | ||
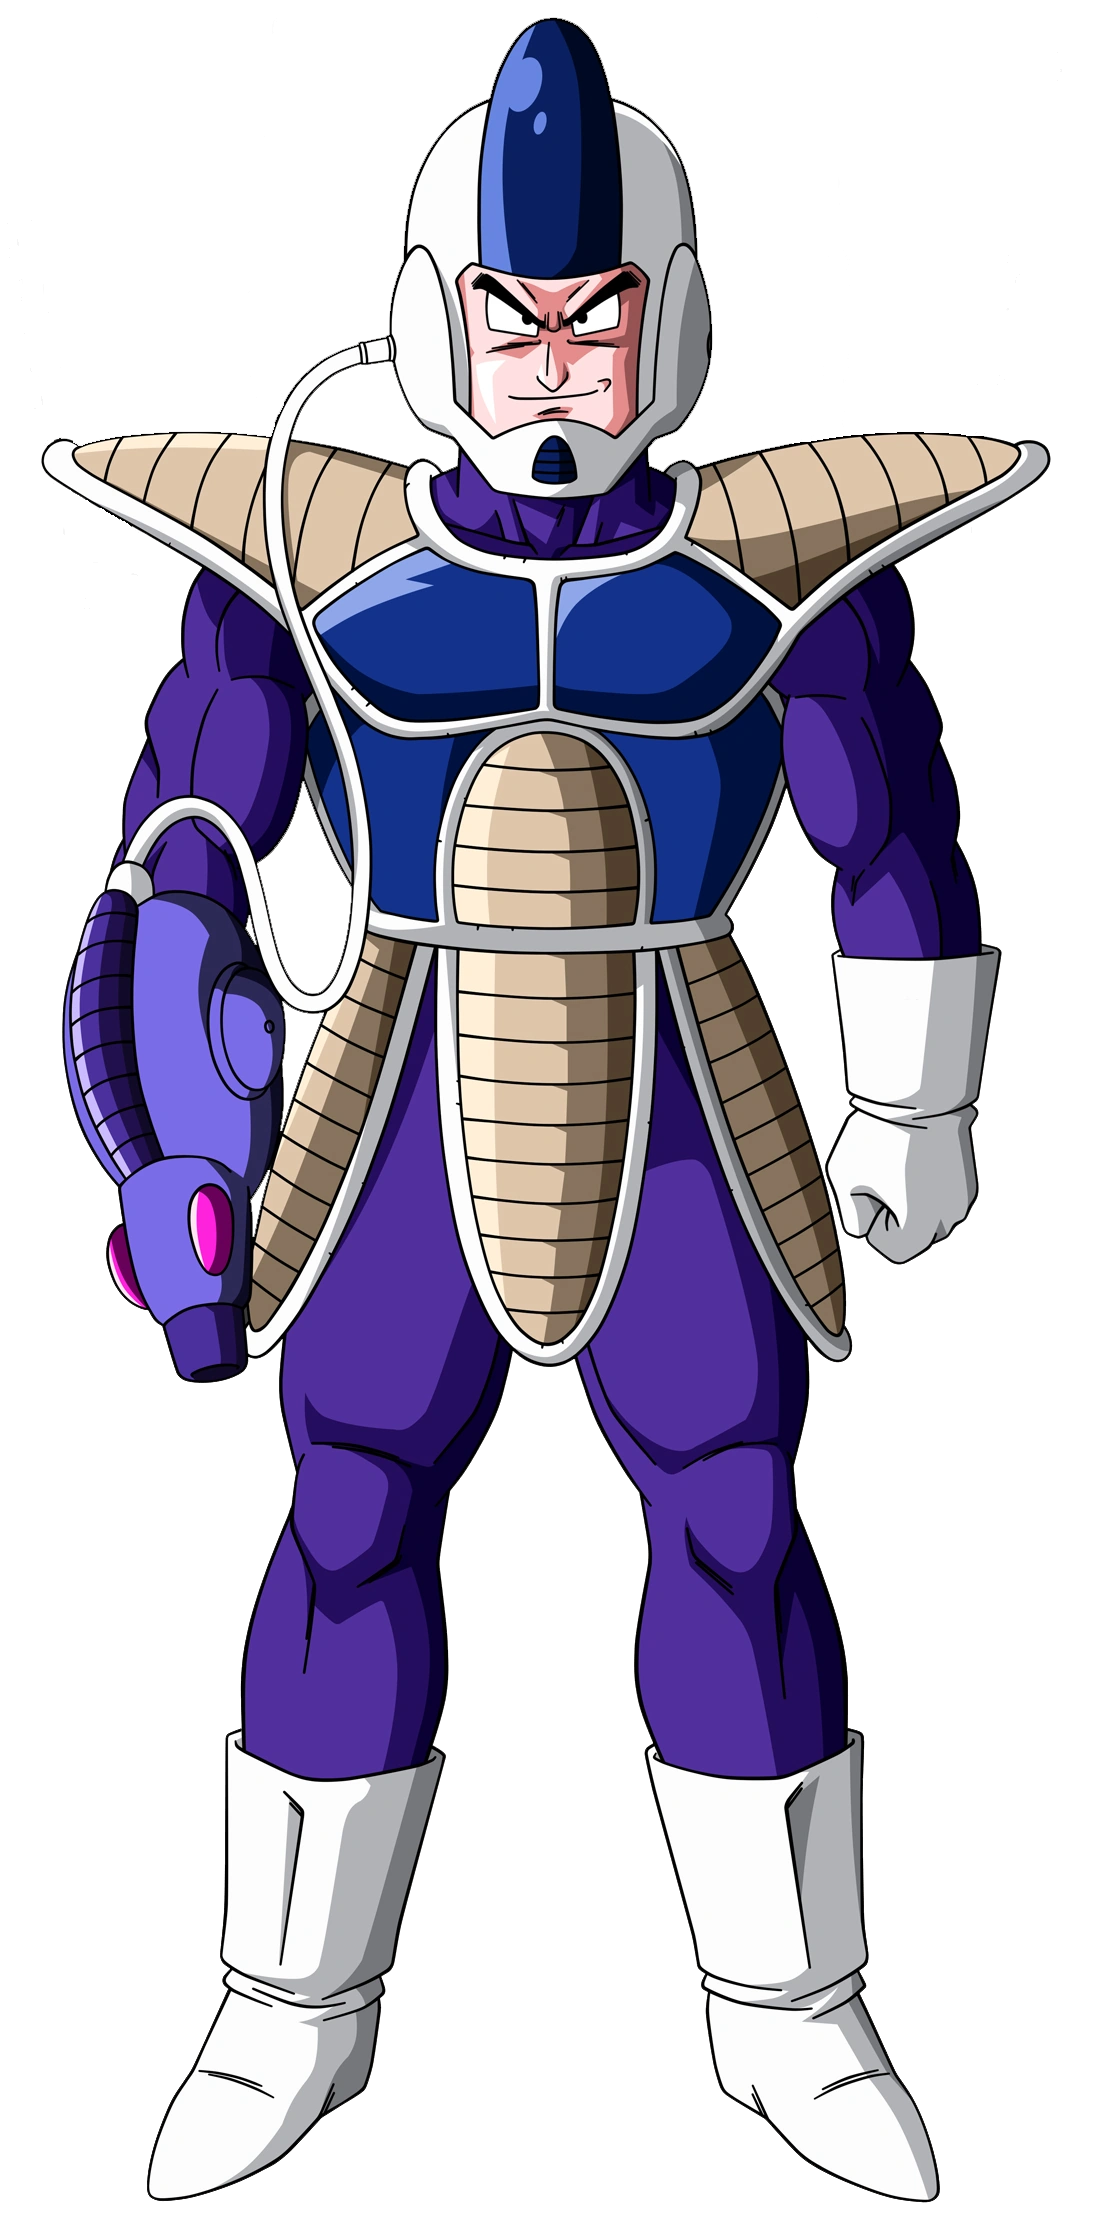 Raspberry |
Raspberry is one of Frieza's foot soldiers and acts as a mini-boss, being somewhat tougher than any enemy seen so far, but not tough enough to be considered a boss. He and Blueberry were sent to recover the Crait Dragon Balls after being informed of Bubblegum's plan. He attacks with his beam rifle and is capable of flight. | ||
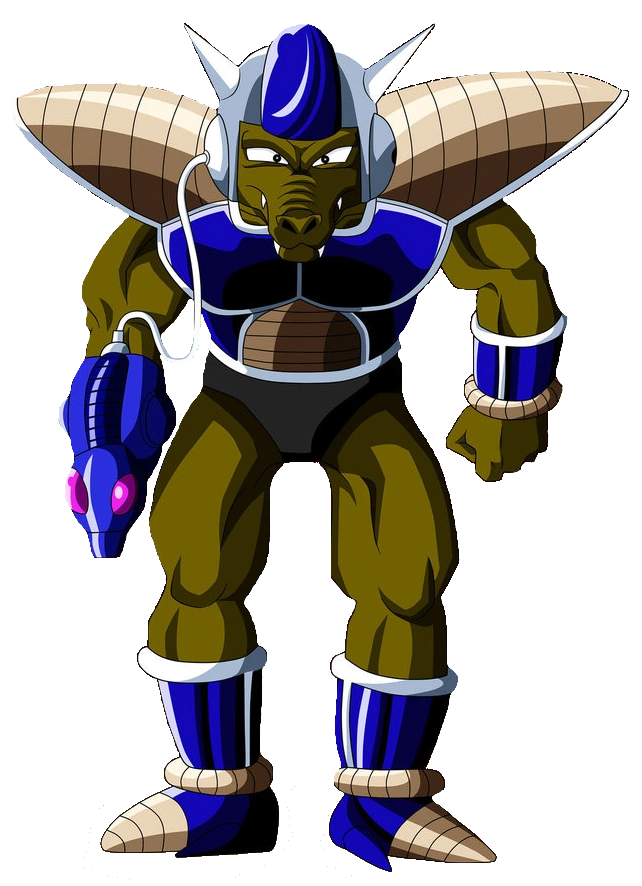 Blueberry |
Blueberry is one of Frieza's foot soldiers, acting as an mini-boss. He's pretty much a clone of Raspberry in terms of how you fight him, although his beam rifle shoots energy projectiles that go in a snaking pattern. He is also capable of flight and can headbutt opponents. | ||
Collectibles[]
Phantograms[]
Phantograms are a new tier of collectibles that offer boosts and more rewards for using them. When the player equips Phantograms, they need to have the correct conditions before being able to use them properly. These conditions can be the team or characters, the opponent's team or characters, or the stage people fight on. They basically offer challenges to the player and will boost them if they play under those conditions. They need to be unlocked either through the story mode or during end round loot rewards.
There are five types of Phantograms:
- LONE WOLF - The player's character will receive boosts if they only use one character. These are distinguished through their orange color.
- RIVALRY - The player and their rival will gain boosts should they choose characters with a rivalry. These are distinguished through their green color.
- FRIENDSHIP - The player's team will gain boosts if they are friends with each other. These can be used for two-character couplings or used twice for teams of three characters. These are distinguished through their purple color.
- ROMANCE - The player's characters will receive boosts if they have chemistry with each other. These are distinguished through their red color.
- BATTLEGROUND - The player and their rival will receive some boosts for playing on certain stages. These are distinguished through their blue color.
Lone Wolf[]
| Lone Wolf Phantograms | |||
 LONE WOLF Samurai Jack Boosts Melee Attacks by 1.3x |
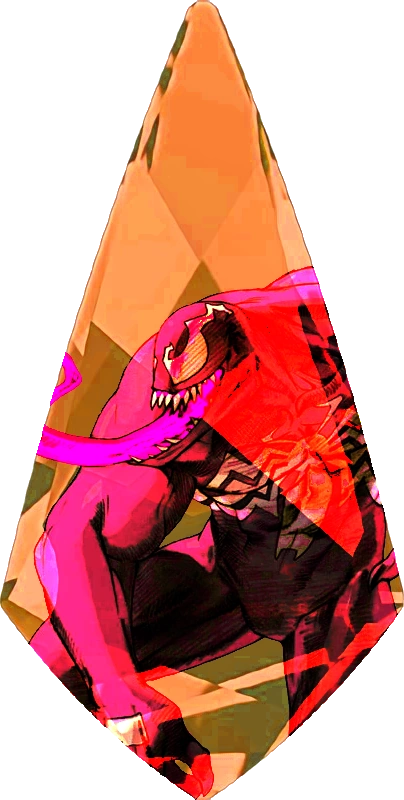 LONE WOLF Candy Venom Boosts Heavy Attacks by 1.3x |
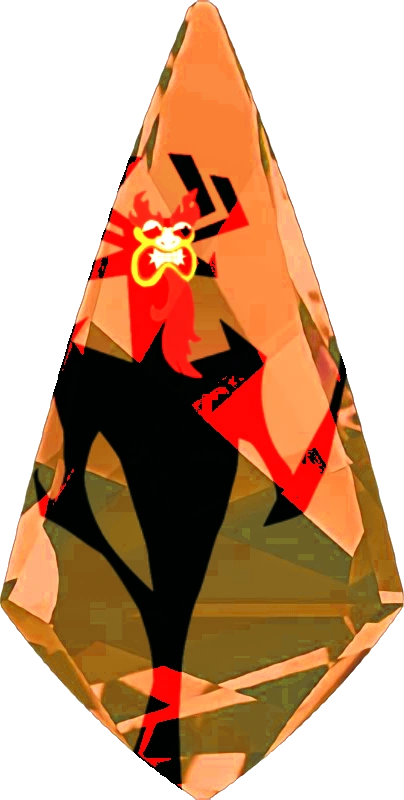 LONE WOLF Aku Boosts Projectile Attacks by 1.3x |
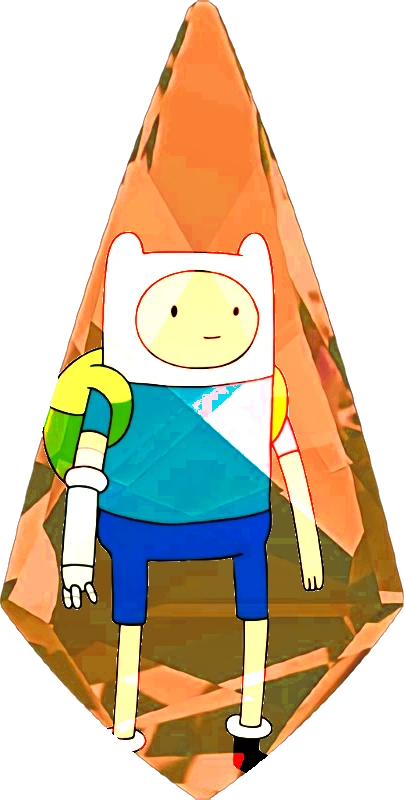 LONE WOLF Finn Boosts Melee Attacks by 1.3x |
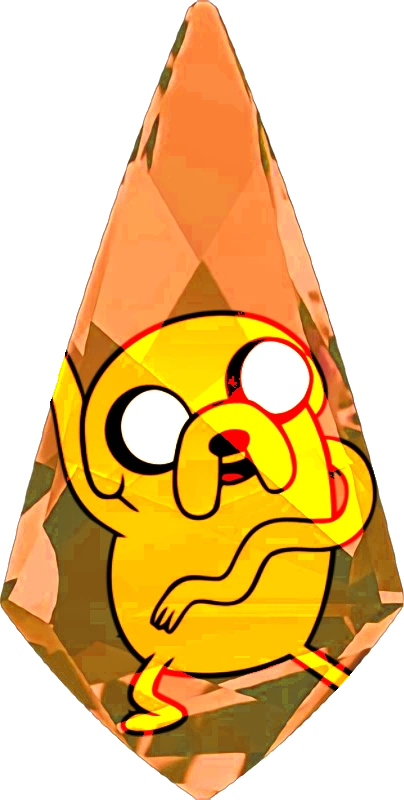 LONE WOLF Jake Boosts Blocks by 1.3x |
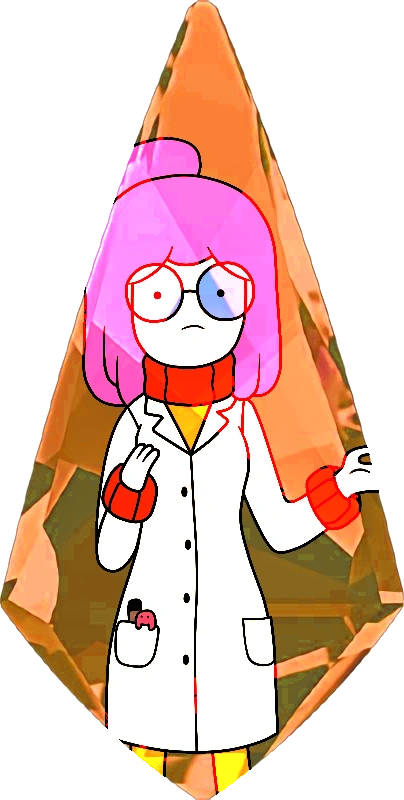 LONE WOLF Princess Bubblegum Boosts Projectile Attacks by 1.3x |
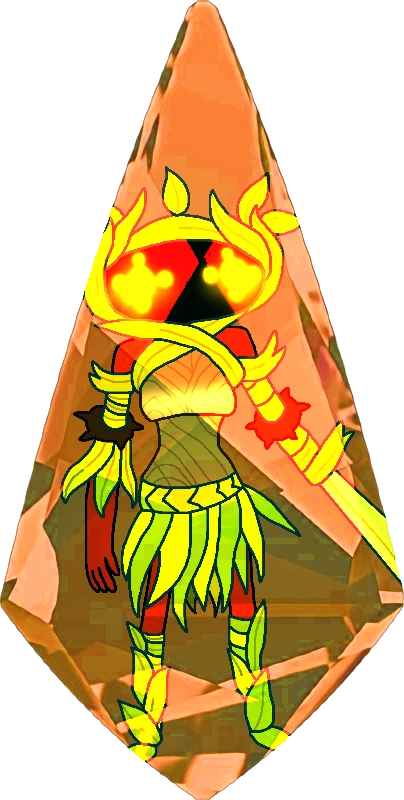 LONE WOLF Glade Boosts Melee Attacks by 1.3x |
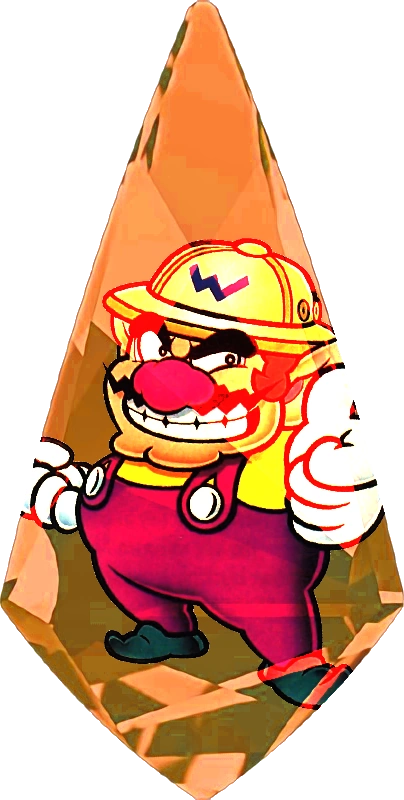 LONE WOLF Wario Boosts Heavy Attacks by 1.3x |
 LONE WOLF Frost Boosts Melee Attacks by 1.3x |
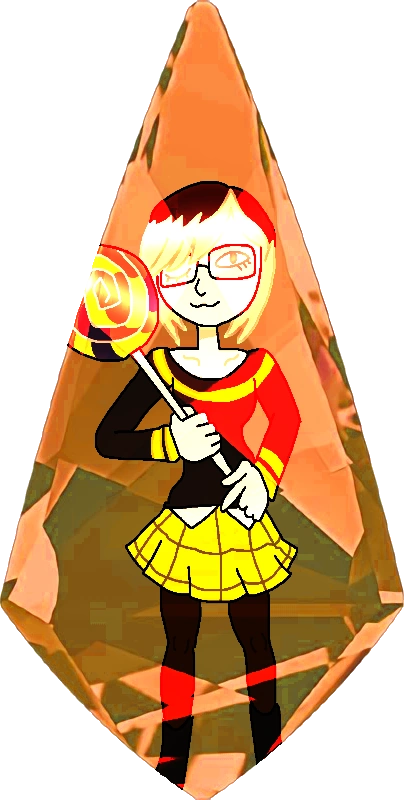 LONE WOLF Kat Jannings Boosts Light Attacks by 1.3x |
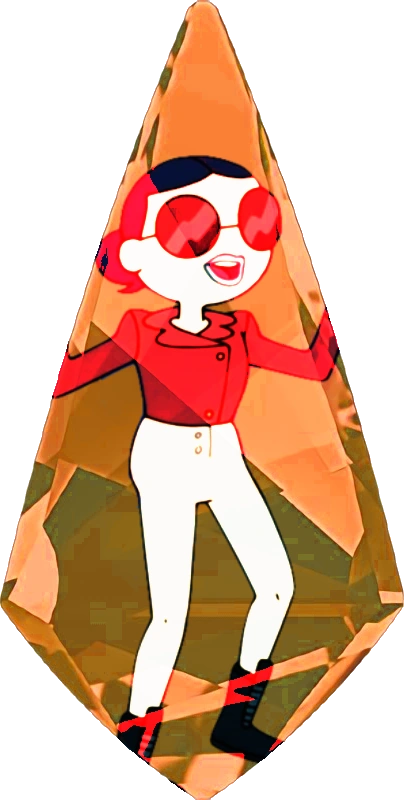 LONE WOLF Patience St. Pim Boosts Ranged Attacks by 1.3x |
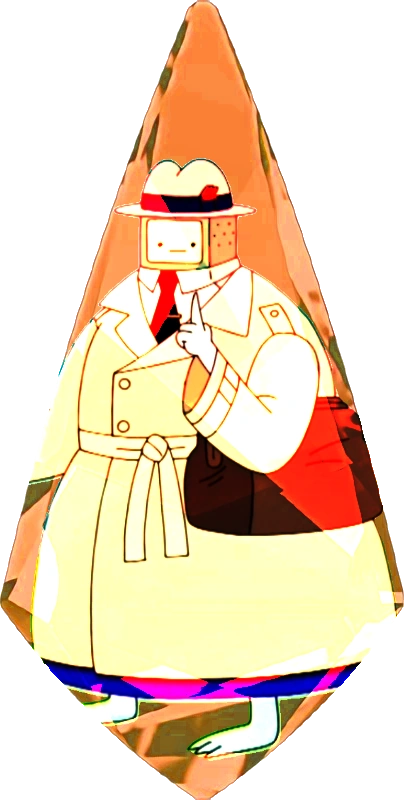 LONE WOLF Salesman BMO Boosts Movement by 1.3x |
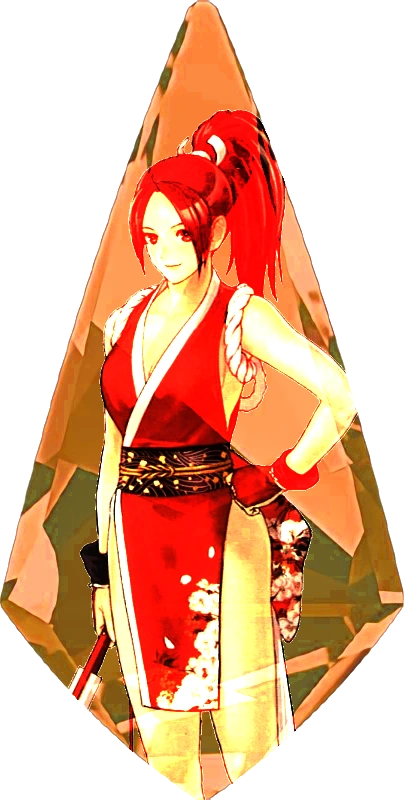 LONE WOLF Mai Shiranui Boosts Melee Attacks by 1.3x |
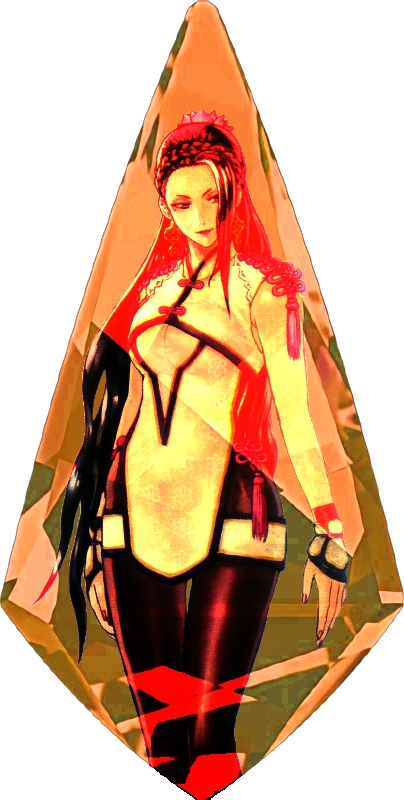 LONE WOLF Luong Boosts Kicks by 1.3x |
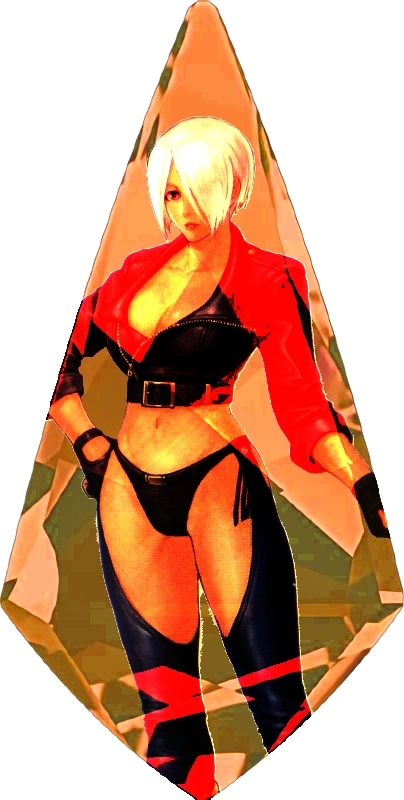 LONE WOLF Angel Boosts Grabs by 1.3x |
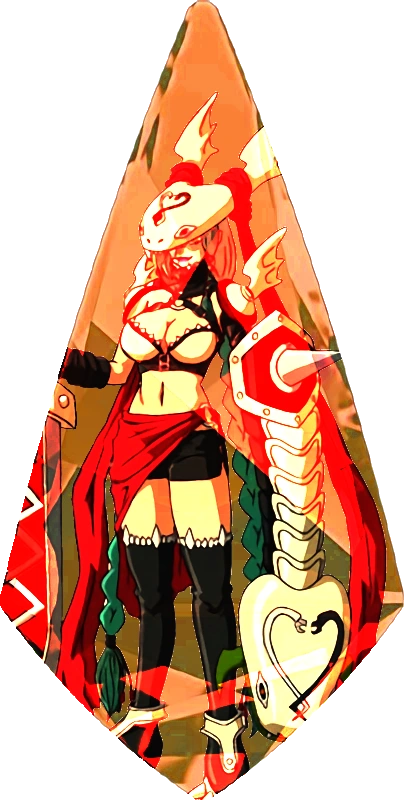 LONE WOLF Mervamon Boosts MAX MODE Moves by 1.3x |
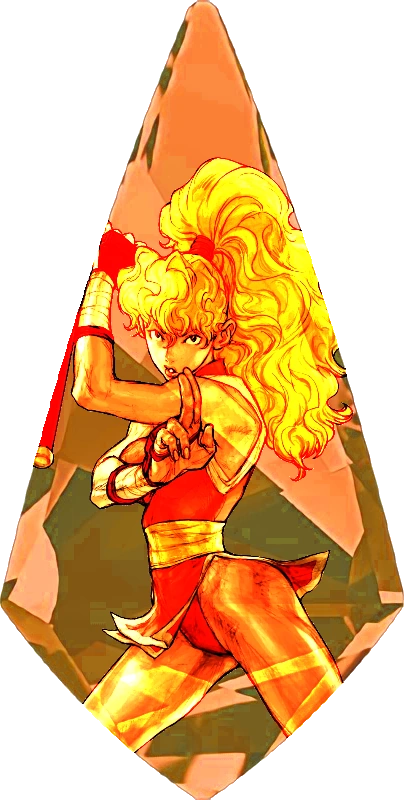 LONE WOLF Maki Boosts Melee Attacks by 1.3x |
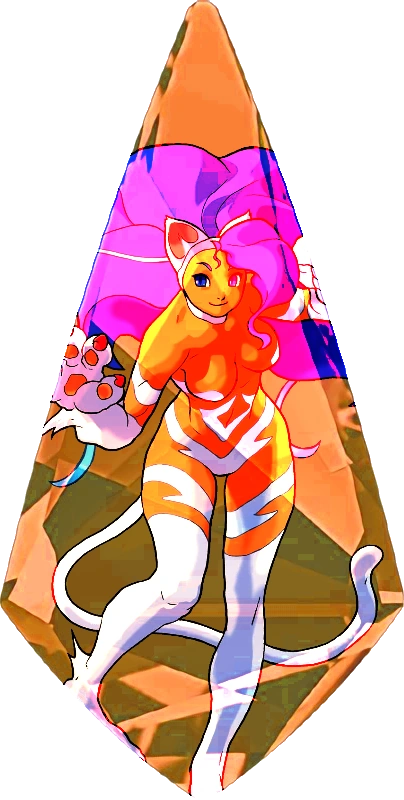 LONE WOLF Felicia Boosts Speed by 1.3x |
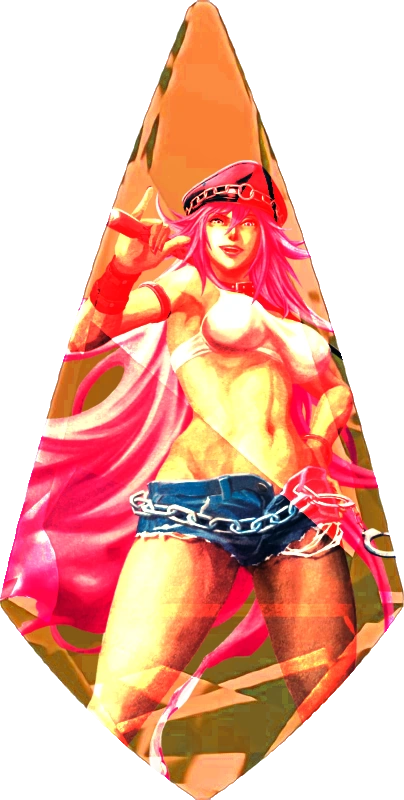 LONE WOLF Poison Boosts Grabs by 1.3x |
 LONE WOLF Solis R8000 Boosts MAX MODE Moves by 1.3x |
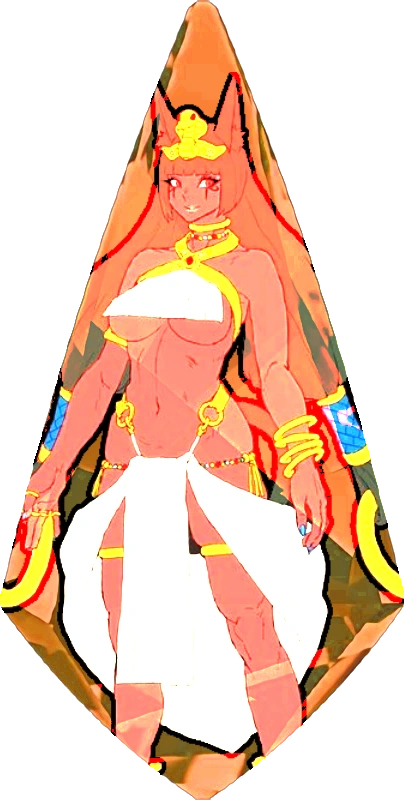 LONE WOLF Cleopatra Boosts Strength by 1.3x |
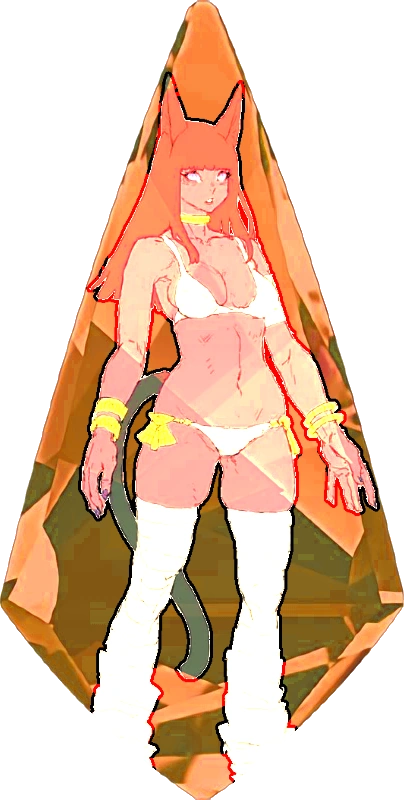 LONE WOLF Lovely Mummy Boosts Speed by 1.3x |
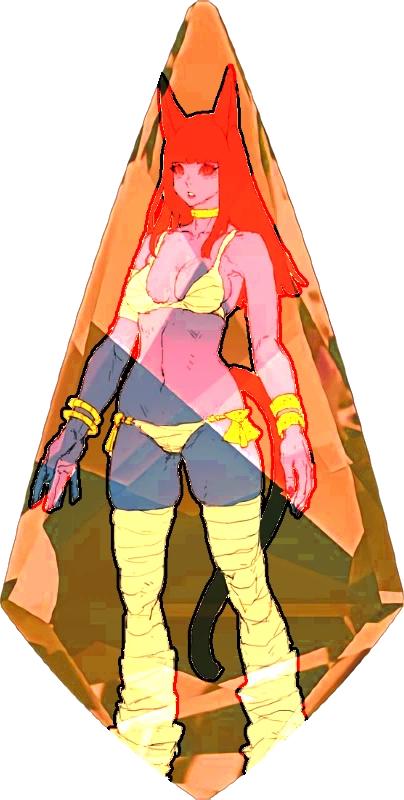 LONE WOLF Mummy Cat Boosts Defense by 1.3x |
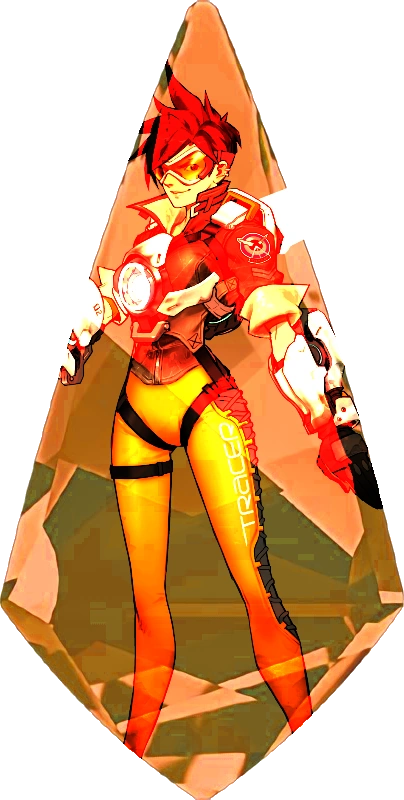 LONE WOLF Tracer Boosts Ranged Attacks by 1.3x |
Rivalry[]
| Rivalry Phantograms | |||
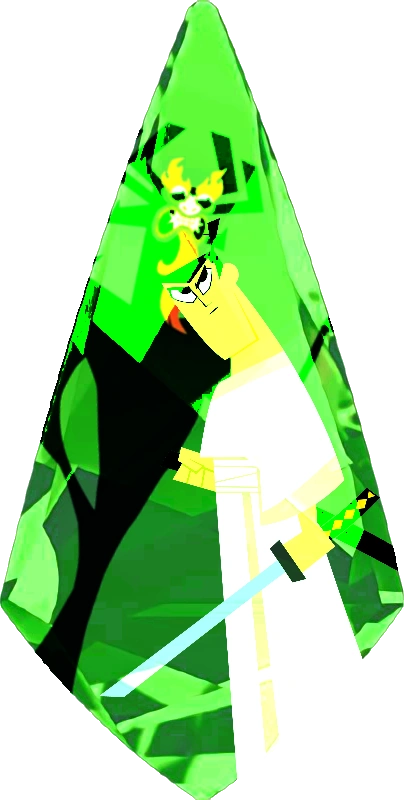 RIVALRY Samurai Jack vs Aku Boosts Sword Attacks by 2x (Samurai Jack only) Boosts Level 3 Rival Move 2x (Aku only) |
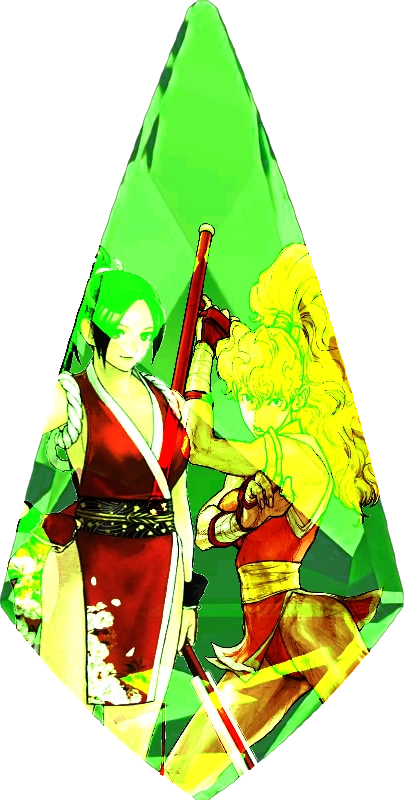 RIVALRY Mai vs Maki Boosts Melee Attacks by 2x (Mai Shiranui only) Boosts Level 3 Rival Move 2x (Maki only) |
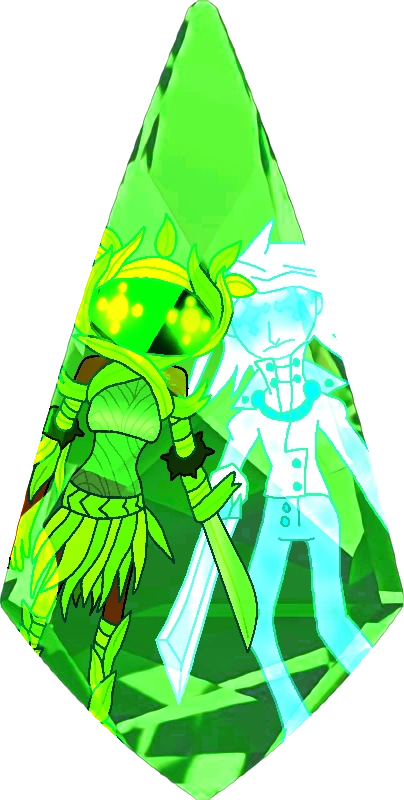 RIVALRY Glade vs Frost Boosts Melee Attacks by 2x (Both) | |
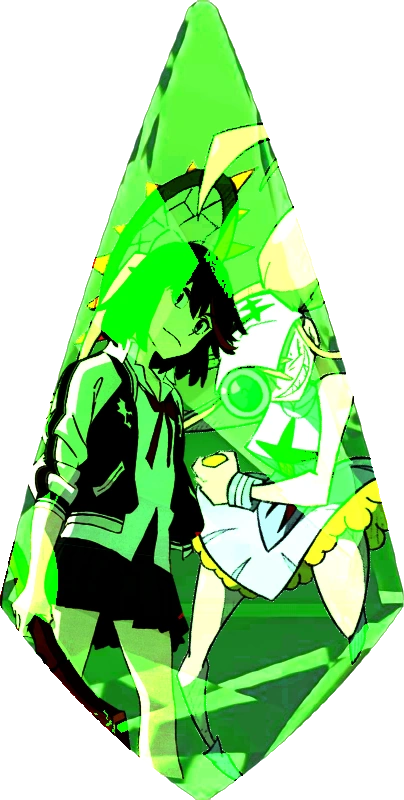 RIVALRY Ryuko Matoi vs Omiko Hakodate Boosts Melee Attacks by 2x (Ryuko only) Boosts Level 3 Rival Move 2x (Omiko only) | |||
Romance[]
| Romance Phantograms | |||
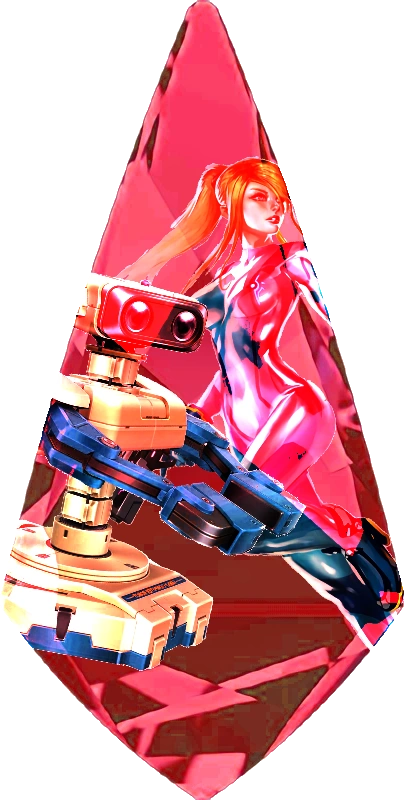 ROMANCE Samus x R.O.B Boosts MAX MODE Moves by 2x (Both) |
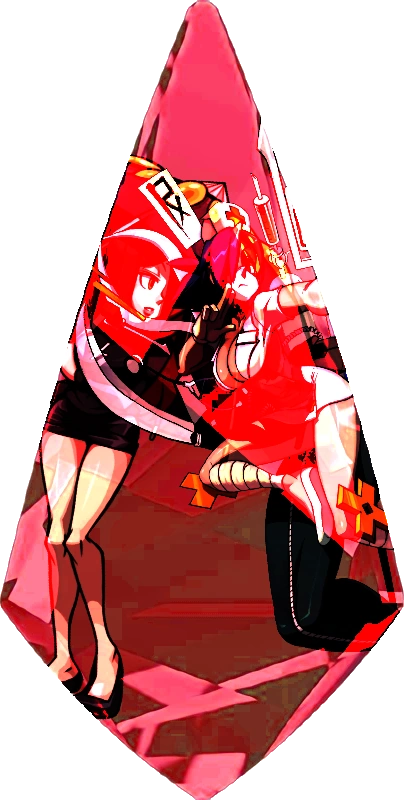 ROMANCE Parasoul x Valentine Boosts Melee Attacks by 2x (Both) | ||
Trophies[]
Trophies are a stand in for the Trading Card system for this game. They can be unlocked by random during battles or by spending coins in the Trophy Machine. The base of the trophy shows what kind of trophy it is.
- Orange - Playable Character
- Yellow - Variant of Playable Character
- Red - Boss Character
- Pink - Enemy Character
- Purple - NPC Character
- Rainbow - Special
| Trophies | |||
Samurai Jack Samurai Jack |
Aku Samurai Jack |
Candy Venom Kingdoms of Fighters [B]: Fight for the Future |
Finn Adventure Time |
Jake Adventure Time |
Princess Bubblegum Adventure Time |
Raquna Sheldon Etrian Odyssey |
Glade Kingdoms of Fighters |
Dr. Princess Adventure Time |
Shikki Samurai Shodown |
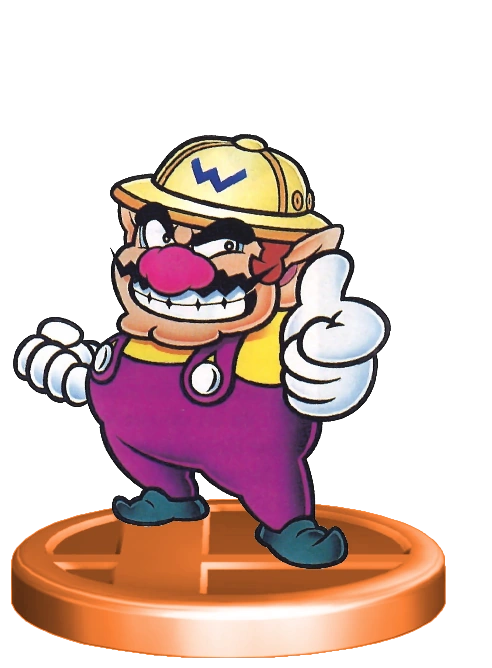 Wario Wario Land |
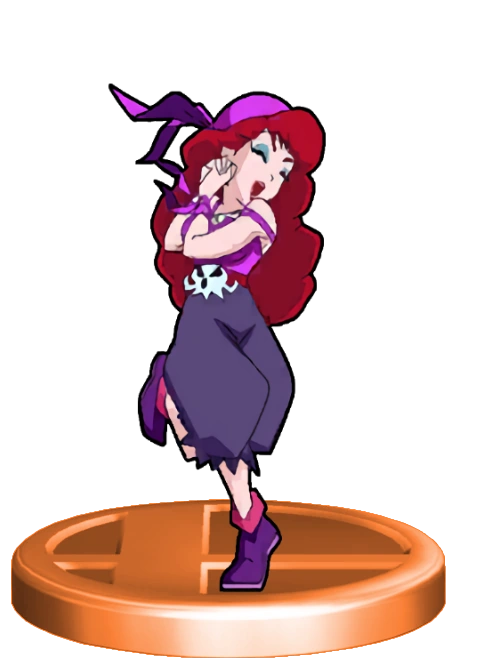 Captain Syrup Wario Land |
Frost Kingdoms of Fighters [B]: Fight for the Future |
Kat Jannings Kingdoms of Fighters [B]: Fight for the Future |
Patience Adventure Time |
Salesman BMO Adventure Time |
Mai Shiranui King of Fighters |
Luong King of Fighters |
Angel King of Fighters |
Mervamon Digimon |
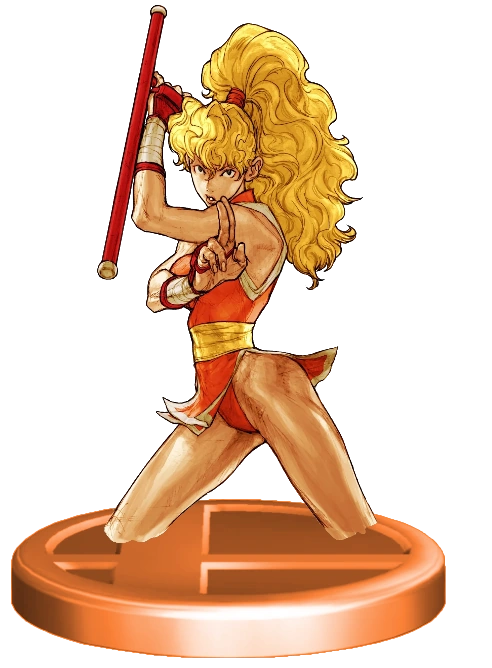 Maki Genryusai Final Fight |
 Felicia Darkstalkers |
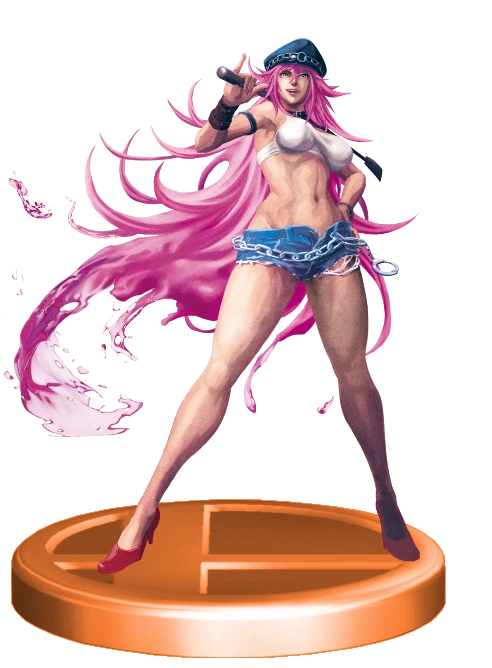 Poison Street Fighter |
Solis R800 Groove On Fight |
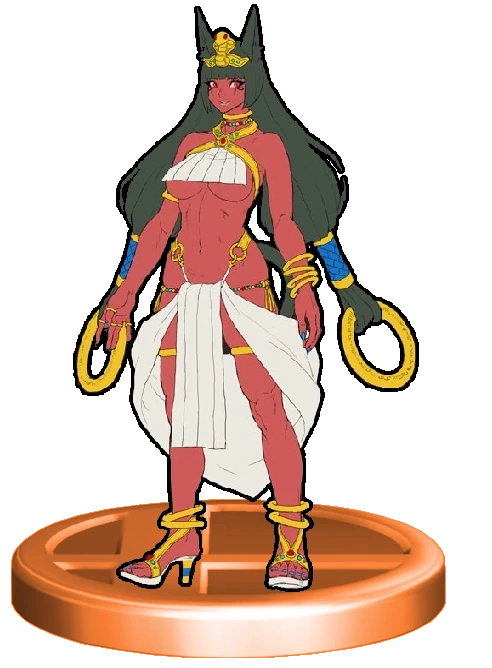 Cleopatra Metal Slug |
 Lovely Mummy Metal Slug |
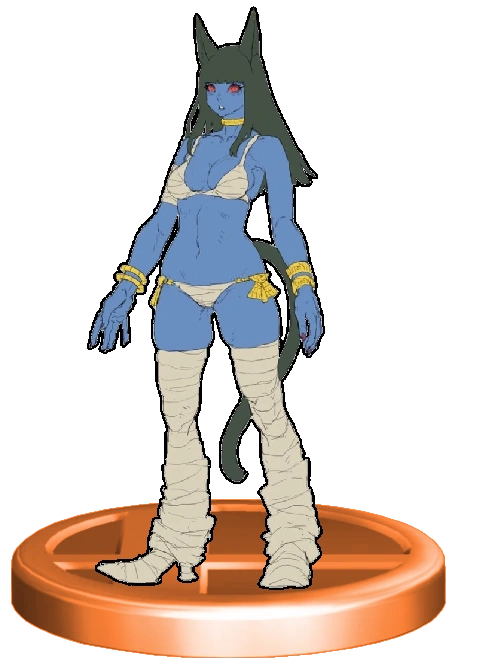 Mummy Cat Metal Slug |
Tracer Overwatch |
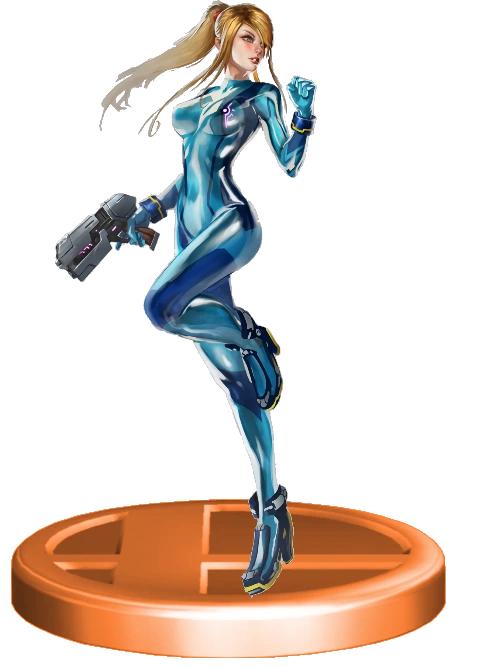 Samus Aran Metroid |
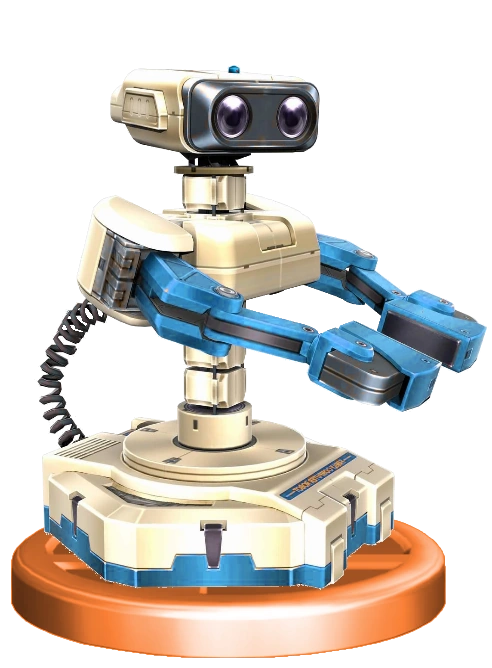 R.O.B Gyromite |
Launch Dragon Ball |
C. Viper Street Fighter |
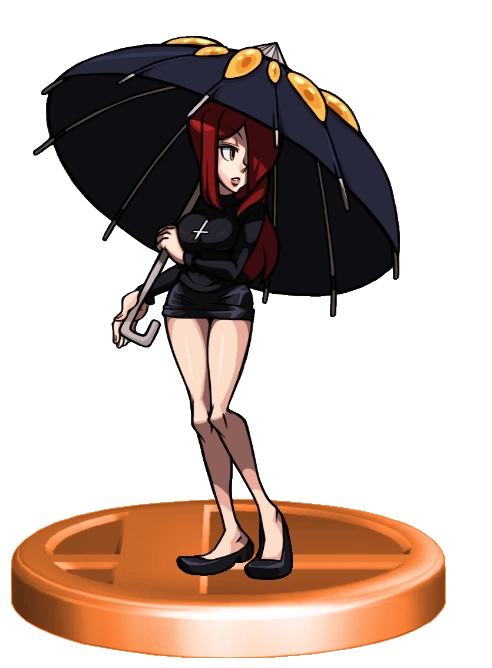 Parasoul Skullgirls |
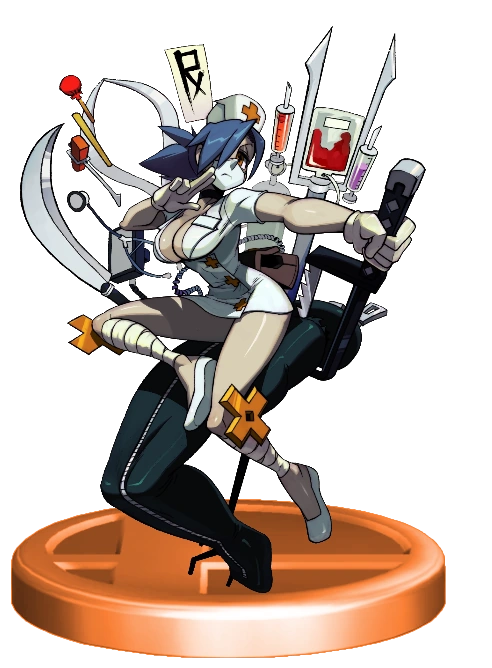 Valentine Skullgirls |
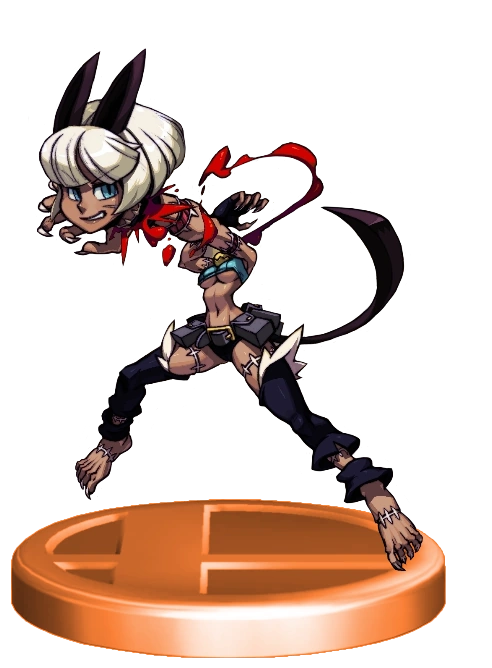 Ms. Fortune Skullgirls |
Chaos Sonic the Hedgehog |
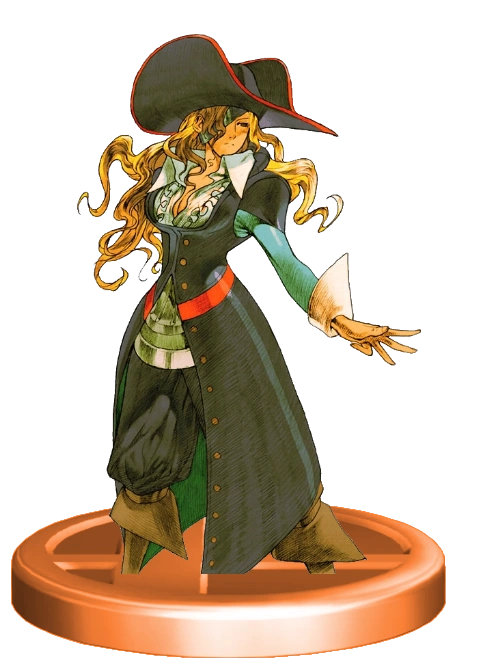 Ruby Heart Marvel vs Capcom 2 |
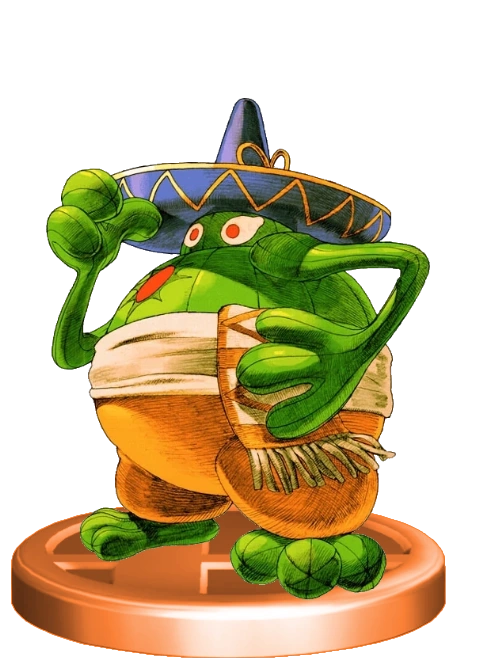 Amigo Marvel vs Capcom 2 |
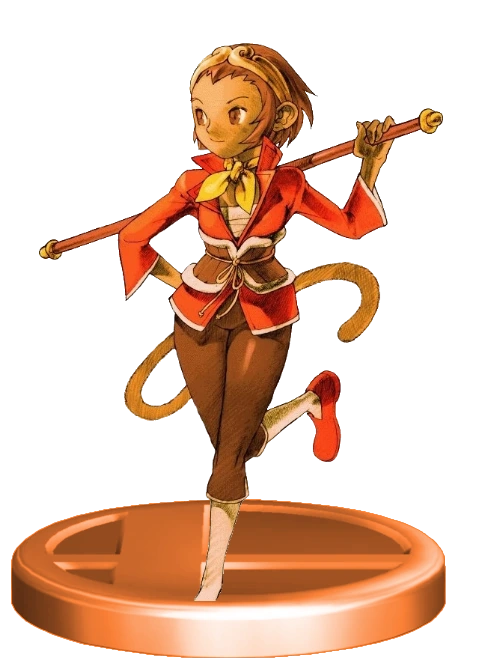 SonSon Marvel vs Capcom 2 |
Ms. Bison Street Fighter |
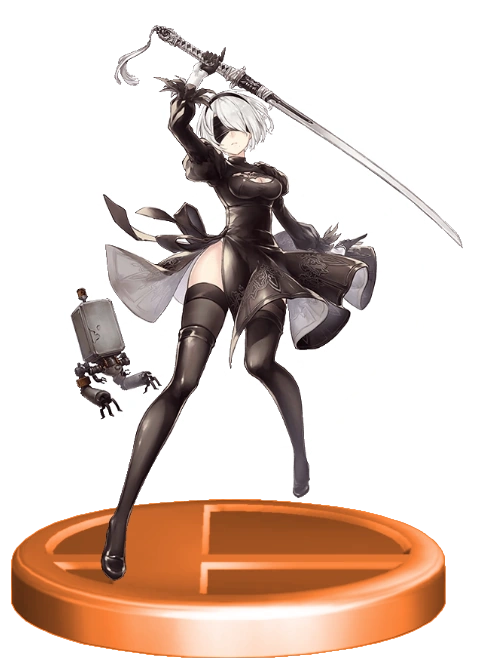 2B NIeR Automata |
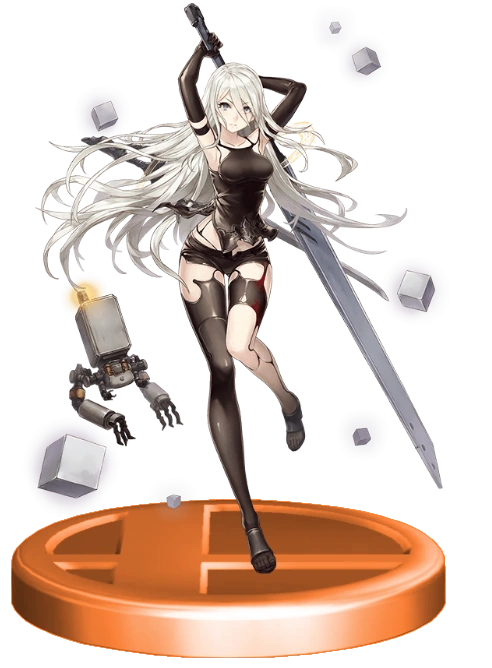 A2 NIeR Automata |
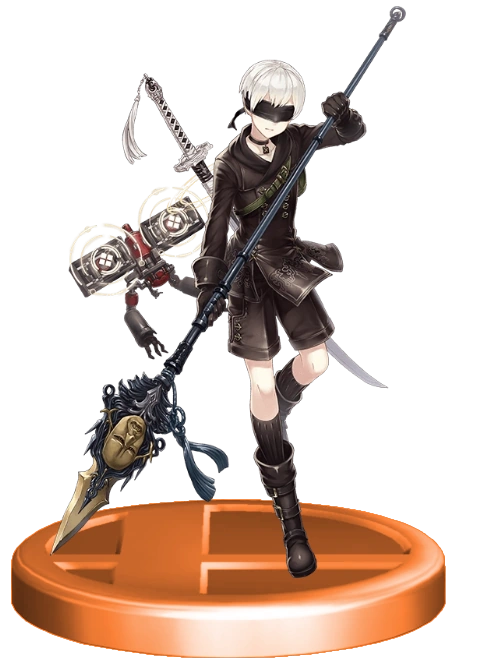 9S NIeR Automata |
Gwenpool Gwenpool |
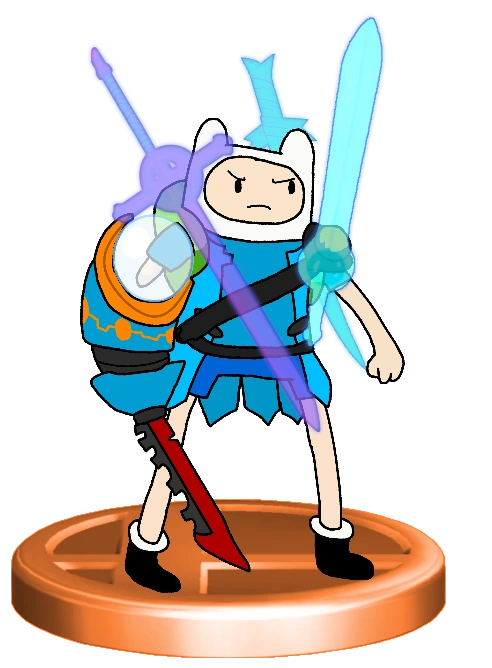 Blademaster Finn Kingdoms of Fighters [B]: Fight for the Future |
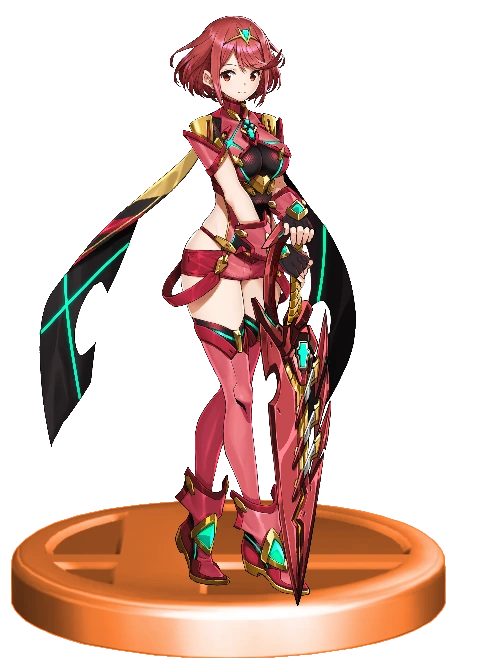 Pyra Xenoblade Chronicles 2 |
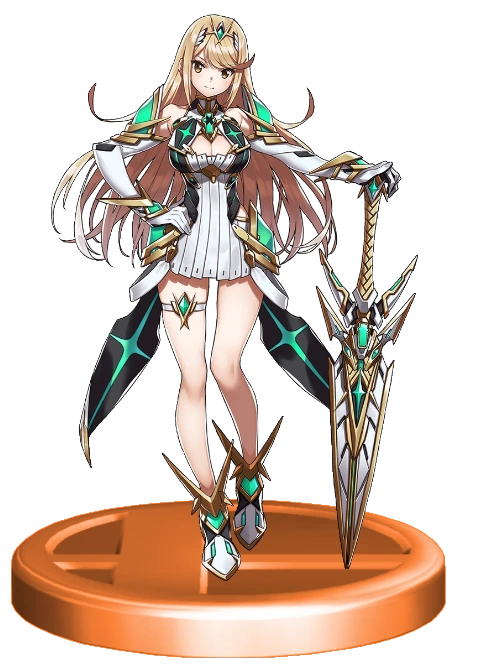 Mythra Xenoblade Chronicles 2 |
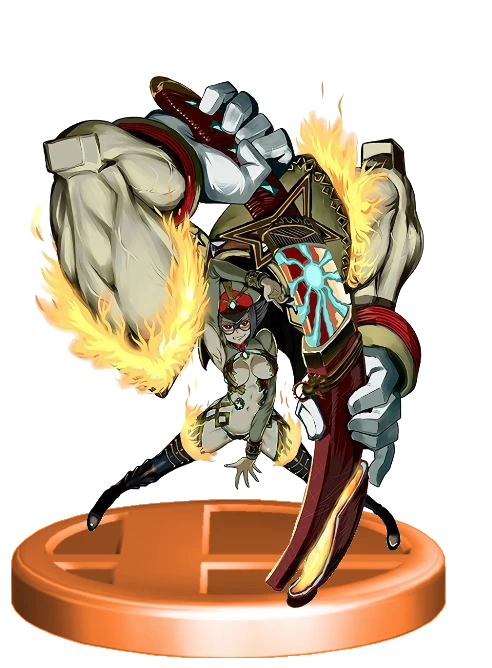 Natsu Xenoblade Chronicles 2 |
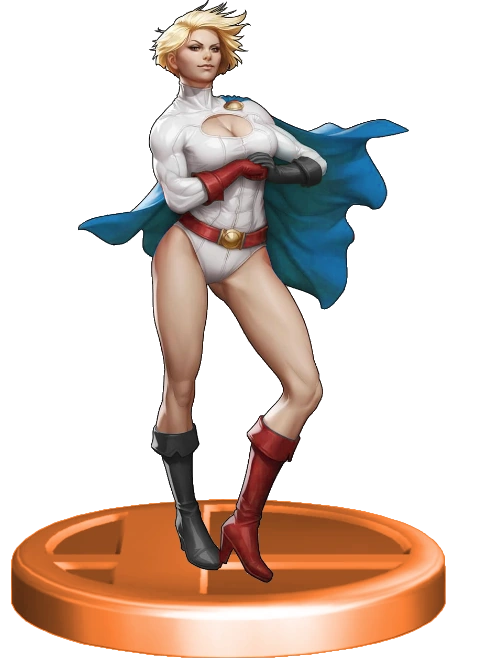 Power Girl Action Comics |
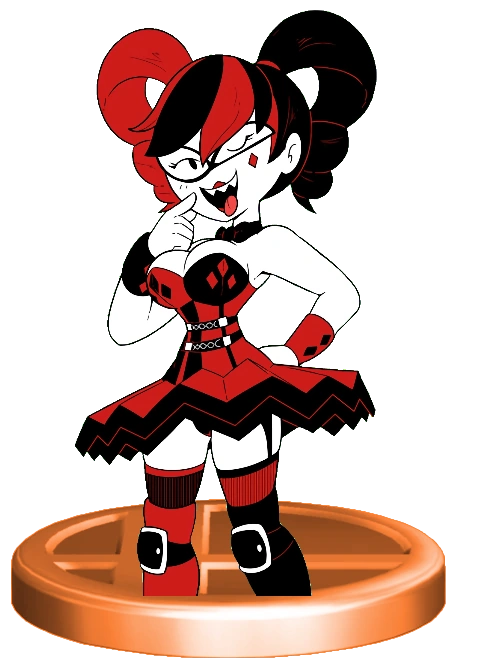 Harley Quinn Batman |
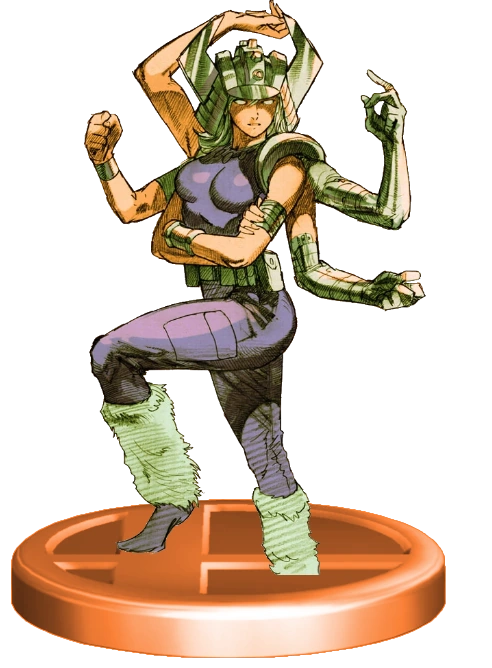 Spiral X-Men |
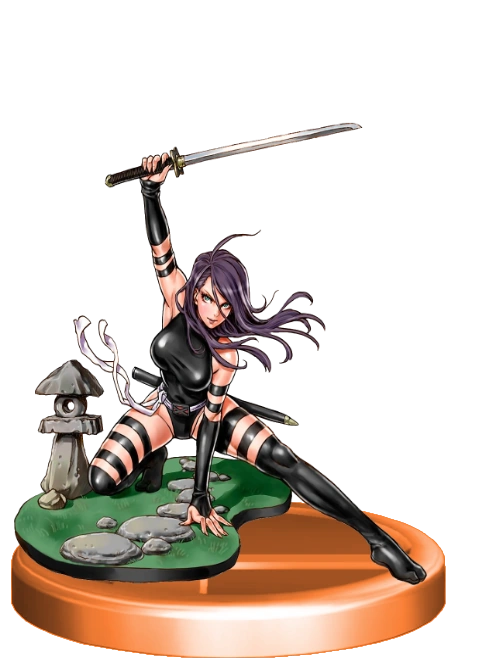 Psylocke X-Men |
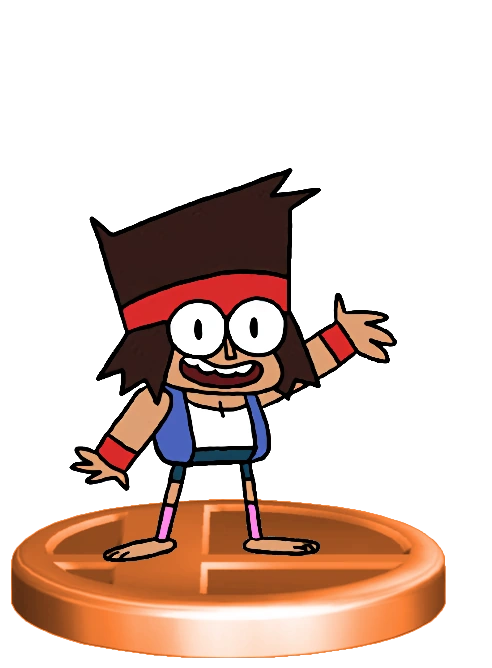 KO OK KO |
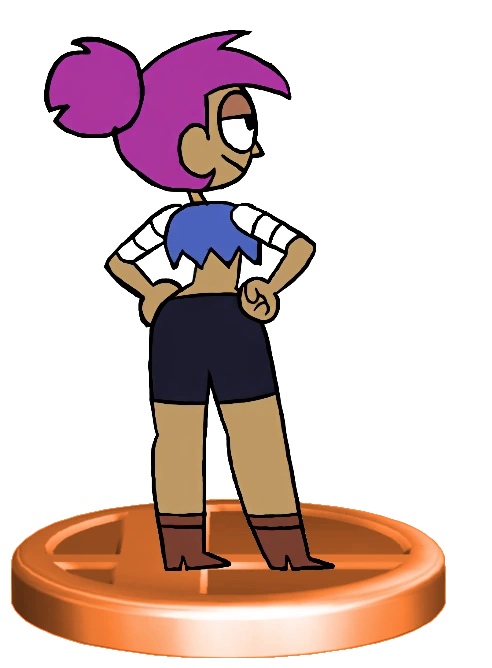 Enid OK KO |
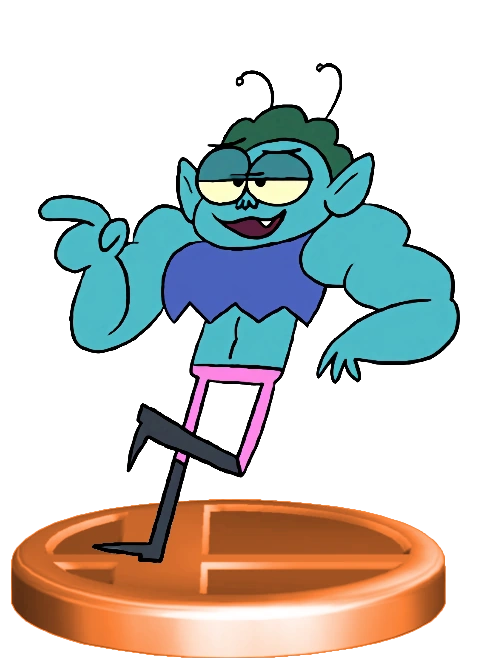 Radicles OK KO |
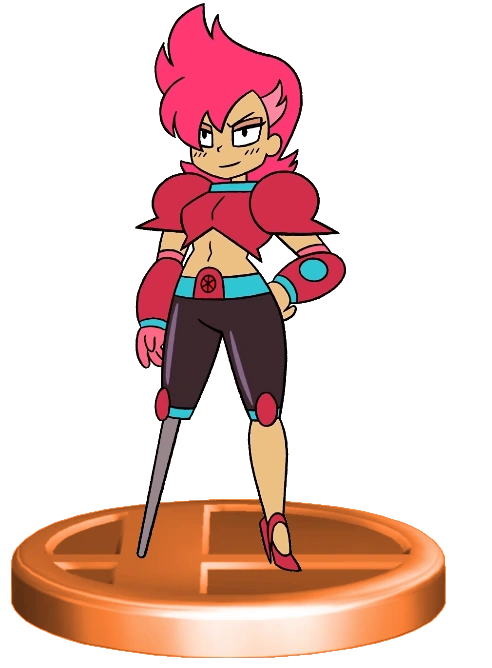 Red Action OK KO |
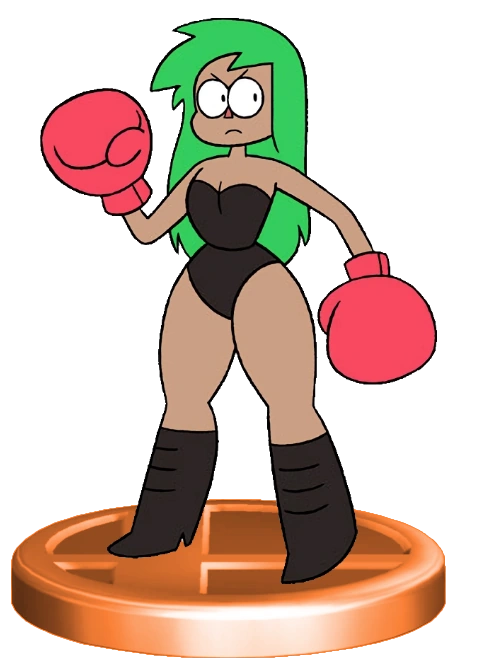 Punching Judy OK KO |
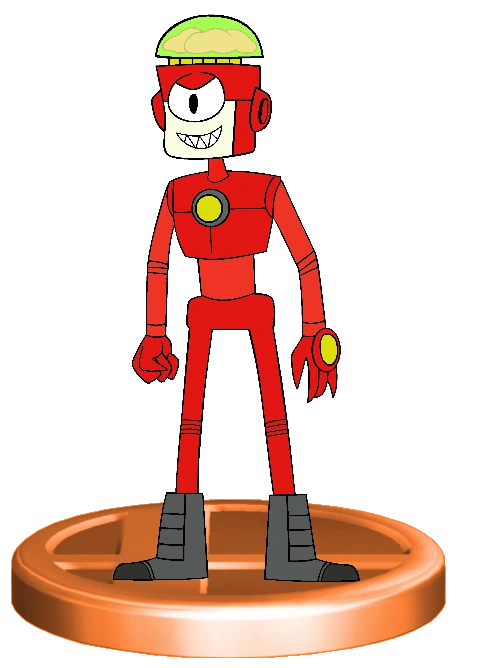 Darrell OK KO |
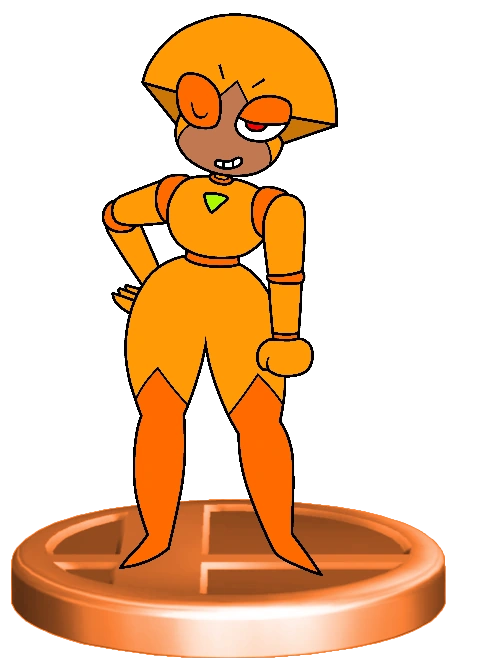 Shannon OK KO |
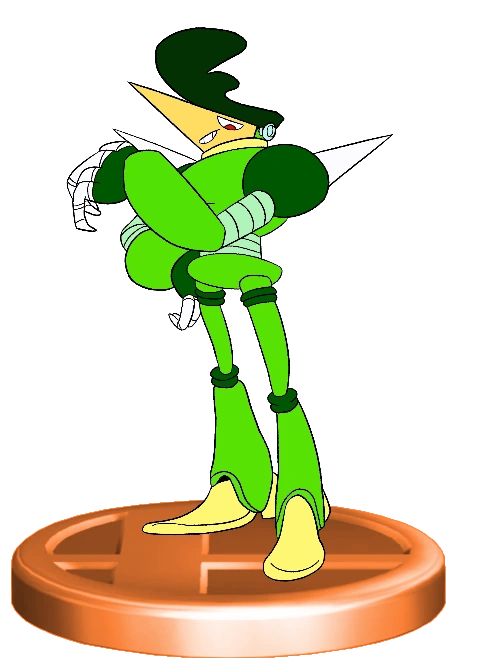 Raymond OK KO |
Mitsuru Kirijo Persona 4 |
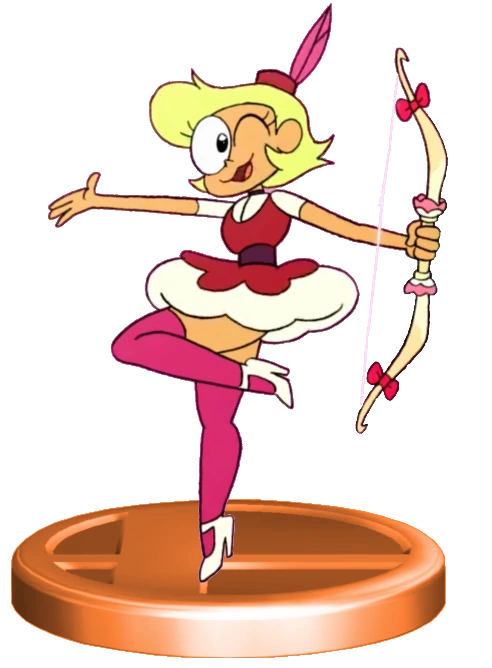 Elodie OK KO |
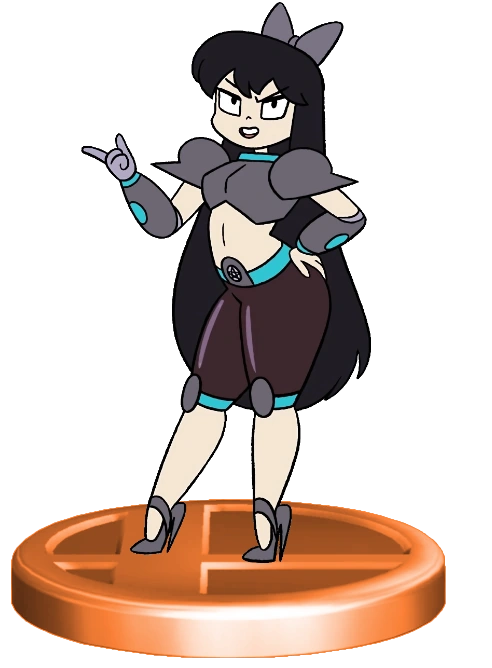 Black Strategy OK KO |
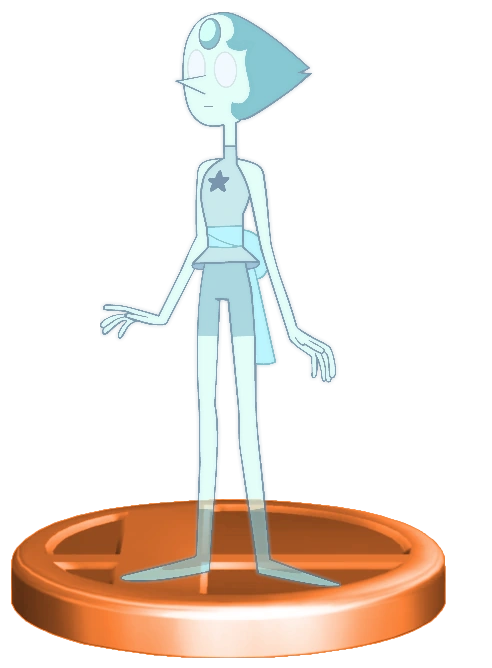 Holo-Pearl Steven Universe |
Absinthe Adrenaline Rush |
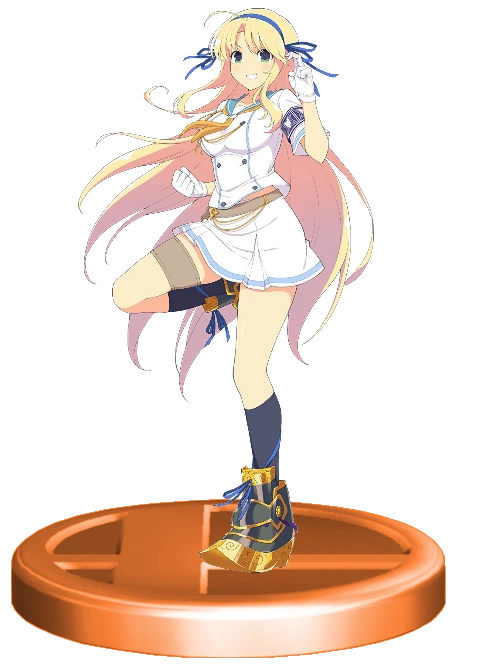 Katsuragi Senran Kagura |
 Taokaka BlazBlue |
Go Go Big Hero 6 |
Roger Rabbit Who Framed Roger Rabbit |
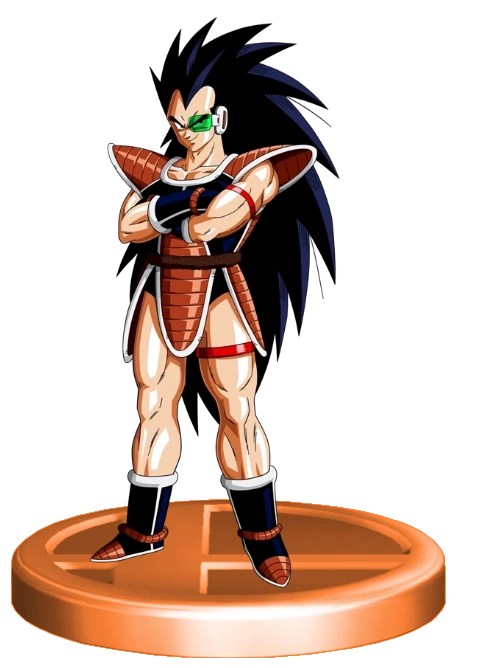 Raditz Dragon Ball Z |
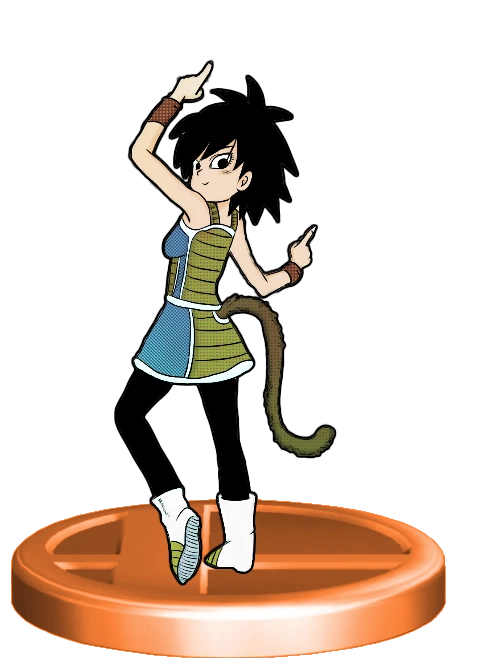 Gine Dragon Ball Z |
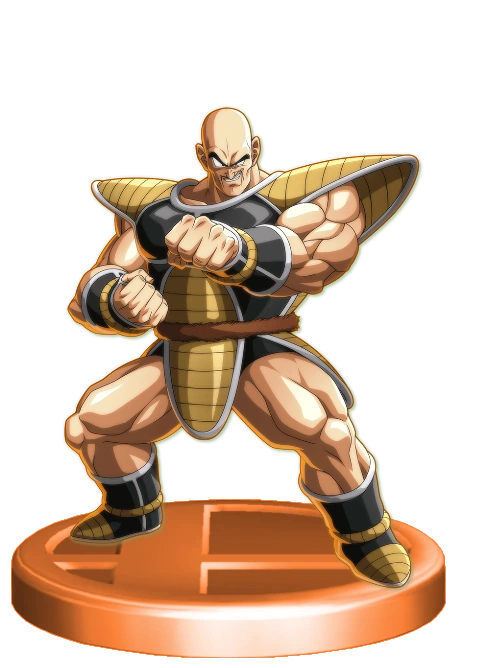 Nappa Dragon Ball Z |
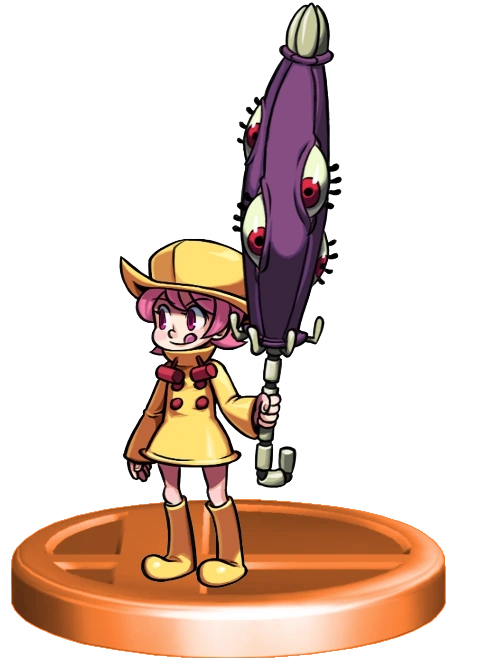 Umbrella Skullgirls |
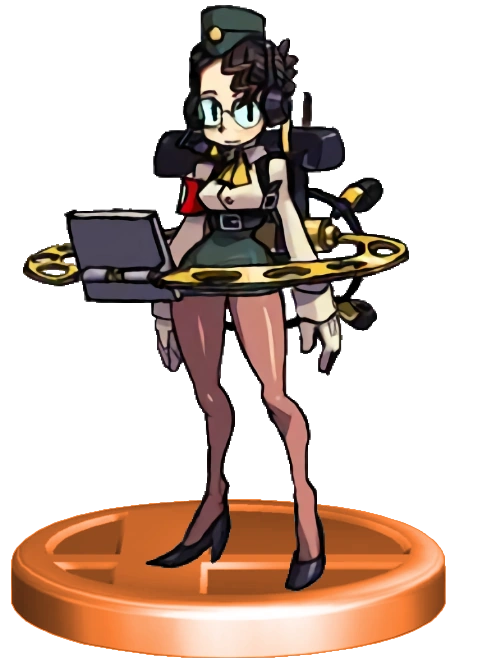 Molly Skullgirls |
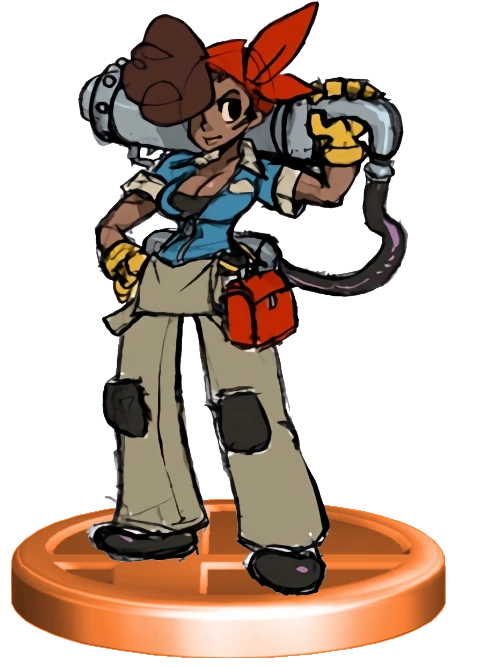 Roxie Skullgirls |
Aqua Kingdom Hearts Birth by Sleep |
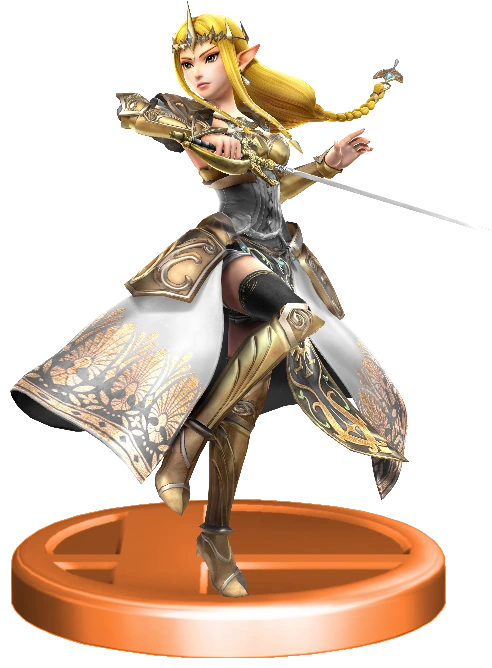 Princess Zelda The Legend of Zelda |
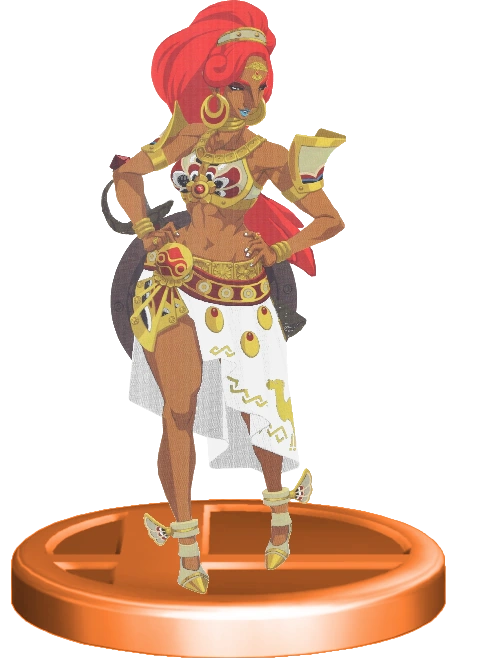 Urbosa The Legend of Zelda |
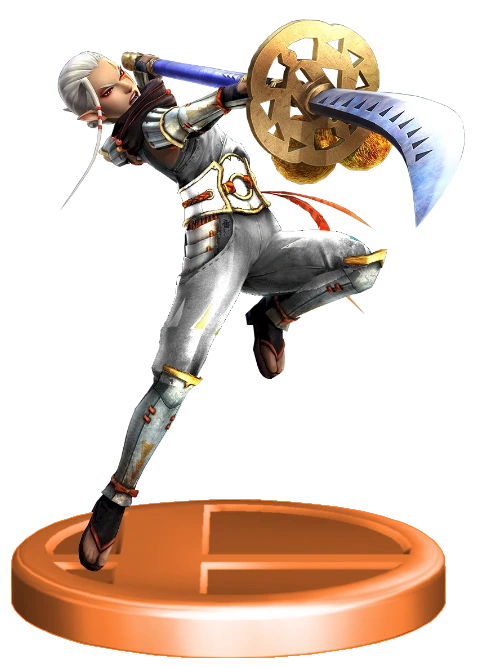 Impa The Legend of Zelda |
Mewtwo Pokemon |
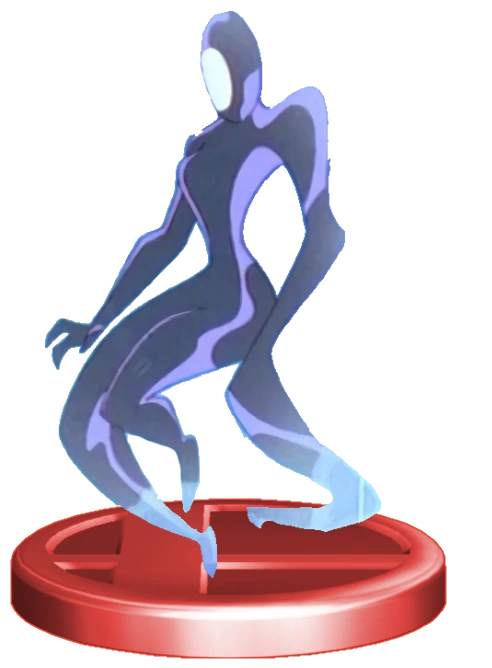 Inque Batman Beyond |
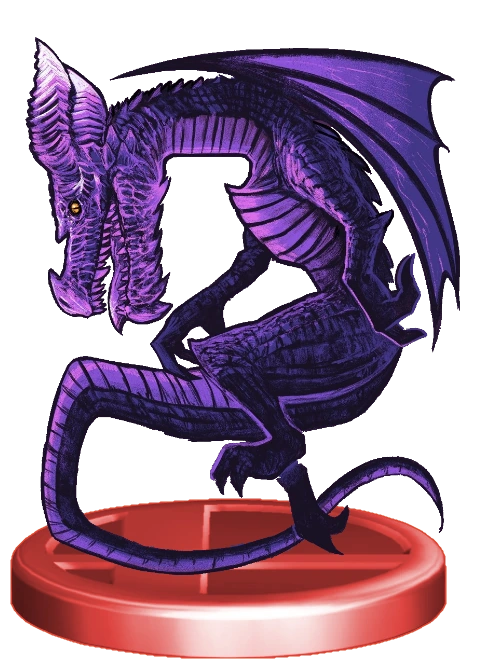 Ruined Dragon Super Mario Odyssey |
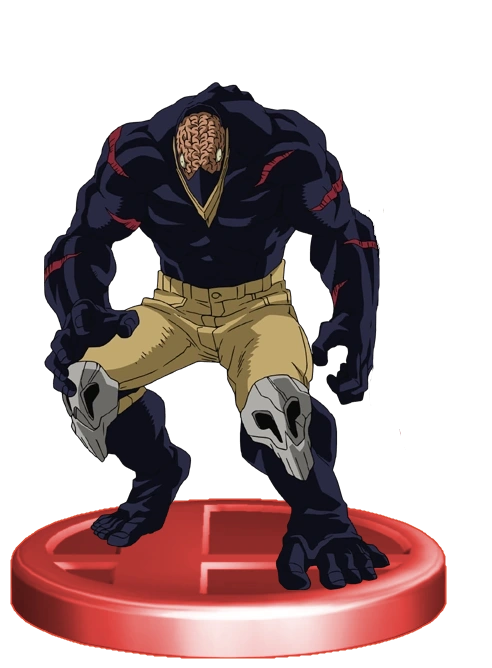 Nomu My Hero Academia |
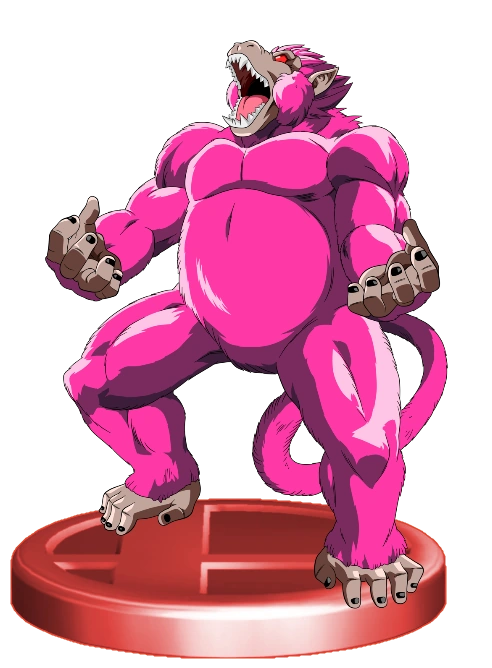 Pink Moon Great Ape Gine Kingdoms of Fighters [B]: Fight for the Future |
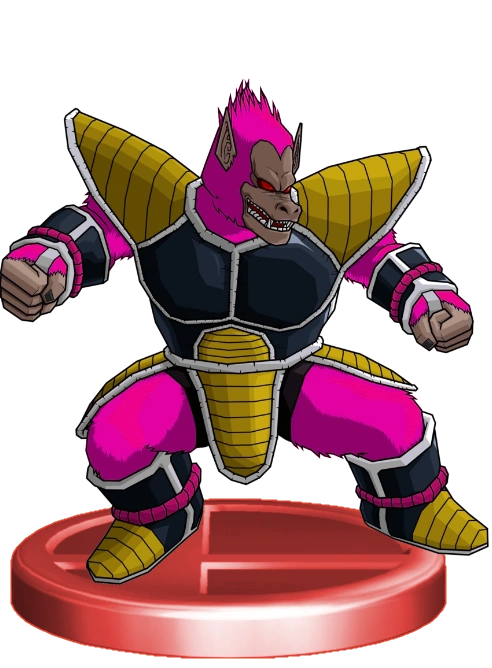 Pink Moon Great Ape Nappa Kingdoms of Fighters [B]: Fight for the Future |
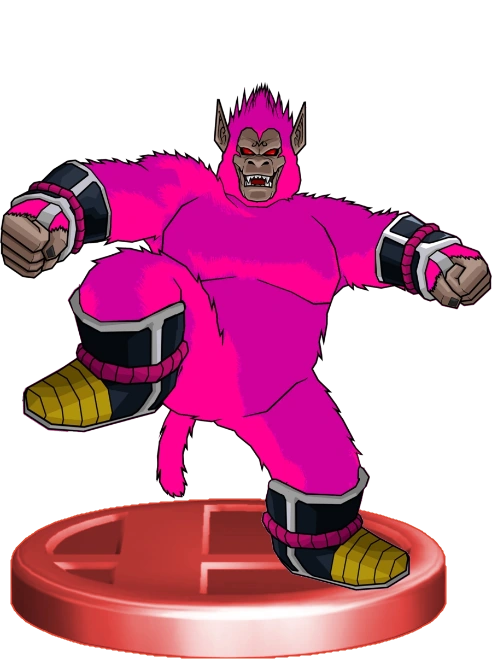 Pink Moon Great Ape Raditz Kingdoms of Fighters [B]: Fight for the Future |
 Commantis Kingdom Hearts 3D: Dream Drop Distance |
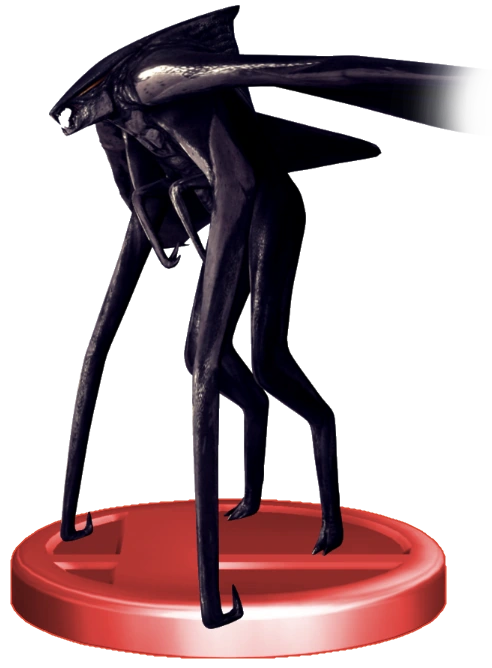 MUTO Godzilla (2014) |
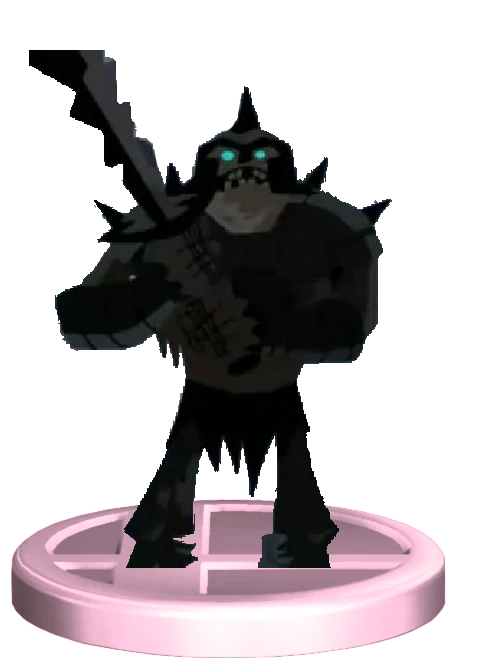 Dust Zombie Samurai Jack |
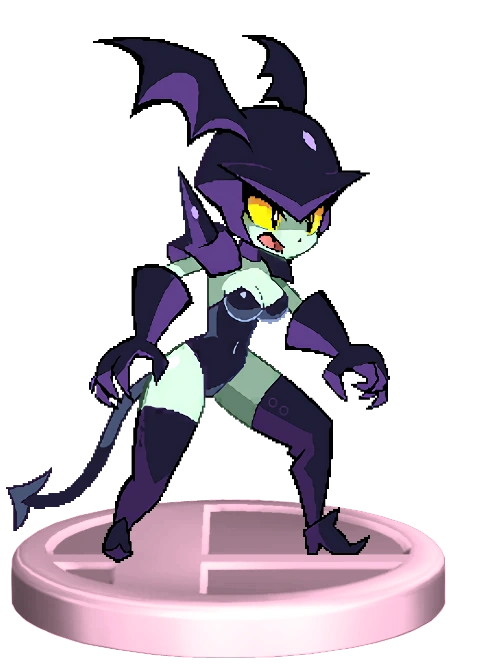 BatGal Shantae: Half Genie Hero |
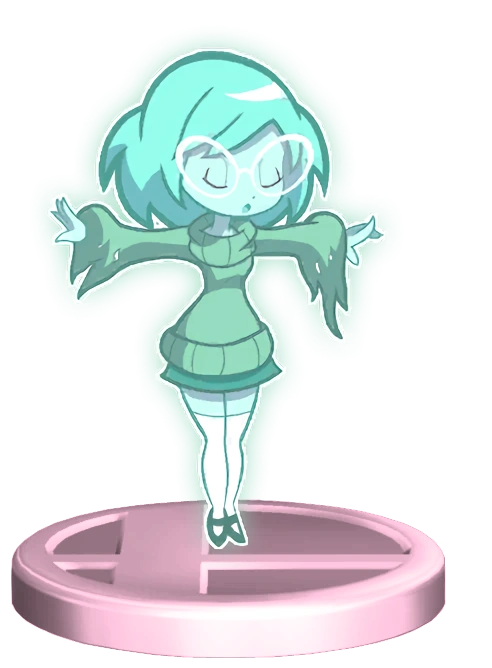 Ikki Shantae: Half Genie Hero |
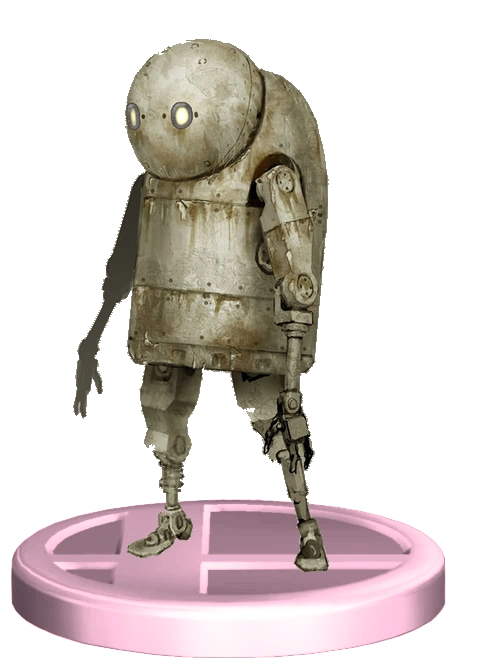 Small Bipedal NieR: Automata |
 Burrbo Super Mario Odyssey |
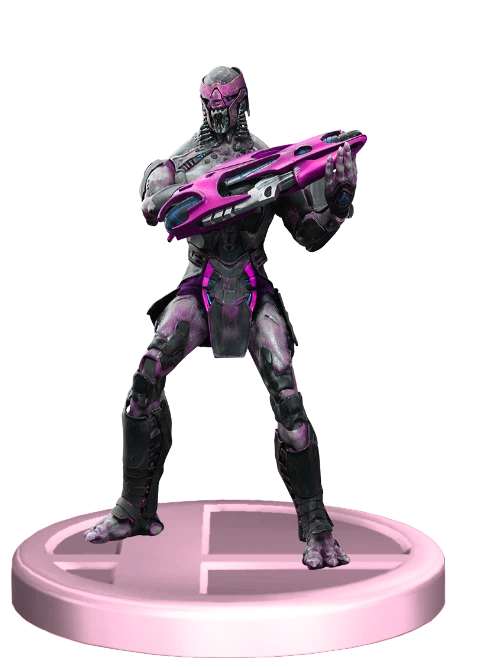 Chituari The Avengers |
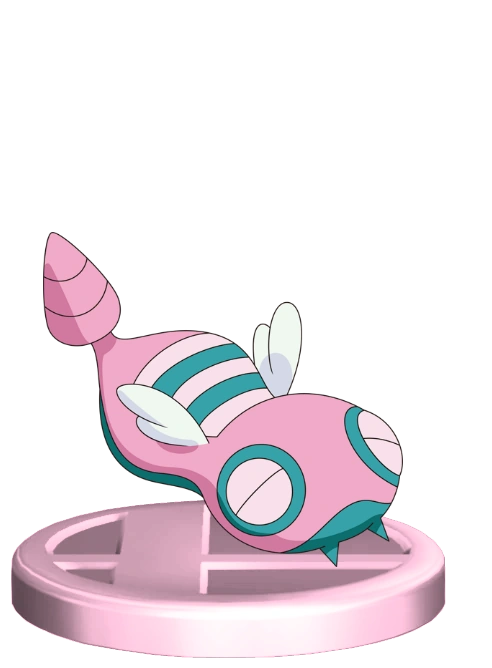 Dunsparce Pokemon |
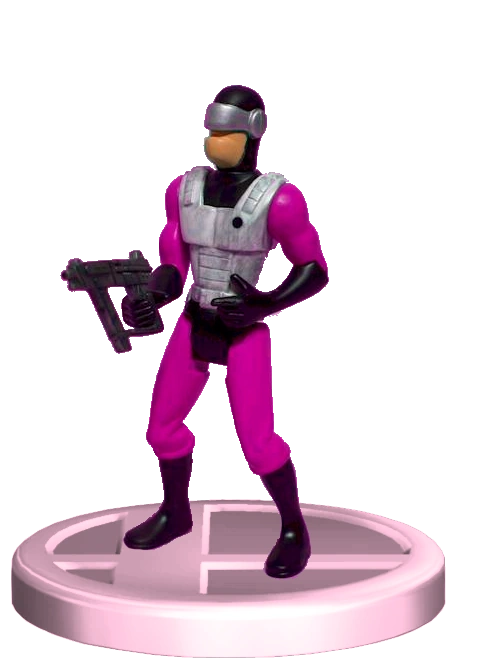 Nomansian Guards The Incredibles |
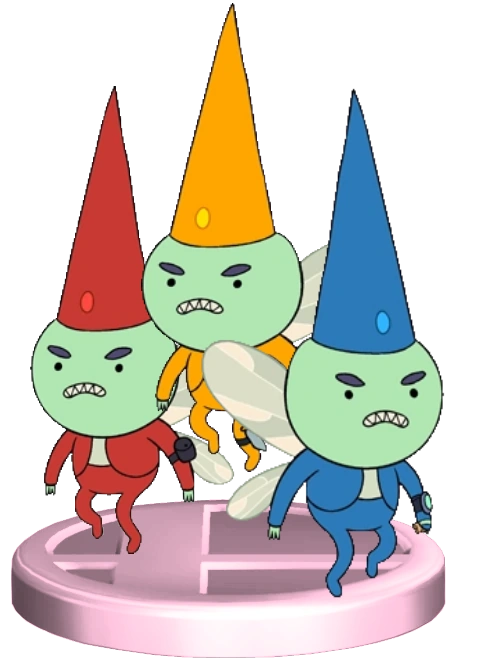 Flyin' Gnomes Adventure Time |
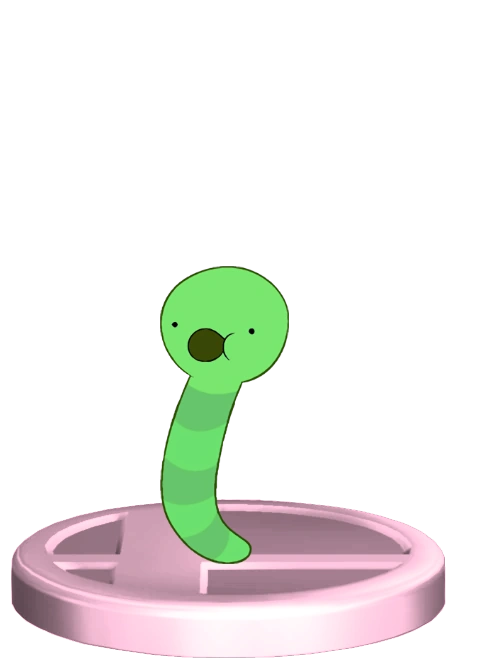 Worm Adventure Time |
 Creeper Minecraft |
 Waddle Doo Kirby |
 Primid Super Smash Bros. Brawl |
 Stormtrooper Star Wars IV: A New Hope |
 Heartless Kingdom Hearts |
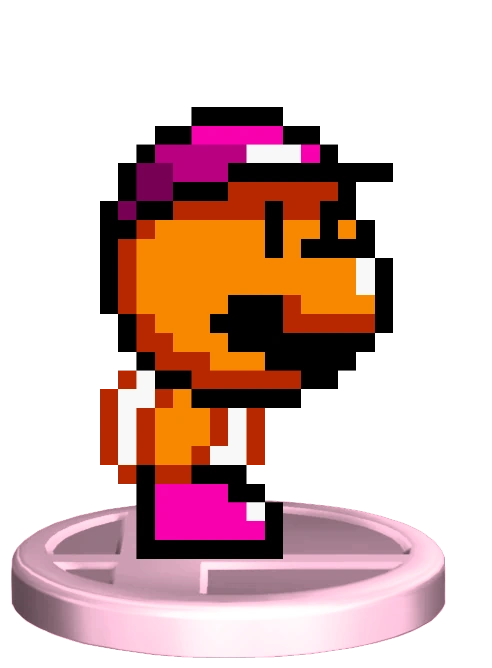 Mask Koopa Super Mario World |
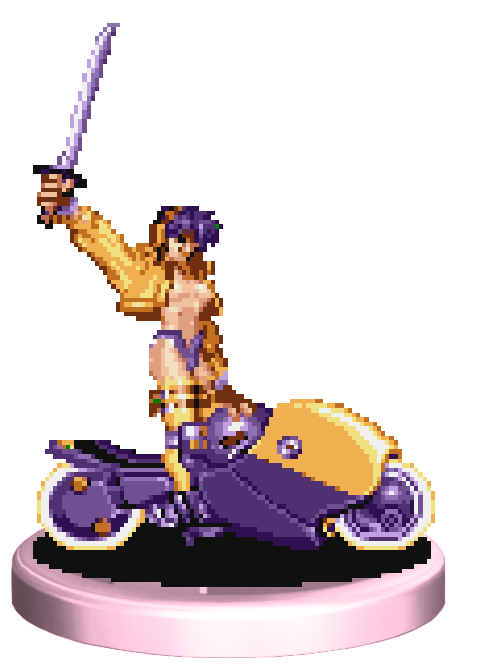 Biker Gal Battle Circuit |
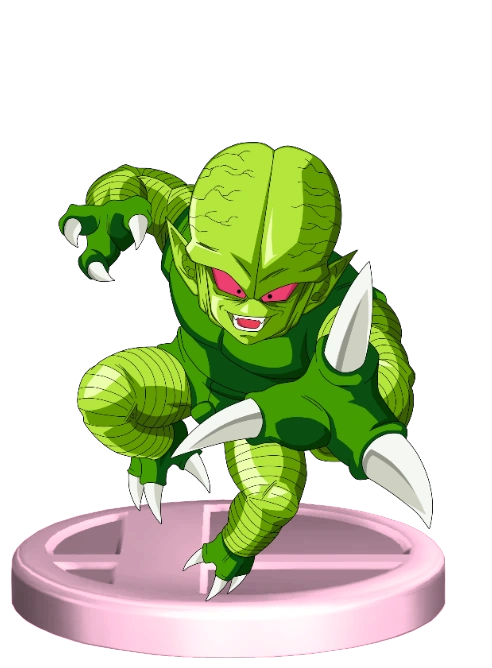 Saibamen Dragon Ball Z |
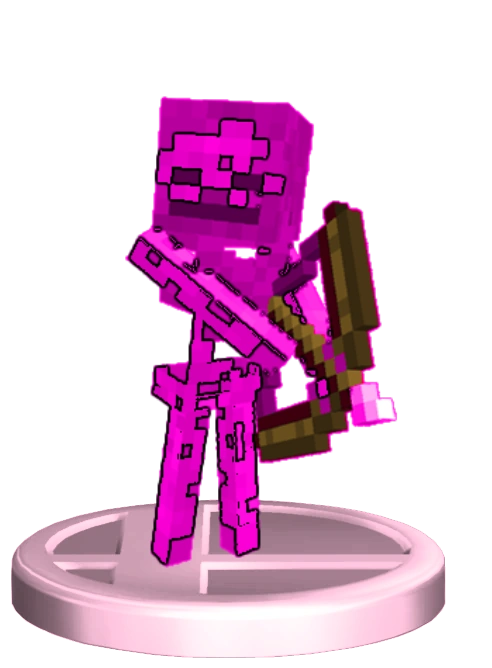 Skeleton Minecraft |
 Earclops Adventure Time |
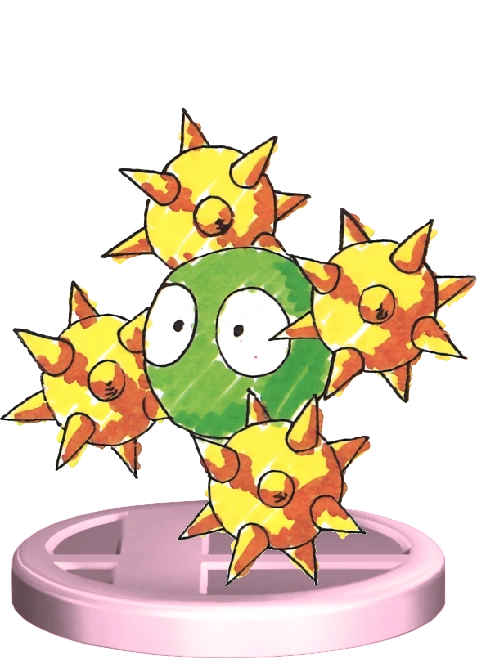 Orbinaut Sonic the Hedgehog |
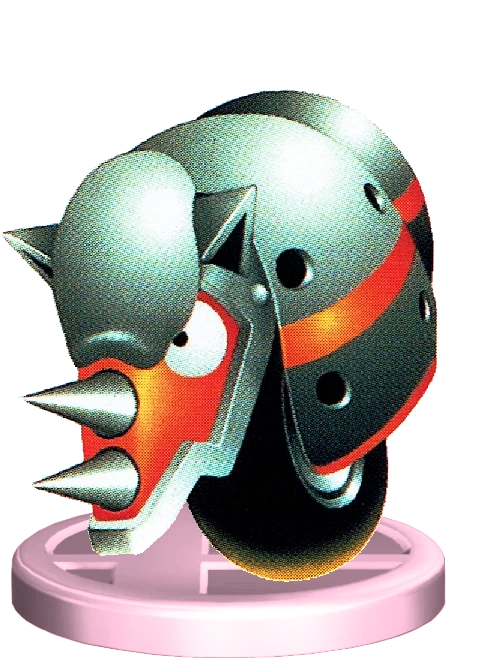 RhinoBot Sonic the Hedgehog |
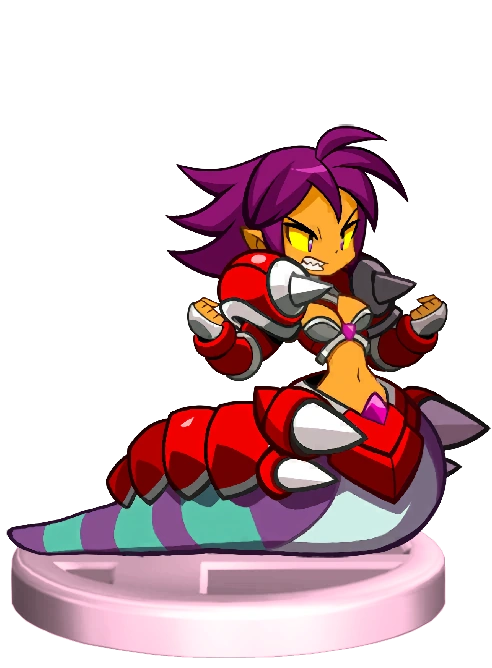 Naga Shantae: Half Genie Hero |
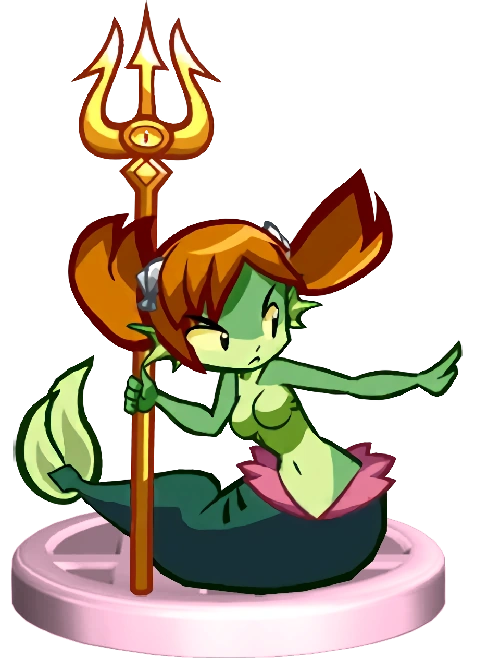 Mermaid Shantae: Half Genie Hero |
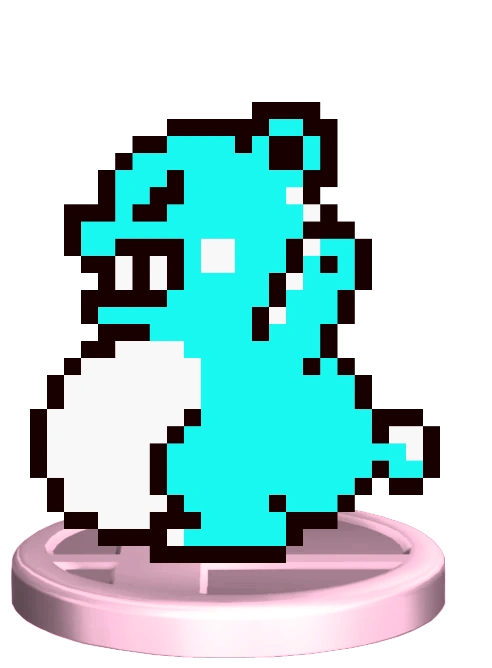 Brrr Bear Wario Land 3 |
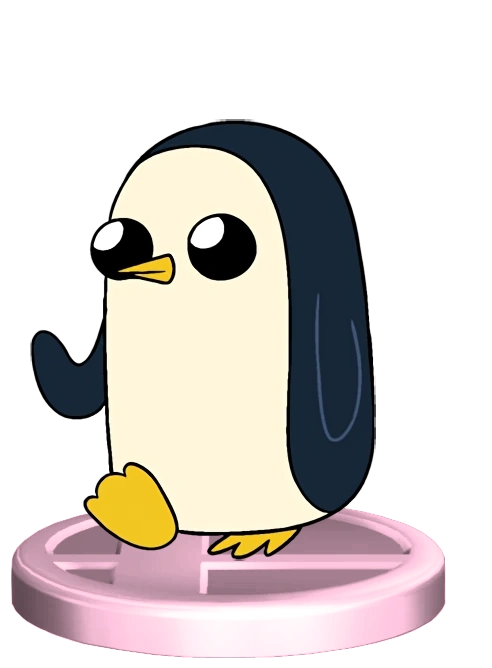 Penguin Adventure Time |
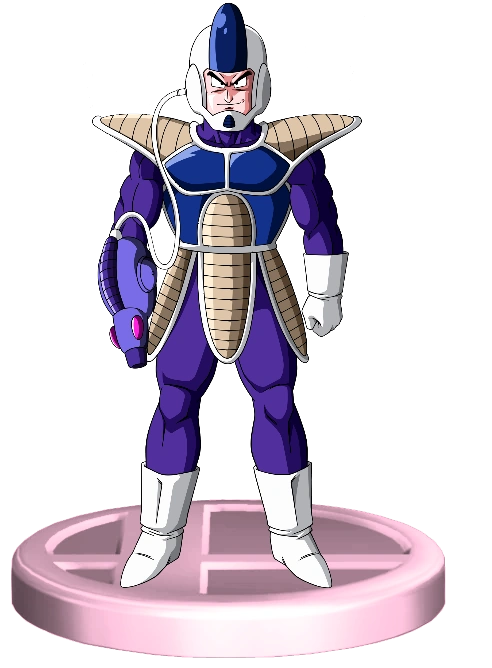 Raspberry Dragon Ball Z |
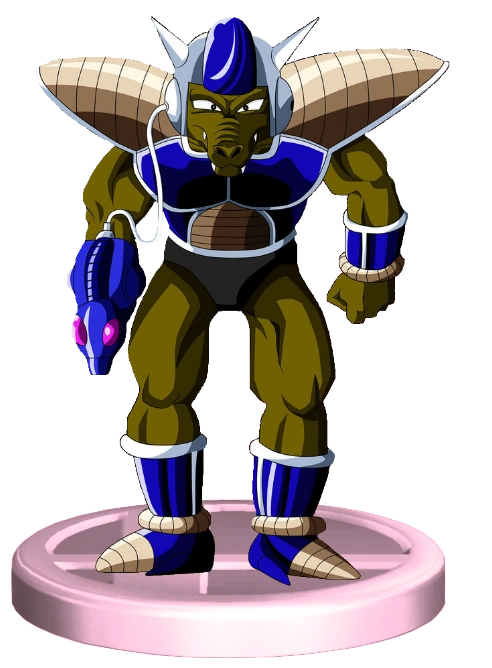 Blueberry Dragon Ball Z |
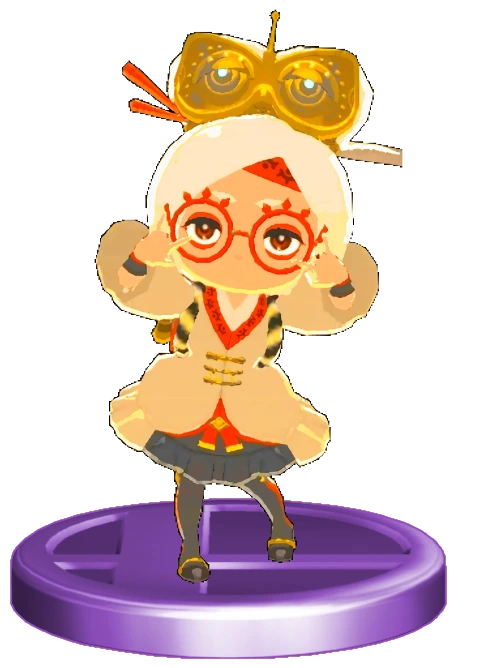 Purah The Legend of Zelda |
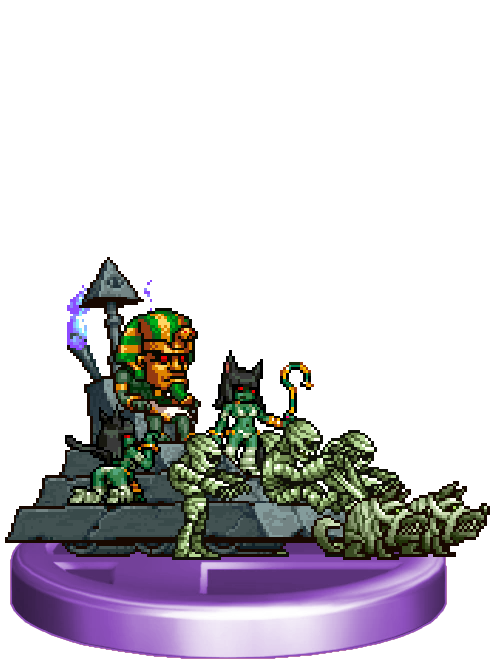 Tyrant Pharaoh Metal Slug |
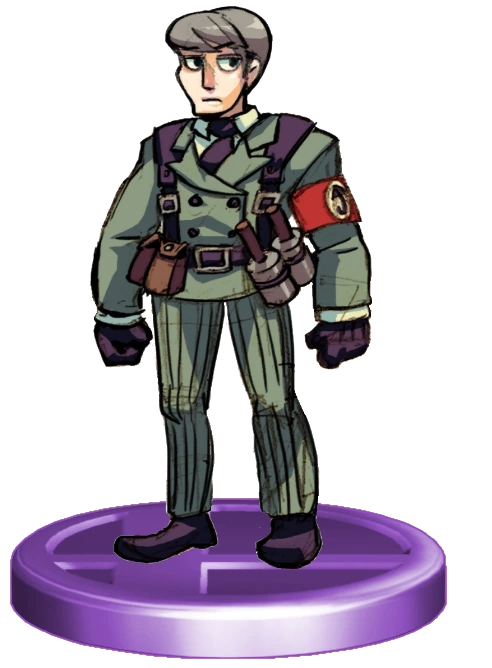 Adam Skullgirls |
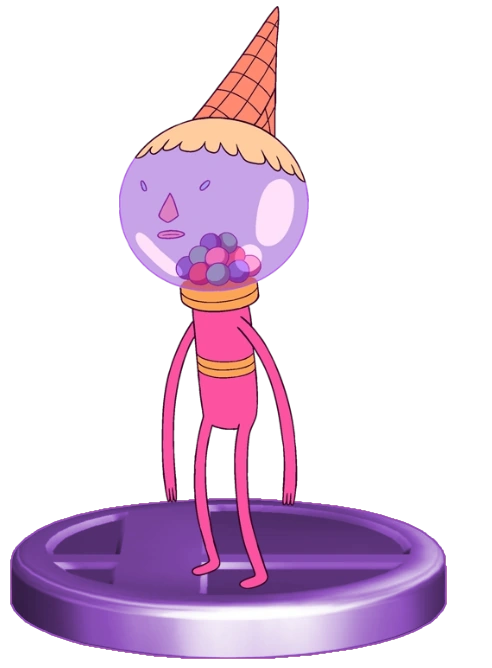 Gumball Gaurdian Adventure Time |
 Yamcha Dragon Ball |
 Puar Dragon Ball |
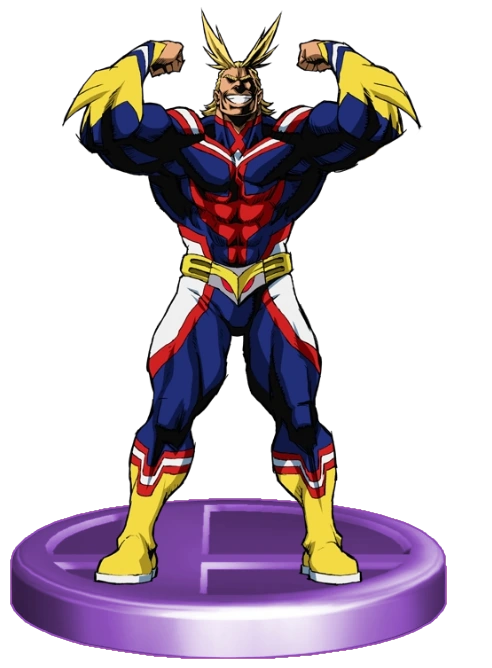 All Might My Hero Academia |
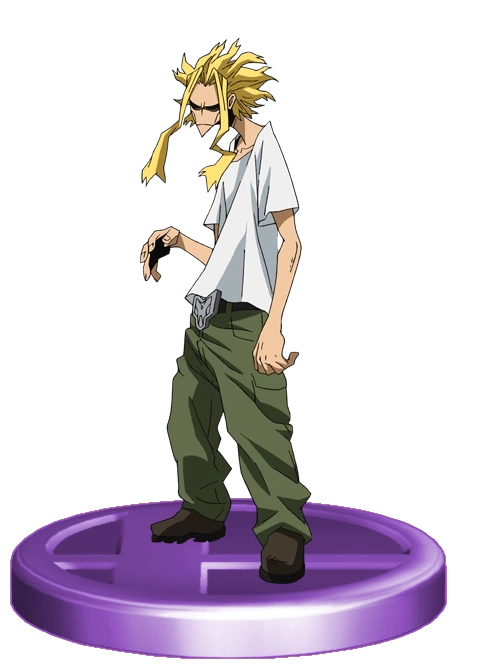 All Might (True Form) My Hero Academia |
 Chiaotzu Dragon Ball |
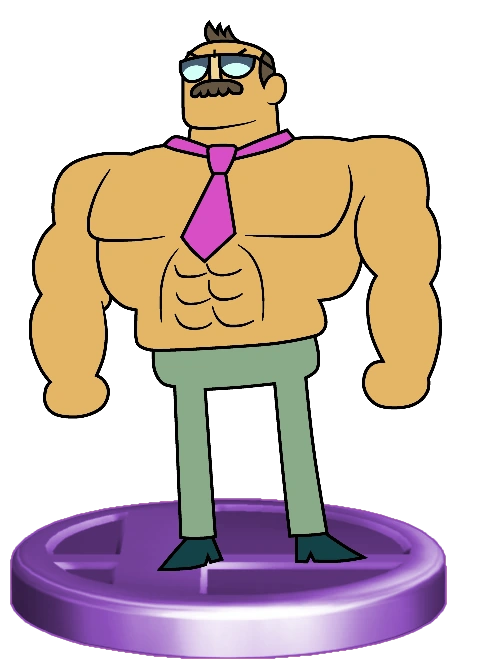 Mr. Gar OK KO |
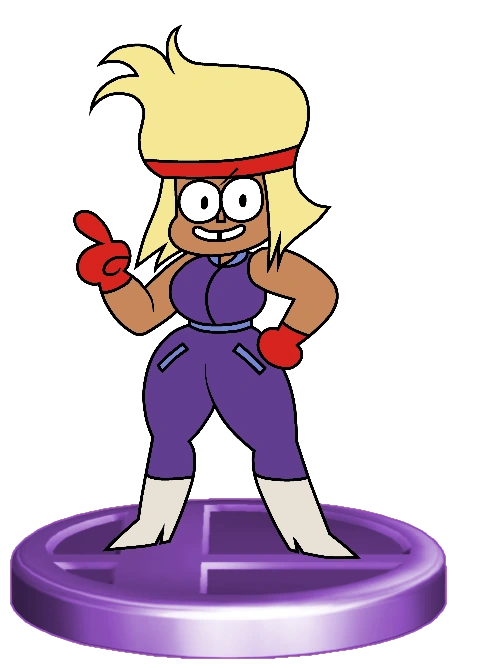 Carol OK KO |
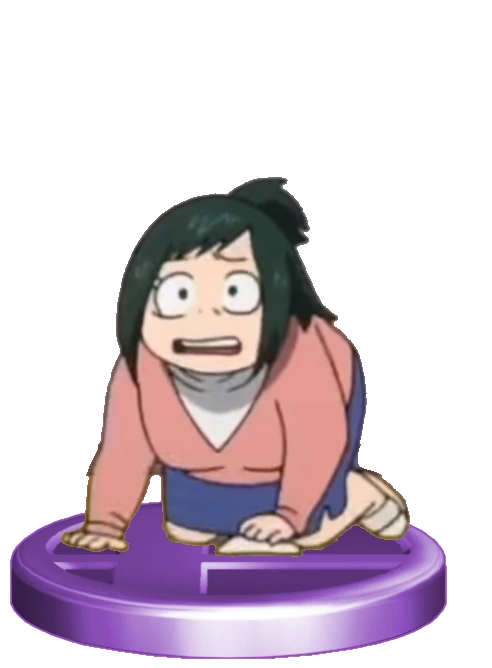 Inko Midoria My Hero Academia |
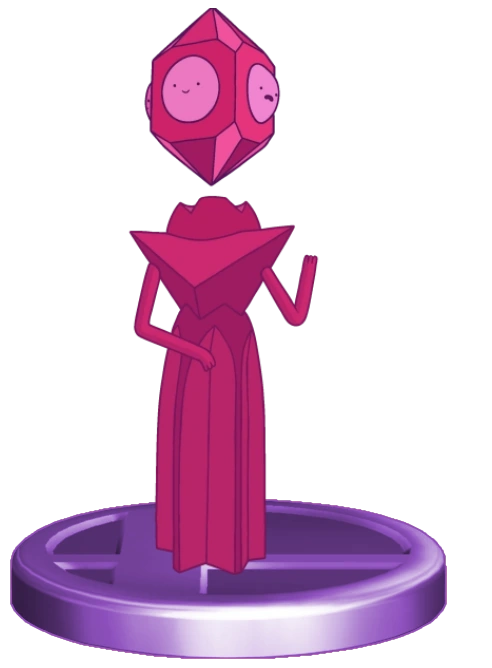 Grob Gob Glob Grod Adventure Time |
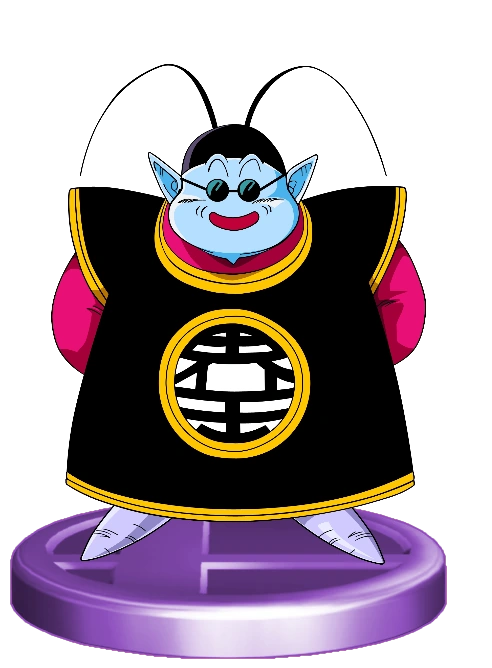 King Kai Dragon Ball Z |
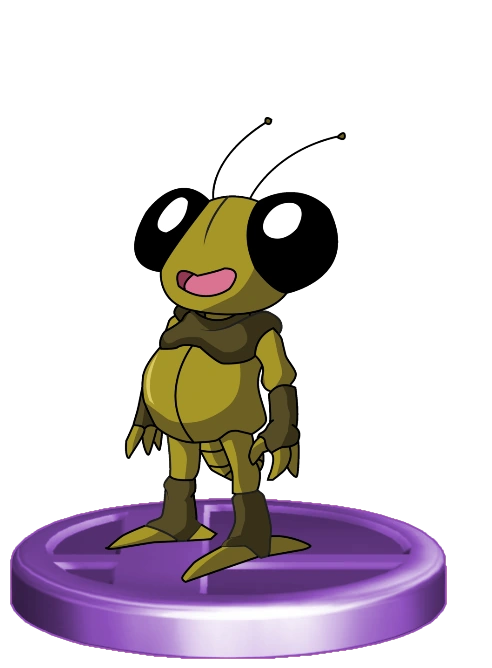 Gregory Dragon Ball Z |
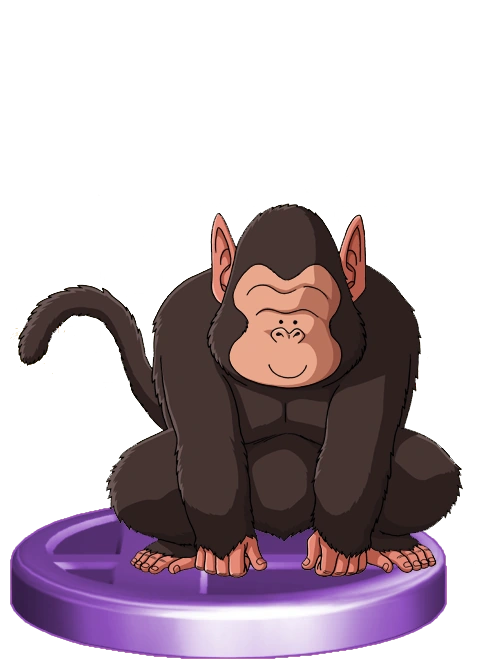 Bubbles Dragon Ball Z |
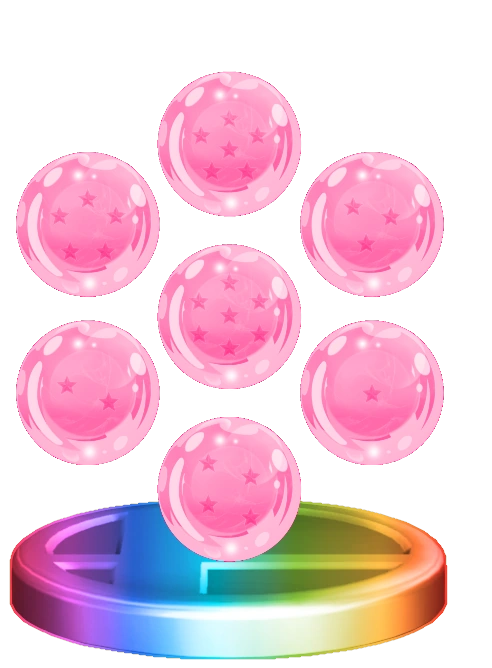 Aeo Dragon Balls Kingdoms of Fighters [B]: Fight for the Future |
 Crait Dragon Balls Kingdoms of Fighters [B]: Fight for the Future |
 Super Dragon Balls Dragon Ball Super |
 Starman ??? |
Soundtrack[]
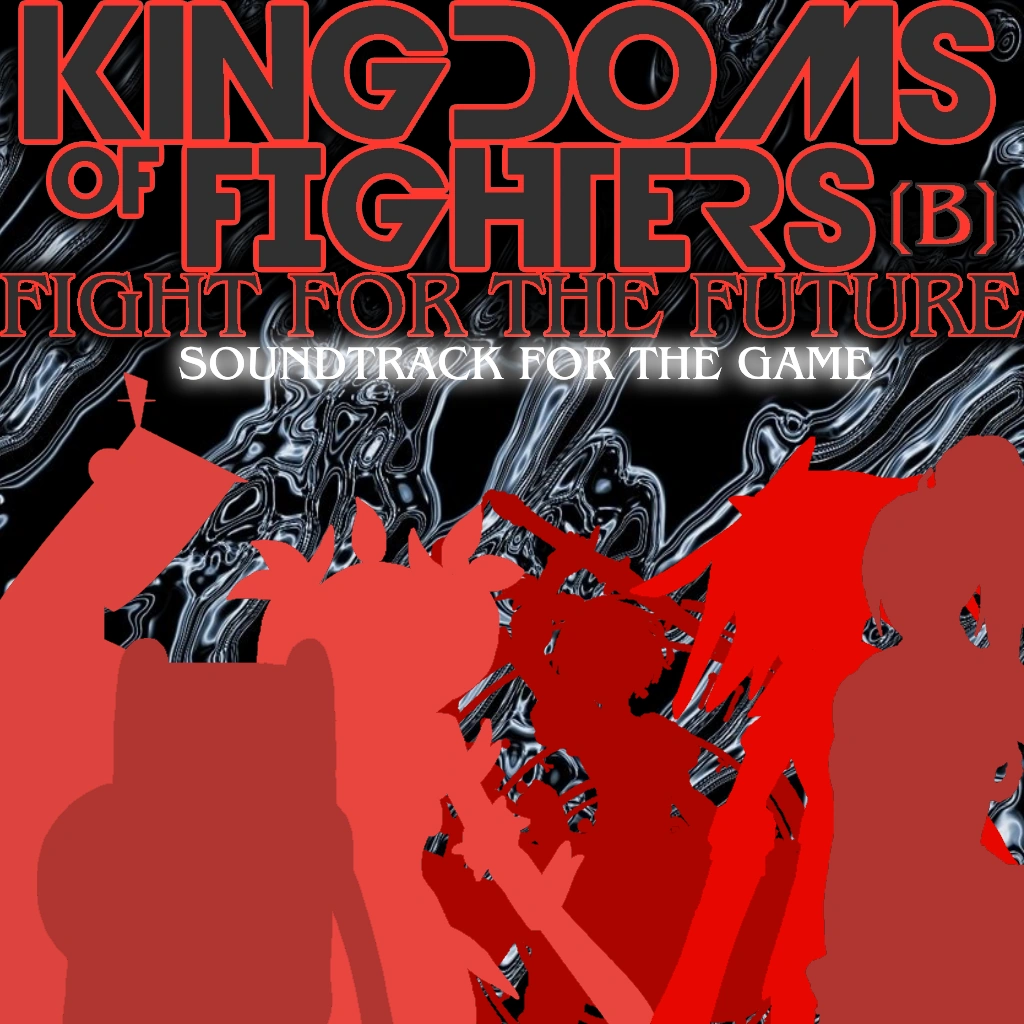 Kingdoms of Fighters [B]: Fight for the Future Soundtrack | |||
| # | Song Title | Source/Artist | |
|---|---|---|---|
| 1 | Critical Deep Drive | Kingdom Hearts II | |
| 2 | Sacred Moon | Kingdom Hearts II | |
| 3 | Cavern of Remembrance | Kingdom Hearts II | |
| 4 | Dread of Night | Kingdom Hearts 3D: Dream Drop Distance | |
| 5 | Scorching Dunes | Shantae and the Pirate's Curse | |
| 6 | Ruler of the Dark | The King of Fighters 2001 | |
| 7 | My Dear Fallen Angel | The King of Fighters '99 | |
| 8 | Slasher Zero | The King of Fighters 2000 | |
| 9 | White Whale | Colouring | |
| 10 | All Star Rest Area (Melee) | Super Smash Bros. Melee | |
| 11 | Lottery | Super Smash Bros. Melee | |
| 12 | All Star Rest Area (Brawl) | Super Smash Bros. Brawl | |
| 13 | Trophy Gallery | Super Smash Bros. Brawl | |
| 14 | Wii Shop Channel / Mii Channel | Super Smash Bros. for Wii U | |
| 15 | Feel Good Inc | Gorillaz | |
| 16 | Sorcererz | Gorillaz | |
| 17 | Moonlit Melee | Skullgirls | |
| 18 | Them's Fightin' Words | Skullgirls | |
| 19 | Character Select | Skullgirls | |
| 20 | 30 Rock – Long Play Version / The Bitenuker | 30 Rock | |
| 21 | The Glory Days | The Incredibles | |
| 22 | The Incredits | The Incredibles | |
| 23 | Third Strike | Street Fighter III 3rd Strike | |
| 24 | Soft Collision | Mighty Switch Force 2 | |
| 25 | Exothermic | Mighty Switch Force 2 | |
| 26 | Got2BAStar | Mighty Switch Force 2 | |
| 27 | Soak Patrol Alpha | Mighty Switch Force 2 | |
| 28 | Section 9 Theme | Ghost in the Shell (PlayStation 1) | |
| 29 | Fuchikoma | Ghost in the Shell (PlayStation 1) | |
| 30 | Holograms | Digitalism | |
| 31 | Main Theme (Street Fighter V: Arcade Edition) | Street Fighter V: Arcade Edition | |
| 32 | Jet Set Run | My Hero Academia | |
| 33 | You Say Run | My Hero Academia | |
| 34 | Aquatic Ambiance | Donkey Kong Country | |
| 35 | Gohan Powers Up | Dragon Ball Z/Faulconer Productions | |
| 40 | This Is True Love Makin' | Capcom vs SNK 2 | |
Gallery[]
")
")
")
")
Poll[]
Trivia[]
General[]
- The title of the game is a reference to the Nier series, where the game doesn't end after the first ending but rather has multiple routes all listed under alphabetical letters. This name references all the numerous story routes in the first game and seems to take most of them as canon to a extent per Pandora's story ending in the original game.
- The theme of Adventure Time vs King of Fighters will still be a prominent undertone, which was adopted from the first game. That game was originally a straight crossover with the two franchises, although it was reworked into Kingdoms of Fighters.
- Fight for the Future was also the subtitle of Street Fighter III: Third Strike.
- One of the bigger focuses of the sequel was to mix up the teams established in the first game, as well as expand the roster with more new characters. The team system was overhauled to include characters that previously couldn't get in due to their lack of a third member, like Samus and R.O.B.
- Mario characters will still be excluded from the roster to aim for more interesting picks, however there will be stages and background details that hail from the Mario universe this time.
- Any returning unlockable characters from the first one are now part of the starting roster, as Exotoro wanted to instill a sense of progression from the first and second game. A entirely new roster of unlockable characters will appear in this game.
Characters[]
- Candy Venom is the second cross series character in the franchise, being a cross between the Mother Gum from Adventure Time and the Venom Symbiote from Spider-Man.
- Frost is the third cross series character in the franchise, albeit his origins are more original compared to Glade or Candy Venom. His backstory places him as a cross between a King of Fighters character with moves more based off the ice users of the Adventure Time franchise.
- Frost was one of the original characters revealed for the original concept of Kingdoms of Fighters aka Convergence: Après Moi, Le Déluge. He was meant to be Glade's rival. He did not appear in the first Kingdoms of Fighters for whatever reason.
- Blademaster Finn is the fourth cross-series character, being a combination of Finn from the Adventure Time franchise and using two of the blades from Xenoblade Chronicles 2 as part of his team and moveset.
- A2 has a new cross-series move that uses a scale from the Ruined Dragon/Lord of Lightning from Super Mario Odyssey as part of her attack.
- Enid is facing in the opposite direction in her artwork for the game to symbolize how she later ditches the Lakewood Plaza Team to form her own team.