| Super Mario Excursion | ||||
| ||||
| Developer(s) | ||||
| Publisher(s) | ||||
| Platform(s) | 
| |||
| Genre(s) | Platformer | |||
| Series | Super Mario | |||
| Predecessor | Super Mario Odyssey | |||
| Release Date(s) | 2018 | |||
| Age Rating(s) | ESRB: PEGI: CERO: ACB: USK: | |||
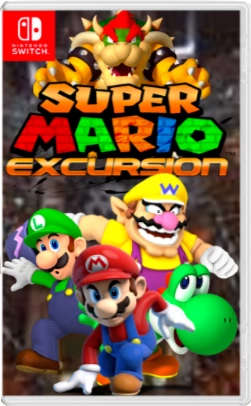
Super Mario Excursion is a 3D platformer in the Super Mario series in development by Ghostrealm Studios, and published by Nintendo for the Nintendo Switch. Unlike other Mario games, Excursion has a darker plot and brings in many long-forgotten characters and locales.
Story[]
Opening[]
The game opens in a tutorial segment in Toad Town, where Mario must make his way to Bowser's new airship that's currently hovering over Peach's Castle and resembles a combination of his traditional airships and his Koopa Clown Car. After fighting through Bowser's minions, Mario reaches Bowser, who mentions that he admires Mario's courage, but it'll be his undoing. Bowser stomps on the ground as a massive shockwave flies across the floor of the airship, but Mario holds on. He lands a jump on Bowser's head, but the Koopa King headbutts Mario onto the nearby ground, before ripping a Bullet Bill launcher off of the airship's deck. Bowser grins sadistically as he fires a Bullet Bill at Mario, sending him flying through the air. Bowser then motions for his airship fleet to fire on Peach's castle as well as Toad Town as Peach screams Mario's name. However, Bowser walks up to her and tells her that she'll no longer be seeing him, and that the world is now his.
Four months pass as Bowser's armies conquer the world, bringing it under the banner of the so-called "Koopa Empire" as the camera pans to a prison cell within Bowser's castle in Neo Bowser City. There, Peach is crying as she laments over Mario's disappearance, before Bowser comes in. Peach angrily lashes out at Bowser, saying that she's lost any respect or admiration for him. Bowser simply laughs hysterically as he tells Peach that he's given up on romantically pursuing her.
As Bowser mutters the words of "Mario is no more", the scene switches to Mario making his way through a forest. On his way, he runs into a lone Lakitu filming the wildlife. Astonished that he found Mario, he identifies himself as L.K., a Lakitu who desires to explore the world and film his surroundings. He tags along with Mario as he continues his journey.
When Mario and L.K. arrive in the ruins of Toad Town, they find Captain Toad and the Toad Brigade repairing a Warp Pipe in an abandoned building. The Toads hug Mario tightly before explaining the situation: Bowser has conquered the whole world in the name of the newly-established Koopa Empire, and the Toad Brigade has managed to get a Warp Pipe to Shy Guy Valley working. Mario, clearly understanding the situation, simply jumps into the Warp Pipe as the Toads look on in awe, with L.K. panicking and following him inside.
Shy Guy Valley[]
When Mario arrives in Shy Guy Valley alongside a very queasy L.K., he stumbles upon Goombella, who informs him of how Bowser's forces are tearing apart the landscape. The duo also encounter a Shy Guy who deserted Bowser's army, who identifies himself as Timid Guy. He decides to join the group to find a place for himself as a hero. Mario and L.K. continue to make their way through the valley collecting Power Stars, before eventually coming across a giant door. Upon walking through, they find themselves in a land known as Subcon, and Mario eventually confronts and defeats Wart, taking three Power Stars from him in the process.
Upon returning to Toad Town with Goombella, she explains that Bowser must be brainwashing the residents of other lands somehow. She and the Toad Brigade urge Mario to collect more Power Stars, as the Toad Brigade is detecting that their energies seem to be powering Warp Pipes in Toad Town. The group also discusses the idea of forming a rebellion against Bowser, but agree that they need to get more Power Stars to accomplish this lengthy task.
Before Mario heads back to Shy Guy Valley, L.K. asks him if he can continue to record his journey using his trusty camera. Mario nods in response, recognizing that the young Lakitu is eager to explore the world.
Boo Woods[]
Eventually, after defeating General Guy, Mario has enough Power Stars to repair the Warp Pipe to Boo Woods. As he makes his way there, both Wart and General Guy, heavily injured, arrive in Bowser's Castle. Bowser is furious, and is even angrier when they tell him of the damage done to their operations in Subcon and Shy Guy Valley, all caused by a man their soldiers dubbed "The Great Gonzales". Bowser demands that he be located as Peach overhears the conversation. Recognizing the name, she begins to speculate if Mario is alive.
Meanwhile, Mario and L.K. run into Vivian and Lady Bow in Boo Woods, who inform them of Luigi and Professor E. Gadd being held hostage in Boo Mansion. The duo enter the mansion, making their way through the maze of doors and finding Luigi and E. Gadd in portraits, freeing them in the process. While E. Gadd would return to Toad Town to assist the resistance alongside Vivian and Lady Bow, Luigi would decide to adventure alongside Mario and L.K..
Cheep Cheep Shore[]
Eventually, Mario returns to Toad Town after defeating King Boo and Big Mr. I. There, the growing resistance movement manages to get a Warp Pipe to Cheep Cheep Shore working. Mario, Luigi, and L.K. delve into the pipe. Meanwhile, Bowser hears of King Boo and Big Mr. I being defeated, as well as Luigi escaping, thus leading him to speculate the identity of the Great Gonzales, believing that he could be Mario. Bowser dispatches the Koopalings to Cheep Cheep Shore to see if he's right. Meanwhile, Peach once again overhears the conversation, and smiles upon hearing Mario's name. She begins to hope for the Great Gonzales to succeed if he is indeed Mario.
When the trio arrive in Cheep Cheep Shore, they run into Sushie and Starlow, who inform them of Blooper Bay's raging storms. When they hear of the resistance movement forming in Toad Town, the two of them decide to join it. When Mario, Luigi, and L.K. reach Blooper Bay, they race Diddy Kong for two Power Stars, and he eventually joins the team due to his hatred of Bowser.
Yoshi's Island[]
Mario, Luigi, Diddy Kong, and L.K. eventually return to Toad Town after defeating Gooper Blooper and the Koopalings, using the Power Stars they collected to repair the Warp Pipe to Yoshi's Island. By now, the town is being steadily rebuilt, and the resistance movement is growing.
As the group heads to Yoshi's Island, Bowser receives a report from the Koopalings about Mario having survived the battle in Toad Town. In response, Bowser unleashes a blast of flame that leaves them running away in fear. Peach overhears all this, and begins to cheer to herself knowing that Mario is alive.
The group eventually arrives on Yoshi's Island, witnessing a T-Rex stomping through the area. The Yoshi Kid and Parakarry motion for the group to head behind a bush with them, and inform them of Yoshi having tried to help them gather Power Stars. Unfortunately, Yoshi was captured and is now held captive atop Yoshi Mountain. The group makes their way to the top of the mountain, where Yoshi has found two Power Stars. He gives them to the group before joining them, knowing that Bowser must be stopped.
Second Attack on Toad Town[]
Mario and the gang eventually return from Yoshi's Island with plenty more Power Stars and both Boshi and Kamek defeated. However, just as they reactivate the pipe to Donkey Kong Island, an airship approaches, with three Koopa Kids at the bow. They laugh at Mario as countless enemies jump out of the airship. Mario makes his way to the Koopa Kids' airship, before confronting the trio of Koopa Kids below deck. After a pitched battle, they're defeated and the group can now head to Donkey Kong Island.
Meanwhile, Bowser lets loose a fit of rage upon hearing of the Koopa Kids failing to attack Toad Town. He demands for Kamek (who appears to be heavily injured from the battle on Yoshi's Island) to create more Koopa Kids before heading to the balcony of his castle. The casino-esque city of Neo Bowser City continues to shine with power, but Bowser knows that Mario is the one person who can turn it all into ruins.
Meanwhile, Peach has built a small shrine of sorts to Mario in her cell, made from newspaper scraps and objects in her cell. She then thinks back to various memories of Mario, including, but not limited to, their time together watching the sunset on Isle Delfino, her sending him letters during the crisis in space, Bowser pulling her castle into the sky, and even Mario proposing to her on the moon. Peach eventually realizes that Mario has done so much for her, and that she wants to be closer to him.
Donkey Kong Island[]
When the group arrives on Donkey Kong Island, they run into Cranky and Funky Kong, who informs the group of the Banana Hoard's theft as well as Donkey Kong having been captured trying to defend it. They're also relieved to see that Diddy survived the attack. As the group makes their way through the jungle, they discover that the Kremlings are apparently working for Bowser, with two of them muttering about his desire to turn Donkey Kong Island into a tropical vacation resort for himself.
Mario's team eventually storms Gangplank Galleon, and while they free Donkey Kong, they fail to secure the Banana Hoard, which is taken to Neo Bowser City by Bowser's troops. Donkey Kong, pissed off out of his mind, joins the resistance movement to take back his bananas.
Kitchen Island[]
Once King K. Rool and Lord Fredrik are defeated, Mario and his group return to Toad Town, which is gradually continuing to be rebuilt. There, Captain Toad informs Mario of the completion of the reconstruction of Peach's castle, which they intend to use as their main base of operations. Mario's team then repairs the Warp Pipe to Kitchen Island before heading inside.
Meanwhile, Bowser receives a report of King K. Rool and Lord Fredrik's failure, prompting him to prepare to take things into his own hands. Anticipating an attack on Kitchen Island, Bowser sends a fleet of airships there. Meanwhile, Peach overhears the conversation, and continues to place her hope in Mario while also thinking about what she'll tell him when he finally defeats Bowser.
When Mario's team arrives on Kitchen Island, they witness an airship fleet coming in, presumably sent by Bowser. However, they keep going forward, eventually coming across Syrup Castle. Upon entering it, they smell a massive fart coming from the basement, where Wario is. He's freed, and joins the group since they're both fighting against Captain Syrup and he has a chance to find treasure with them.
Isle Delfino[]
Mario's team returns to Toad Town, reactivating the pipe to Isle Delfino. At that point, E. Gadd comes up to them, mentioning that he's sent boxes full of F.L.U.D.D. to various Kingdoms, including Delfino, seeing as how he's finally begun to mass-produce it.
Meanwhile, Bowser is thinking to himself about Mario slowly causing his empire to crumble, and knows that he needs to do something. He calls Bowser Jr. into his throne room, but Junior is oddly depressed. When Bowser asks him what's wrong, Junior mentions that he hasn't spent any time with him since the attack on Toad Town, and that he's been oddly focused on building up an empire instead of celebrating the victory with his son. Bowser mentions that he'll be quite busy now, which infuriates Junior. He storms off, passing by Peach's cell. Peach asks him what's wrong, and offers to talk to him. Reluctantly, he accepts.
Mario and company eventually arrive in Delfino Plaza, which is overrun with Bowser's soldiers. Both Goombario and Admiral Bobbery are already here, mentioning that they were on vacation when Bowser's troops arrived. They join the resistance movement due to their vacation having been absolutely ruined.
Saucercrash Dunes[]
Eventually, the Warp Pipe to Saucercrash Dunes is repaired after Delfino is liberated. As the group prepares to head inside, L.K. looks at Mario with a smile on his face, thanking him for taking him along for this journey. Mario smiles as he rubs his hand over L.K.'s hat and heads into the pipe
Meanwhile, Bowser Jr. and Peach are talking away, with Peach discussing her newfound appreciation for Mario. Junior tells her that he's always admired her relationship with Mario, and that it would be a waste to do nothing about it after all these years. The scene then switches to Bowser, who it overseeing the construction of a new airship fleet. Kammy Koopa urges him to deploy this new breed of airship, but Bowser shakes his head. He tells Kammy that he wants to wait until they're all finished and capable of truly taking out Mario.
When Mario's team arrives in Saucercrash Dunes, they run into Princess Lotus and Chiro, who are studying the ruins. While happy to see Mario, they are also worried about the excavation operations Bowser's forces are conducting. Mario and company eventually delve into the Decaying Pyramid, where they run into Waluigi, who is trying to rob the pyramid. After helping him secure some treasure, he joins the team after Wario bribes him into doing so.
Nostalgic Plains[]
Mario and his team eventually return to Toad Town after the successful trip into the Decaying Pyramid. The pipe to the Nostalgic Plains has been repaired, but as soon as it's fixed, a massive group of eight-bit entities come out. Identifying themselves as the Eight-Bitters, they mention that their lands have fallen into disarray due to an invasion. Suspecting Bowser to be the one behind this, Mario delves into the pipe, with the rest of the group hurriedly following.
Peach and Bowser Jr. are continuing to talk, with Bowser Jr. mentioning that Bowser has barely spent any time with him since the initial attack on Toad Town. Peach mentions that she's seen Bowser losing almost all of his usual behavior in favor of this dictatorial mindset. Bowser Jr. begins to cry slightly as he puts his body on top of the cell bars, with Peach feeling obligated to pat him on the shoulder. As he hears footsteps, Junior runs away as Bowser approaches. He looks at Peach angrily, suspecting that she's sending Mario information like she did when he lifted her castle into the air. Peach attempts to deny it, but Bowser lets out a fit of rage and ends up smashing one of the cell bars.
Meanwhile, Mario arrives in the Nostalgic Plains, seeing the pixelated landscape before him alongside his allies. He breathes in as he runs towards a giant ruin in the distance.
Iceshard Tundra[]
Once the challenges of the Nostalgic Plains are conquered, Mario returns to Toad Town, repairing the pipe to Iceshard Tundra. Snow begins to pour out of it as the group jumps inside.
Meanwhile, Bowser is dispatching King Bob-omb to the tundra, hoping to catch Mario offguard. He then sits on his throne before beginning to rewatch the video footage of the attack on Toad Town, clenching his fist when he sees Mario.
Mario's team eventually arrives in the tundra, running into a Dry Bones playing a trumpet. He identifies himself as Trumbone and tags along with the group due to his desire to find an audience for his music. For now, the temperatures are dropping and the cold winds are blowing hard.
Luma Park[]
Once King Bob-omb and Tubba Blubba are defeated, Mario repairs the pipe to Luma Park. However, the Toad Brigade informs them that Toad Town is now fully repaired, though they want to expand on it further. At this point, most of the resistance movement considers Mario to be its leader, a task he takes on humbly.
Bowser Jr. is visiting Peach again, telling her news of Mario's victories. She smiles upon hearing every one, and asks Junior if he can relay a message to Mario. He's unsure of the idea, telling her that Bowser could see him leaving Neo Bowser City.
When Mario's team arrives in Luma Park, they see construction crews tearing down the park's remains, and come across Rosalina and some Lumas as well. Rosalina mentions that Bowser's troops shot down the Comet Observatory two months ago, and that's why all these Power Stars and Grand Stars are scattered around the world. She commits her Lumas to the resistance movement, knowing that Bowser is an immense threat.
Sarasaland[]
Eventually, the pipe to Sarasaland is repaired after Luma Park's threats are dealt with. Mario and company, as usual, head inside.
When the group arrives in Sarasaland, Luigi leads them to Flower Town, apparently knowing the way there. When they arrive, Daisy and Luigi hug as Luigi explains that they have been dating whilst Mario was off on his adventures to save Peach from Bowser. The group is in shock as they realize that Luigi and Daisy are a couple, with Mario especially curious. Daisy pledges Sarasaland to the resistance movement due to Tatanga apparently serving Bowser now.
Ruinia[]
As the group prepares to return to Toad Town, Daisy gives Luigi a kiss goodbye as Mario looks on in curiosity. He realizes that was never that close to Peach. When the group returns to Toad Town, they repair the Warp Pipe to Ruinia, and head inside.
When the group arrives, they witness dragons flying through the skies, and take refuge in a nearby cave. After some exploring, they come across Toadsworth and Kylie Koopa. Toadsworth immediately asks if Peach is alright, and as Mario shakes his head, Toadsworth lets out a face of shock.
Buffet Badlands[]
After conquering Ruinia's challenges, the pipe to the Buffet Badlands is repaired. Before they head in, Toadsworth asks Mario to look out for Peach with all of his abilities, and that she's always trusted him. Mario blushes slightly, and heads into the pipe.
Meanwhile, Bowser is furious that the Elite Trio failed to get anything from Ruinia. As he lets out a blast of fire at them, Kammy Koopa motions for Bowser to calm down. He calms down, but then sits down in his throne, picking up a dart and tossing it at a dartboard, which has a picture of Mario on it.
Eventually, Mario's team arrives in the Buffet Badlands, and are very hungry. They proceed to eat their surroundings before heading into the region.
Koopa Coliseum[]
When the Warp Pipe to Koopa Coliseum is repaired, L.K. is extremely excited to see the sporting events. However, he promptly realizes that there's gonna be soldiers of Bowser there, and suddenly expresses a face of shock. The group then heads into the pipe.
Meanwhile, Bowser is excited to hear that his Chargin' Chucks are due to play soccer in Koopa Coliseum, demanding that two Koopatrols set up his TV to watch it. Meanwhile, Peach and Bowser Jr. are talking about the rumors they heard of Mario's various escapades and successes, with Peach wanting to see him again.
When the group arrives at the coliseum, they see Koops and Bombette nearby, who inform them that Bowser is apparently going to be watching the impending soccer game. They join the resistance movement due to them witnessing Bowser's regime across countless areas of the world.
Poshley Heights[]
Eventually, the pipe to Poshley Heights is repaired after a bitter conflict in Koopa Coliseum. Mario and company don't hesitate and jump right in.
Meanwhile, Bowser has just witness Mario defeat his minions in the Koopa Coliseum via his TV, and knocks it down in fury. At this point, Bowser Jr. comes in, insisting that Bowser has gone way too far with his plans, and that he wants the old Bowser back. Bowser responds by picking up Junior by the neck, and letting out a face of fury. He says that he's disappointed in his son, and mentions that Bowser Jr won't be considered part of the Koopa family anymore. Junior passes by Peach's cell as he heads to his clown car, telling her that he's gonna go find Mario.
When Mario's team arrives in Poshley Heights, they find that many of the residents are pigs, and see Doopliss standing on top of Poshley Sanctum. He taunts Mario and his group, before jumping onto the Excess Express.
Goomba Mountain[]
After Poshley Heights is freed from the grasp of Doopliss and Lord Crump, the group can now pay a visit to Goomba Mountain to find more Power Stars. Mario is about to head in when the Toad Brigade stops him. They mention that since there's no Warp Pipe to Neo Bowser City, they'll be constructing an airship to get there, that will use Power Stars as fuel.
Bowser is giving Goomboss and Petey Piranha a briefing in his throne room. Knowing that Mario is due to go to Goomba Mountain next, he tells them to show no mercy. As the two of them leave, Petey trips along the way, before quickly sprinting over.
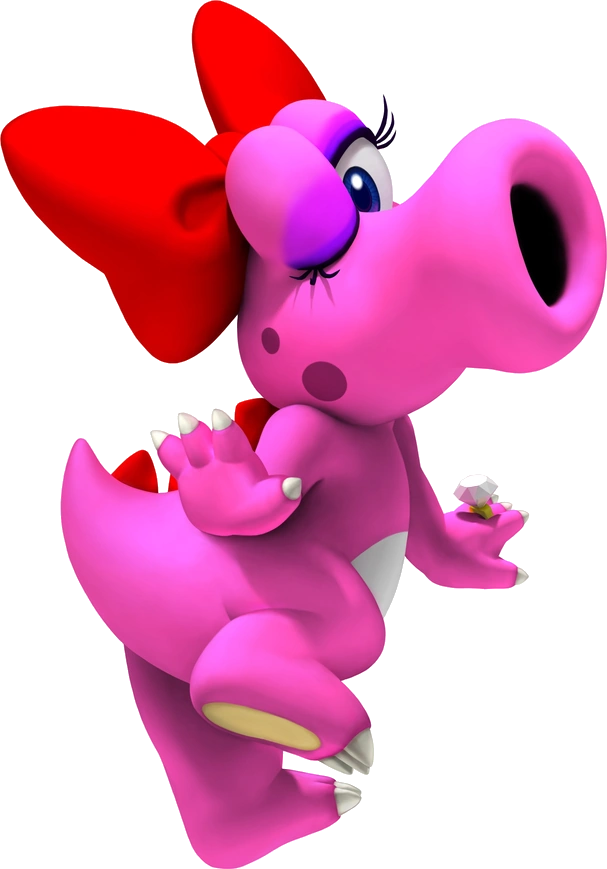
Mario's team eventually arrives in Goomba Mountain, and head into the Pipe Maze. Yoshi, however, ends up running into Birdo at one part of the maze, who happens to be serving Bowser. However, she immediately falls for Yoshi, smooching him on the cheek and blushing. It's clear that she wants to join him if it means betraying Bowser.
Beanbean Kingdom[]
Goomba Mountain's expedition leads to the discovery of enough Power Stars to repair the pipe to the Beanbean Kingdom. The group heads in almost immediately, showing no hesitation.
Upon arriving in Beanbean Castle Town, almost everyone is asleep, save for Prince Peasley, who escorts the group to the castle. There, Lady Lima informs them of the Shroobs invading the kingdom, alongside some giant bat. Apparently, they also bend the knee to Bowser, who was actually in the kingdom a few months ago. According to Peasley, he broke into Woohoo Hooniversity to steal the mind-control spray Fawful had used, and that it could be what he's using to bring all these old foes of Mario onto his side.
Star Hill[]
After the Beanbean Kingdom is cleared of Antasma and the Shroobs' presence, the final Warp Pipe is repaired, and leads to Star Hill. Upon hearing that name, Mario thinks back to a Toad telling him to take Peach there on a date, and blushes slightly as he heads in.
Bowser is overseeing a rally of his troops in Neo Bowser City, demanding that they prepare for Mario's imminent arrival. As they head off to their posts, he looks towards Kammy, who's looking at Bowser in confidence. She tells him that they have the chance to take out Toad Town while Mario's gone, and Bowser nods. He demands that she mobilize an invasion force immediately: one that he will personally lead into battle.
When Mario's team arrives at Star Hill, they witness a massive portal that has airships coming out of it. Fearing the worst, they witness machines ripping apart the landscape, harvesting the crystalline minerals of the hill. Geno and Mallow are nearby, and are glad to see Mario. They tell them that Smithy's working for Bowser, conducting an invasion of the hill. The two of them also join the resistance movement, as they know how big of a situation this is.
Neo Bowser City[]
Once the player has defeated every boss and obtained a certain number of Power Stars, Bowser commences an attack on Toad Town once again. Kammy Koopa goes up against the group, but is defeated. The resistance then utilizes the finished airship to chase Bowser back to Neo Bowser City.
When Bowser returns to Neo Bowser City, he orders for Peach to be taken aboard his flagship, as a bargaining chip to use against Mario. As his troops work to prepare to defend the city, Bowser feels confident that Mario won't be able to break his empire.
Mario's team arrives in the city, with many of his allies leaping off the airship to take the fight to the ground as the crew on board fights off Undergrunt Gunners. Mario leaps down to the surface alongside his group, and eventually comes across Bowser Jr.. Junior is relieved to have found Mario, and asks to join him in the final push to Neo Bowser City. Mario is initially skeptical, but after hearing Junior tell stories of his conversations with Peach he agrees.
The Final Battle[]
Eventually, Mario reaches the top of Bowser's Castle, where Bowser stands before his airship at the top of a large staircase. Impressed that Mario made it here, he tells him that he's been waiting a long time to eliminate him once and for all, and that he won't be holding back. Bowser leaps to his airship, where Peach is crying out for help, and laughs before unleashing a volley of cannonballs that cause the staircase to collapse.
Fortunately, the resistance's airship arrives, and Mario hops on board to take the fight to Bowser. After a pitched battle, Bowser's airship begins to explode. As Koopatrols evacuate the ship, taking Peach with them, Bowser tries a risky attack. He slams his ship into Mario's, causing himself, Mario, and L.K. to fall onto the Koopa Clown Car-esque semi-dome on top of his castle, which is essentially a platform surrounded by lava. While Mario and L.K. land on the platform, Bowser hits the lava, but it doesn't kill him as usual, nor does it turn him into Dry Bowser. Instead, Bowser effectively utilizes his sheer strength to utilize the lava's powers, transforming himself into a being known as Firelord Bowser. Firelord Bowser lacks any sense of sanity, but is immensely powerful and has enhanced control over his fire-based abilities.
The final battle against Firelord Bowser is long and arduous, with both sides taking hits. However, Mario manages to defeat Bowser, transforming him back into his usual form. The Koopa King is heavily wounded, but he doesn't make any attempt at lashing out at Mario. Rather, he admits defeat after all these years of kidnapping. Bowser states that he put everything he had into this plan, and that it shows that even when he doesn't hold back he's still defeated by Mario. He believes that the cycle of violence needs to end. Mario helps Bowser get up as the two of them shake hands, agreeing to put their rivalry aside.
The airship containing Peach then lands alongside the resistance's airship. Peach runs out and hugs Mario tightly as he returns the hug. She mentions that she truly cares for him, and wants to utilize this new period of peace to become closer than ever. Mario nods as he looks at his allies, as well as Bowser, who nods in respect.
Ending[]
The game's credits consist of a parade, which can be seen here. After the parade sequence is over, the camera cuts to Mario and Peach sitting on Star Hill, with Peach thanking Mario for his help once again. She mentions that she regrets not showing much compassion for him aside from the usual kiss, and wants to make it up to him. The two of them hold hands as they walk away from the spot where they were sitting.
The next scene shows L.K. at the world premiere of his documentary titled "Mario: The Man and the Legend", which is full of paparazzi and adoring fans. After floating past a trio of flirty Goombas, L.K. walks into Mario, who's in a nearby hallway. Astonished, he thanks Mario for everything, mentioning that he's always dreamed of becoming this famous. Mario nods as he hugs L.K., before motioning for two Lakitus to come in. L.K. immediately identifies them as the Lakitu Bros., and hugs them. They tell L.K. that they're more than proud of him, and see him as bringing their family even more fame. Trumbone and Timid Guy are also present, thanking Mario for his help. Mario simply nods as he looks at the camera, saying his famous quote of "Thank you so much for playing my game!" as the game's camera goes black.
After the credits, the player is free to collect Power Stars, finish the newly-added Landmark missions, and work towards unlocking access to the next area: the Comet Observatory.
Comet Observatory[]
After enough Power Stars are collected, the Comet Observatory is repaired. From there, Mario has once last challenge he can conquer: the starlit landscape known as Rainbow Road. Only by conquering its challenges can Mario truly prove himself as a hero.
Gameplay[]
Super Mario Excursion plays much like Super Mario 64, Super Mario 3D World, and Super Mario Odyssey. The player controls Mario as they wander around in a sandbox environment known as a Kingdom whilst collecting Power Stars. Special locations known as Landmarks offer objective-based missions similar to those of the earlier 3D Mario games, providing players with a more linear, platforming-focused method of obtaining Power Stars.
Mario retains all of his abilities from Super Mario Odyssey save for those associated with Cappy, and he also gets access to punching and kicking again, which hasn't been seen since Super Mario 64. Various power-ups from the 2D and 3D Mario games also reappear to provide interesting ways to tackle platforming puzzles. In addition, Odyssey's system where you only lose coins upon death returns.
Controls[]
Super Mario Excursion utilizes two Joy-Cons, Handheld Mode, or the Switch Pro Controller.
| Action | Button Input |
|---|---|
| Camera Control (Normal Mode) | |
| Switch Camera Mode |
| Action | Button Input |
|---|---|
| Walk | Slightly touch |
| Run | |
| Crouch | Hold |
| Crouch Walk | Hold |
| Roll | Hold |
| Action | Button Input |
|---|---|
| Jump | |
| Double Jump | While landing from standard jump, press |
| Triple Jump | While landing from double jump, hold |
| Backward somersault | Hold |
| Side somersault | While running, move |
| Running long jump | While running, hold |
| Wall Slide | Jump against most vertical surfaces |
| Wall jump | While Mario is sliding down a wall in midair with his hand planted, press |
| Ground Pound | In midair, tap |
| Ground pound jump | During ground pound impact, press |
| Dive | |
| Fly (requires Wings) |
| Action | Button Input |
|---|---|
| Punch/Power-up ability | |
| Jump kick | |
| Punch, punch, kick | |
| Sweep kick |
| Action | Button Input |
|---|---|
| Spin | Rotate |
| Spin jump | During spin, press |
| Quick descent | During spin jump, press |
| Spinning ground pound | During spin jump, hold |
| Hold Item | Press |
| Throw item | Press |
| Swim | |
| Descend | |
| Ascend | |
| Water Dash | |
| Ledge clinging | |
| Pole climbing | |
| Pause | |
| Map/Power Star Count | |
| Talk to L.K. | |
| Snapshot Mode | |
| Reset camera | |
| amiibo |
Characters[]
While Mario is the main playable character, various other characters can be unlocked as you progress through the game. Unlocking characters will also unlock multiplayer slots, allowing for more players to play at once. Characters can be switched from the game's menu.
Each character has five stats:
- Speed is how fast they run, swim, etc.
- Jump is how high they jump.
- Power is how hard they hit with punches and jumps. Yoshi, Birdo, and Bowser Jr. have a zero in this stat due to them having specific attack mechanics instead, but have a 3/5 in Power when it comes to jump strength.
- Weight is how fast the character falls and how much they can influence balancing platforms.
| Character | Information |
 Mario |
Mario is the most balanced character, but this is also a disadvantage at times. |
| Speed: 3/5 Jump: 3/5 Power: 3/5 Weight: 3/5 | |
| Available from the start. | |
| Fire Mario | |
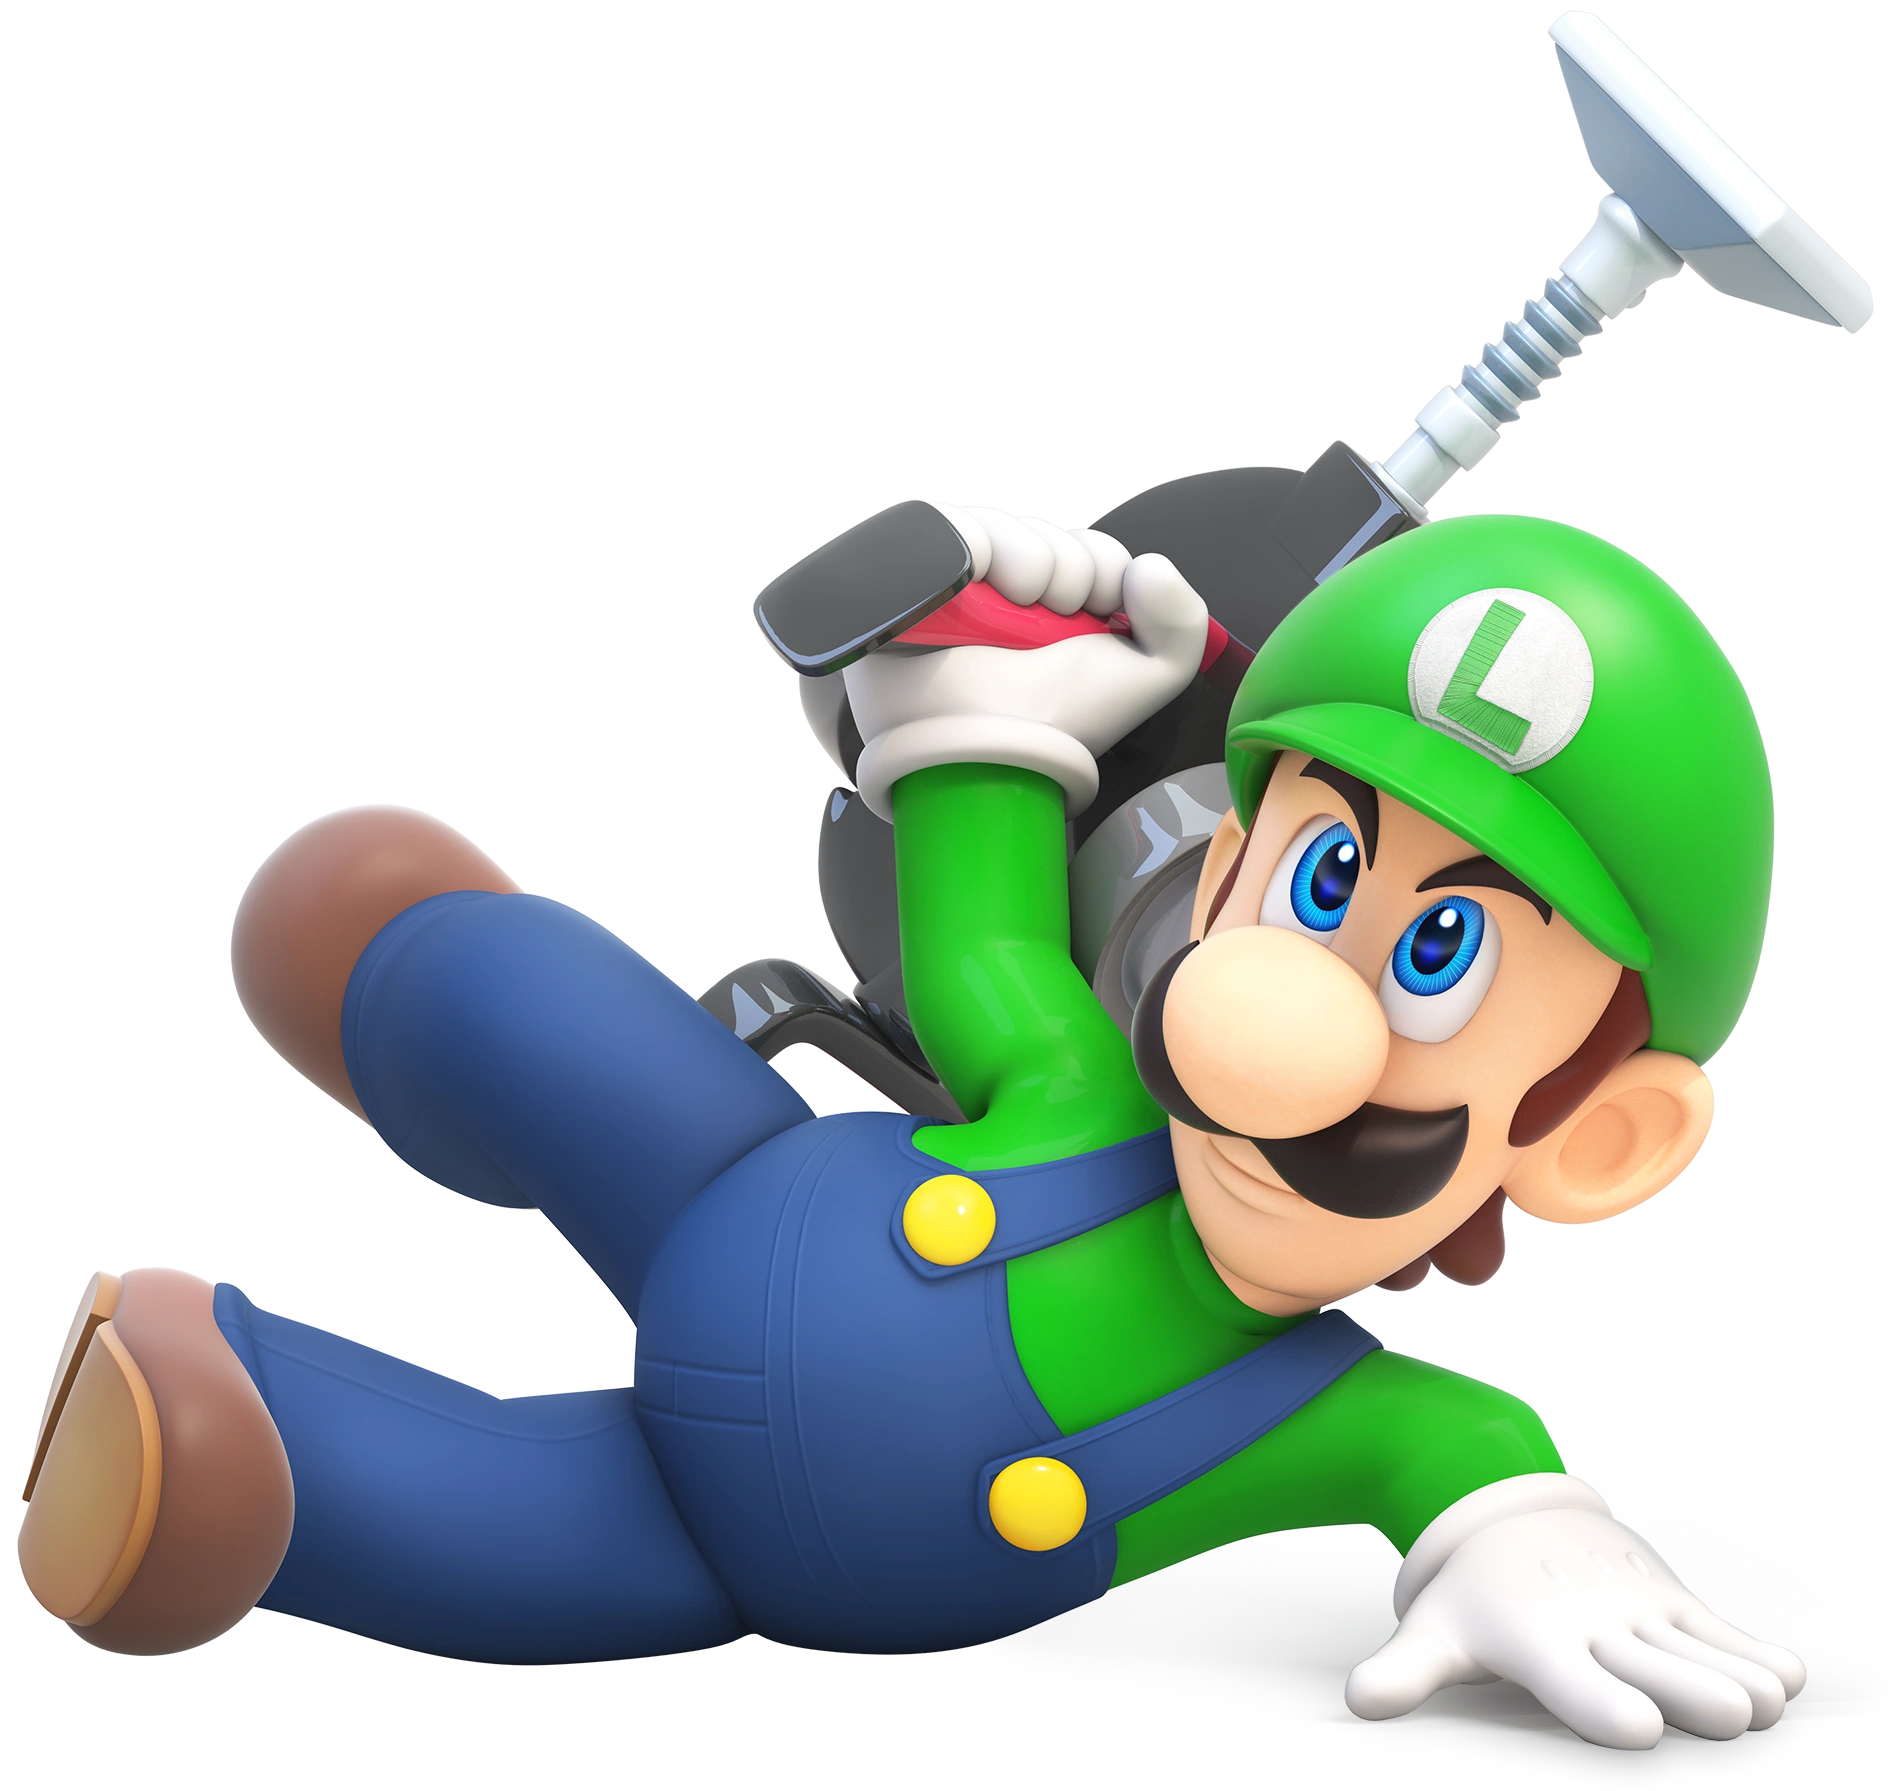 Luigi |
Luigi has higher jumps, but less traction. |
| Speed: 3/5 Jump: 5/5 Power: 1/5 Weight: 2/5 | |
| Complete the "Luigi in the Mansion" mission in Boo Mansion. | |
| Thunderhand | |
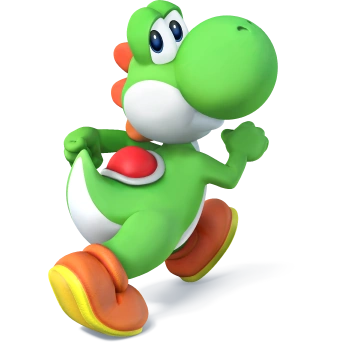 Yoshi |
Yoshi cannot punch or kick, but can swallow enemies and turn them into throwable eggs. He also has access to a Flutter Jump that lets him stay in the air for longer by holding down |
| Speed: 4/5 Jump: 4/5 Power: 0/5 Weight: 2/5 | |
| Complete the "Rescue Yoshi" mission on Yoshi Mountain. | |
| Blimp Fruit | |
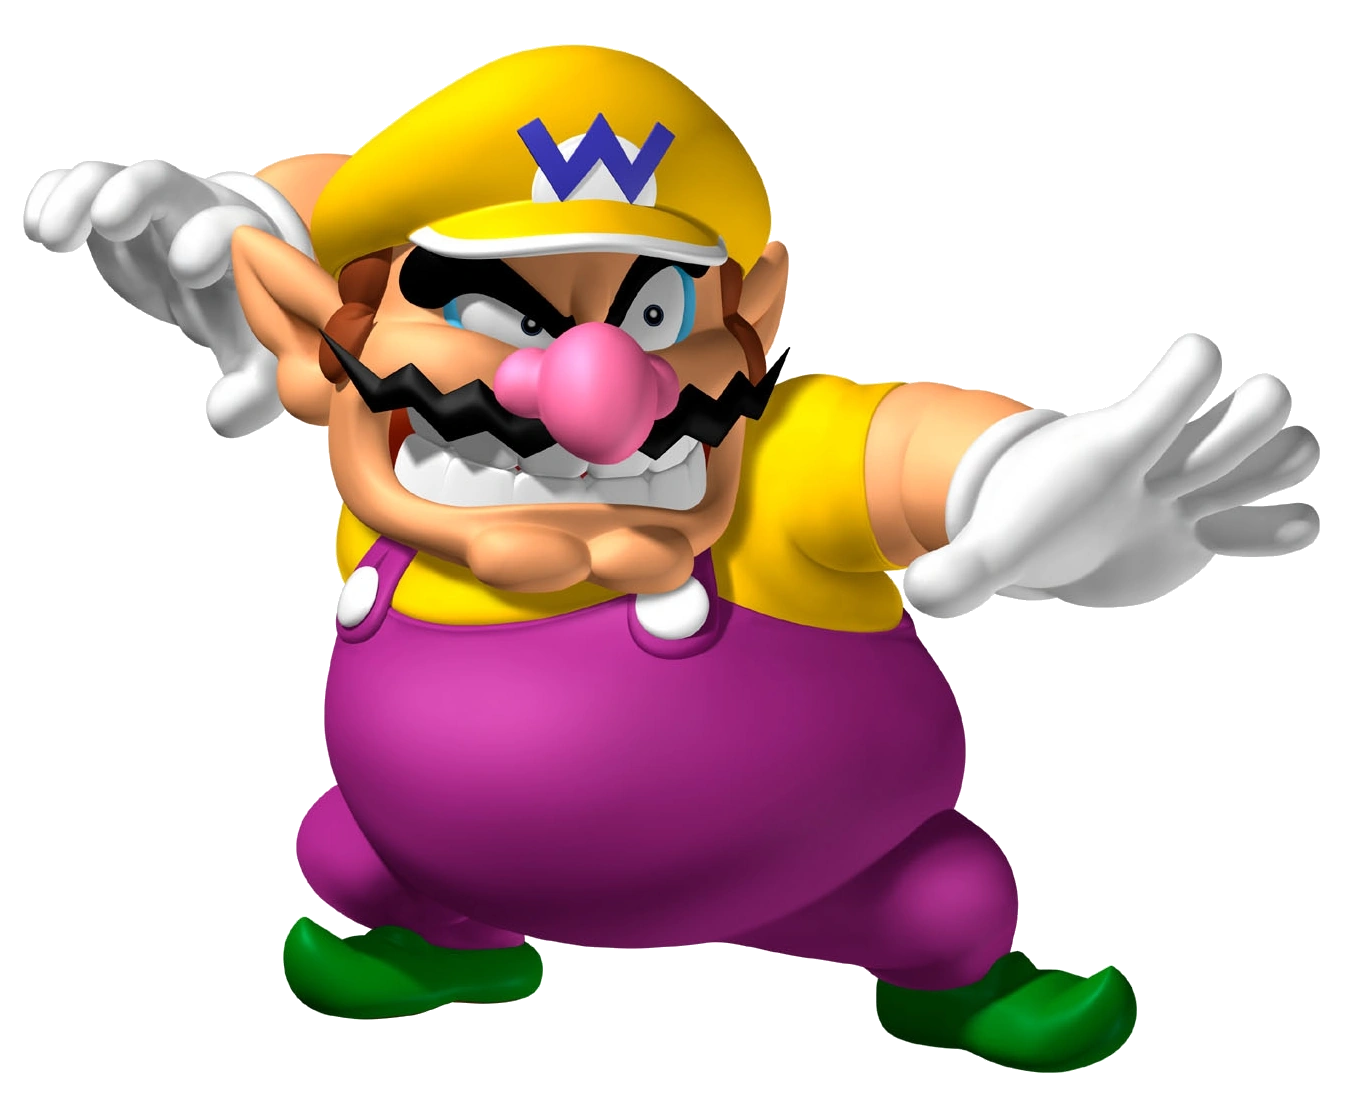 Wario |
Wario is the slowest character, but can break black brick blocks with his jumps and punches. He also has access to a coin magnet that allows him to suck in coins without physically running into them. |
| Speed: 1/5 Jump: 2/5 Power: 4/5 Weight: 5/5 | |
| Complete the "Yellow-Hatted Prisoner" mission in Syrup Castle. | |
| Bike | |
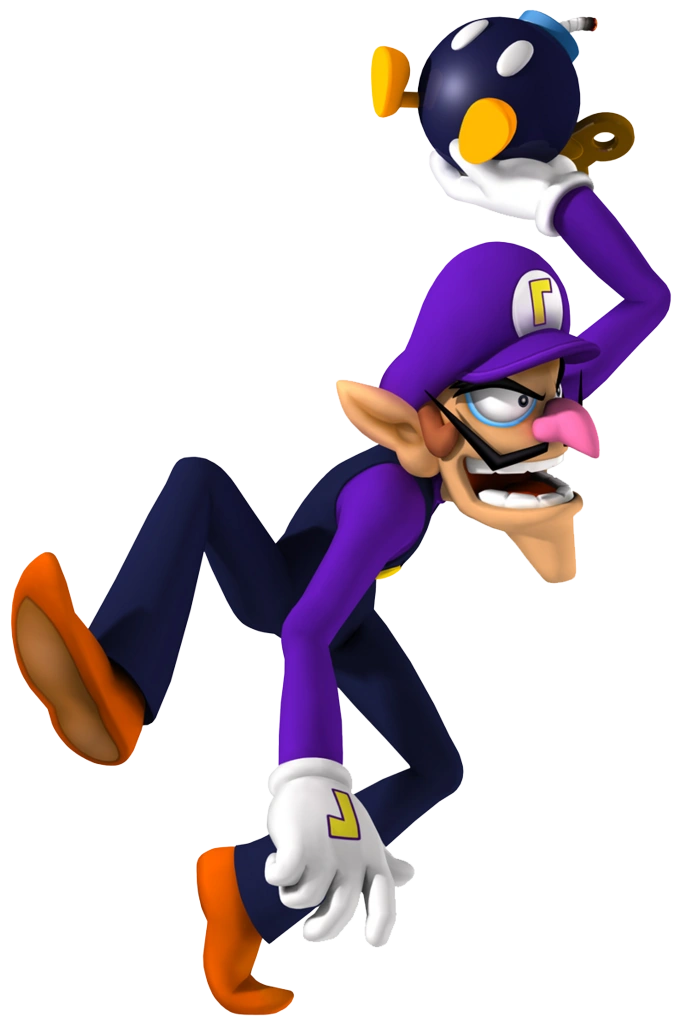 Waluigi |
Waluigi falls slower than the other characters, but takes time to reach top speed on foot. |
| Speed: 2/5 Jump: 4/5 Power: 1/5 Weight: 2/5 | |
| Complete the "Pyramid Destruction" mission in the Decayed Pyramid. | |
| Cat Suit | |
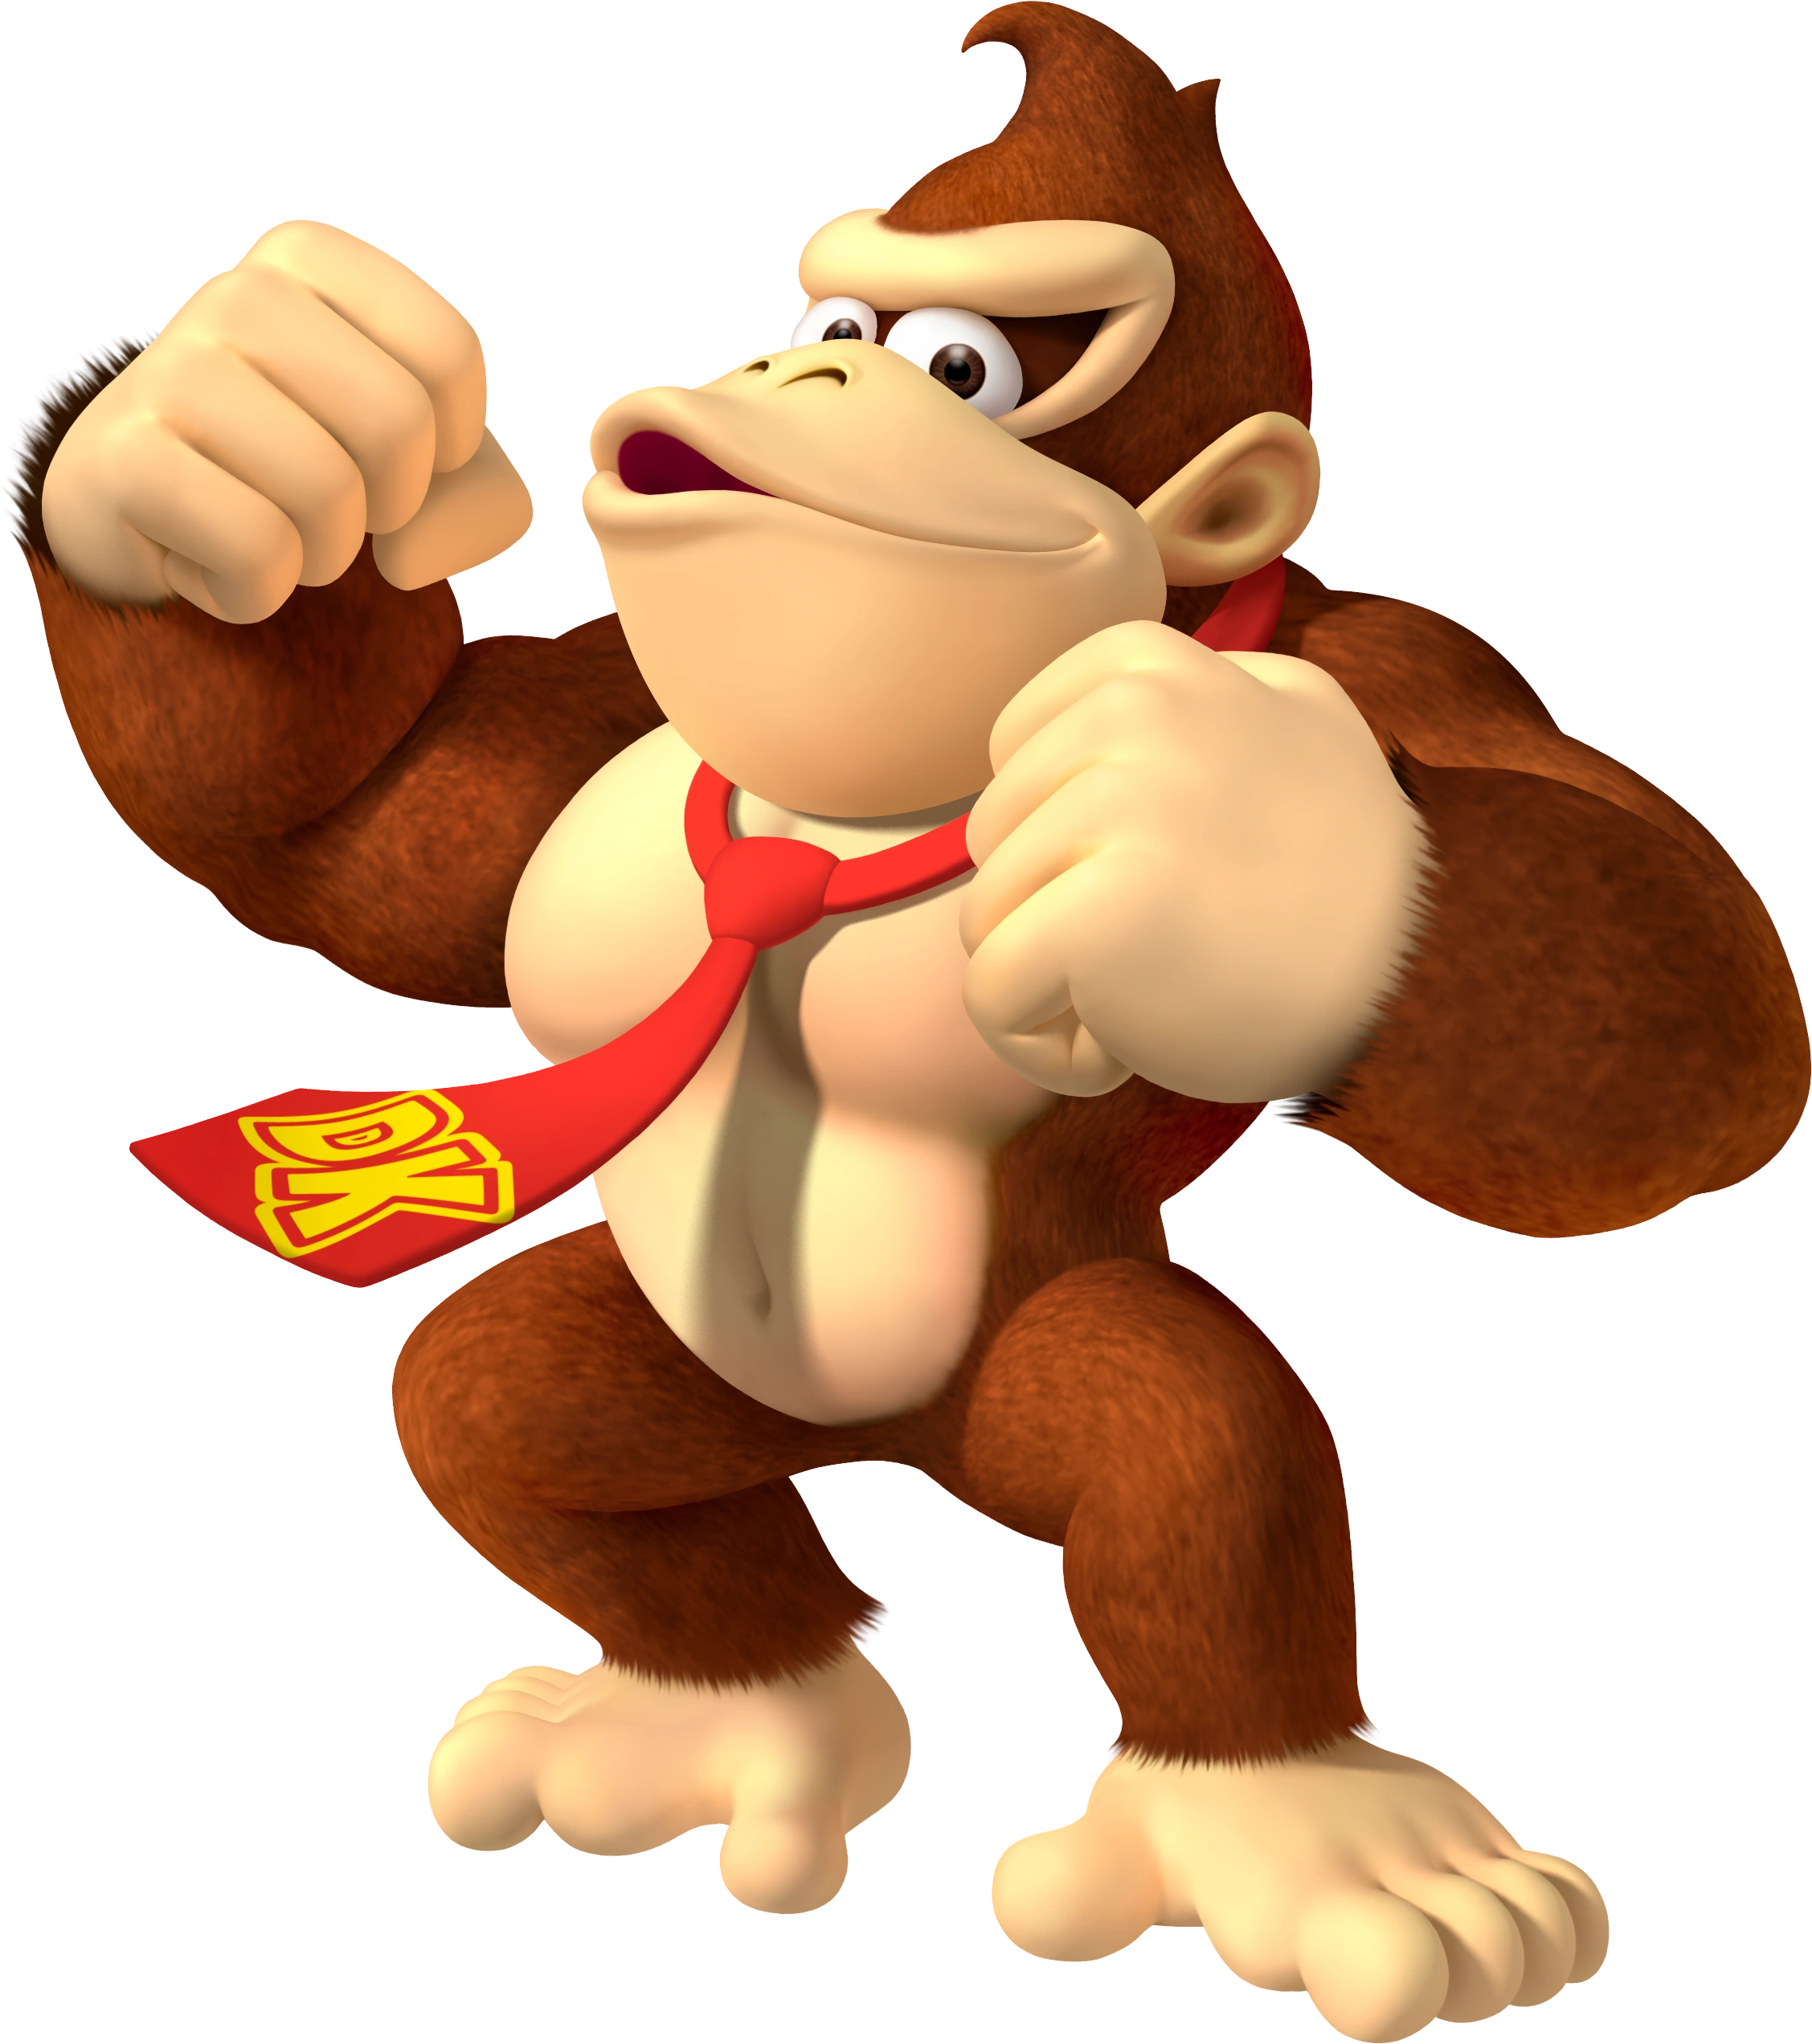 Donkey Kong |
Donkey Kong has the lowest jumps, but hits incredibly hard with jumps and punches. He can also grab onto ledges from further away. |
| Speed: 2/5 Jump: 1/5 Power: 5/5 Weight: 4/5 | |
| Complete the "He's Finally Here" mission in Gangplank Galleon. | |
| Coconut Gun | |
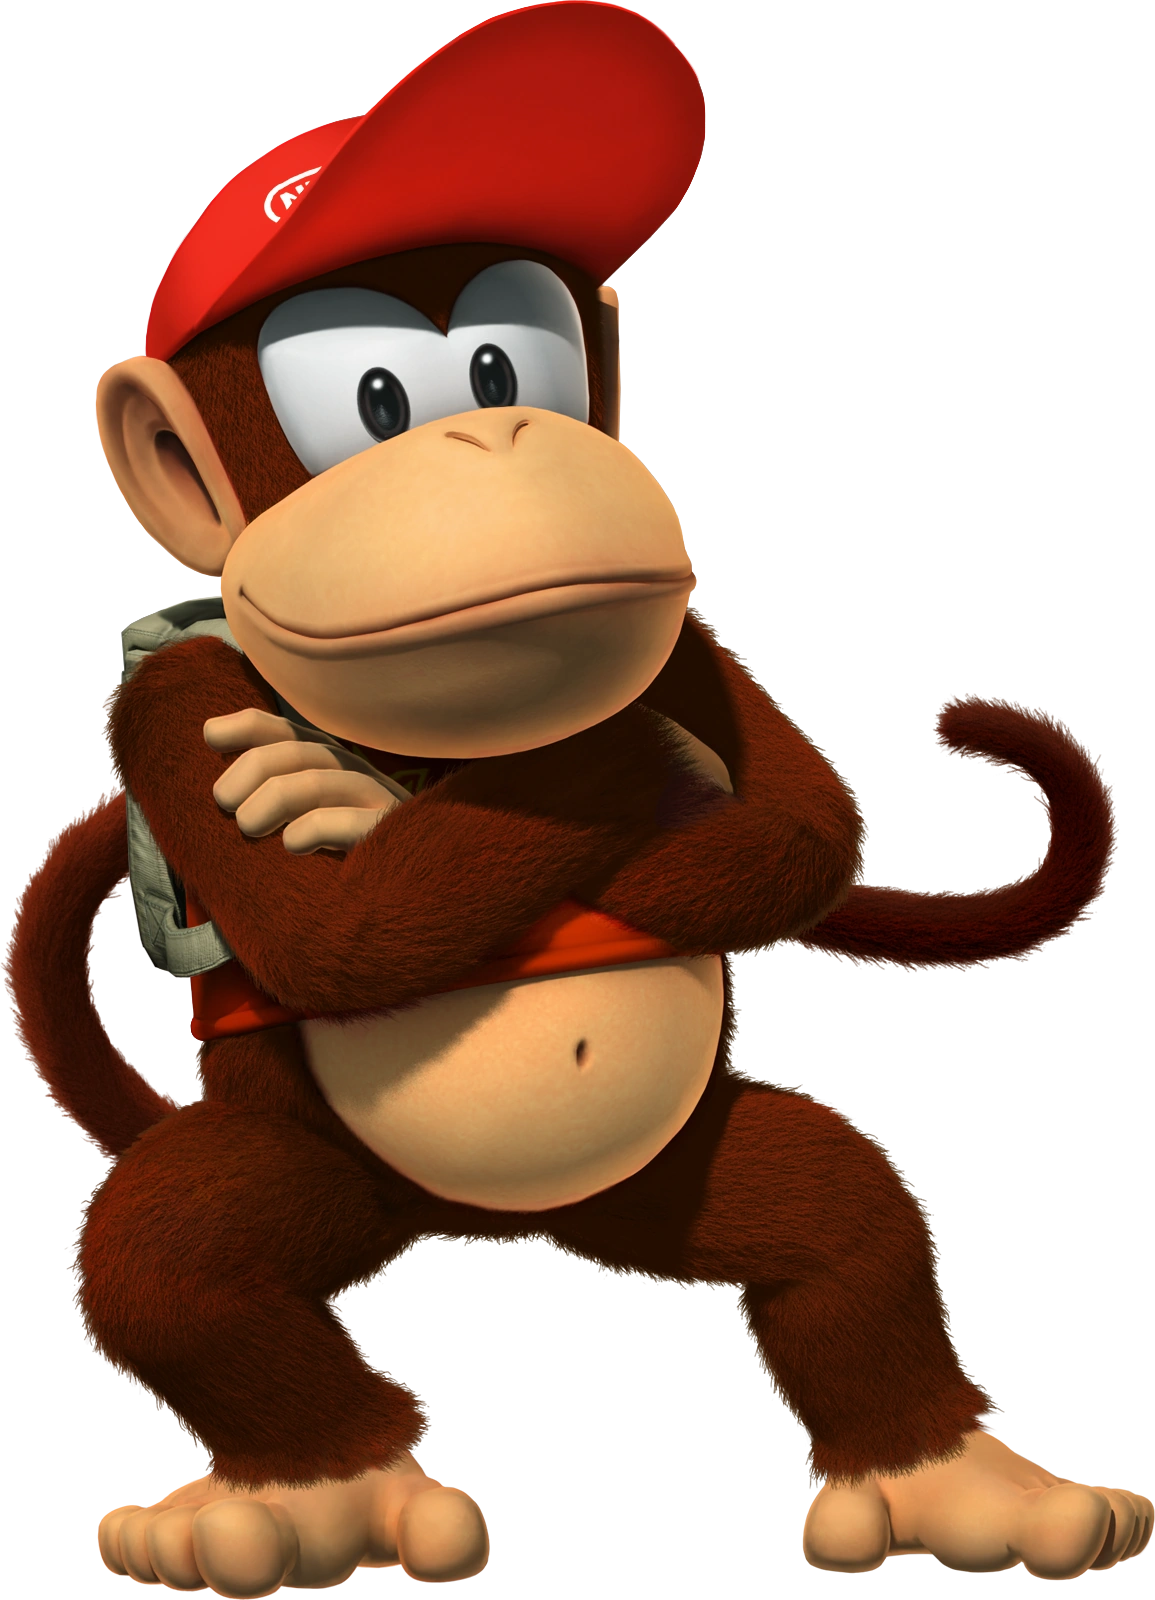 Diddy Kong |
Diddy Kong moves the fastest on foot, but has a slower jump/attack speed. |
| Speed: 5/5 Jump: 3/5 Power: 2/5 Weight: 1/5 | |
| Complete the "Fast-Thinking Jumper" mission in Blooper Bay. | |
| Rocketbarrel Jetpack | |
 Birdo |
Birdo cannot punch or kick, but has constant access to projectile eggs. |
| Speed: 3/5 Jump: 4/5 Power: 0/5 Weight: 3/5 | |
| Complete the "Rebellious 8-Bit" mission in the Pipe Maze. | |
| POW Block | |
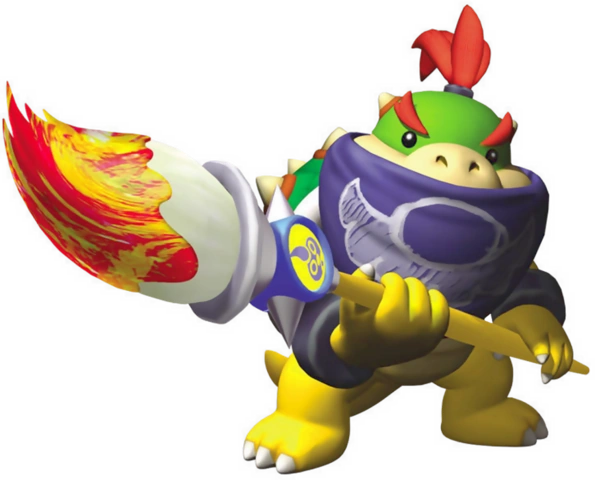 Bowser Jr. |
Bowser Jr. can cling to walls with his paintbrush, but only knocks back enemies with his punches and kicks. |
| Speed: 3/5 Jump: 2/5 Power: 0/5 Weight: 4/5 | |
| Obtain every other character, and then speak with Bowser Jr. in Neo Bowser City. | |
| Shadow Mario |
L.K.'s Assistance[]
Mario is constantly accompanied by the young Lakitu known as L.K., who aspires to record anything he'll see in Mario's journey. Much like his uncles, the Lakitu Bros., L.K. handles the game's camera, with multiple camera modes.
- Normal Mode just uses the right stick to move the camera, much like Super Mario Odyssey and Super Mario Sunshine.
- Angle Mode automatically adjusts the camera, but allows for several set angles to be used as well as the Right Stick to make adjustments, much like the camera controls in the Galaxy games.
- Zoom Mode changes the Right Stick's functions to resemble that of the C-Buttons in Super Mario 64.
- Auto Mode just leaves camera control to L.K., making it good for people who don't care about the camera and prefer 3D World's camera system.
Besides camera control, L.K. offers advice to you. Just press up on the D-Pad to speak with him about what to do next. His advice will range from recommended locations to check for Power Stars, to Landmark missions you've missed, to even buying items in Toad Town.
Finally, L.K. also handles Snapshot Mode, which has been modified heavily since Odyssey. A Selfie angle now allows for pictures with both L.K. and Mario in them, and L.K. can also plant down cameras that will take a picture with a delay.
Kingdoms & Landmarks[]
There are twenty-one kingdoms in the game, and nineteen different Landmarks. Landmark missions give two Power Stars each, save for boss missions which give Grand Stars that equal three, while Kingdoms are structured like Super Mario Odyssey's Kingdoms and grant you Power Stars in a less linear fashion, but only one at a time. However, two kingdoms have boss battles out in the world to compensate for the lack of a Landmark.
Kingdoms and their associated Landmarks are unlocked in a linear fashion similar to Odyssey, where you need to collect a certain number of Power Stars. In addition, when the final boss is defeated, each Landmark gains four additional missions. These missions are marked as Missions 9-12 on their respective tables, and are usually more challenging. Some of them are even remixed versions of past missions, with a new gimmick to keep track of as well as altered enemies and obstacles.
Kingdoms[]
| Shy Guy Valley
Shy Guy Valley was once a landscape full of lush vegetation and rolling hills, but that's all changed. Bowser's forces have begun industrial operations here, with the Shy Guys working to take the land's resources. | ||
|---|---|---|
| Landmark
Shy Guy Valley holds a large door in the northern end that leads to Subcon, a dimension Bowser has managed to take control of. A familar foe awaits you there... |
Enemies
Shy Guy Valley is full of Shy Guys and their variants. Fly Guys, Fat Guys, Snifits, and many others seek to tear you apart here. However, some other enemies have been dispatched to the area by Bowser, such as Goombas, Koopa Troopas, and even Lakitus. It's a dangerous place. |
Significant Characters
Mario will find himself reuniting with Goombella here, as she's been looking to see what the Shy Guys are doing here. A faction of rebellious Shy Guys are also here working to stop the industrial operations as well. |
| Boo Woods
The shadowy landscape known as Boo Woods will leave you wanting the peace of death. Undead monsters, creepy forest mazes, and sinister traps await you in this world of darkness. | ||
|---|---|---|
| Landmark
Boo Mansion exists in the eastern end of the forest, with a green-hatted plumber being held captive here... |
Enemies
Boo Woods holds terrifying foes like Boos, Dry Bones, Stretches, Peepas, and more. However, you might find a haunted airship crash site with some more mechanical foes. |
Significant Characters
Luigi is being held captive in Boo Mansion, hoping to be freed. Lady Bow and Vivian have also begun to sabotage the operations of the mansion's forces alongside a certain professor. |
| Cheep Cheep Shore
The tropical paradise known as Cheep Cheep Shore is full of fish, and a beautiful beach that is known for its incredible sunsets. However, a Blooper infestation has left the waters more rugged than usual. | ||
|---|---|---|
| Landmark
Off the coast of the shore is Blooper Bay, a small, stormy archipelago dominated by Bloopers, as well as the ever-elusive Gooper Blooper. |
Enemies
Cheep Cheep Shore is full of the usual kind of enemies you'd find in the ocean. Cheep Cheeps, Bloopers, Boss Basses, they're all here. |
Significant Characters
Diddy Kong has found himself searching for Power Stars in the area, and both Sushie and Starlow are seeking to find out what's going on with the local waters. |
| Yoshi's Island
This land was where Mario spent his childhood. A land full of dinosaurs and strange, exotic creatures. Unfortunately, Bowser's forces have secured a place here, capturing the dinosaurs. | ||
|---|---|---|
| Landmark
Towering over the island is Yoshi Mountain, an incredible mountain full of dinosaur skeletons, immense waterfalls, and gorgeous views of the island. |
Enemies
Yoshi's Island is full of many exotic creatures. All sorts of dinosaur-like creatures have made their home here. However, Bowser has deployed some of his strongest soldiers here like Kamikaze Koopas, Galoombas, Wigglers, Burts, Bumpties, and Magikoopas. |
Significant Characters
Yoshi's managed to get himself captured on Yoshi Mountain unfortunately, and may join the growing resistance. The former champion of Glitzville, the Yoshi Kid and the mailman known as Parakarry have also found a place for themselves on the island. |
| Donkey Kong Island
A tropical paradise located in the middle of the ocean, Donkey Kong Island is full of many wondrous creatures. However, Bowser now has control of the Kremling Krew, ordering them to secure the Banana Hoard and ensure that Bowser has a tropical vacation resort to fall back to. | ||
|---|---|---|
| Landmark
The former pirate ship known as Gangplank Galleon is now a massive mechanical airship, armed to the teeth with weapons and manned by Kremlings. |
Enemies
Donkey Kong Island is primarily inhabited by Kremlings from the Kremling Krew, though Bowser's sent his own forces in as well. |
Significant Characters
The big ape himself, Donkey Kong, is being held captive aboard Gankplank Galleon as his friends down below try to help him out. |
| Kitchen Island
This rugged landscape is a pirate's dream, full of wrecked ships, dangerous waters, and treasure. | ||
|---|---|---|
| Landmark
Syrup Castle dominates the landscape, with its pirate-esque architecture being intimidating to all. |
Enemies
Captain Syrup has hired all sorts of minions to fight for her from all across the world, some of which you've seen before. |
Significant Characters
Unlike past Kingdoms, Kitchen Island is a largely hostile area with no allies to be found. That being said, a famous yellow-hatted treasure hunter has gotten himself captured... |
| Isle Delfino
This tropical paradise was visited by Mario long ago. However, despite the Shine Gate still standing, Delfino Plaza is now occupied by Bowser's forces. Unlike the other Kingdoms, Isle Delfino's Power Stars resemble Shine Sprites, even playing the same sound effect. Grand Stars are just larger Shine Sprites. | ||
|---|---|---|
| Landmark
Corona Mountain's volcanic caverns, known as Corona Depths, are filled to the brim with exotic secrets. |
Enemies
Alongside Isle Delfino's usual inhabitants like Strollin' Stus and Cataquacks, Bowser's deployed Koopatrols, Thwomps, and even Shy Guys. |
Significant Characters
Goombario's found himself delving into the island's history, coming here on vacation with Admiral Bobbery. |
| Saucercrash Dunes
Saucercrash Dunes has been dubbed "the land of ancients" for its rich history. Massive open-air temples dominate the landscape alongside more closed-off pyramids that resemble ancient spaceships. However, Bowser's sent his forces here to excavate the temples for their artifacts. | ||
|---|---|---|
| Landmark
The ancient ruin known as the Decayed Pyramid holds powerful artifacts and entities within its halls. |
Enemies
The desert wastes hold many usual foes alongside Bowser's own troops, including some particularily powerful ones. |
Significant Characters
Two of Mario's allies from the Sakura Kingdom are conducting tests in the desert: Princess Lotus and Chiro. A certain purple-hatted figure is also in the desert for some particularily greedy reasons. |
| Nostalgic Plains
This unusual landscape is made up of pixelated terrain, with an almost nostalgic feel to it. Its residents, the pixelated Eight-Bitters, have established a civilization for themselves. However, the arrival of a familar lizard, backed by Bowser's troops, has thrown their society into disarray. | ||
|---|---|---|
| Landmark
Within the mountains of the region lies the ancient One-One Temple, which retain the pixelated architecture of the plains while also holding mysterious foes inside. |
Enemies
Many of your usual enemies have been deployed to their nostalgic landscape, and you'll find even more foes in the two-dimensional regions. |
Significant Characters
The Eight-Bitters are the main ally of Mario here, assisting him in the fight against the invasion. |
| Iceshard Tundra
Endless blizzards dominate this frozen wasteland. Freezing water, mountains of snow, and icy sculptures dot the landscape. | ||
|---|---|---|
| Landmark
Bob-omb Gorge is where King Bob-omb rules over the winter wonderland. It's a vicious, ice-cold ridge where only the strongest survive. |
Enemies
Bob-ombs have a large presence here, alongside some usual foes. |
Significant Characters
A Dry Bones musician known as Trumbone has found himself stranded here, with nothing but his trumpet to keep him company. |
| Luma Park
This abandoned amusement park has fallen into disrepair since the Comet Observatory crashed into it. The Lumas have built a home for themselves here, but Bowser's forces have set up a place for themselves here. | ||
|---|---|---|
| Landmark
Unlike the other Kingdoms, Luma Park lacks a landmark. Instead, bosses are unlocked in a linear fashion like Super Mario Odyssey. |
Enemies
Luma Park has a lot of extraterrestrial enemies that were also in the observatory during the crash, and Bowser's deployed soldiers to scavenge the remains too. |
Significant Characters
Rosalina is fervently defending her Lumas in the park, and will want some assistance when it comes to dealing with Bowser. |
| Sarasaland
Sarasaland is an exotic landscape. Pyramids, temples, and massive statues dominate the landscape. In the center of the Kingdom lies the capital of Flower Town, ruled over by Princess Daisy. | ||
|---|---|---|
| Landmark
The alien known as Tatanga has set up a factory in the northern end of the kingdom, apparently creating weapons for Bowser. |
Enemies
Sarasaland is an exotic landscape, full of strange new creatures. |
Significant Characters
Princess Daisy rules over Sarasaland, and will be eager to see Luigi again. |
| Ruinia
For thousands of years, the Ruined Dragons have called this landscape home, though some have went out to other lands. Ancient towers, monstrous statues, and massive thunderstorms consume this landscape. | ||
|---|---|---|
| Landmark
Ruinia lacks a Landmark due to most of the landscape being in, well, ruin. Bosses are unlocked in a similar fashion to Luma Park. |
Enemies
Ruinia is a havan of sorts for the exiles of the world. Many unorthodox enemies call this land home. |
Significant Characters
Toadsworth has found his way here with Kylie Koopa, as he's in absolute terror now that Peach is captured again. |
| Buffet Badlands
This paradise of food will leave you hungry. Cola rivers, meatball boulders, and ancient temples that resemble cutlery dot the landscape. | ||
|---|---|---|
| Landmark
Tart Top towers over the landscape, with its delicious terrain tempting travellers. |
Enemies
Many hungry soldiers of Bowser have found their way here, seeking the delicacies of the land. |
Significant Characters
Many Volbonans are on a pilgrimage here to find ingredients for their next stew. |
| Koopa Coliseum
This stadium is owned by Neo Bowser City's Chargin' Chuck football team, and is full of eager fans and athletes. | ||
|---|---|---|
| Landmark
In the center of the coliseum lies Chuck Field, where the Chargin' Chucks play a variety of sports. |
Enemies
Many of the spectators of the sporting events are soldiers of Bowser, having come from all over the world. |
Significant Characters
Both Koops and Bombette are here to watch the sporting events as well as see what exactly Bowser is doing here. |
| Poshley Heights
This village is known for being inhabited by many wealthy individuals. However, for some reason many of its residents have been transformed into pigs by a familiar foe, and X-Nauts seem to be roaming around as well. | ||
|---|---|---|
| Landmark
The Excess Express can be found at its station here, and is full of Bowser's troops. |
Enemies
The X-Nauts have a major presence here, alongside reinforcements sent by Bowser. |
Significant Characters
Poshley Heights, being full of pigs now, doesn't have many friendly folks around. |
| Goomba Mountain
Arguably the largest mountain in the world, Goomba Mountain is full of many caves, ledges, and interesting sights. | ||
|---|---|---|
| Landmark
Within the heart of Goomba Mountain lies the Pipe Maze, a network of Warp Pipes that lead to various points within the mountain's cave network. |
Enemies
It's obviously called Goomba Mountain for a reason. Goombas swarm the area, but they're not the only inhabitants. Many other foes have made their home here. |
Significant Characters
Lakilester has come here to see the sights alongside Ms. Mowz, who's here to find some treasure. |
| Beanbean Kingdom
The Mushroom Kingdom's closest neighbor, the Beanbean Kingdom has fallen into disarray. Antasma has put everyone to sleep as the monstrous Yoob and the Shroobs invade, all of which serve Bowser now. | ||
|---|---|---|
| Landmark
The forest known as Chucklehuck Woods has become the playground for the Shroobs as they work to expand their influence in the region. |
Enemies
Many soldiers of Bowser remained behind here after the crisis involving Fawful, alongside Shroob forces. |
Significant Characters
Prince Peasley is spearheading the defense of the kingdom as usual, being the hero that he is. |
| Star Hill
This valley is known for constant meteor showers as well as its connection to the mystical landscape known as Star Haven. However, the Smithy Gang, backed by Bowser, has returned here. | ||
|---|---|---|
| Landmark
Smithy has set up a portal to his factory here, though it's more of a mystical fortress containing artifacts from across the universe. |
Enemies
The Smithy Gang retained many Koopa Troop defectors in its ranks, who are now ironically serving Bowser again. |
Significant Characters
The mystical protector of the Star Road, Geno, has returned alongside Mallow to aid Mario. |
| Neo Bowser City
The beating heart of Bowser's empire, this metropolis is full of many loyal soldiers of his, as well as countless casinos. | ||
|---|---|---|
| Landmark
Bowser has built a massive new castle here, one that towers over the nearby metropolitan area. |
Enemies
Almost all of the soldiers Bowser has amassed are here, ready to stop you. |
Significant Characters
Everyone you've found to join the resistance movement has come here to help out and stop Bowser once and for all. |
| Comet Observatory
This space station is repaired once enough Power Stars are gathered. It's less of a true "kingdom" and more of a gateway leading to Rainbow Road and boss rematches. | ||
|---|---|---|
| Landmark
Rainbow Road is a mystical landscape that the Comet Observatory is floating next to. It's full of challenges that will leave any adventurer thinking on their feet. |
Enemies
The enemies here are mainly concentrated within Rainbow Road, with all sorts of enemies showing up. |
Significant Characters
Rosalina is the main figure here, but many other people you've encountered will also find a place for themselves here. |
Landmarks[]
| Subcon
Once a peaceful land, Bowser's forces have taken over Subcon and brainwashed its inhabitants, including a frog-like monster known as Wart. The landscape is very strange, and almost has an eerie feel to it. | ||||||
|---|---|---|---|---|---|---|
| Mission 1: Wart on the Mountain
You must defeat Wart to obtain a Grand Star. |
Mission 2: Red Coins on the Waterfall
You need to collect eight red coins to have the Power Stars appear. |
Mission 3: Blue Shell Pinball
Using a Blue Shell, you need to play a pinball-esque game. |
Mission 4: Bob-omb Blitz
This mission isn't selected, and requires you to toss a Bob-omb at a specific hole in the mountain Wart stands on. | |||
| Mission 5: General Guy's Armada
You need to board General Guy's airship and defeat him to obtain a Grand Star. |
Mission 6: Chain Chomp Surfing
Grab onto a Chain Chomp's chain, and make sure you get to the end of the course! |
Mission 7: Racing the Speedster
The Spooky Speedster's in Subcon, and wants to race you. The prize? Two Power Stars. |
Mission 8: Collect the Coins
This mission isn't selected, and simply requires you to collect one-hundred coins across the Landmark. | |||
| Mission 9: Cannonball Sniping
You need to utilize a Cannon Box to hit a specially marked crate from far away. |
Mission 10: Vegetable Planting
Four golden turnips are scattered around Subcon. You need to bring these to a Shy Guy farmer, but you'll walk slower and be unable to perform advanced movement techniques whilst carrying them! |
Mission 11: Pixelated Treasures
A new 2D segment has opened up, and has a lot of gimmicks that'll test your mettle. |
Mission 12: Ascend the Mountains
As Bowser Jr., you need to utilize his wall clinging to jump between two mountains. | |||
| Boo Mansion
Boo Mansion is a terrifying place, full of door puzzles and various monsters. King Boo is in charge here and seeks to ensure that Luigi suffers under his watch. | ||||||
|---|---|---|---|---|---|---|
| Mission 1: Luigi in the Mansion
By navigating through the mansion's door puzzles, you need to locate Luigi to obtain him as a character alongside two Power Stars. |
Mission 2: Secret Room's Stars
This mission isn't selected, and requires you to navigate through the door maze in a very specific way. |
Mission 3: King Boo's Haunt
King Boo holds a Grand Star and awaits your challenge. |
Mission 4: Red Coins in the Mansion
You need to collect eight red coins scattered around the mansion. | |||
| Mission 5: Counting Chests
This mission isn't selected, and has you opening five chests in a specific order within a room in the mansion. |
Mission 6: Big Mr. I on the Roof
You need to defeat Big Mr. I on the mansion's roof for a Grand Star. |
Mission 7: Rainbow Star Spree
You need to defeat thirty Boos in the mansion using a Rainbow Star. |
Mission 8: Collect the Coins
This mission isn't selected, and simply requires you to collect one-hundred coins across the Landmark. | |||
| Mission 9: Fog in the Mansion
The mansion is now covered in fog, and you need to navigate it to get two Power Stars. |
Mission 10: Silver Stars in the Mansion
Collect all ten Silver Stars, and the two Power Stars are yours! |
Mission 11: The Secret Slide Returns
One of the mansion's paintings now leads to a familiar area... |
Mission 12: In and Out
Use Boo Mushrooms to reach the hidden corridors of the mansion, and find the Power Stars! | |||
| Blooper Bay
Blooper Bay is a small group of islands known for their stormy weather. It's vicious out here, with plenty of hostile aquatic life. | ||||||
|---|---|---|---|---|---|---|
| Mission 1: Fast-Thinking Jumper
You need to race Diddy Kong through the islands to win two Power Stars, and he joins you as a playable character afterwards. |
Mission 2: Gooper Blooper's Back
Gooper Blooper is beginning to unleash havoc across the bay, and you need to defeat him for a Grand Star. |
Mission 3: Red Coins in the Ocean
You need to dive underwater to get eight Red Coins in a mission that isn't selected. |
Mission 4: Maw-Ray Trench Run
You need to speed your way through an underwater trench that's full of Maw-Rays, and clear it in three minutes or less. | |||
| Mission 5: Blooper Combat
You need to use a Blooper Racer to knock down Cheep Cheeps floating in the water. |
Mission 6: Koopaling Battle
You need to battle the Koopalings' airship for a Grand Star. |
Mission 7: The Mystery Cheep Cheep
This mission isn't selected, and requires you to kill a specific Cheep Cheep who has Power Stars inside him. |
Mission 8: Collect the Coins
This mission isn't selected, and simply requires you to collect one-hundred coins across the Landmark. | |||
| Mission 9: The Frog Meeting
Using a Frog Suit, you need to find a room full of other frogs, who fiercely guard their Power Stars. |
Mission 10: Hot Springs' Secret
The hot springs of the bay have active geysers. Use these to reach the Power Stars! |
Mission 11: Behind the Maw-Ray
One of the Maw-Rays has two Power Stars on the end of his tail. |
Mission 12: Look Above
Use the cannon to fly through three rings of coins! | |||
| Yoshi Mountain
Yoshi Mountain is said to be one of the world's most beautiful sights. Dinosaur skeletons can be seen on the side of the mountain, as can immense waterfalls. Some areas are relatively cold, and others are linked via Warp Pipe. | ||||||
|---|---|---|---|---|---|---|
| Mission 1: Rescue Yoshi
Ascend the mountain, and rescue Yoshi at the top. |
Mission 2: Race to the Bottom
You need to beat Koopa the Quick to the bottom of the mountain. |
Mission 3: The Old Wizard
Kamek holds a Grand Star at the top of the mountain and must be defeated. |
Mission 4: Scattered Red Coins
This mission isn't selected and requires you to collect eight red coins throughout the mountain. | |||
| Mission 5: Galoomba Bowling
This mission isn't selected and requires you to kill six Galoombas in a row by tossing a single Galoomba at them. |
Mission 6: Former Champion of the Derby
You need to defeat Boshi for a Grand Star. |
Mission 7: Island in the Sky
This mission isn't selected and has you using a cannon to reach an island in the sky. |
Mission 8: Collect the Coins
This mission isn't selected, and simply requires you to collect one-hundred coins across the Landmark. | |||
| Mission 9: Egg Boulders
Giant eggs now fall down the mountain. Occasionally, a gold one will appear that you can break for the Power Stars. |
Mission 10: Mini-Land Mayhem
Using a Mini Mushroom, you need to navigate an obstacle course. |
Mission 11: Hungry for Fruit
As Yosi, you need to consume fruit throughout the mountain to fill up a meter. When filled, you'll get two Power Stars. |
Mission 12: Grand Theft Airship
You need to reach the airship now flying above the mountain, and take out all of the enemies on it. It won't be easy to get to the airship! | |||
| Gangplank Galleon
This massive pirate ship is the Kremling Krew's primary base of operations, but Bowser's forces have managed to transform it into a massive airship. | ||||||
|---|---|---|---|---|---|---|
| Mission 1: He's Finally Here
The objective of this mission is to find the key to Donkey Kong's cell. |
Mission 2: Cannon to the Bottom
This mission isn't selected, and requires you to utilize a cannon to reach a floating island near the airship. |
Mission 3: The Banana-Loving King
King K. Rool needs to be defeated to obtain a Grand Star. |
Mission 4: Red Coins Below Deck
This mission isn't selected, and requires you to collect eight red coins throughout the ship. | |||
| Mission 5: Klepto's Treasure
You need to figure out a way to get the Power Stars out of Klepto's talons. |
Mission 6: Fredrik's Fleet
You need to defeat Lord Fredrik for a Grand Star. |
Mission 7: Remnants of the Fleet
You need to take down the remaining airships from Fredrik's attack. |
Mission 8: Collect the Coins
This mission isn't selected, and simply requires you to collect one-hundred coins across the Landmark. | |||
| Mission 9: Freezing Clouds
Using the Ice Flower, you have to freeze nearby clouds in order to navigate towards the Power Stars. |
Mission 10: Bully Battle
You need to knock all the Bullies off the ship. |
Mission 11: Timed Silver Stars
You need to collect all five Silver Stars within a time limit. |
Mission 12: Bullet Bill Luring
You need to lure enough Bullet Bills to destroy a wall of crates. | |||
| Syrup Castle
Every pirate dreams of having a castle like this. Loads of treasure, access to ships, and beautiful sights of the nearby ocean. | ||||||
|---|---|---|---|---|---|---|
| Mission 1: Yellow-Hatted Prisoner
You need to locate and rescue Wario. |
Mission 2: Castle Siege
You need to man a cannon outside the castle and take down Captain Syrup's soldiers. |
Mission 3: The Captain's Arrival
Captain Syrup has finally shown herself, and even has a Grand Star in her possession. |
Mission 4: Scattered Keys
This mission isn't selected and has you collecting keys around the castle to unlock access to the main vault. | |||
| Mission 5: Red Coins at the Docks
You need to collect eight red coins scattered around the castle's docks. |
Mission 6: The Bag-Shaker
The Shake King has arrived alongside his Grand Star. |
Mission 7: Secret Chest
You need to find a hidden chest in this mission that isn't selected. |
Mission 8: Collect the Coins
This mission isn't selected, and simply requires you to collect one-hundred coins across the Landmark. | |||
| Mission 9: Stompin' Around
You need to utilize the Goomba's Shoe to navigate a tight corridor, where jumping is heavily restricted. |
Mission 10: Secret of the Roof
You need to go onto the castle's roof and navigate your way to the roof of the castle. |
Mission 11: Shoot for the Island
You need to utilize a cannon to reach an island off the coast of the castle. |
Mission 12: Banzai Bill Rush
You need to run away from a Banzai Bill in an area full of floating platforms, much like other small platforming areas you've seen before. | |||
| Corona Depths
The caverns beneath Corona Mountain are full of magma, as well as extraordinary ruins. | ||||||
|---|---|---|---|---|---|---|
| Mission 1: Magma Coaster Ride
You need to survive a ride down a rickety minecart rollercoaster. |
Mission 2: Red Coins over the Fire Sea
This mission isn't selected and has you collecting eight red coins. |
Mission 3: Robot in the Lava
You need to defeat Megaleg for a Grand Shine. |
Mission 4: Fiery Cleanup
This mission isn't selected, and has you cleaning up hazardous flames with F.L.U.D.D.. | |||
| Mission 5: Tank Assault
You need to defeat the Monty Tank for a Grand Shine. |
Mission 6: Flash Flood
You need to ascend to the top of the volcano as lava rises up. |
Mission 7: Plug the Leaks
You need to stop the lava from leaking out of the volcano at several specific points. |
Mission 8: Collect the Coins
This mission isn't selected, and simply requires you to collect one-hundred coins across the Landmark. | |||
| Mission 9: Timed Lava Rush
You need to make your way across a segment of lava platforms within a time limit. |
Mission 10: Fire and Water
Using F.L.U.D.D., you need to get through an intricately-designed platforming area. |
Mission 11: Hidden Cavern
You need to find a hidden cavern by ground-pounding on a rock formation. |
Mission 12: Faster than Light!!!
This is a remixed version of Magma Coaster Ride (Mission 1) where all obstacles, and the coaster, move twice as fast. | |||
| Decayed Pyramid
This pyramid has existed for over ten thousand years, and has only recently been opened up by Bowser's troops. Ancient defenses are ready to take out anything in their path alongside mysterious traps and enemies. | ||||||
|---|---|---|---|---|---|---|
| Mission 1: Pyramid Destruction
You need to help Waluigi blow open the entrance to the pyramid's treasure vault. |
Mission 2: Escape the Hallway
You need to grab a Power Star from a hallway in the pyramid, and then run away from a giant Star Ball in a similar vein to a popular movie. |
Mission 3: Mummipokey's Revenge
You need to defeat the gargantuan Mummipokey for a Grand Star. |
Mission 4: Red Coins in the Pyramid
This mission isn't selected and has you collecting red coins throughout the pyramid. | |||
| Mission 5: Master of the Pyramid
You need to battle Tutankoopa for a Grand Star. |
Mission 6: Sandstorm Navigation
You need to navigate the pyramid in the midst of a sandstorm to find two Power Stars. The sandstorm hinders your sight. |
Mission 7: Ride the Thwomps
You need to utilize rising and falling Thwomps to navigate to a specific part of the pyramid. |
Mission 8: Collect the Coins
This mission isn't selected, and simply requires you to collect one-hundred coins across the Landmark. | |||
| Mission 9: Vicious Sandstorm
This is a remixed version of Sandstorm Navigation (Mission 6) where you only have a single wedge of health. |
Mission 10: Buried Treasure
You need to navigate the burial grounds underneath the pyramid using the Spin Drill. |
Mission 11: A Familiar Bird
Klepto's got his hands on the Power Stars again, and needs to be reached. |
Mission 12: Racing the Speedster
The Spooky Speedster is ready for a VERY difficult race with you, where all shortcuts are fair game. | |||
| One-One Temple
The hieroglyphs of this temple have made it a fascinating place, as does the pixelated environment. The walls hold some surprising secrets. | ||||||
|---|---|---|---|---|---|---|
| Mission 1: 1-1 Redux
You need to use a Pixel Pipe to enter a heavily modified version of Super Mario Bros.'s World 1-1, which now has vastly different enemies and some terrain changes. |
Mission 2: The Nerdy Boss Battle
Francis holds a Grand Star and awaits your challenge. |
Mission 3: Red Coins on the Walls
This mission isn't selected, and has you collecting red coins from the many 2D segments on the walls. |
Mission 4: Klepto's Back
You need to snatch the Power Stars from Klepto. | |||
| Mission 5: Bowser (?)
A foe who resembles Bowser can be seen on one of the 2D wall segments, and holds a Grand Star. |
Mission 6: Bottom of the Temple
This mission isn't selected and has you delving to the lowest floor of the temple. |
Mission 7: To the Skies
You need to utilize Wings to reach an island in the sky. |
Mission 8: Collect the Coins
This mission isn't selected, and simply requires you to collect one-hundred coins across the Landmark. | |||
| Mission 9: 1-2 Redux
A new 2D section has opened up, which is a modified version of World 1-2 of Super Mario Bros.. |
Mission 10: Red Coin Speedrun
This is a remixed version of "Red Coins on the Walls" where you have to collect all eight red coins within a time limit. |
Mission 11: Hammering Switches
You need to go through a platforming section that revolves around your use of the Hammer. |
Mission 12: Bob-omb Dunk
You need to throw Bob-ombs so that they explode inside a giant pipe. | |||
| Bob-omb Gorge
This long, entrenched ravine is full of King Bob-omb's various armaments and soldiers. It's pretty cold here as well. | ||||||
|---|---|---|---|---|---|---|
| Mission 1: Regicide
You need to defeat King Bob-omb atop the mountain in the gorge for a Grand Star. |
Mission 2: An Icy Swim
You need to navigate through a trench full of icy water without freezing to death, |
Mission 3: Frozen Shards
This mission isn't selected, and has you utilizing the Hammer to free two frozen Toads. |
Mission 4: Red Coins in the Gorge
This mission isn't selected, and has you collecting red coins around the gorge. | |||
| Mission 5: Blubba's Supremacy
You need to battle Tubba Blubba for a Grand Star. |
Mission 6: Piantissimo's Gamble
Il Piantissimo has arrived in the gorge (though he's VERY cold with those shorts on). Racing him will result in a nice prize. |
Mission 7: Cold Winds
The entire gorge has been consumed by a blizzard, so your vision is reduced. Just try and get to the top of the mountain without being killed by a snowball. |
Mission 8: Collect the Coins
This mission isn't selected, and simply requires you to collect one-hundred coins across the Landmark. | |||
| Mission 9: Spin, Spin, Spin!
You need to utilize the Luma to reach two Power Stars on a secluded hill. |
Mission 10: Dangerous Swim
This mission is a remixed version of An Icy Swim (Mission 2) that only gives you one wedge of health. |
Mission 11: Snowball Fight
Pick up the giant snowballs to defeat the Bullies! |
Mission 12: Below Zero
Delve into the caves below the mountain to see if you can get the Power Stars within. | |||
| Tatanga Factory
This massive structure towers over the rest of Sarasaland, and is ruled over by the alien known as Tatanga. Weapons are produced here to be sent to Neo Bowser City. | ||||||
|---|---|---|---|---|---|---|
| Mission 1: Conveyor Belt Puzzles
You need to operate conveyor belts so that a crate containing the two Power Stars successfully arrive at your location. |
Mission 2: The Factory's Master
You need to defeat Tatanga for a Grand Star. Luigi is the only character that can do this mission. |
Mission 3: An A-Mazing Maze
You need to navigate a maze to get to the Power Stars, but one room is a hidden teleporter that teleports you to a random room in the maze without you realizing it. |
Mission 4: Red Coins in the Factory
This mission isn't selected and has you collecting eight red coins throughout the factory. | |||
| Mission 5: Speedster's Revenge
You need to race the Spooky Speedster for two Power Stars. |
Mission 6: The Broodals' Master
Madame Broode has arrived at the factory, and has a new necklace made from a Grand Star. |
Mission 7: Bullet Bill Manipulation
This mission isn't selected, and has you luring a Bullet Bill into a specially-marked crate. |
Mission 8: Collect the Coins
This mission isn't selected, and simply requires you to collect one-hundred coins across the Landmark. | |||
| Mission 9: Iron Man
Utilize the Metal Box to navigate a special platforming section! |
Mission 10: Belts on Steroids
This is a remixed version of Conveyor Belt Puzzles (Mission 1) that has the conveyor belts going at double speed. |
Mission 11: Topple the Goomba Tower
A massive Goomba tower is now roaming around the factory. Take it out! |
Mission 12: Gravitational Frenzy
Gravity's gone out of control in the factory. Use it to navigate the factory and reach the Power Stars! | |||
| Tart Top
Dessert lovers constantly come to this mountain. The land itself is like a cake, with tons of food on the ground. | ||||||
|---|---|---|---|---|---|---|
| Mission 1: Secret Ingredients
You need to deliver a box of spices to the Volbonans on the mountain. |
Mission 2: Koopa Bros. Attack!
You need to defeat the Koopa Bros. for a Grand Star. |
Mission 3: Red Coins along the Mountainside
This mission isn't selected and has you collecting eight red coins. |
Mission 4: Cookie Cutter Whomps
This mission isn't selected and has you luring a Whomp that resembles a cookie cutter to open up an area of the mountain. | |||
| Mission 5: Force-Feeding
While playing as Yoshi, you need to eat enough enemies to fill up a meter. |
Mission 6: The Fierce Brawler
A brainwashed O'Chunks is here to defend his newly-discovered Grand Star. |
Mission 7: Meatball Destruction
You need to use a Hammer to break open meatball boulders. |
Mission 8: Collect the Coins
This mission isn't selected, and simply requires you to collect one-hundred coins across the Landmark. | |||
| Mission 9: Nightfall on the Mountain
It's much darker out, which means your vision is reduced. Reach the top of the mountain and avoid surprise attacks from enemies! |
Mission 10: Meal with a Twist
This is a remixed version of Force-Feeding (Mission 5) where you only have one wedge of health. |
Mission 11: Ride the Shell
Use a Blue Shell to navigate the slopes of the mountain! |
Mission 12: Chainless Onslaught
The Chain-Chomps have lost their chains! Outrun them as you navigate a platforming section! | |||
| Chuck Field
People from all over the world come to Chuck Field to watch the sporting events. | ||||||
|---|---|---|---|---|---|---|
| Mission 1: Locker Room Secrets
You need to get into the Chucks' locker room for the two Power Stars there. |
Mission 2: Play Ball!
The Chuck Team wants to challenge you to a simple game of soccer. Get three goals, and the Grand Star is yours. |
Mission 3: Red Coins in the Stands
This mission isn't selected and has you going into the spectator areas to grab red coins. |
Mission 4: Home Run
You need to utilize a Hammer to hit a ball out of the stadium. | |||
| Mission 5: Got Room for Pork?
Midbus has been sent to the stadium to brutalize you, with the help of his newfound strength thanks to a Grand Star. |
Mission 6: Rematch with Koopa the Quick
You need to race Koopa the Quick around the field three times. |
Mission 7: Top of the Stadium
This mission isn't selected, and requires you to go to the highest point of the stadium. |
Mission 8: Collect the Coins
This mission isn't selected, and simply requires you to collect one-hundred coins across the Landmark. | |||
| Mission 9: Swimming?!?
Koopa the Quick wants to challenge you to a rematch...in the pool??!? |
Mission 10: Ghosts on the Field
Use the Poltergust 6000 to suck up all the ghosts on the field! |
Mission 11: Red Coin Rush
This is a remixed version of "Red Coins in the Stands" (Mission 3) that has a time limit. |
Mission 12: Hole in One
Manipulate the snowball Midbus left behind into heading in the hole in the field! | |||
| Excess Express
This massive train travels between Rogueport and Poshley Heights, but now the track has been redirected to go to the Koopa Empire's holdings. | ||||||
|---|---|---|---|---|---|---|
| Mission 1: Engine's Stars
You need to reach the front of the train to get the Power Stars. |
Mission 2: Klepto on the Roof
You need to seize the Power Stars from Klepto, who's on the train's roof. |
Mission 3: Showdown with the Ghost
Doopliss is on the train with a Grand Star, and must be defeated. |
Mission 4: Red Coins on the Train
This mission isn't selected and has you collecting eight red coins throughout the train. | |||
| Mission 5: Freight Stars
This mission isn't selected and has you going into the freight car to grab two Power Stars. |
Mission 6: Magnus Von Grapple's Back
Lord Crump has been sent to bring about Mario's end, with the help of a Grand Star. |
Mission 7: Riverside Redirection
You need to get the train to stop at Riverside Station, by messing with the engine room's equipment. |
Mission 8: Collect the Coins
This mission isn't selected, and simply requires you to collect one-hundred coins across the Landmark. | |||
| Mission 9: Freight Car Secrets
Use the pipe in the freight car to reach a platforming section! |
Mission 10: Spooking on the Train
Use the Boo Mushroom to scare the passengers! |
Mission 11: Superspeed Von Grapple
This is a remixed version of Magnus Von Grapple's Back (Mission 6) where he moves twice as fast. |
Mission 12: Delivery Man
You need to bring a box to a Toad on one of the train cars. | |||
| Pipe Maze
This intricately designed network of pipes dominates the insides of Goomba Mountain, and is full of various pipe designs. Most of them come into a large cave full of damaged and destroyed pipes. | ||||||
|---|---|---|---|---|---|---|
| Mission 1: Rebellious 8-Bit
As Yoshi, you need to find Birdo in Goomba Mountain by navigating the maze of pipes. |
Mission 2: The Goomba King Cometh
Goomboss stands on the largest of the pipes, awaiting your challenge in exchange for a Grand Star. |
Mission 3: Shoot for the Roof
You need to utilize a cannon to reach a ledge in the cave. |
Mission 4: Red Coins in the Pipes
This mission isn't selected and sends you to grab eight red coins. | |||
| Mission 5: The Giant Piranha Plant
A familiar foe has come to the Pipe Maze: Petey Piranha. |
Mission 6: Navigating the Maze
This mission isn't selected and has you going through random Warp Pipes until you reach the two Power Stars. |
Mission 7: Scuttlebug Jamboree
You need to lure eight Scuttlebugs into a single room. |
Mission 8: Collect the Coins
This mission isn't selected, and simply requires you to collect one-hundred coins across the Landmark. | |||
| Mission 9: Speed Through the Pipes!
This is a remixed version of Navigating the Maze (Mission 6) with a time limit. |
Mission 10: Pal Pill Army
Build up an army of Pal Pill clones and use them to confront the Goombas within a large cavern! |
Mission 11: Stalagmite Ceiling
Stalagmites are falling from the ceiling! Use them to help eliminate the Whomps in the maze! |
Mission 12: Gold Pipe
Reach the gold pipe to get the Power Stars! | |||
| Chucklehuck Woods
Once famous for Chuckola Cola, these woods have become infested with the forces of Bowser, especially the Shroobs. | ||||||
|---|---|---|---|---|---|---|
| Mission 1: The Bat-King Returns
Antasma holds a Grand Star, and must be defeated once and for all. |
Mission 2: Red Coins on the Treetops
This mission isn't selected and has you collecting red coins from the tops of the forest's trees. |
Mission 3: Piantissimo's Rematch
Il Piantissimo wants to race you again, throughout the depths of the woods. |
Mission 4: Refill Time
You need to gather Chuckola Cola and throw it into a giant pot in order to bring about the arrival of the Power Stars. | |||
| Mission 5: Foggy Terrain
A strange fog now envelops the forest. Make your way through it to grab the Power Stars. |
Mission 6: The Very Hungry Yoshi
Yoob has returned to oversee the Shroob invasion of the Beanbean Kingdom, and has a nice Grand Star at his side. |
Mission 7: Spring to the Top
This mission isn't selected, and has you using a Spring Mushroom to reach the top of a particularily large tree. |
Mission 8: Collect the Coins
This mission isn't selected, and simply requires you to collect one-hundred coins across the Landmark. | |||
| Mission 9: Dream Team
Navigate the woods and defeat the sleeping Fat Guys without waking them up! |
Mission 10: Never Let Up!
This is a remixed version of The Very Hungry Yoshi (Mission 6) where you only have one wedge of health. |
Mission 11: Shoe Size?
Use the Goomba's Shoe to ambush five particularly large Venus Fire Traps from above! |
Mission 12: Gathering Silver Stars
Collect all ten Silver Stars to spawn two Power Stars! | |||
| Smithy Factory
The term "factory" can only be loosely used to describe this castle. It's full of relics and artifacts from across the cosmos, as well as terrifying machinery. | ||||||
|---|---|---|---|---|---|---|
| Mission 1: Save the Star Road
You need to defeat all the enemies on the Star Road. |
Mission 2: Lord of the Factory
Smithy's got his whole Grand Star-powered arsenal ready to take out Mario. |
Mission 3: Red Coins on the Airships
This mission isn't selected and sends you to the airships surrounding the factory to collect eight red coins within a time limit. |
Mission 4: Shatter the Shield
You need to adjust the cannons in the fortress so that they bombard the giant airship sent to the factory. | |||
| Mission 5: Infiltration
With the giant airship taken down, you need to board it and defeat both Boom Boom and Pom Pom for a Grand Star. |
Mission 6: Whomp Bridges
You need to utilize Whomps as bridges to reach the Power Stars. |
Mission 7: Climb the Tower
Atop the tower lies two Power Stars, but the airships nearby will be constantly firing on you! |
Mission 8: Collect the Coins
This mission isn't selected, and simply requires you to collect one-hundred coins across the Landmark. | |||
| Mission 9: Jumping Around
Utilize the Spring Mushroom to navigate the magnets of the factory! |
Mission 10: Airship Piloting
Steer around a small airship and use it to take out five other ships! |
Mission 11: Speedy Whomps
This is a remixed version of Whomp Bridges (Mission 6) where all enemies and obstacles move twice as fast. |
Mission 12: Above the Abyss
Use a network of cannons to get to a floating island nearby, but it'll take a lot of timing to get it right! | |||
| Bowser's Castle
Bowser is famous for his castles, and this one is no different. Lava flows throughout this tower alongside many, many defenses. Unlike other Landmarks, there's only one "linear" mission, with all the others being optional and not selected on the mission selection screen. You'll be able to collect those Power Stars on the route to Bowser, and they won't boot you out of the Landmark. | ||||||
|---|---|---|---|---|---|---|
| Mission 1: The Final Battle
It's finally time to eliminate Bowser at the top of the castle. |
Mission 2: Behind the Lava
These Power Stars are located behind a lava waterfall. |
Mission 3: Break the Wall
Luring a Banzai Bill into this damaged wall should let you obtain two Power Stars. |
Mission 4: Red Coins in the Castle
As usual, there's eight red coins for you to collect. | |||
| Mission 5: The Hidden Tower
There's a hidden Warp Pipe that leads to a tower of the castle. There's a nice prize if you find it. |
Mission 6: Jackpot
The slot machine in the castle can deliver you two Power Stars if you get three Power Stars lines up. |
Mission 7: Free the Chain-Chomp
Freeing the castle's Chain Chomp from its post will let you get the two Power Stars it's guarding. |
Mission 8: Collect the Coins
This mission isn't selected, and simply requires you to collect one-hundred coins across the Landmark. | |||
| Mission 9: Climb to the Top
This is a remixed version of The Final Battle (Mission 1) where you have a time limit. You won't face Bowser at the end however. |
Mission 10: Cannon Manipulation
Hit several moving switches with a Cannon Box! |
Mission 11: Electrical Frenzy
Navigate a platforming section where electricity reigns supreme. |
Mission 12: Steal the Cloud
Steal clouds from Lakitus and use them to navigate several spots in the castle! | |||
| Rainbow Road
This cosmic landscape is full of incredible dangers and obstacles. Only the most hardened of adventurers will survive its puzzles. |
|---|
| Mission 1: Journey's End
The Landmark's sole mission has you going through Rainbow Road's extensive challenges for a Grand Star. It's similar to Champion's Road from Super Mario 3D World, the Darker Side from Super Mario Odyssey, or Grandmaster Galaxy from Super Mario Galaxy 2. |
Enemies[]
Many different enemies return in Super Mario Excursion, some of which have never been in a 3D Mario title before. Enemies have several types: Ground, Flying, Spiked, Stationary, Aquatic, and Projectile. Some enemies have two types!
| Enemy | Information |
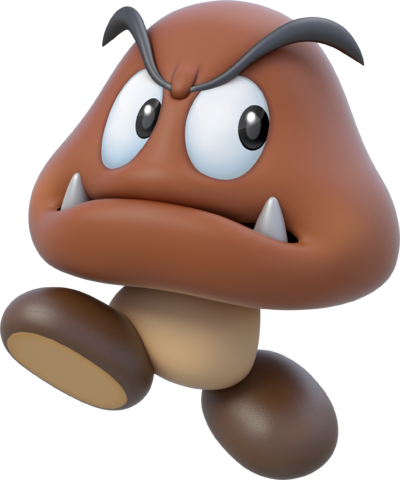 Goomba | |
| Goombas charge at Mario as soon as they see him, and can be defeated with a single stomp or punch. Some Goombas stack themselves on top of each other to form towers, and others wear headgear in specific Kingdoms. | |
| Ground | |
|
Shy Guy Valley, Boo Woods, Cheep Cheep Shore, Yoshi's Island, Donkey Kong Island, Kitchen Island, Isle Delfino, Saucercrash Dunes, Nostalgic Plains, Iceshard Tundra, Luma Park, Sarasaland, Buffet Badlands, Koopa Coliseum, Poshley Heights, Goomba Mountain, Beanbean Kingdom, Neo Bowser City | |
 Paragoomba | |
| Paragoombas are Goombas that possess wings. While they don't charge at Mario, they do fly over gaps in the ground. Jumping on them or punching them will get rid of their wings. | |
| Flying (Ground after wings are lost) | |
|
Shy Guy Valley, Cheep Cheep Shore, Yoshi's Island, Kitchen Island, Isle Delfino, Nostalgic Plains, Sarasaland, Buffet Badlands, Poshley Heights, Goomba Mountain, Neo Bowser City | |
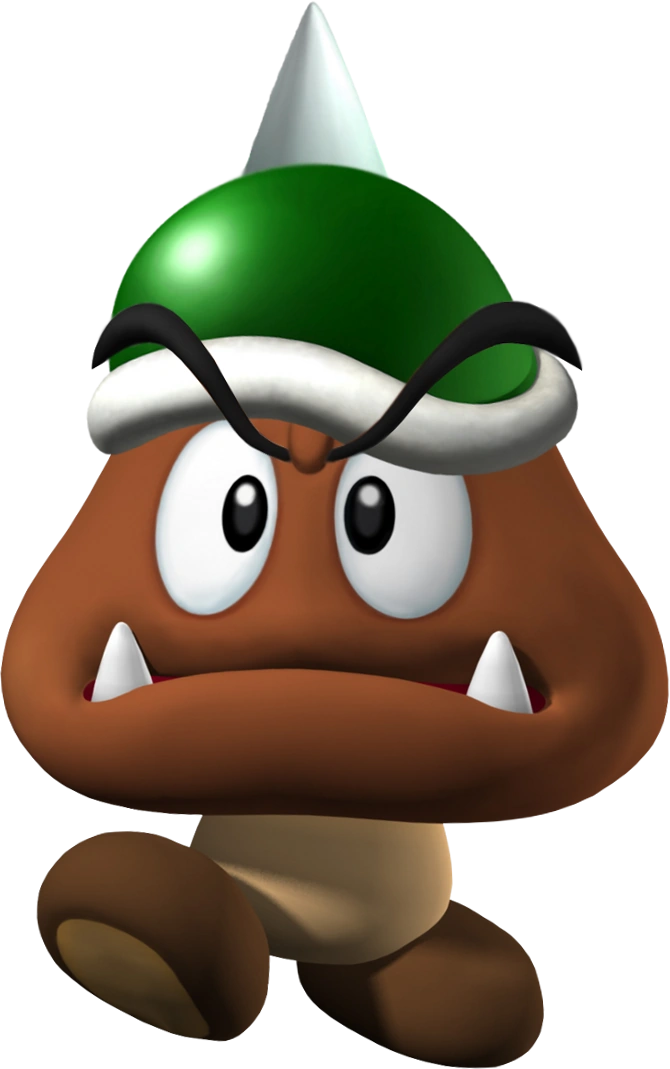 Spiked Goomba | |
| Spiked Goombas are Goombas that will damage you should they be jumped on. A simple punch will take them out however. | |
| Spiked | |
|
Yoshi's Island, Donkey Kong Island, Kitchen Island, Isle Delfino, Saucercrash Dunes, Nostalgic Plains, Luma Park, Buffet Badlands, Goomba Mountain, Beanbean Kingdom, Star Hill, Neo Bowser City | |
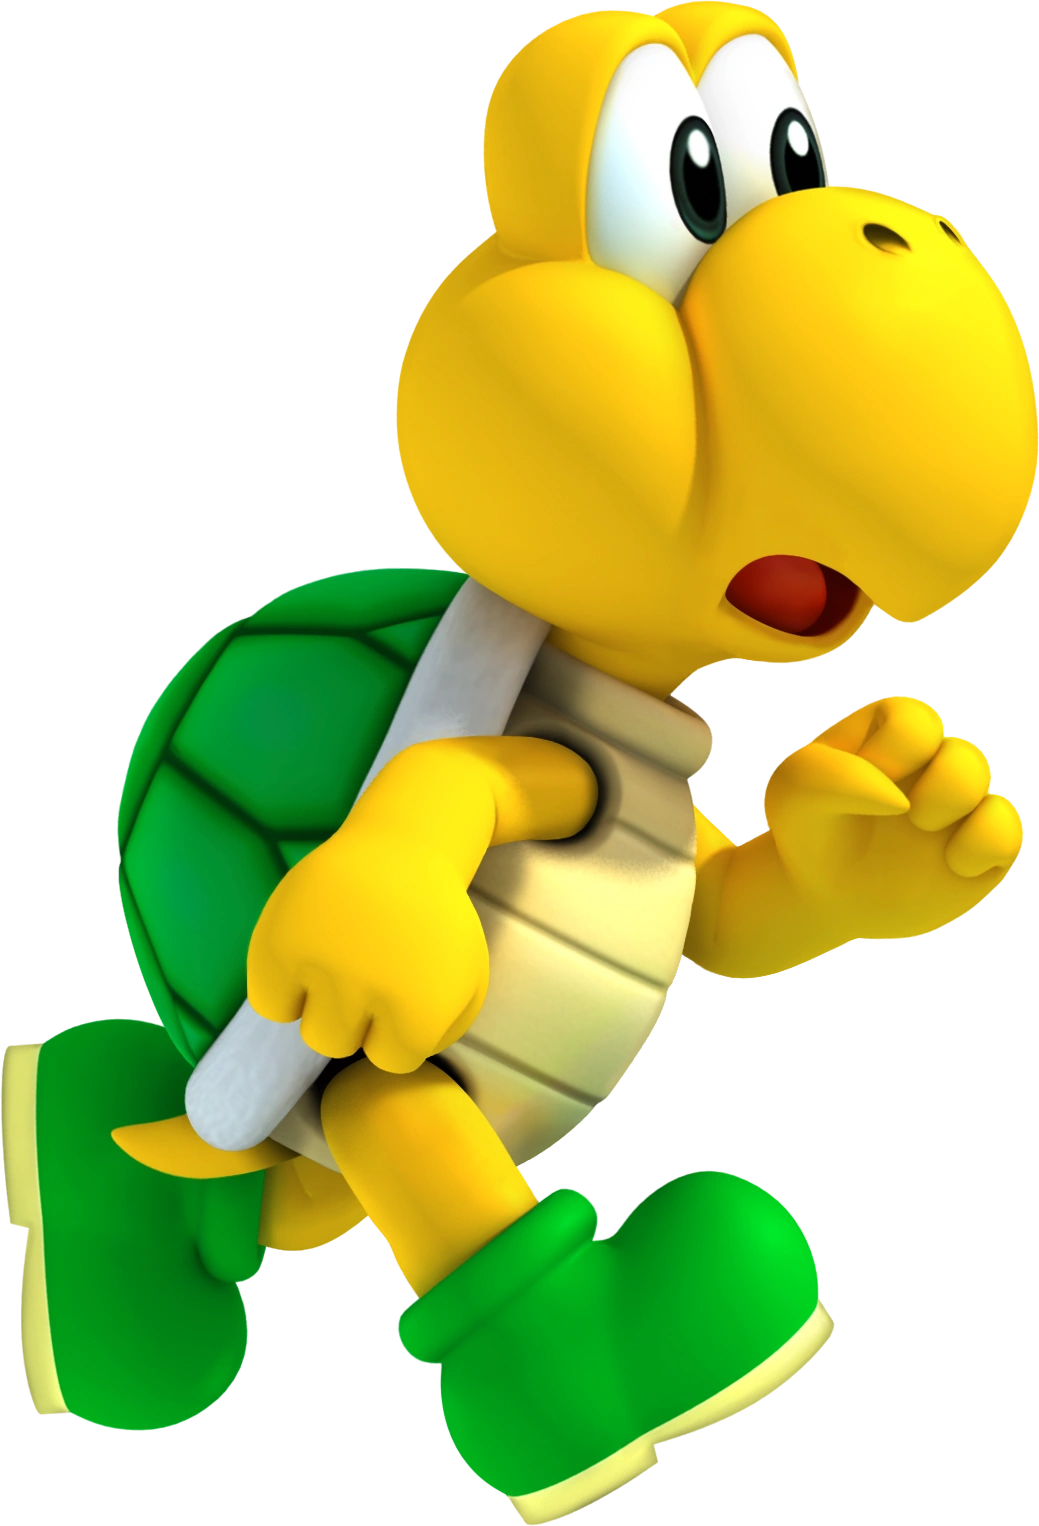 Koopa Troopa | |
| Koopa Troopas normally walk around without chasing after Mario. However, when jumped on or punched, they'll retreat into their shells, which can then be thrown at enemies. Both red-shelled and green-shelled Koopa Troopas exist. | |
| Ground | |
|
Shy Guy Valley, Cheep Cheep Shore, Yoshi's Island, Kitchen Island, Isle Delfino, Saucercrash Dunes, Nostalgic Plains, Sarasaland, Buffet Badlands, Koopa Coliseum, Goomba Mountain, Beanbean Kingdom, Neo Bowser City | |
 Paratroopa | |
| Paratroopas are essentially flying Koopa Troopas that lose their wings when jumped on or punched. | |
| Flying (Ground after wings are lost) | |
|
Cheep Cheep Shore, Yoshi's Island, Donkey Kong Island, Isle Delfino, Nostalgic Plains, Sarasaland, Buffet Badlands, Poshley Heights, Beanbean Kingdom, Neo Bowser City | |
 Koopatrol | |
| Koopatrols are heavily armored Koopa Troopas that are immune to most attacks, with only certain power-ups capable of killing them. Jumping on them will cause you to take damage, and punches will simply knock them back. | |
| Spiked | |
|
Boo Woods, Donkey Kong Island, Kitchen Island, Isle Delfino, Luma Park, Sarasaland, Koopa Coliseum, Beanbean Kingdom, Star Hill, Neo Bowser City | |
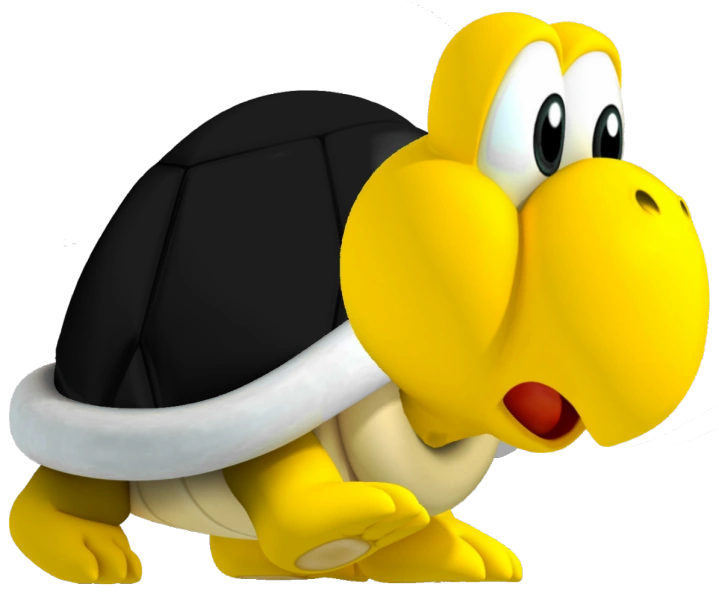 Bombshell Koopa | |
| Bombshell Koopas are Koopa Troopas whose shells will explode after a short duration of time. | |
| Ground | |
|
Sarasaland, Ruinia, Koopa Coliseum, Goomba Mountain, Beanbean Kingdom, Star Hill, Neo Bowser City | |
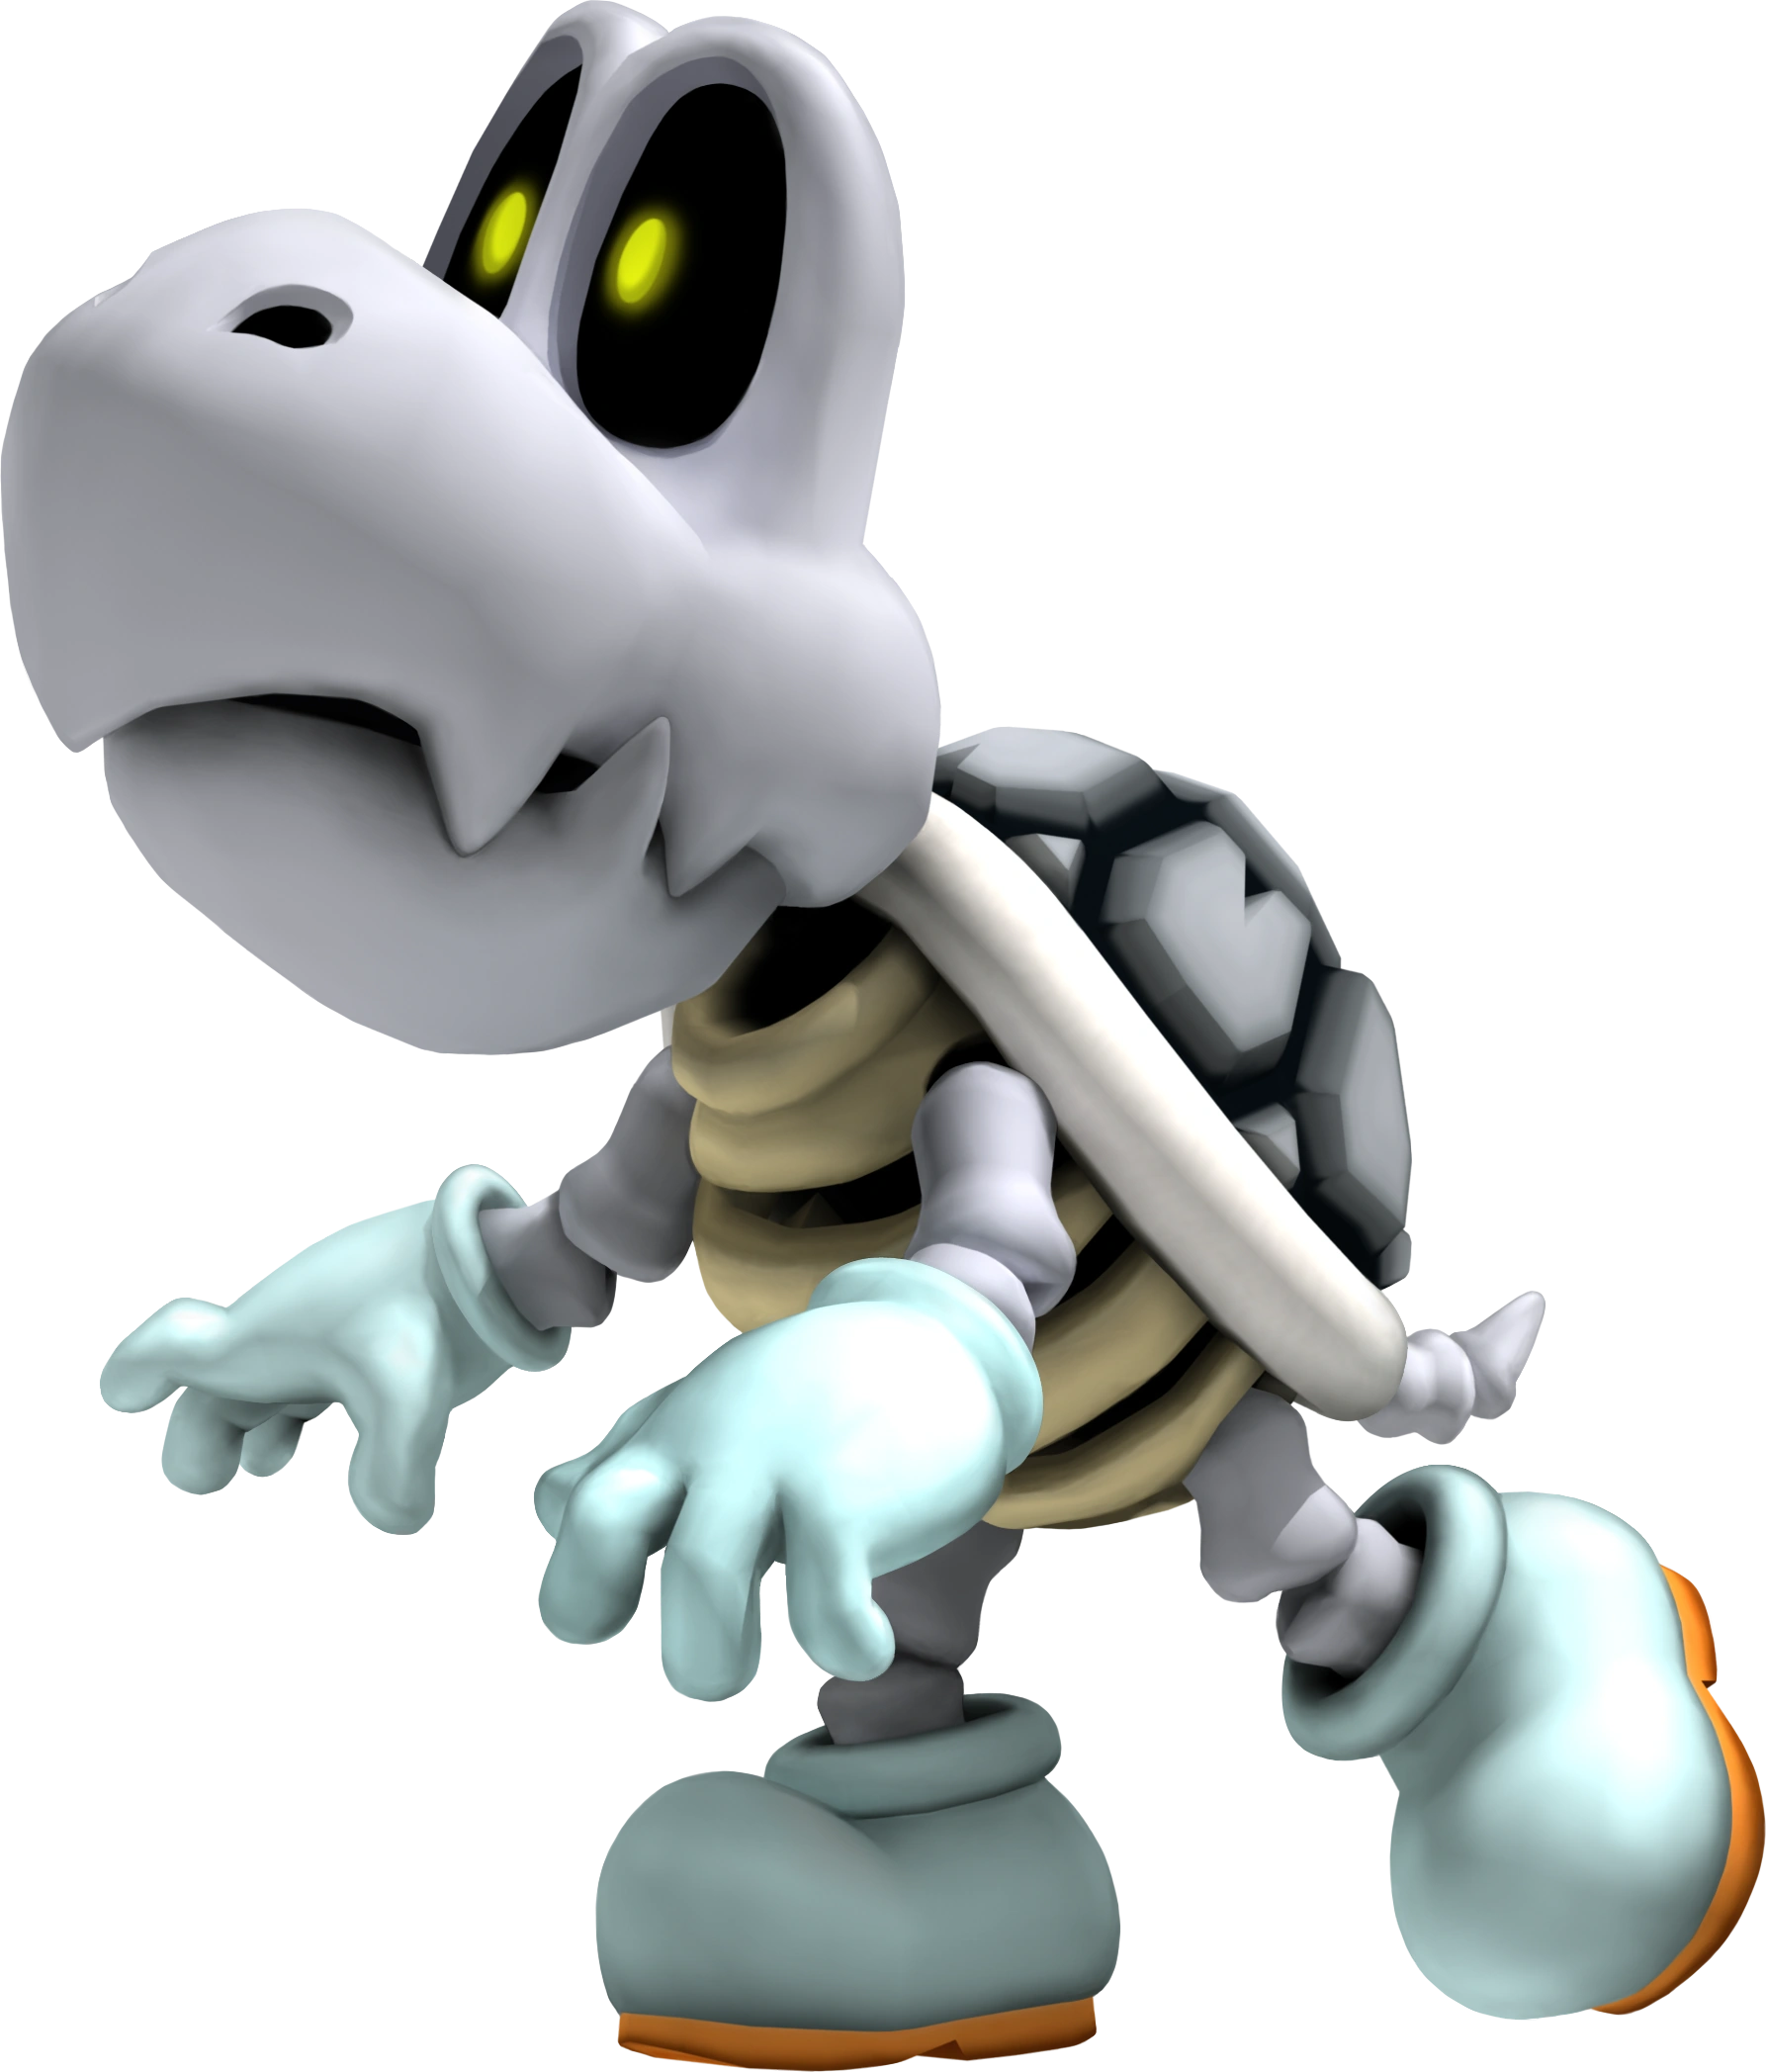 Dry Bones | |
| Dry Bones are undead Koopa Troopas that will collapse when jumped on or punched. However, they'll reform after a few seconds. | |
| Ground | |
|
Boo Woods, Kitchen Island, Isle Delfino, Saucercrash Dunes, Iceshard Tundra, Ruinia, Poshley Heights, Goomba Mountain, Star Hill, Neo Bowser City | |
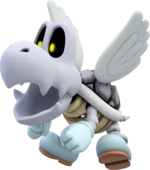 Parabones | |
| Parabones are undead Paratroopas that will lose their wings if stomped on once, and turn into bones if stomped on twice. | |
| Flying (Ground after wings are lost) | |
|
Boo Woods, Isle Delfino, Saucercrash Dunes, Iceshard Tundra, Ruinia, Poshley Heights, Goomba Mountain, Star Hill, Neo Bowser City | |
 Piranha Plant | |
| Piranha Plants can either be found inside pipes or out on the ground. They'll attempt to bite Mario, and a simple jump will take them out. | |
| Stationary | |
|
Shy Guy Valley, Boo Woods, Yoshi's Island, Donkey Kong Island, Isle Delfino, Nostalgic Plains, Sarasaland, Ruinia, Buffet Badlands, Poshley Heights, Goomba Mountain, Beanbean Kingdom, Neo Bowser City | |
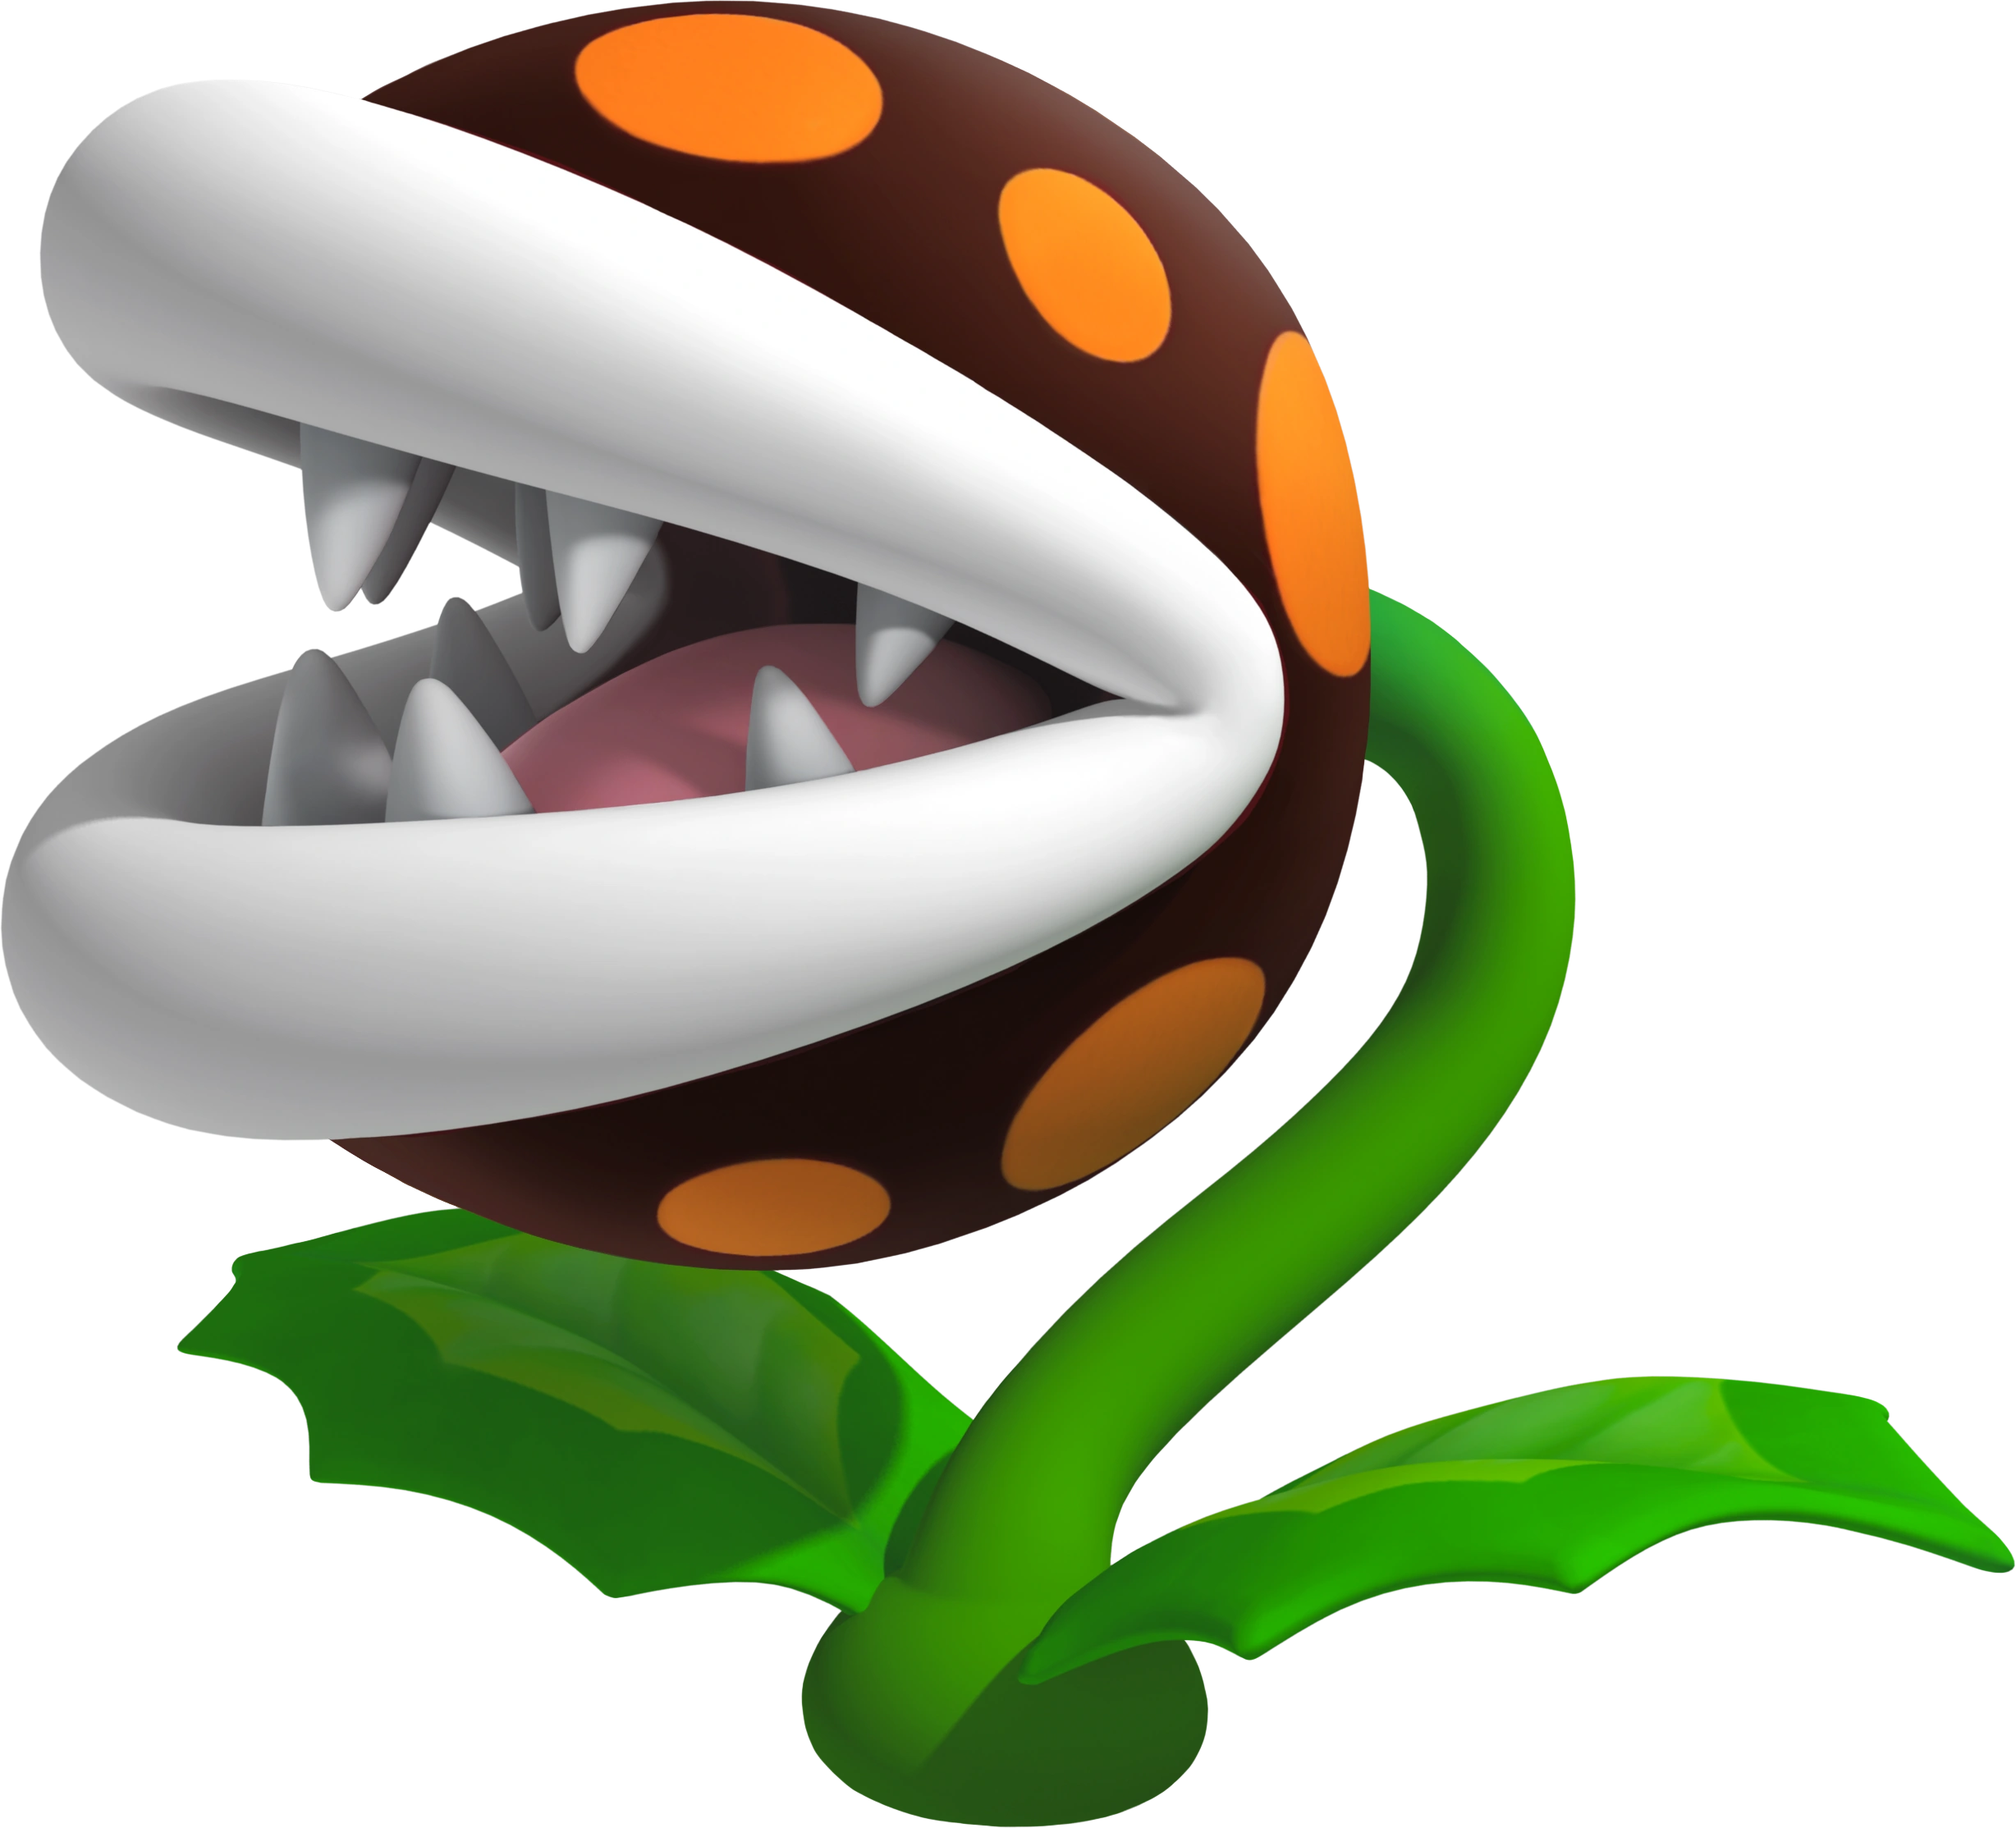 Venus Fire Trap | |
| Venus Fire Traps are a breed of Piranha Plant that shoot fireballs at Mario. They have the same weaknesses as their regular Piranha Plant cousins. | |
| Stationary/Projectile | |
|
Boo Woods, Yoshi's Island, Donkey Kong Island, Kitchen Island, Nostalgic Plains, Sarasaland, Ruinia, Buffet Badlands, Poshley Heights, Goomba Mountain, Beanbean Kingdom, Neo Bowser City | |
 Lakitu | |
| Lakitus are airborne enemies that toss Spinies out onto the ground. If you can manage to reach them, they're vulnerable to jumps and punches. Some Lakitus hold fishing rods with coins on them, which they'll use as bait. | |
| Flying/Projectile | |
|
Shy Guy Valley, Boo Woods, Cheep Cheep Shore, Yoshi's Island, Kitchen Island, Saucercrash Dunes, Nostalgic Plains, Ruinia, Buffet Badlands, Koopa Coliseum, Poshley Heights, Star Hill, Neo Bowser City | |
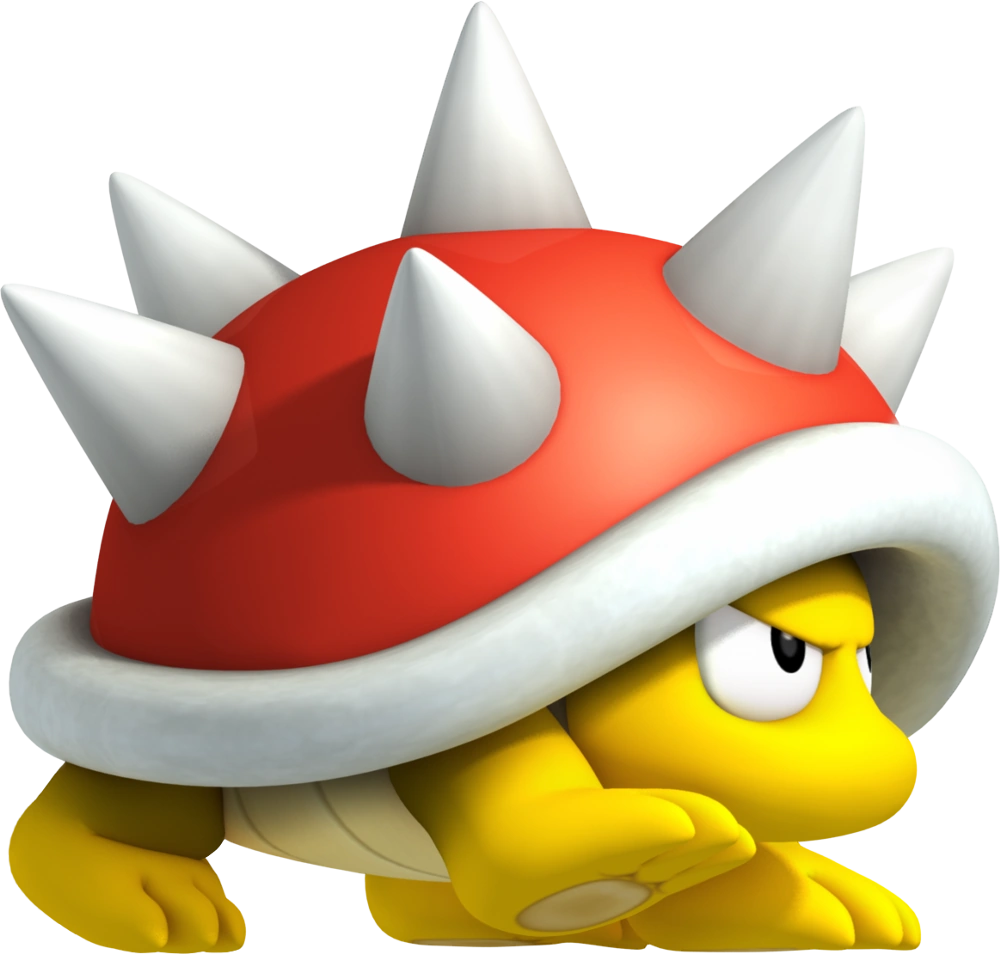 Spiny | |
| Spinies are thrown by Lakitus, but can also be found roaming around on their own. They'll hurt you if you jump on them, but unlike Spiked Goombas, Spinies are much slower. | |
| Spiked | |
|
Shy Guy Valley, Boo Woods, Cheep Cheep Shore, Yoshi's Island, Kitchen Island, Saucercrash Dunes, Nostalgic Plains, Ruinia, Buffet Badlands, Koopa Coliseum, Poshley Heights, Star Hill, Neo Bowser City | |
 Boo | |
| Boos are shy ghosts that will turn invisible when stared at, and will follow you when your back is turned to them. A Backwards Somersault is the key to taking them out. | |
| Ground | |
|
Boo Woods, Kitchen Island, Isle Delfino, Saucercrash Dunes, Luma Park, Ruinia, Koopa Coliseum, Poshley Heights, Goomba Mountain, Beanbean Kingdom, Star Hill, Neo Bowser City | |
 Dark Boo | |
| Dark Boos are the opposite of regular Boos in terms of behavior, chasing after you when you face them and halting their movement when your back is turned. While they are easier to defeat than regular Boos, they also move much faster than regular Boos. | |
| Ground | |
|
Boo Woods, Isle Delfino, Saucercrash Dunes, Luma Park, Ruinia, Koopa Coliseum, Poshley Heights, Goomba Mountain, Beanbean Kingdom, Star Hill, Neo Bowser City | |
 Chain Chomp | |
| Chain Chomps are confined to their posts, and will lunge at you whenever possible. However, they can't break free from their posts. Chain Chomps are massive, and are more of obstacles immune to any damage. | |
| Stationary | |
|
Shy Guy Valley, Boo Woods, Yoshi's Island, Kitchen Island, Isle Delfino, Saucercrash Dunes, Iceshard Tundra, Sarasaland, Buffet Badlands, Koopa Coliseum, Poshley Heights, Goomba Mountain, Neo Bowser City | |
 Bullet Bill | |
| Bullet Bills are missile-like enemies that lock onto you. They're vulnerable to jumps. | |
| Flying/Projectile | |
|
Shy Guy Valley, Boo Woods, Cheep Cheep Shore, Donkey Kong Island, Kitchen Island, Isle Delfino, Nostalgic Plains, Iceshard Tundra, Luma Park, Sarasaland, Koopa Coliseum, Goomba Mountain, Star Hill, Neo Bowser City | |
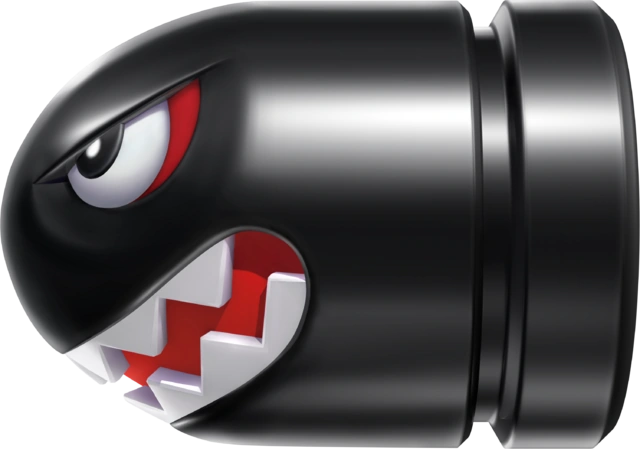 Banzai Bill | |
| Banzai Bills are massive Bullet Bills that don't lock onto you, and travel in a straight line instead. | |
| Flying/Projectile | |
|
Shy Guy Valley, Boo Woods, Cheep Cheep Shore, Donkey Kong Island, Kitchen Island, Iceshard Tundra, Sarasaland, Koopa Coliseum, Goomba Mountain, Star Hill, Neo Bowser City | |
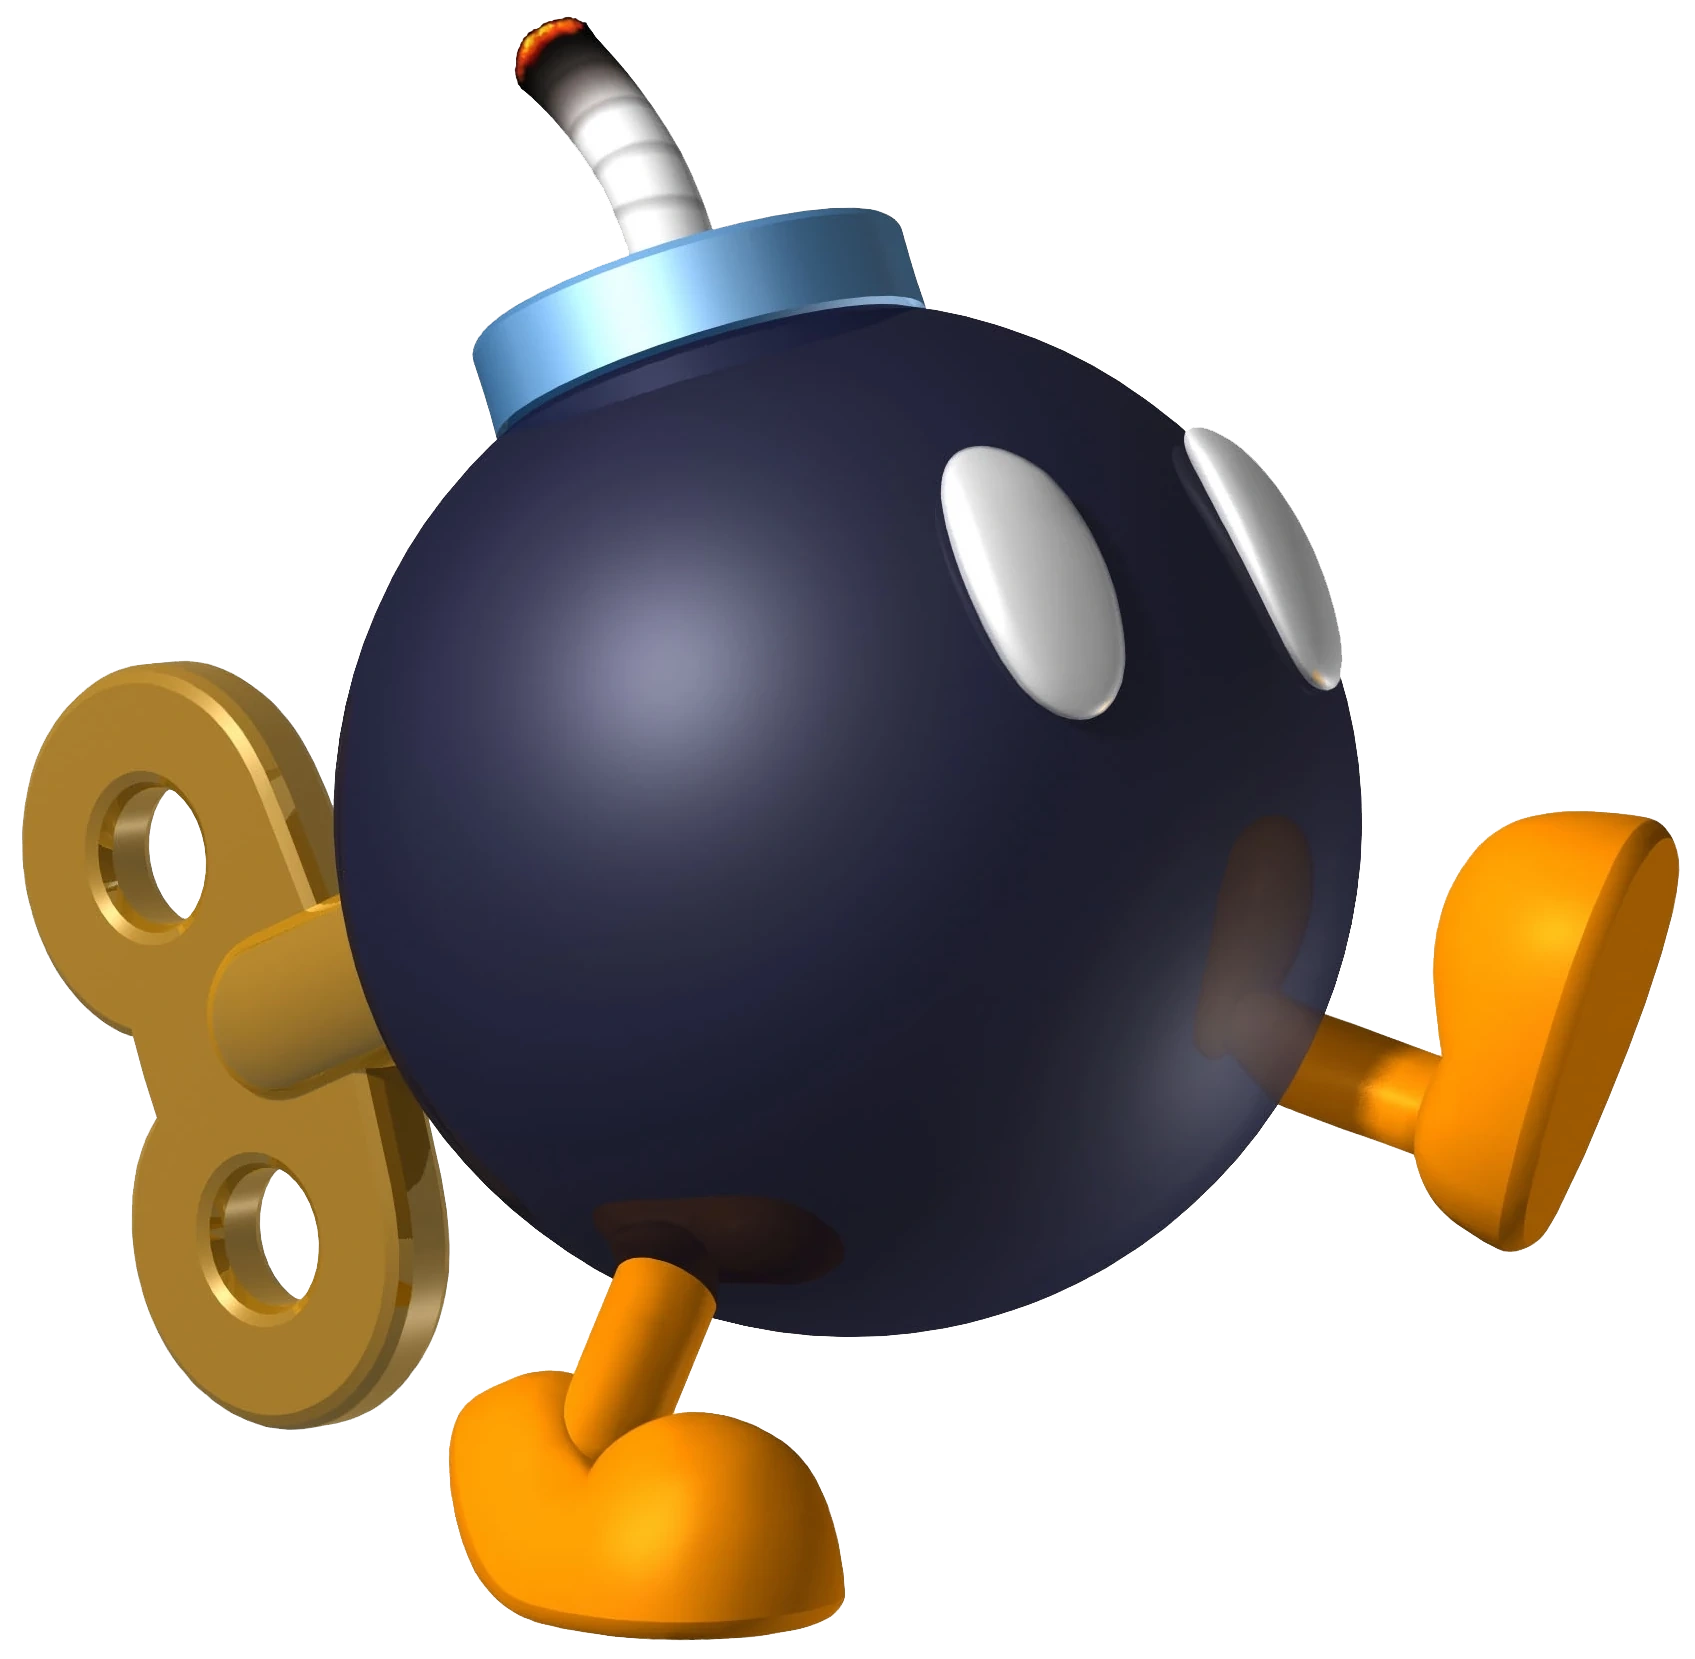 Bob-omb | |
| Bob-ombs are walking bombs that will chase after Mario and eventually explode. Jumping on them or punching them stuns them, allowing you to pick them up. | |
| Ground/Projectile | |
|
Shy Guy Valley, Boo Woods, Cheep Cheep Shore, Yoshi's Island, Donkey Kong Island, Kitchen Island, Isle Delfino, Nostalgic Plains, Iceshard Tundra, Sarasaland, Buffet Badlands, Goomba Mountain, Star Hill, Neo Bowser City | |
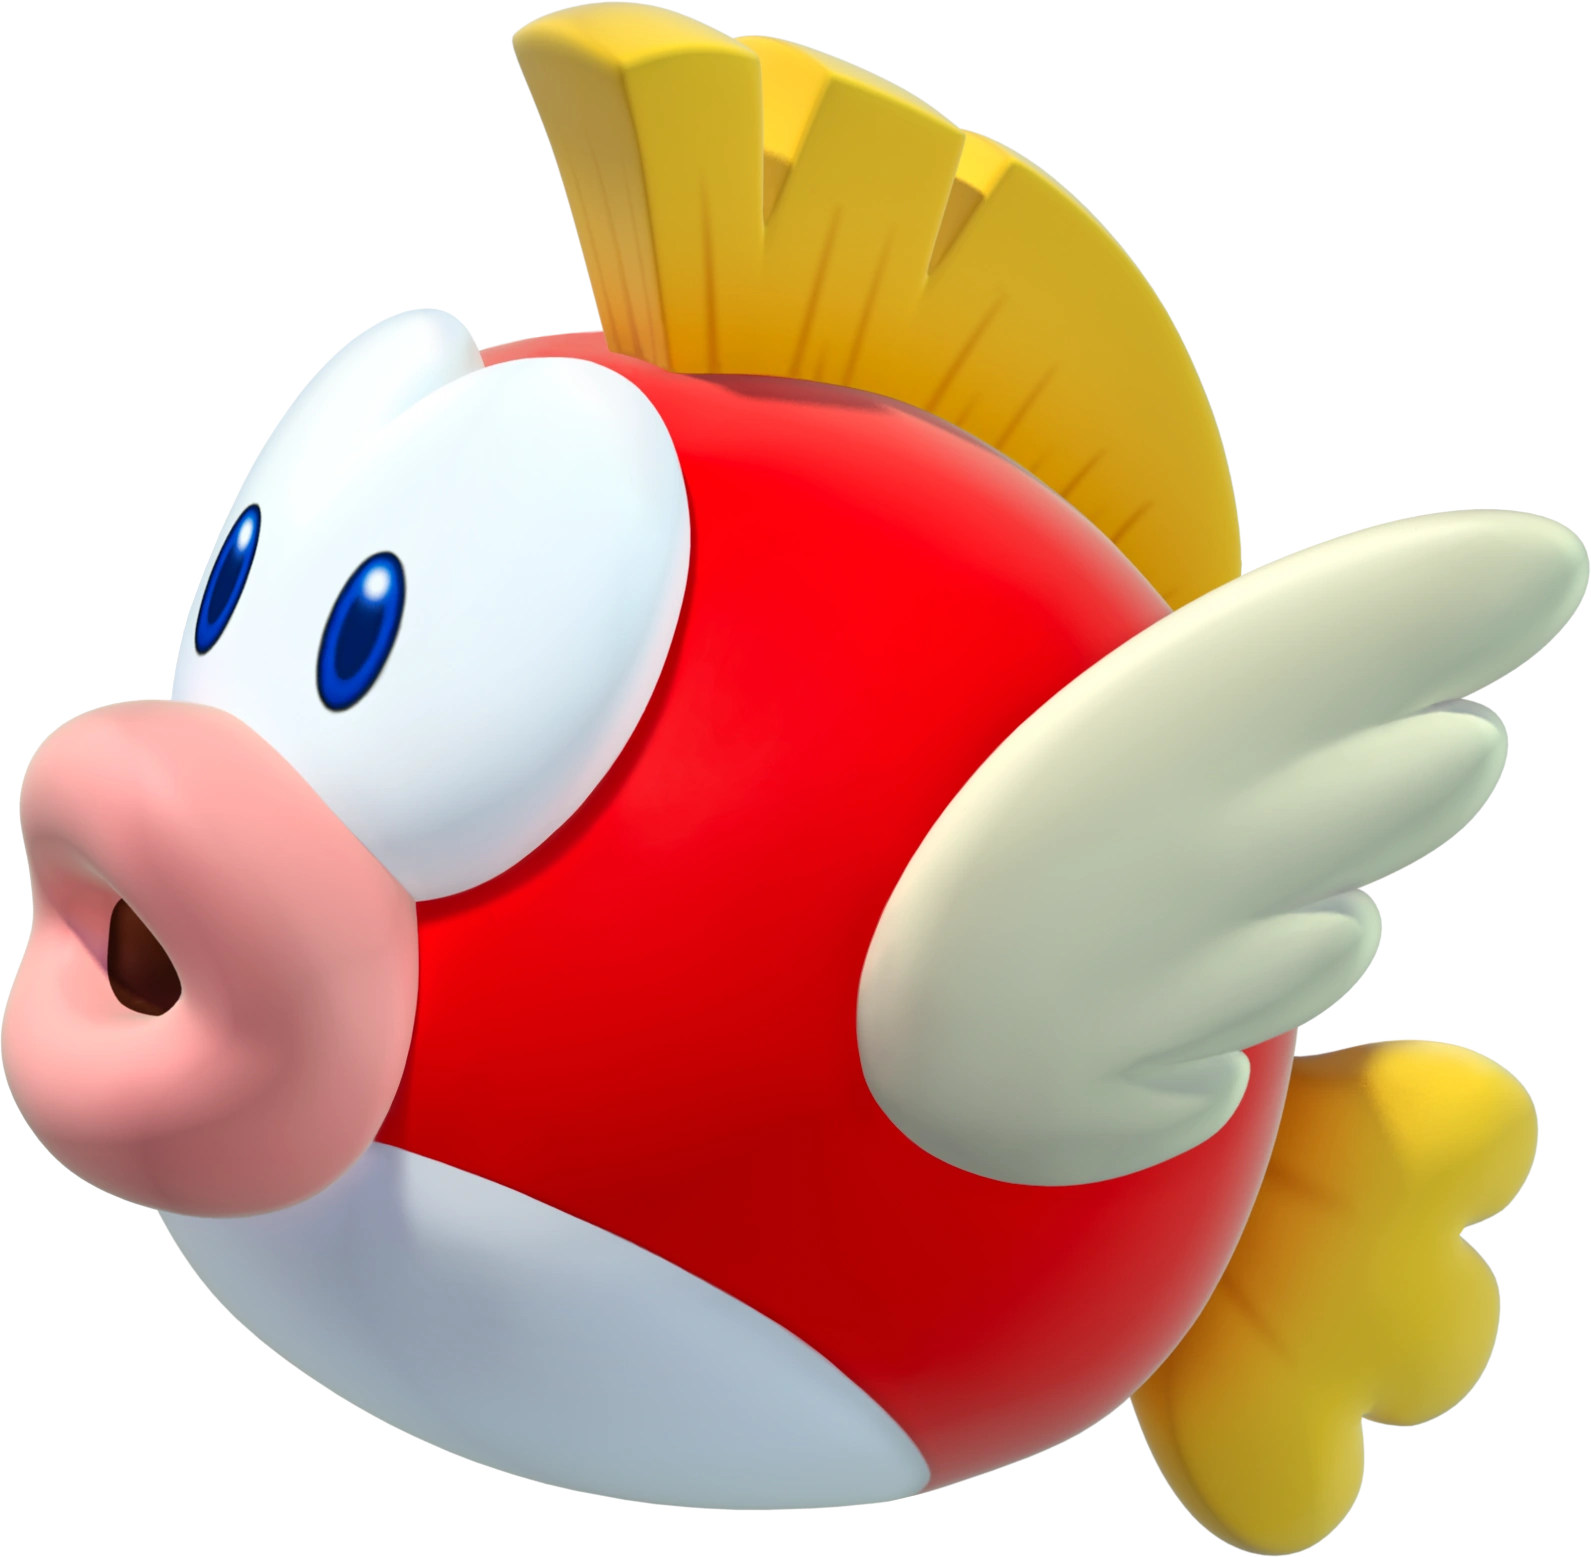 Cheep Cheep | |
| Cheep Cheeps are extremely common in aquatic areas. They swim aimlessly, and can only be killed with a punch or kick underwater, though they are vulnerable to jumps if their bodies are above water. | |
| Aquatic | |
|
Shy Guy Valley, Cheep Cheep Shore, Yoshi's Island, Kitchen Island, Isle Delfino, Nostalgic Plains, Sarasaland, Buffet Badlands, Poshley Heights, Goomba Mountain, Neo Bowser City | |
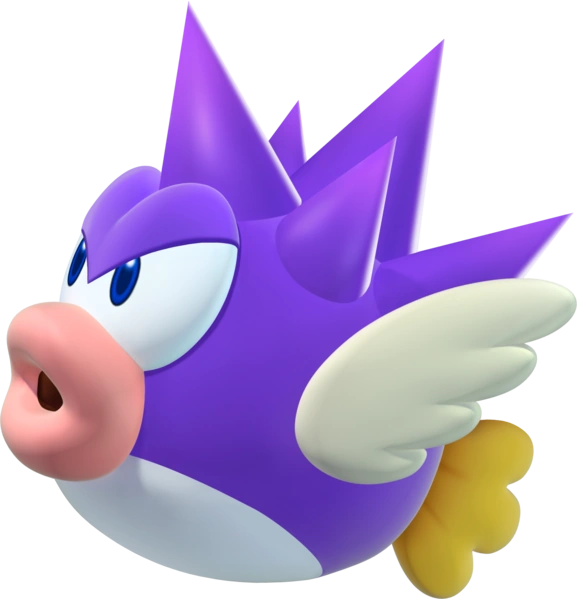 Spiny Cheep Cheep | |
| Spiny Cheep Cheeps are faster Cheep Cheeps that damage anyone who jumps on them, and will also actively chase Mario. | |
| Aquatic | |
|
Cheep Cheep Shore, Yoshi's Island, Kitchen Island, Isle Delfino, Nostalgic Plains, Iceshard Tundra, Sarasaland, Buffet Badlands, Neo Bowser City | |
 Blooper | |
| Bloopers are aquatic enemies that will charge at Mario in bursts whilst in the water. | |
| Aquatic | |
|
Cheep Cheep Shore, Yoshi's Island, Kitchen Island, Isle Delfino, Nostalgic Plains, , Buffet Badlands, Goomba Mountain, Neo Bowser City | |
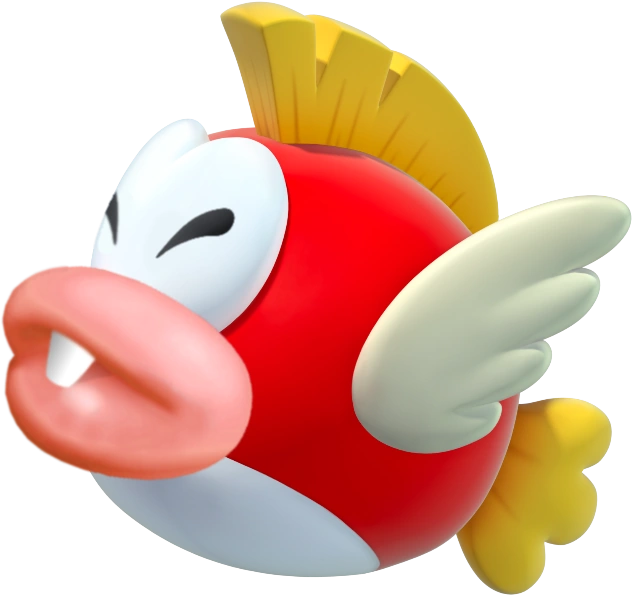 Boss Bass | |
| Boss Basses are massive Cheep Cheeps that can swallow Mario whole, instantly killing him. | |
| Aquatic | |
|
Cheep Cheep Shore, Yoshi’s Island, Kitchen Island, Isle Delfino, Nostalgic Plains, Sarasaland, Buffet Badlands, Neo Bowser City | |
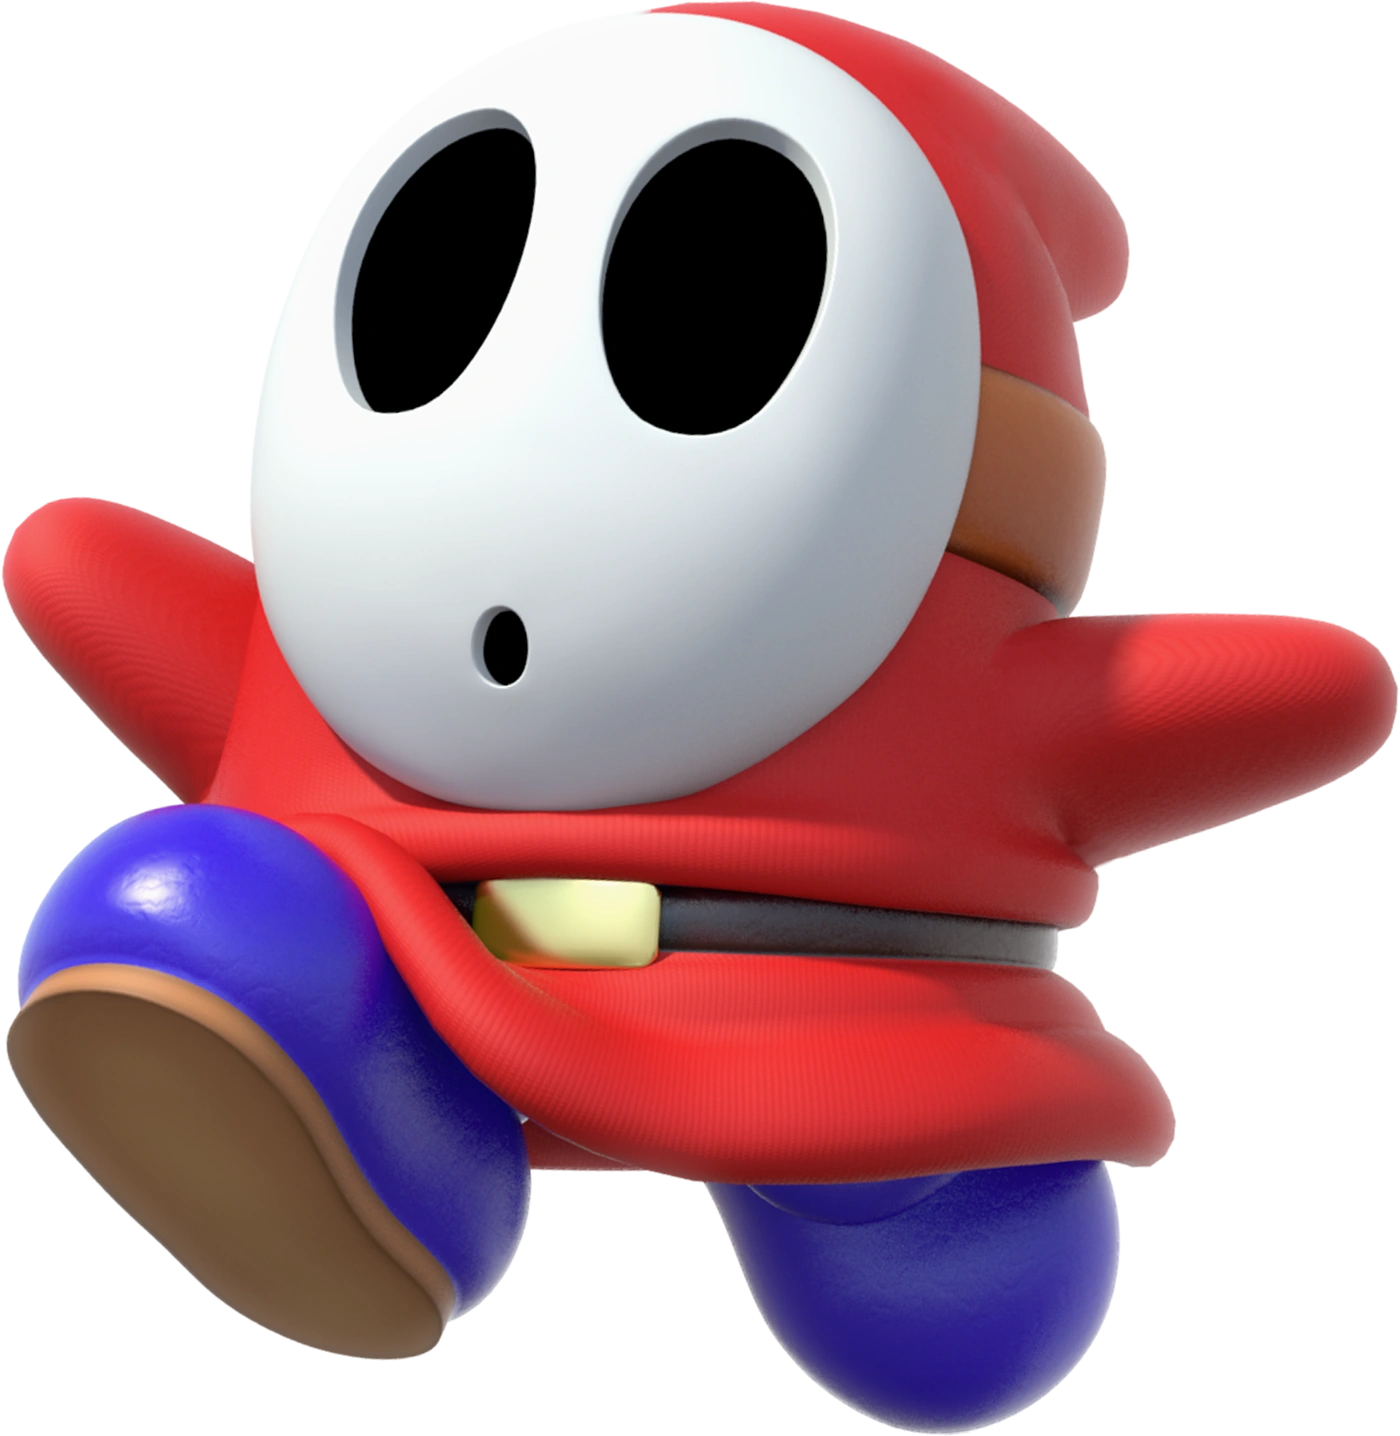 Shy Guy | |
| Shy Guys are enemies that will charge at Mario when they see him. Unlike Goombas, they're capable of climbing up ledges to reach the plumber, and run faster. | |
| Ground | |
|
Shy Guy Valley, Boo Woods, Cheep Cheep Shore, Yoshi's Island, Donkey Kong Island, Kitchen Island, Isle Delfino, Saucercrash Dunes, Nostalgic Plains, Iceshard Tundra, Ruinia, Buffet Badlands, Koopa Coliseum, Poshley Heights, Goomba Mountain, Star Hill, Neo Bowser City | |
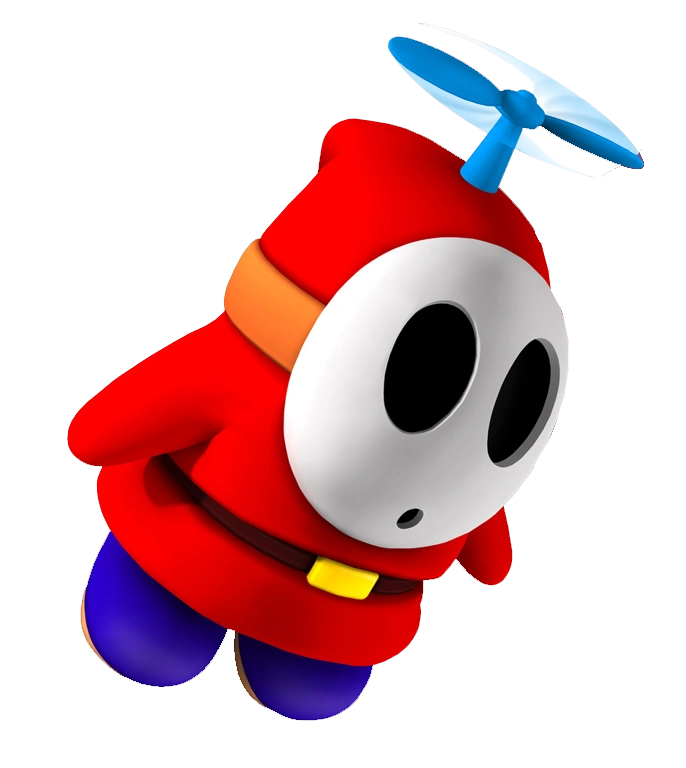 Fly Guy | |
| Fly Guys are flying enemies that will hurt Mario should he jump on them. However, they don't chase after him. | |
| Flying | |
|
Shy Guy Valley, Yoshi's Island, Isle Delfino, Nostalgic Plains, Luma Park, Sarasaland, Ruinia, Buffet Badlands, Koopa Coliseum, Poshley Heights, Beanbean Kingdom, Star Hill, Neo Bowser City | |
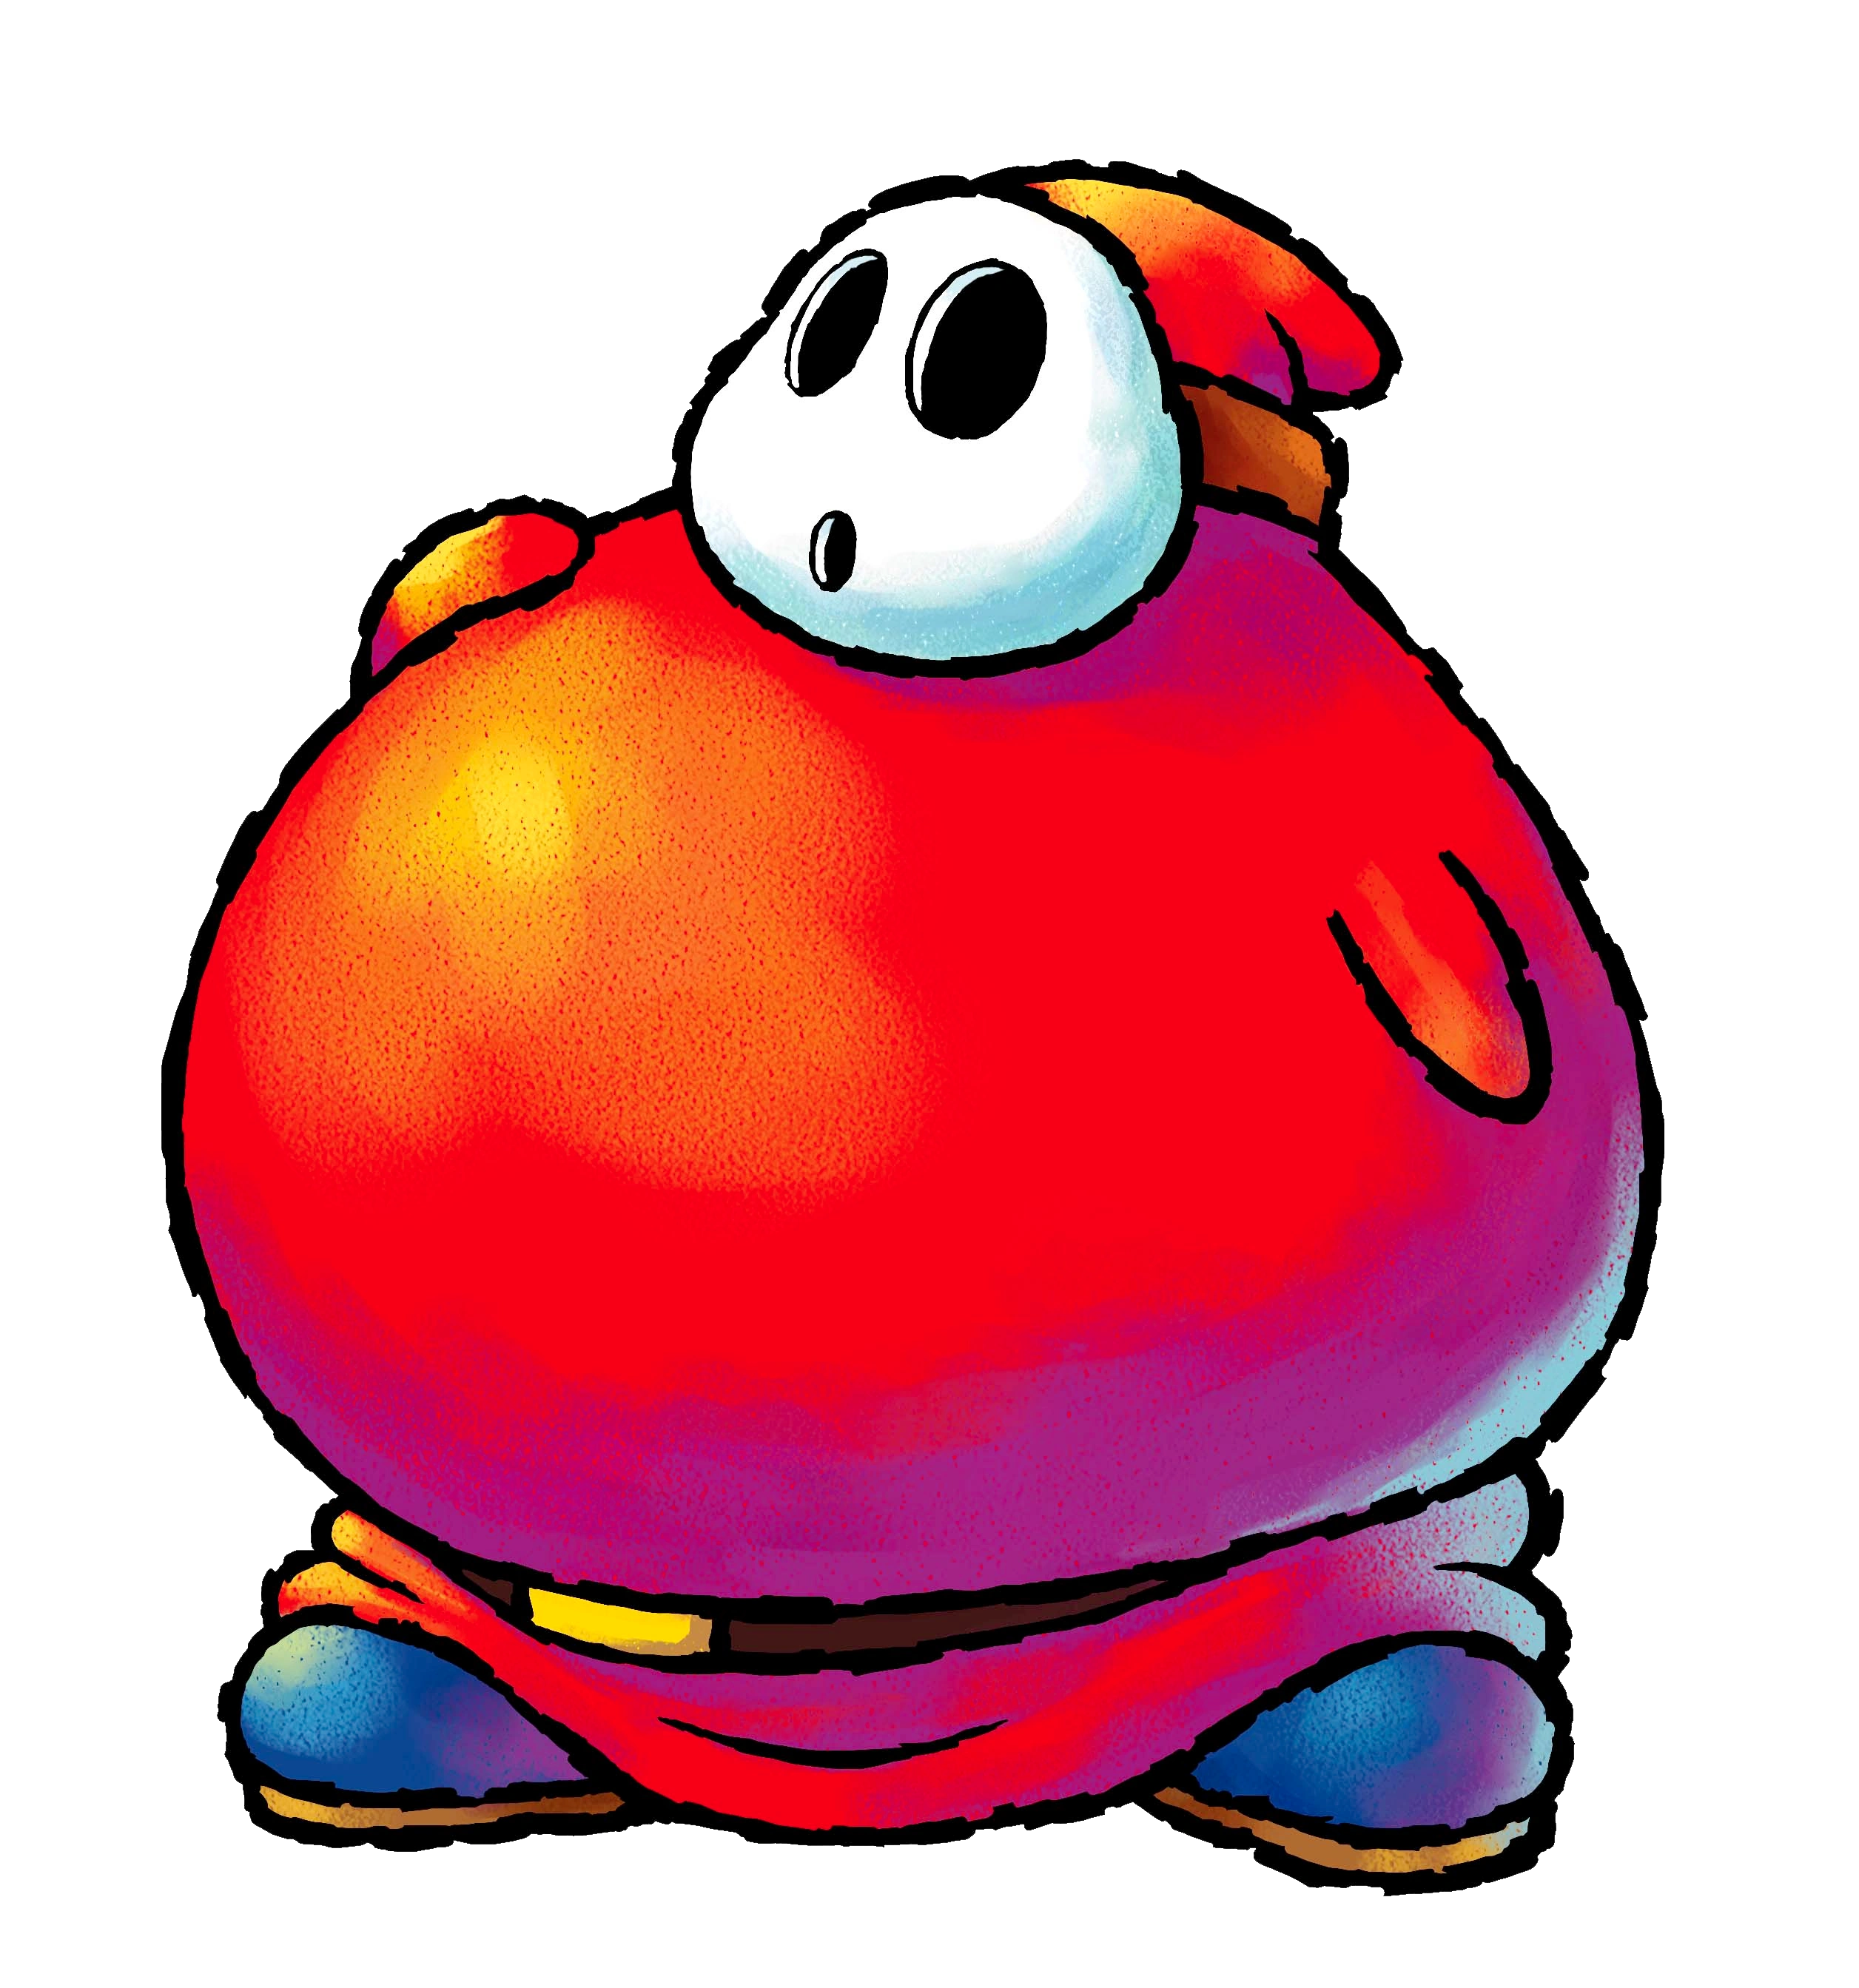 Fat Guy | |
| Fat Guys are overweight Shy Guys that will chase after Mario. While they can't climb up ledges, they can utilize a belly flop attack. | |
| Ground | |
|
Shy Guy Valley, Yoshi's Island, Kitchen Island, Saucercrash Dunes, Luma Park, Sarasaland, Ruinia, Buffet Badlands, Koopa Coliseum, Poshley Heights, Beanbean Kingdom, Star Hill, Neo Bowser City | |
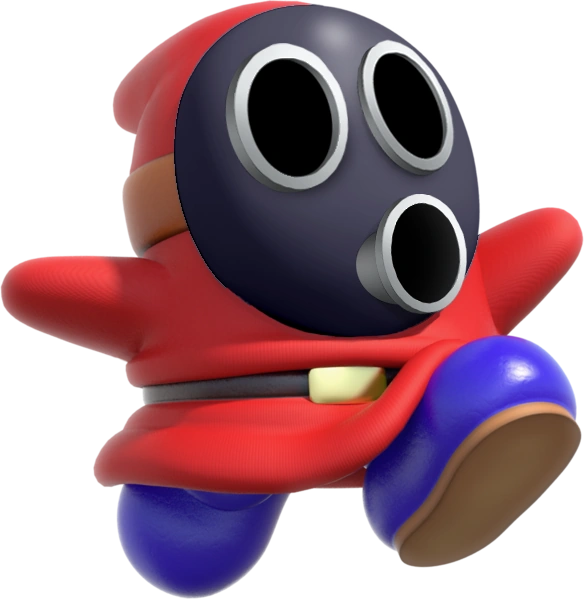 Snifit | |
| Snifits are Shy Guys with bullet-firing masks on. Instead of chasing after Mario, they'll shoot bullets at him, occasionally moving around to get a better shot. | |
| Projectile | |
|
Shy Guy Valley, Yoshi's Island, Kitchen Island, Nostalgic Plains, Iceshard Tundra, Sarasaland, Ruinia, Buffet Badlands, Koopa Coliseum, Poshley Heights, Goomba Mountain, Star Hill, Neo Bowser City | |
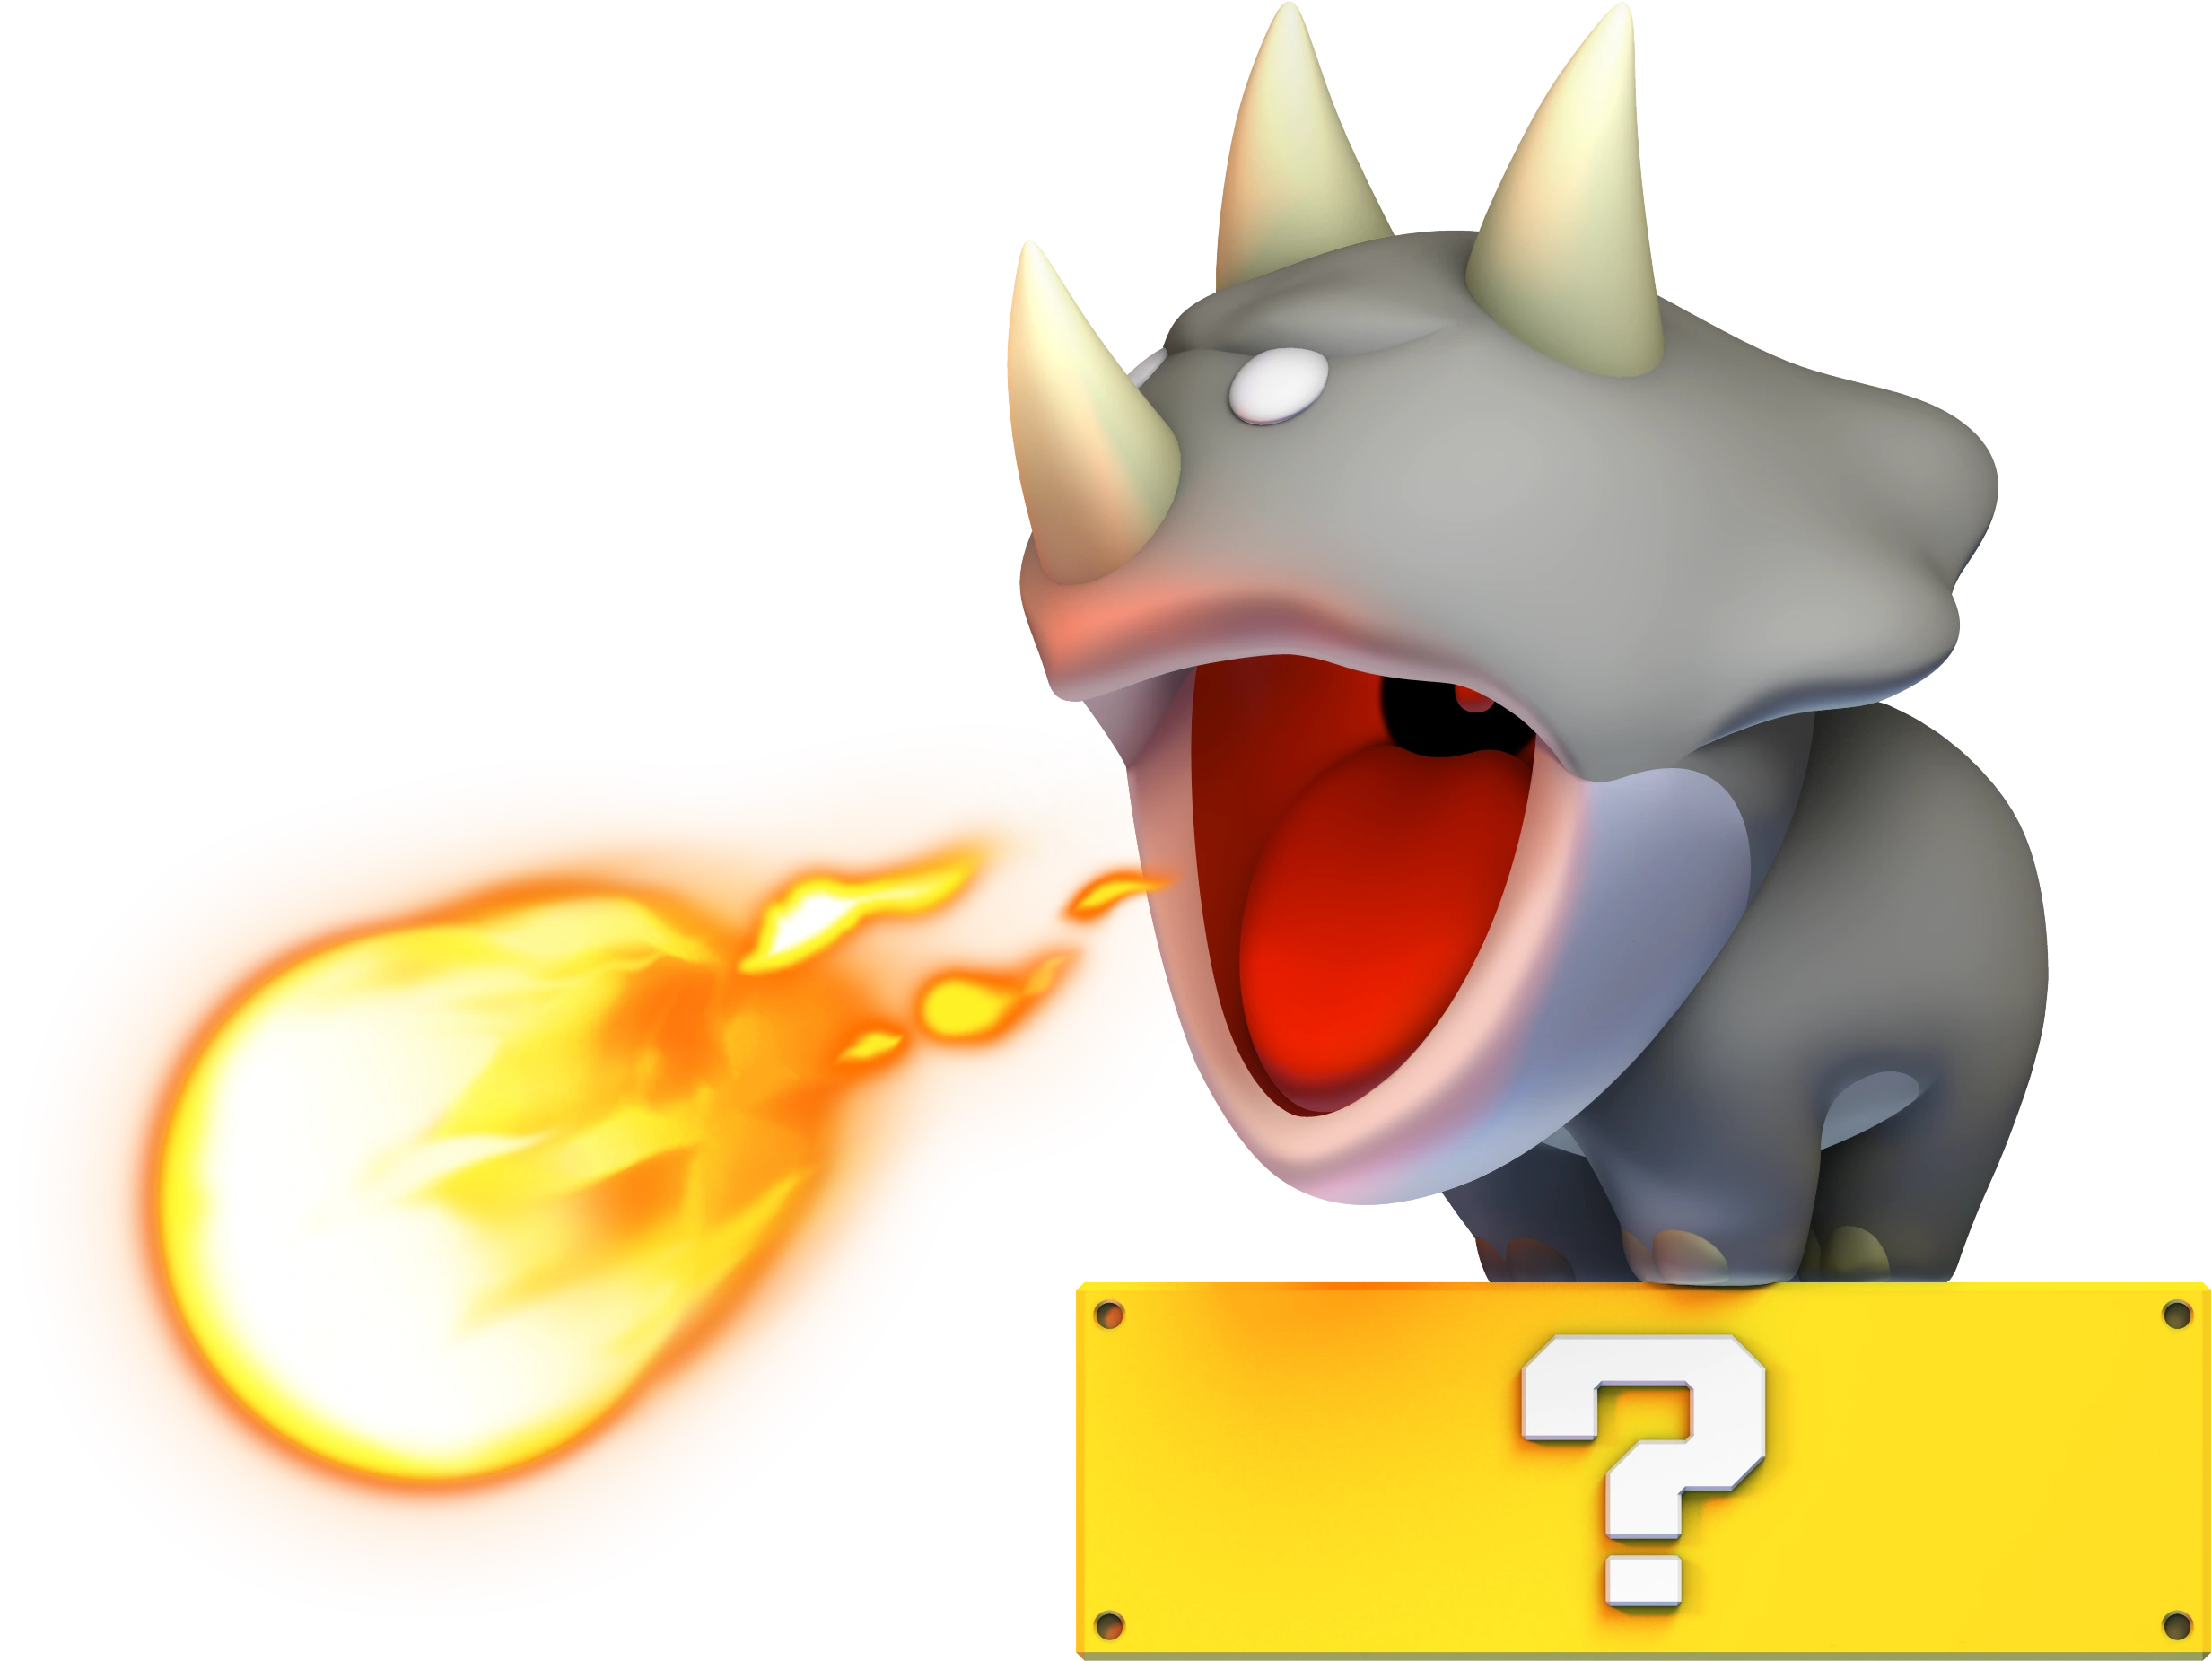 Reznor | |
| Reznors are triceratops-esque dinosaurs that spit fireballs at Mario. | |
| Projectile | |
|
Yoshi's Island, Donkey Kong Island, Isle Delfino, Nostalgic Plains, Sarasaland, Ruinia, Goomba Mountain, Star Hill, Neo Bowser City | |
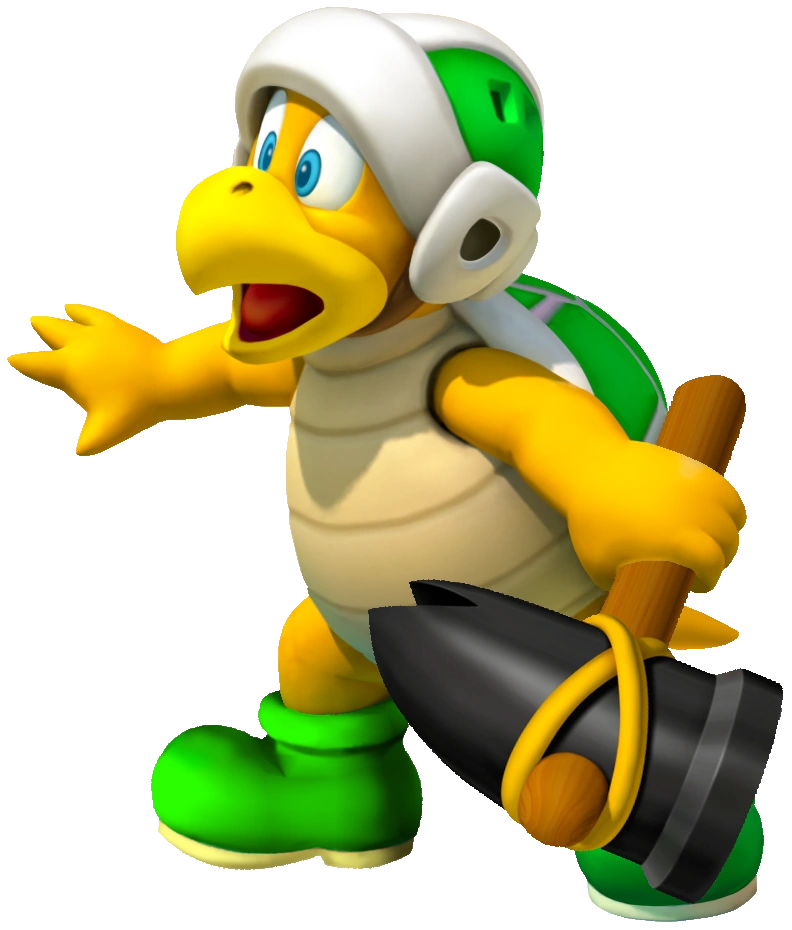 Hammer Bro. | |
| Hammer Bros. are agile enemies that jump around, tossing hammers. They're vulnerable to jumps and punches. | |
| Projectile | |
|
Boo Woods, Cheep Cheep Shore, Yoshi's Island, Donkey Kong Island, Kitchen Island, Isle Delfino, Nostalgic Plains, Iceshard Tundra, Sarasaland, Buffet Badlands, Koopa Coliseum, Poshley Heights, Goomba Mountain, Beanbean Kingdom, Star Hill, Neo Bowser City | |
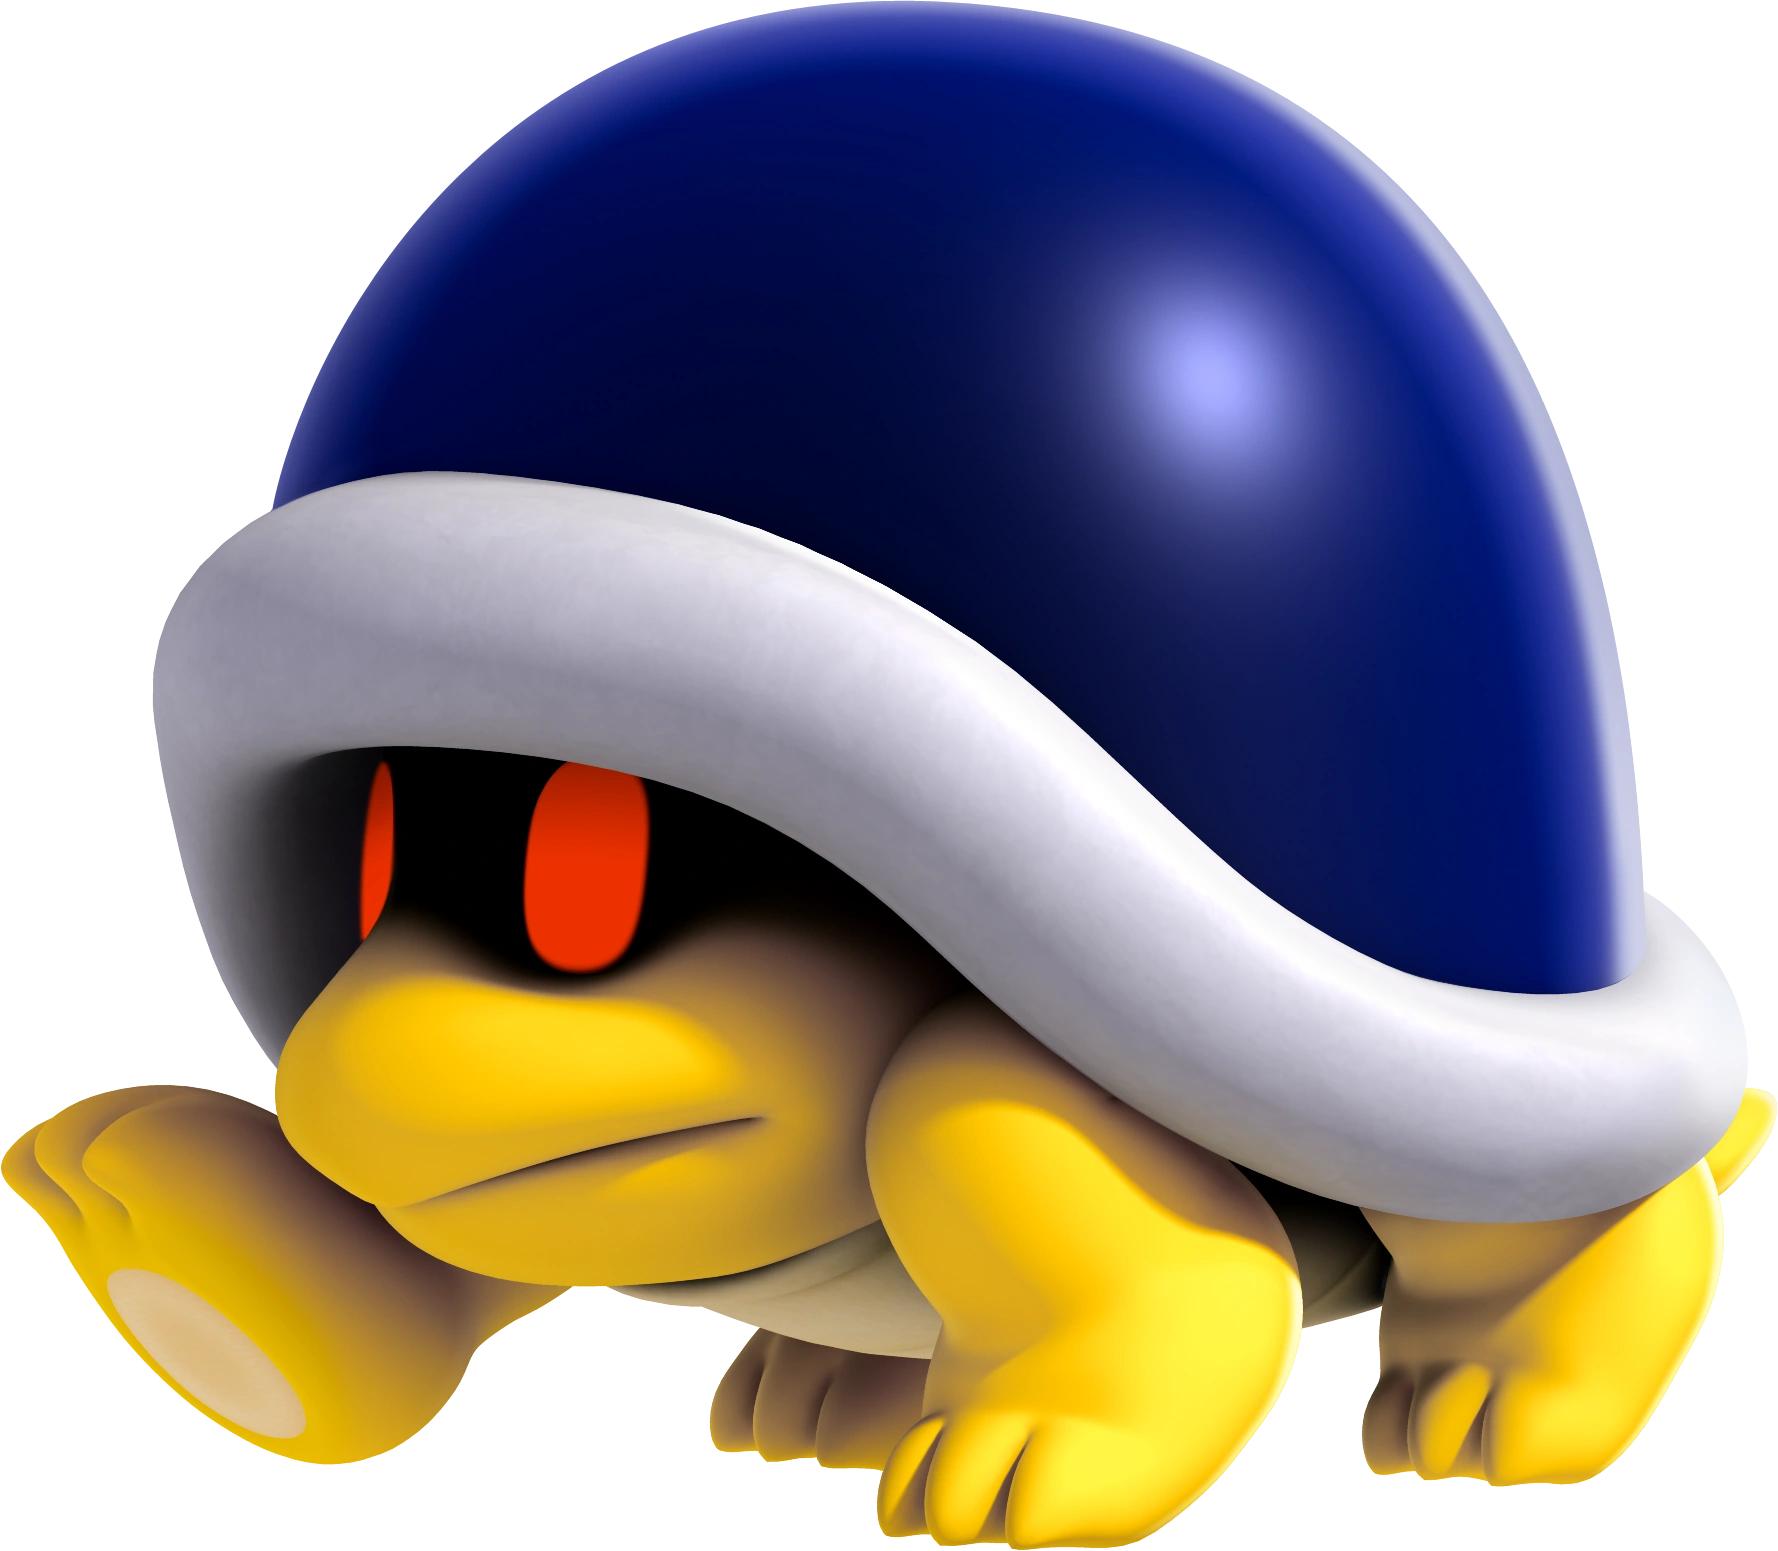 Buzzy Beetle | |
| Buzzy Beetles are Koopa-esque enemies that are immune to punches. | |
| Ground | |
|
Boo Woods, Yoshi's Island, Saucercrash Dunes, Nostalgic Plains, Iceshard Tundra, Sarasaland, Ruinia, Buffet Badlands, Koopa Coliseum, Goomba Mountain, Star Hill, Neo Bowser City | |
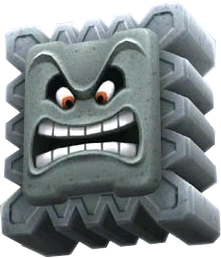 Thwomp | |
| Thwomps are giant stone blocks that will try to crush Mario. | |
| Stationary | |
|
Shy Guy Valley, Kitchen Island, Isle Delfino, Saucercrash Dunes, Nostalgic Plains, Iceshard Tundra, Sarasaland, Ruinia, Buffet Badlands, Koopa Coliseum, Poshley Heights, Goomba Mountain, Star Hill, Neo Bowser City | |
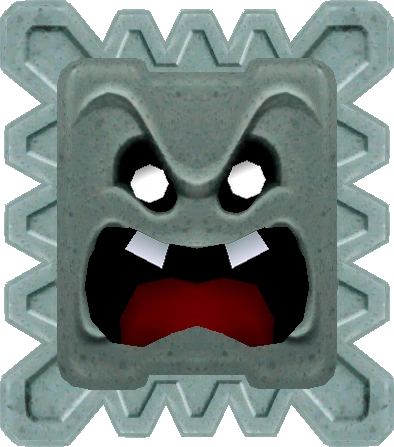 Thwimp | |
| Thwimps are tiny Thwomps that move in an arc to attack Mario. | |
| Stationary | |
|
Shy Guy Valley, Kitchen Island, Isle Delfino, Saucercrash Dunes, Sarasaland, Ruinia, Poshley Heights, Goomba Mountain, Star Hill, Neo Bowser City | |
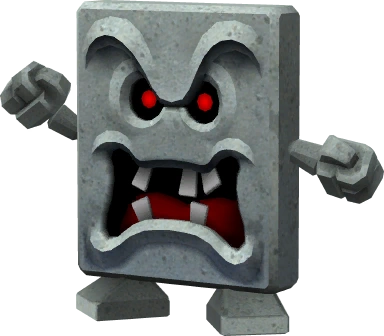 Whomp | |
| Whomps are moving blocks of stone that will try to flatten Mario with their size. | |
| Ground | |
|
Shy Guy Valley, Yoshi's Island, Donkey Kong Island, Kitchen Island, Saucercrash Dunes, Iceshard Tundra, Ruinia, Buffet Badlands, Koopa Coliseum, Poshley Heights, Goomba Mountain, Star Hill, Neo Bowser City | |
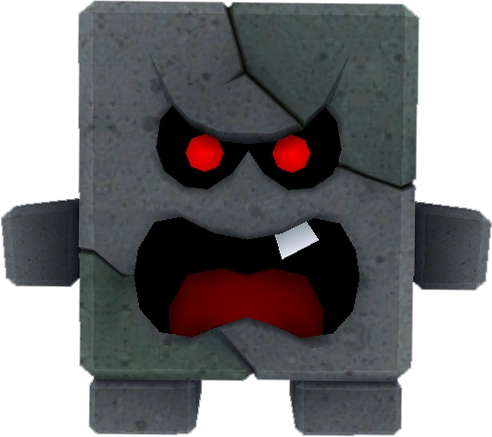 Whimp | |
| Whimps are miniature Whomps that die upon attempting to squish Mario. They don't instantly kill him either. | |
| Ground | |
|
Yoshi's Island, Donkey Kong , Kitchen Island, Saucercrash Dunes, Sarasaland, Ruinia, Poshley Heights, Goomba Mountain, Star Hill, Neo Bowser City | |
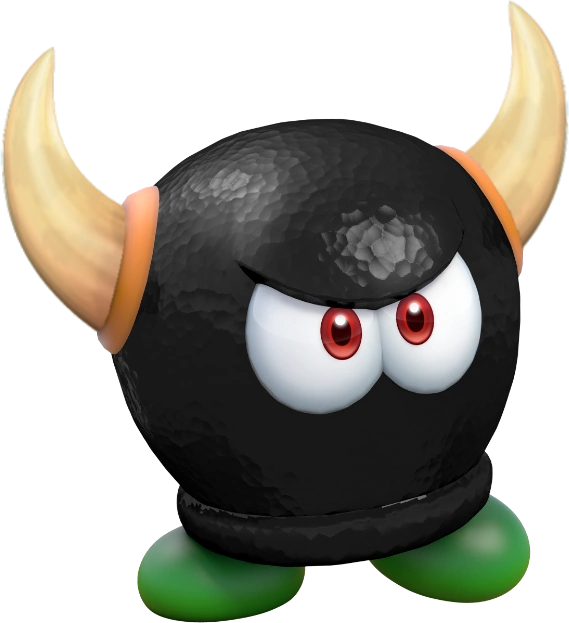 Bully | |
| Bullies are enemies that cannot be killed, and will try to ram Mario off cliffs or into hazards. | |
| Ground | |
|
Boo Woods, Yoshi's Island, Isle Delfino, Iceshard Tundra, Sarasaland, Ruinia, Buffet Badlands, Poshley Heights, Goomba Mountain, Star Hill, Neo Bowser City | |
Maw-Ray | |
| Maw-Rays are massive eels that will try to eat Mario alive. | |
| Aquatic/Stationary | |
|
Cheep Cheep Shore, Kitchen Island, Iceshard Tundra, Buffet Badlands, Goomba Mountain, Neo Bowser City | |
 Mad Piano | |
| Mad Pianos are massive pianos that will ambush Mario when he gets close. | |
| Ground | |
|
Boo Woods, Isle Delfino, Luma Park, Sarasaland, Ruinia, Koopa Coliseum, Poshley Heights, Beanbean Kingdom, Neo Bowser City | |
 Coin Coffer | |
| Coin Coffers will run away from Mario upon spotting him, and they carry around ten coins each. When hit, they spew out one coin, and a Ground-Pound will kill them and cause them to drop all ten of their coins. | |
| Ground | |
|
Shy Guy Valley, Boo Woods, Cheep Cheep Shore, Yoshi's Island, Kitchen Island, Isle Delfino, Saucercrash Dunes, Nostalgic Plains, Iceshard Tundra, Sarasaland, Ruinia, Buffet Badlands, Koopa Coliseum, Poshley Heights, Goomba Mountain, Beanbean Kingdom, Star Hill, Neo Bowser City | |
 Mr. I | |
| Mr. Is will stay in one spot, firing pulses of energy at Mario. Running around them multiple times will make them dizzy and defeat them. | |
| Stationary | |
|
Boo Woods, Yoshi's Island, Isle Delfino, Saucercrash Dunes, Luma Park, Sarasaland, Ruinia, Koopa Coliseum, Poshley Heights, Goomba Mountain, Beanbean Kingdom, Star Hill, Neo Bowser City | |
 Scuttlebug | |
| Scuttlebugs are insectoid enemies that will try to leap at Mario. They also have a tendency to run up water currents to generate speed. | |
| Ground | |
|
Boo Woods, Yoshi's Island, Donkey Kong Island, Kitchen Island, Isle Delfino, Luma Park, Sarasaland, Ruinia, Buffet Badlands, Poshley Heights, Goomba Mountain, Beanbean Kingdom, Neo Bowser City | |
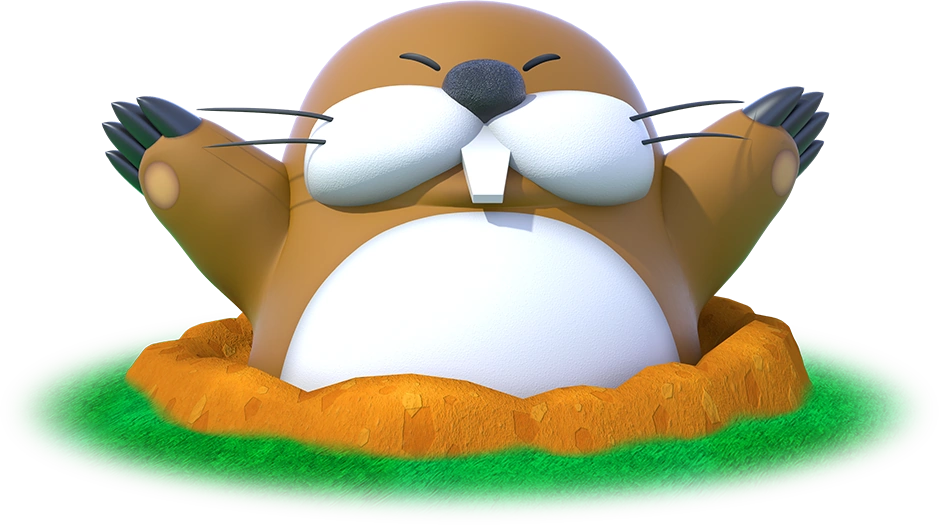 Monty Mole | |
| Monty Moles will jump out of holes in walls or the ground, and charge at Mario. | |
| Ground | |
|
Shy Guy Valley, Yoshi's Island, Kitchen Island, Isle Delfino, Saucercrash Dunes, Nostalgic Plains, Luma Park, Sarasaland, Ruinia, Buffet Badlands, Poshley Heights, Goomba Mountain, Beanbean Kingdom, Star Hill, Neo Bowser City | |
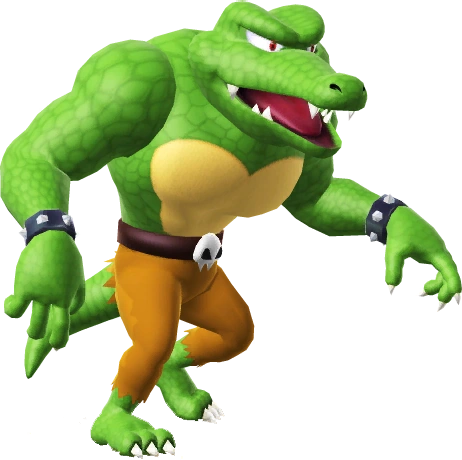 Kritter | |
| Kritters are large crocodile-esque enemies that will charge at Mario head-on, attempting to bite him with their jaws. They're larger than Goombas and Shy Guys, and will also climb up walls. | |
| Ground | |
|
Donkey Kong Island, Kitchen Island, Isle Delfino, Nostalgic Plains, Sarasaland, Ruinia, Buffet Badlands, Koopa Coliseum, Poshley Heights, Beanbean Kingdom, Neo Bowser City | |
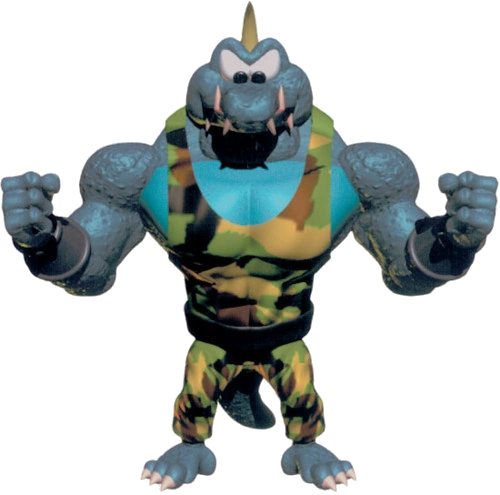 Krusha | |
| Krushas are bulkier Kremlings that are much more resilient to regular attacks. | |
| Ground | |
|
Donkey Kong Island, Kitchen Island, Isle Delfino, Nostalgic Plains, Sarasaland, Ruinia, Buffet Badlands, Koopa Coliseum, Poshley Heights, Beanbean Kingdom, Neo Bowser City | |
 Wiggler | |
| Wigglers are massive caterpillars that will flip over when jumped on, before being vulnerable to a punch or jump. However, should they remain flipped over for a long time, they'll flip back over and become angry, relentlessly charging at Mario. | |
| Ground | |
|
Yoshi's Island, Donkey Kong Island, Isle Delfino, Nostalgic Plains, Sarasaland, Buffet Badlands, Beanbean Kingdom, Neo Bowser City | |
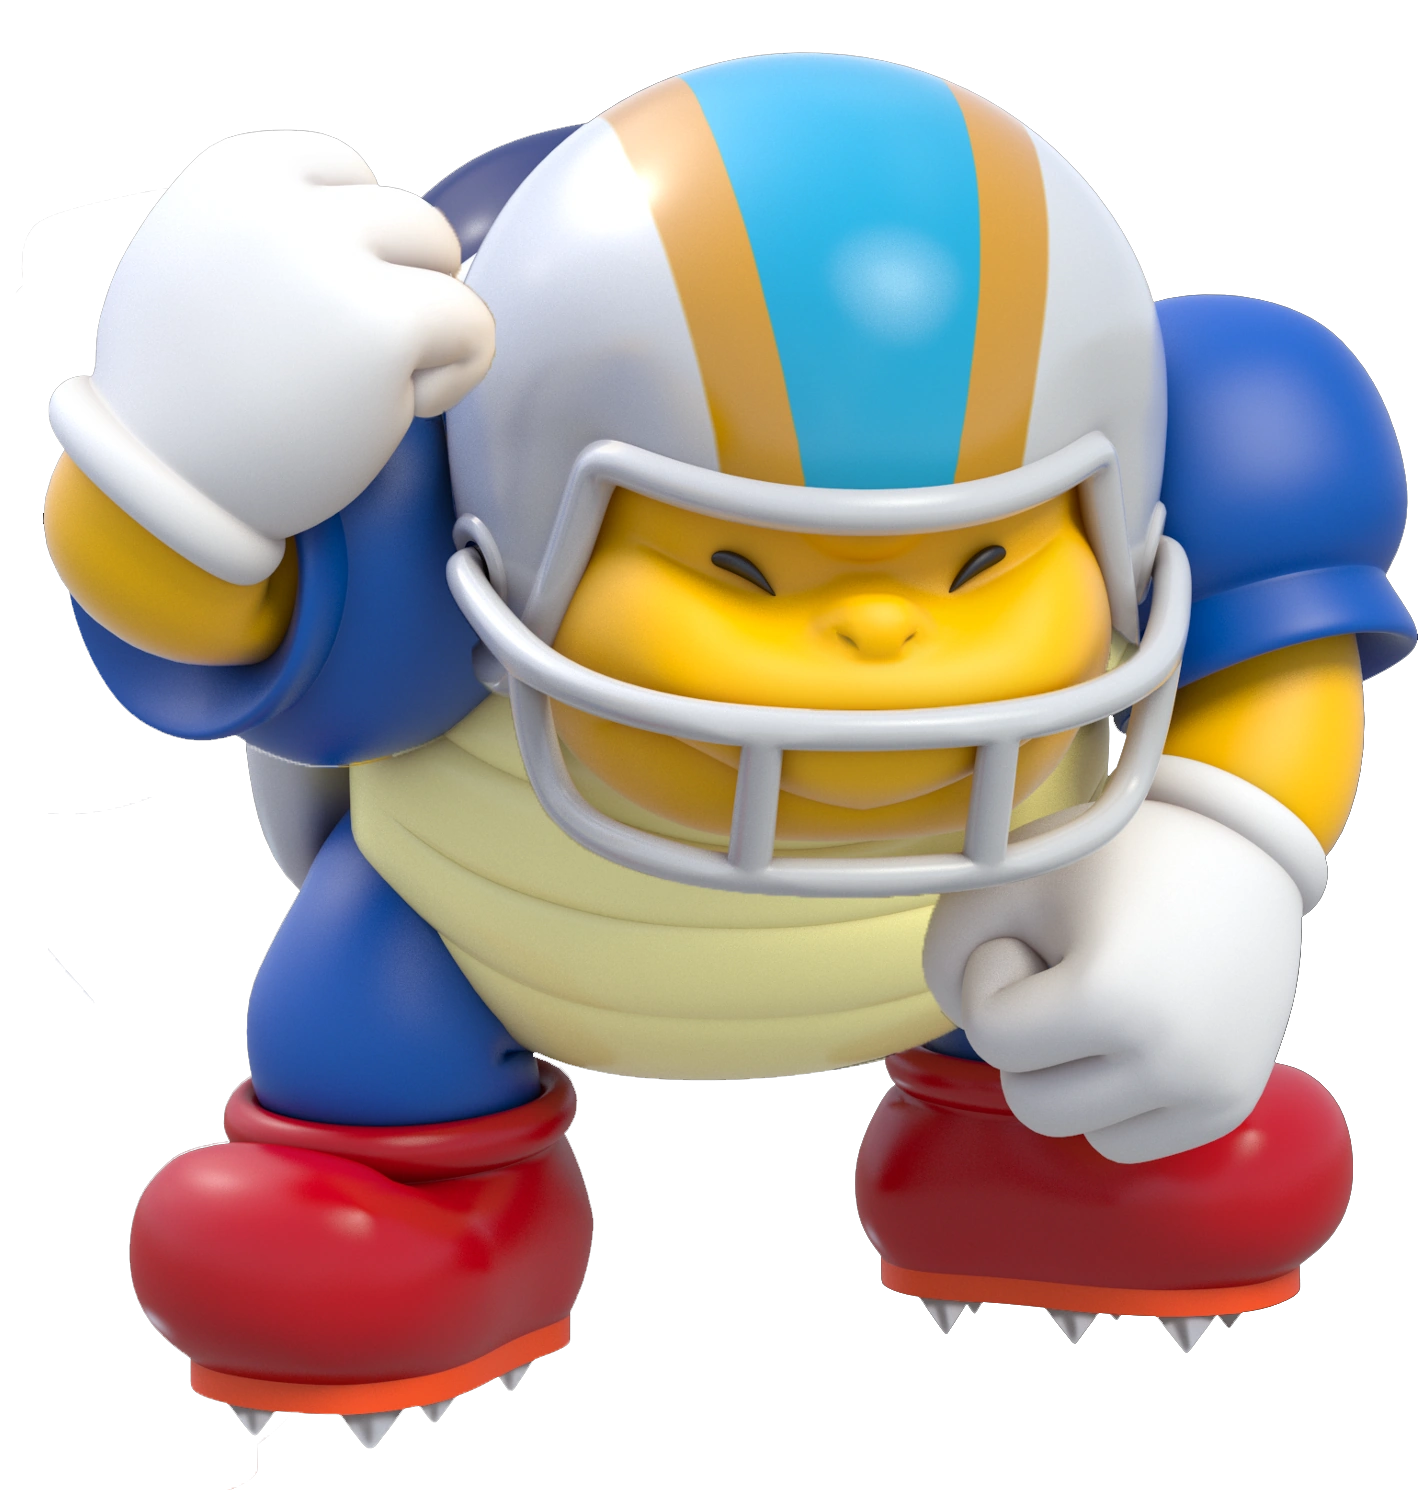 Chargin' Chuck | |
| Chargin' Chucks are armored Koopas that will charge at Mario. They take three stomps to defeat. | |
| Ground | |
|
Cheep Cheep Shore, Yoshi's Island, Isle Delfino, Nostalgic Plains, Iceshard Tundra, Sarasaland, Buffet Badlands, Koopa Coliseum, Goomba Mountain, Star Hill, Neo Bowser City | |
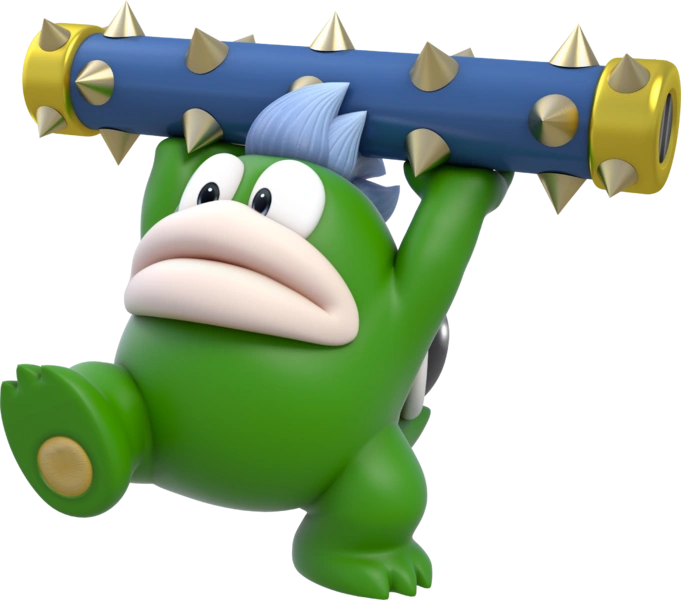 Spike | |
| Spikes are Koopas that throw spiked bars at Mario. | |
| Projectile | |
|
Cheep Cheep Shore, Yoshi's Island, Donkey Kong , Kitchen Island, Saucercrash Dunes, Iceshard Tundra, Luma Park, Sarasaland, Ruinia, Buffet Badlands, Koopa Coliseum, Poshley Heights, Goomba Mountain, Star Hill, Neo Bowser City | |
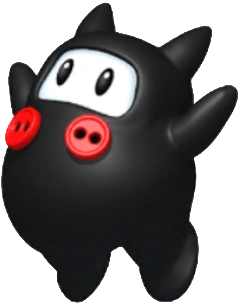 Ninji | |
| Ninjs are small star-shaped ninjas that jump up and down. | |
| Ground | |
|
Yoshi's Island, Donkey Kong Island, Kitchen Island, Saucercrash Dunes, Nostalgic Plains, Iceshard Tundra, Luma Park, Sarasaland, Ruinia, Buffet Badlands, Koopa Coliseum, Poshley Heights, Goomba Mountain, Beanbean Kingdom, Star Hill, Neo Bowser City | |
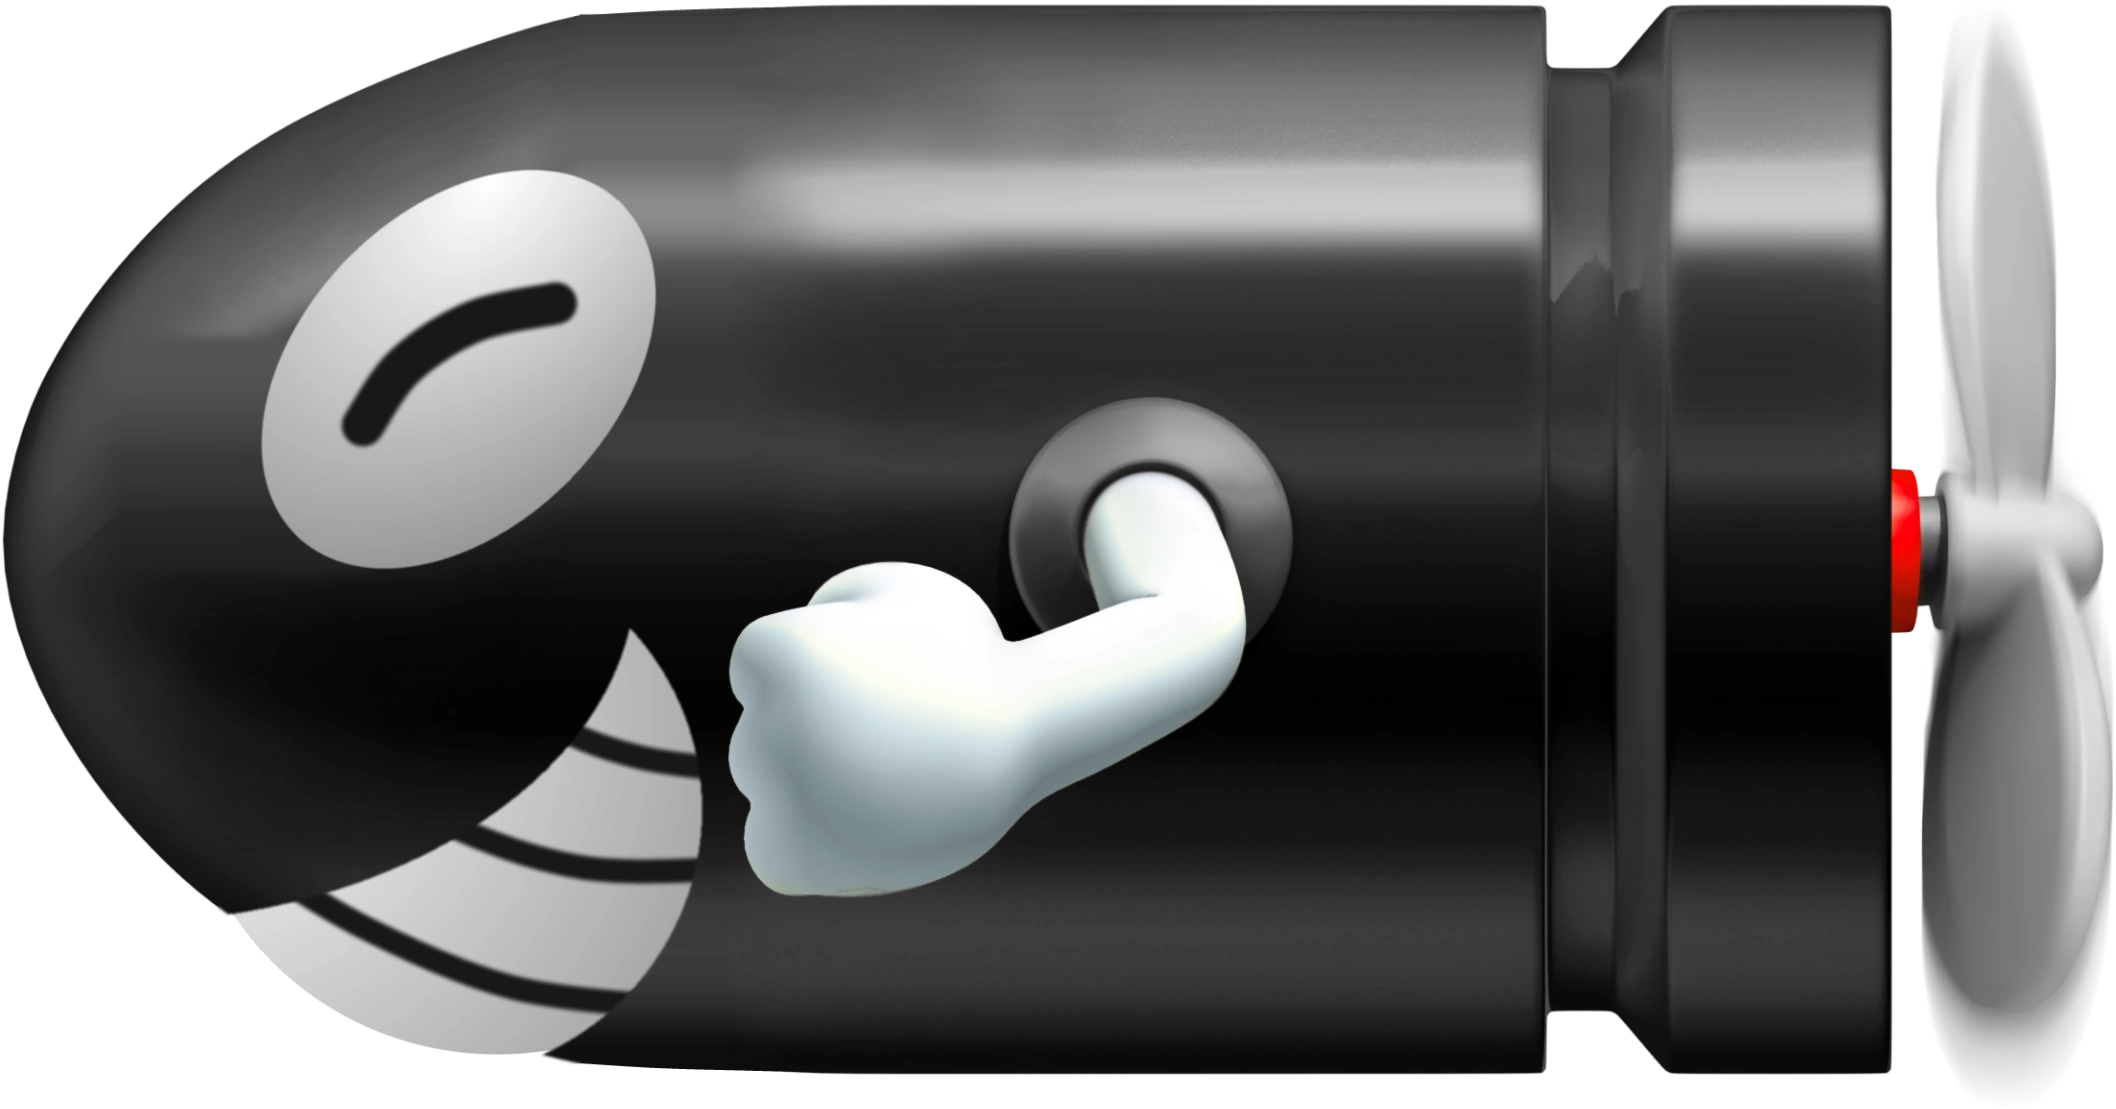 Torpedo Ted | |
| Torpedo Teds are an underwater variant of Bullet Bills. | |
| Aquatic/Projectile | |
|
Cheep Cheep Shore, Yoshi's Island, Kitchen Island, Isle Delfino, Sarasaland, Buffet Badlands, Goomba Mountain, Neo Bowser City | |
 Cannon | |
| Cannons are more of obstacles than enemies. They simply fire cannonballs in a single direction. | |
| Stationary/Projectile | |
|
Shy Guy Valley, Cheep Cheep Shore, Yoshi's Island, Kitchen Island, Isle Delfino, Nostalgic Plains, Iceshard Tundra, Luma Park, Sarasaland, Koopa Coliseum, Goomba Mountain, Star Hill, Neo Bowser City | |
Burrbo | |
| Burrbos are small spiked enemies that come in various colors and large groups. They'll leap at Mario, but can easily be defeated with a punch. | |
| Spiked | |
|
Shy Guy Valley, Boo Woods, Cheep Cheep Shore, Yoshi's Island, Donkey Kong Island, Isle Delfino, Iceshard Tundra, Luma Park, Sarasaland, Ruinia, Buffet Badlands, Koopa Coliseum, Poshley Heights, Goomba Mountain, Beanbean Kingdom, Star Hill, Neo Bowser City | |
Sherm | |
| Sherms are living tanks that will shoot Mario from far away. They're vulnerable to jumps, but their armored exterior prevents punches. | |
| Projectile | |
|
Shy Guy Valley, Donkey Kong Island, Isle Delfino, Iceshard Tundra, Luma Park, Sarasaland, Buffet Badlands, Koopa Coliseum, Goomba Mountain, Star Hill, Neo Bowser City | |
 Pokey | |
| Pokeys are massive cacti that will rise out of sand. They'll hurl their body segments at Mario. | |
| Ground | |
|
Isle Delfino, Saucercrash Dunes, Nostalgic Plains, Sarasaland, Buffet Badlands, Beanbean Kingdom, Neo Bowser City | |
 Galoomba | |
| Galoombas are creatures similar to Goombas that will charge at Mario. However, when jumped on or punched, they'll fall over and can be picked up and thrown at other enemies. | |
| Ground | |
|
Yoshi's Island, Donkey Kong Island, Saucercrash Dunes, Nostalgic Plains, Luma Park, Sarasaland, Buffet Badlands, Koopa Coliseum, Poshley Heights, Goomba Mountain, Beanbean Kingdom, Star Hill, Neo Bowser City | |
 X-Naut | |
| X-Nauts are short-statured enemies that will chase after Mario. They often use a shoulder bashing attack to hit Mario as well. | |
| Ground | |
|
Poshley Heights, Goomba Mountain, Beanbean Kingdom, Star Hill, Neo Bowser City | |
 Shroob | |
| Shroobs are small Toad-shaped enemies that will attempt to fire laser beams at Mario. They're also quite agile and will jump around. | |
| Projectile | |
|
Beanbean Kingdom, Star Hill, Neo Bowser City | |
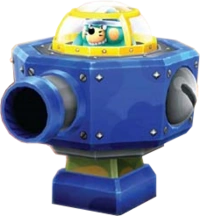 Undergrunt Gunner |
These moles will man Koopa Clown Cars, firing Bullet Bills at you. Their glass domes can only be broken by a ground-pound. |
| Projectile | |
|
Neo Bowser City |
Bosses[]
Super Mario Excursion has many different bosses that are fought in various points in the game. All bosses have rematches that can be accessed from the Comet Observatory, where they will need an additional hit to be defeated.
Wart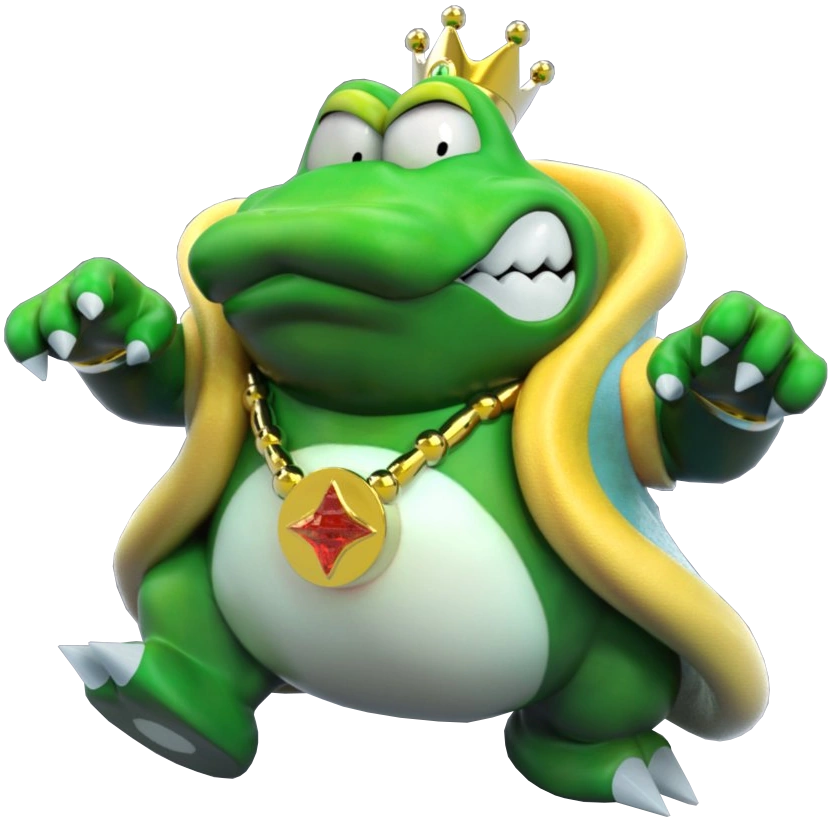 Wart is the tyrannical king of Subcon, who now serves Bowser alongside his army of Shy Guys. | |
|---|---|
Attacks
|
Weaknesses
Near Wart is a machine that produces vegetables. By picking them up and throwing them into Wart's open mouth whenever he spits out bubbles, you can deal damage. Land three vegetable tosses, and Wart is defeated. In the rematch, the vegetable machine will occasionally produce Bob-ombs that will chase after Mario. |
General Guy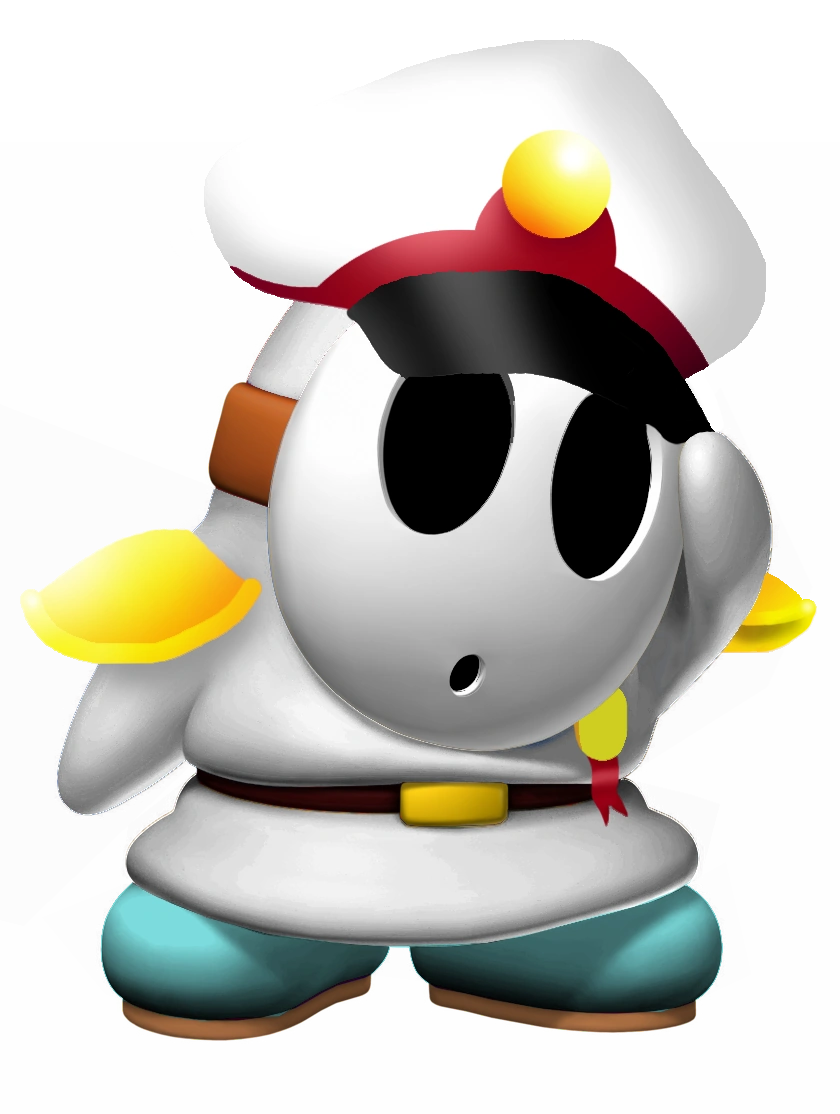 General Guy was dispatched to Subcon by Bowser to oversee the industrialization of Shy Guy Valley. | |
|---|---|
Attacks
|
Weaknesses
Mario needs to trick General Guy into running over his own Bob-ombs three times. In the rematch, General Guy's tank has Bullet Bill cannons. |
King Boo Luigi's arch-nemesis rules over Boo Mansion, sent by Bowser to cause mayhem in Boo Woods. | |
|---|---|
Attacks
|
Weaknesses
To defeat King Boo, you need to punch his Greenies back in a game akin to tennis. Land three hits, and King Boo is dead. In the rematch, the room is much darker, making it more difficult to see aside from when Greenies are fired off. |
| Big Mr. I Big Mr. I's back, and has found a place for himself on Boo Mansion's roof. | |
|---|---|
Attacks
|
Weaknesses
By running around Big Mr. I in circles, you can stun him, allowing you to land a punch. Repeat this two more times and he's dead. In the rematch, the arena is a circular platform that decreases in size with every hit. |
Gooper Blooper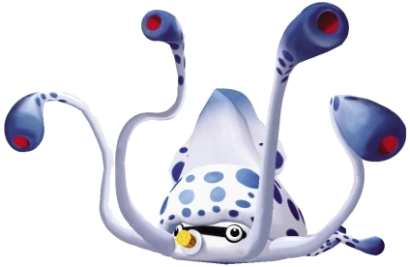 Gooper Blooper's back in action, and has plopped himself in the center of Blooper Bay with massively increased size. | |
|---|---|
Attacks
|
Weaknesses
Gooper Blooper is battled using a Blooper Racer. Essentially, he's defeated when you evade his attacks and ram into his body three times. In the rematch, there's Bloopers in the ocean that can knock you off your Blooper Racer. |
Koopalings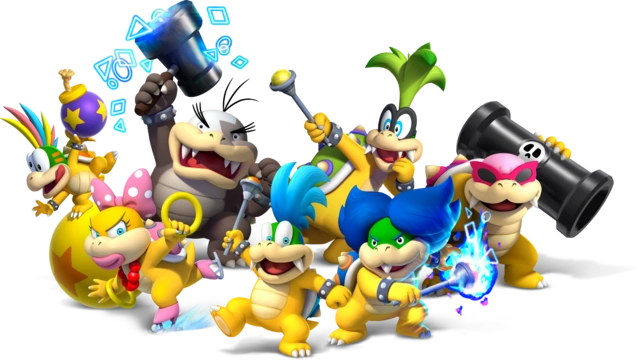 The seven adoptive children of Bowser have made their way to Blooper Bay to ensure that Mario doesn't get any further in his journey. | |
|---|---|
| Attacks
Uniquely, the Koopalings are all fought at once. However, one of them will take to the airship at first to attack you from a distance, with this position rotating out as the battle goes on.
|
Weaknesses
Each Koopaling needs to be hit once to be defeated, but they'll hide in their shells often. Once six of them are defeated, the Koopaling currently on board the airship will leap from the airship to challenge Mario. You also get access to a Blue Shell during the battle. In the rematch, Banzai Bills are fired more quickly and the Koopalings will jump around the battlefield more often. |
Kamek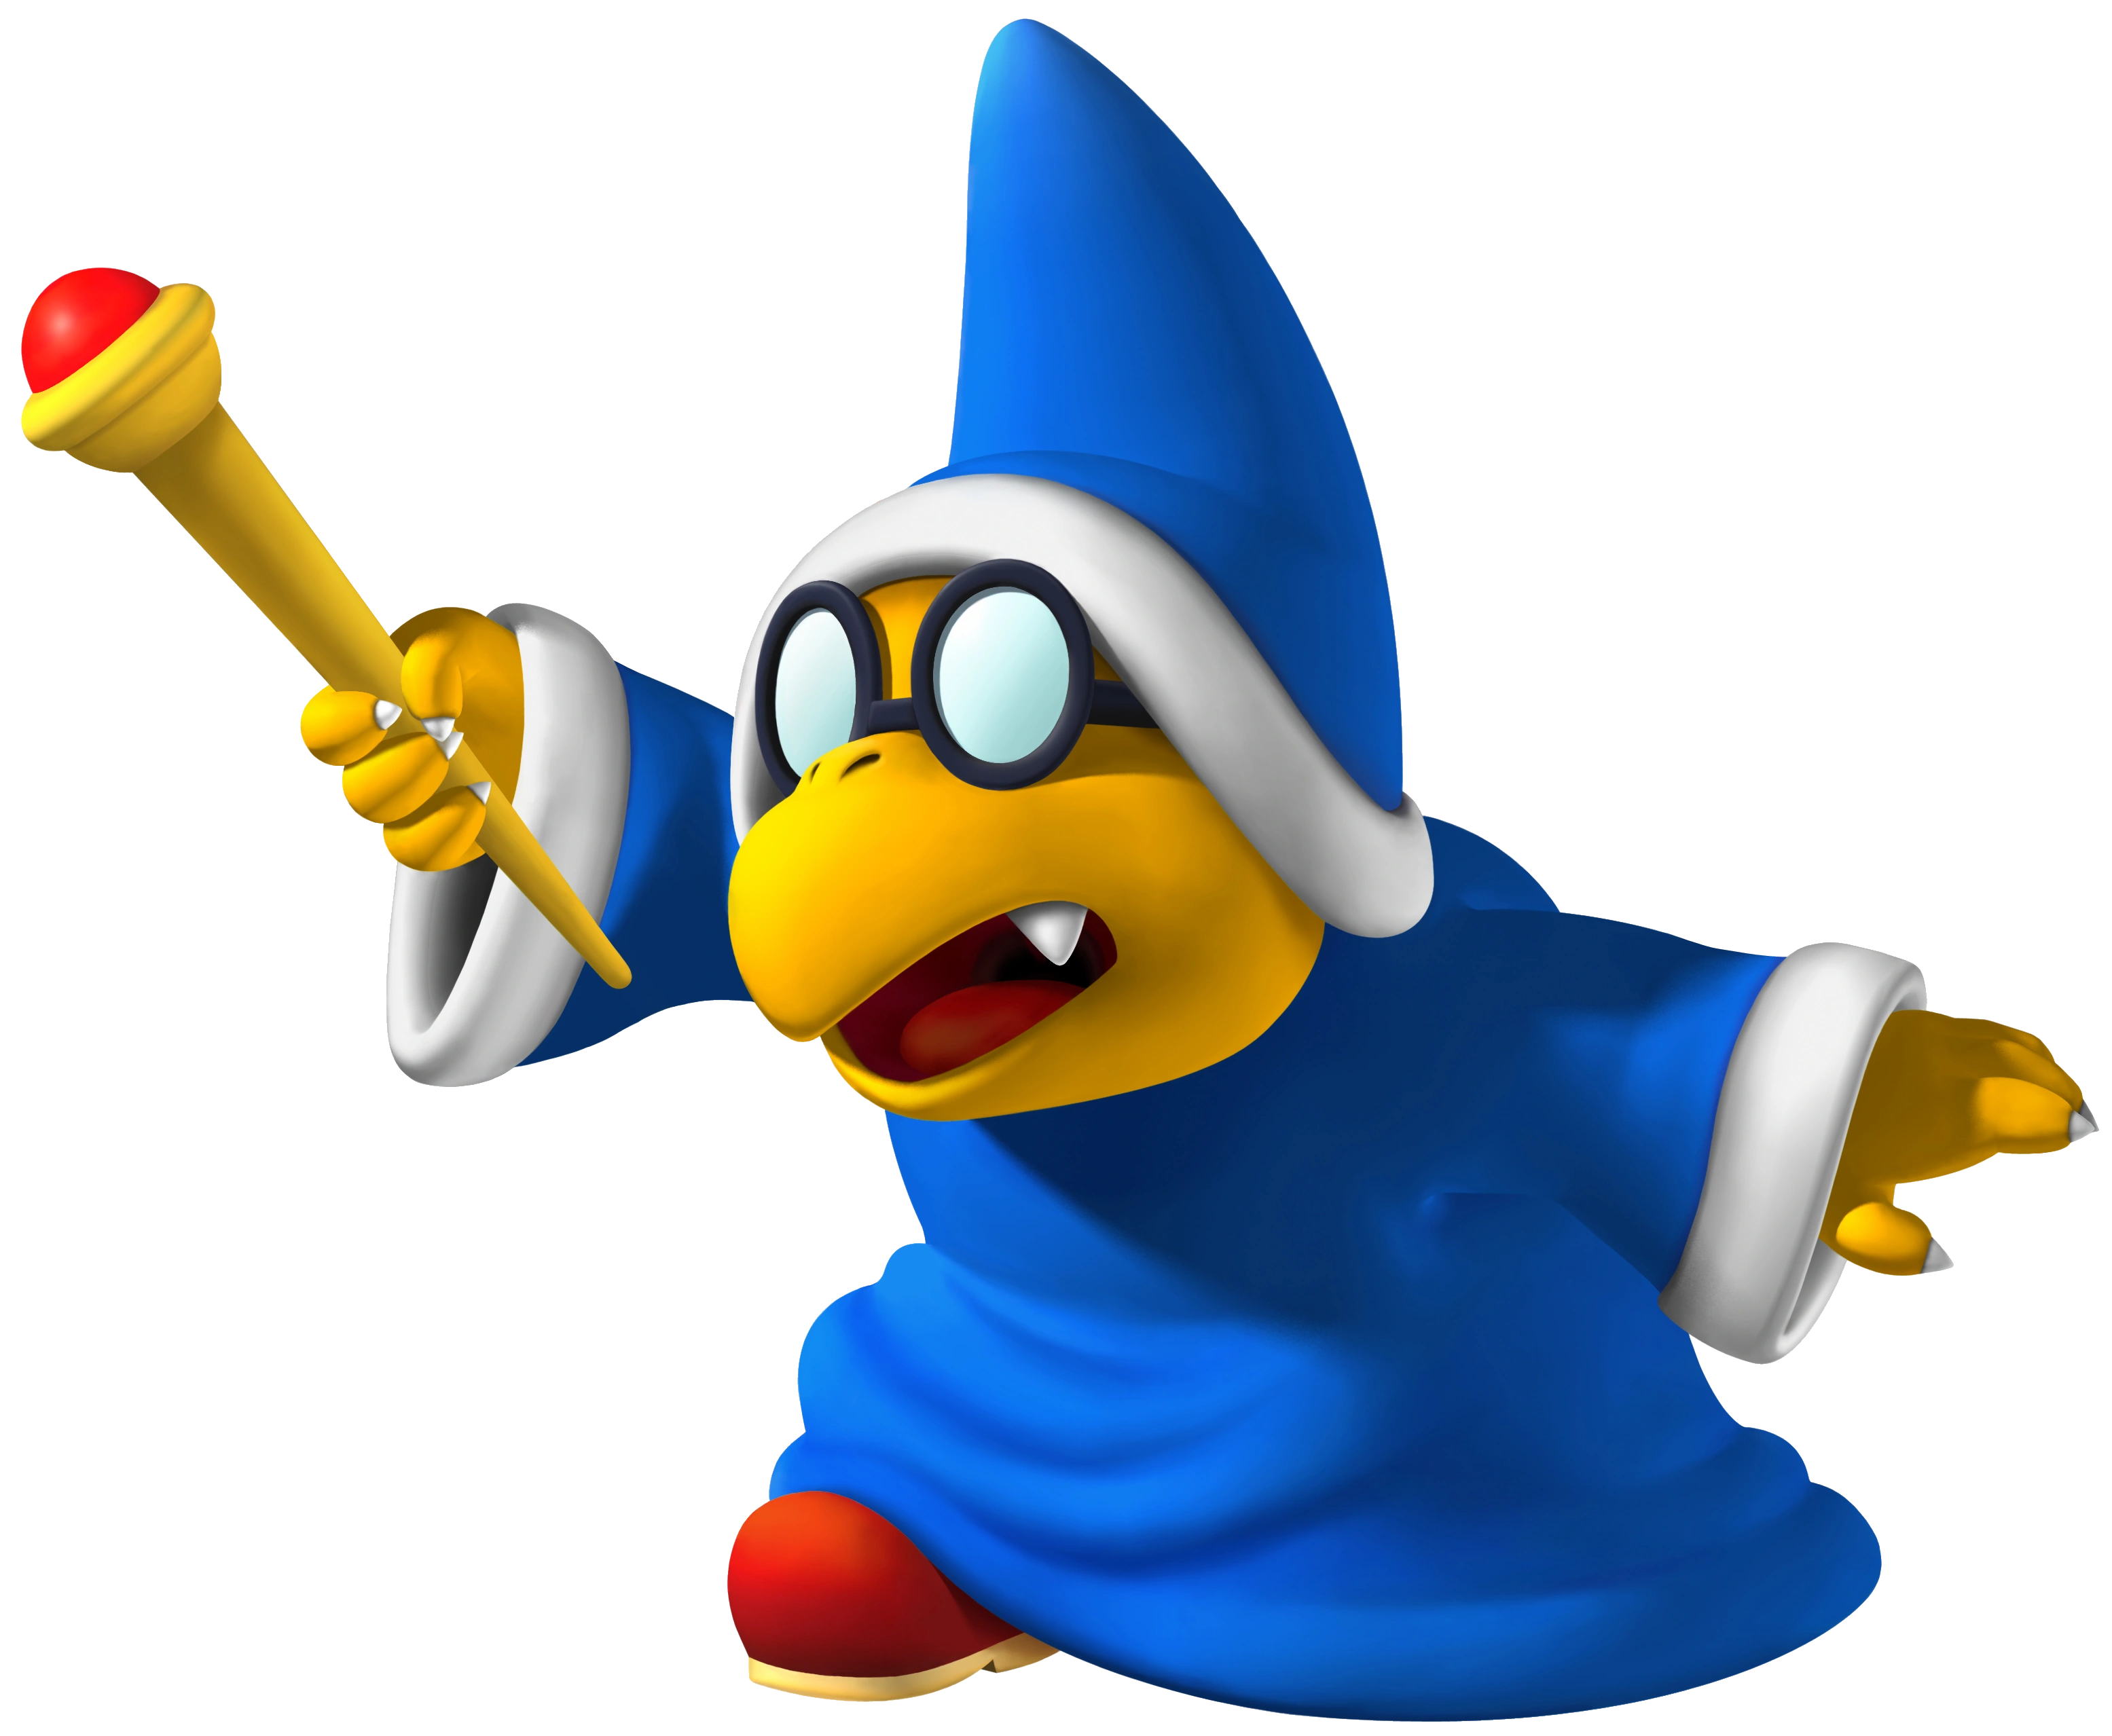 The former caretaker of Bowser has decided to show up on Yoshi's Island to ensure that the plans there are going smoothly. | |
|---|---|
Attacks
|
Weaknesses
Kamek is vulnerable after casting his Meteor spell, and can be jumped on. Three hits, and he's gone. In the rematch, Kamek will summon Koopatrols instead of Goombas. |
Boshi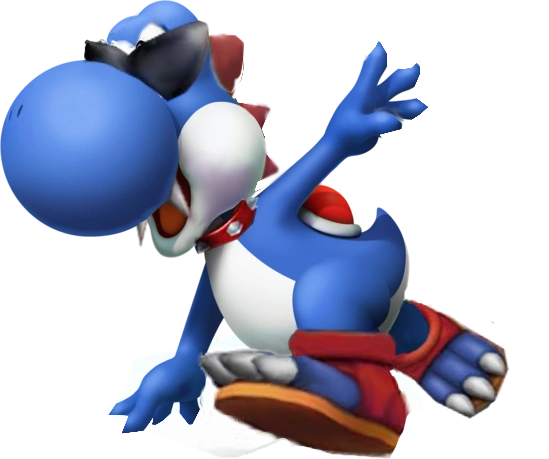 Yoshi's rival now mysteriously serves Bowser, and seeks to ensure that the Grand Star he found in his cave doesn't fall into the wrong hands. | |
|---|---|
Attacks
|
Weaknesses
When Boshi is charging at you, you need to dive at him to knock him back, and then stomp on his head. Repeat two more times, and he's dead. In the rematch, Boshi will cling to walls with his tongue if he hits one, and then leap off it to surprise you. |
Koopa Kids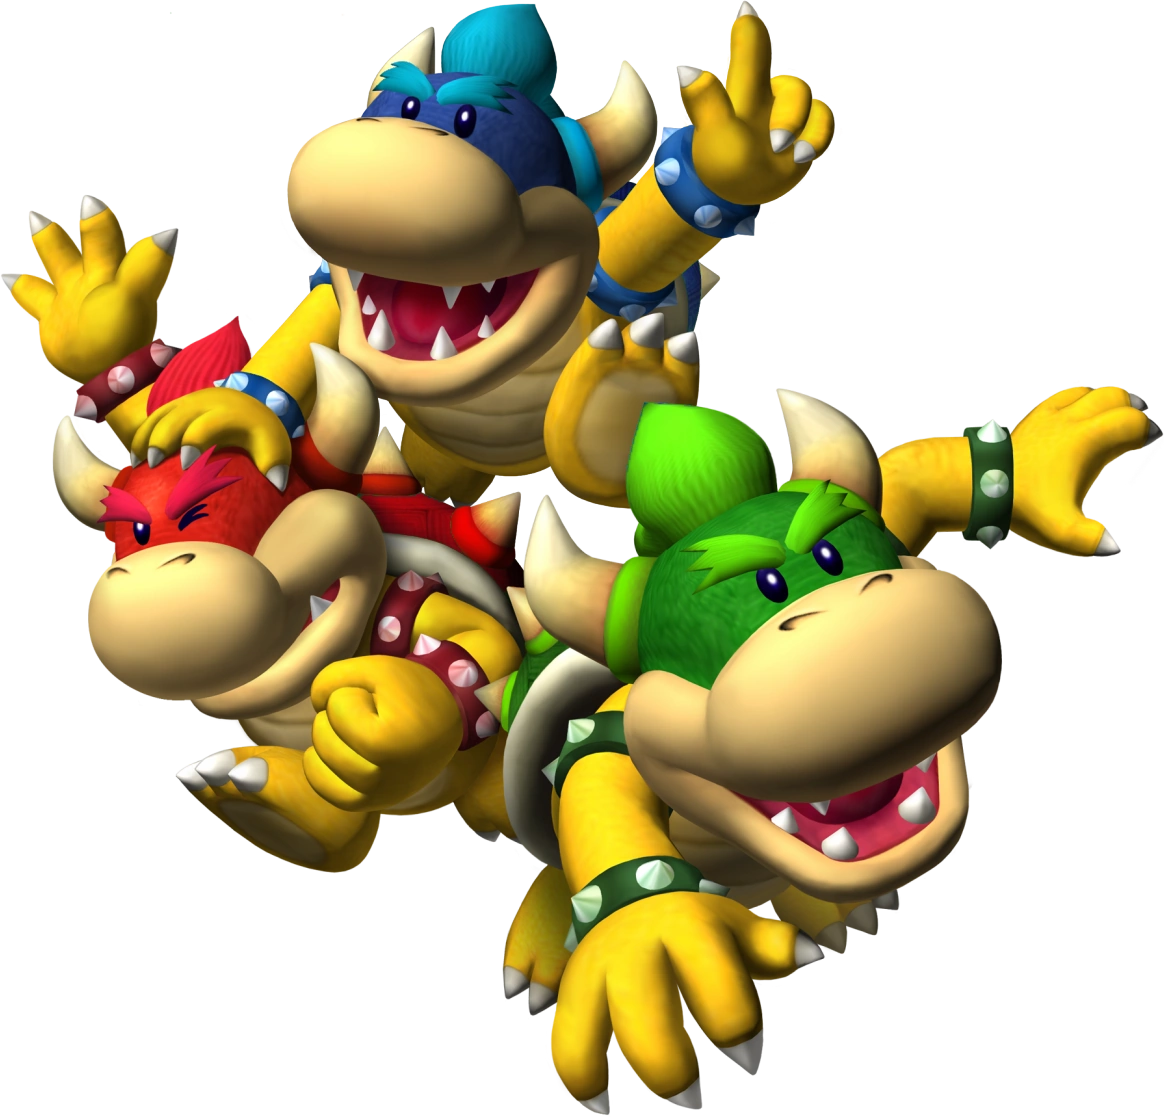 These devilish creatures are created with Kamek's magic, bearing a resemblance to Bowser himself. | |
|---|---|
| Attacks
Each of the Koopa Kids attacks independently of each other, save for their combined attacks.
|
Weaknesses
Whenever the tower of Koopa Kids headbutts a wall, one of them will be ejected and stunned for a short amount of time. During this time, you can pick them up and toss them at their brothers. While it is possible to take them out individually, it's quicker to hurl one at the tower of two. It'll take three hits to take them all out. In the rematch, the Koopa Kids' fireballs bounce off walls and are larger. |
King K. Rool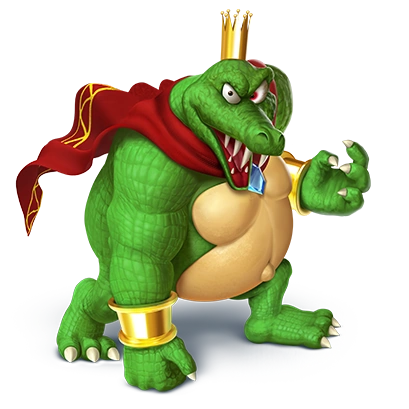 The leader of the Kremling Krew, King K. Rool is a ruthless tyrant that will stop at nothing to defeat his rival Donkey Kong, and now serves Bowser for unknown reasons. | |
|---|---|
Attacks
|
Weaknesses
Normally, King K. Rool is immune to jumps with his spiked crown on, and is also immune to punches. However, when he tosses it, he's vulnerable. Three jumps, and he's dead. In the rematch, K. Rool will use a shoulder-charging move. |
Lord Fredrik Lord Fredrik is the ruler of the Snowmads, and another apparent ally of Bowser. | |
|---|---|
Attacks
|
Weaknesses
Fredrik's minions can be picked up and tossed at him. Three hits is enough to eliminate him. In the rematch, you're now fighting Fredrik on a tilting platform surrounded by lava. |
Captain Syrup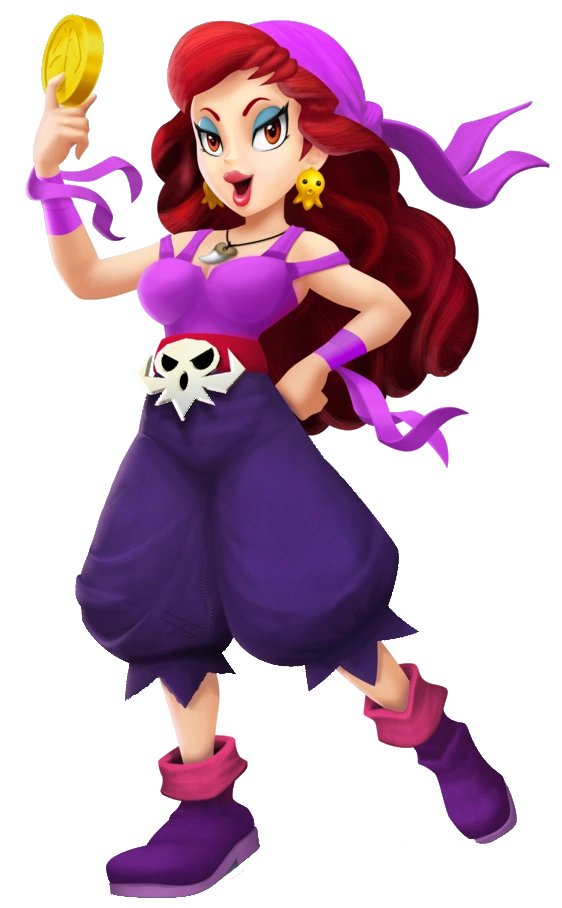 The leader of the Black Sugar Gang, Captain Syrup has thrown in her lot with Bowser. | |
|---|---|
Attacks
|
Weaknesses
When Syrup shakes the Bottomless Coin Sack, specially-marked coins fall out. By collecting enough of them, Syrup can be bribed into ending the fight. In the rematch, Syrup needs more coins, and her bombs now have a larger explosion radius. |
Shake King The Shake King has emerged from his home dimension to ensure that Syrup Castle isn't pillaged completely. | |
|---|---|
Attacks
|
Weaknesses
Mario needs to grab the Shake King from behind when he crashes into a wall, and toss him into another wall. In the rematch, the Shake King's thunderbolts will leave behind an electric field for a few seconds. |
Megaleg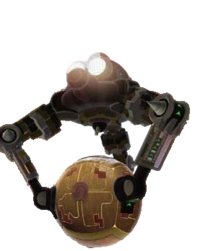 (Note: He's not on a planet) The robot designed by Bowser Jr. has been rebuilt and deployed to Isle Delfino to gather up the resources there. | |
|---|---|
Attacks
|
Weaknesses
Megaleg's legs have a strange magnetic field around them, that allow you to walk along them onto his head. There, you need to lure Bullet Bills into the dome onto his head. However, after every Bullet Bill hit, you'll be forced off of Megaleg's head. Three blasts, and Megaleg is done. In the rematch, Bob-omb cannons now exist on Megaleg's body. |
Monty Tank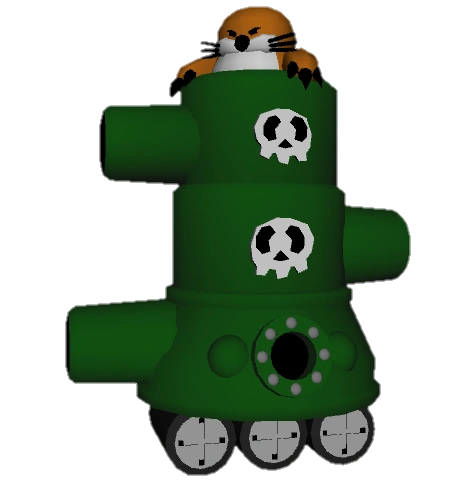 This mighty tank, manned by Major Burrows, is a formidable foe capable of eliminating anything in its path. | |
|---|---|
Attacks
|
Weaknesses
The Monty Tank's cannons constantly rotate, and Mario is capable of jumping onto them, before being able to punch Major Burrows. Three hits is enough to take him out. In the rematch, the Monty Tank is now taller and can aim its cannons upwards and downwards, making it harder to stay on the tank. |
Mummipokey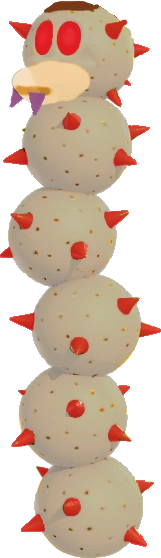 This ancient Pokey has come out of its hiding place to challenge the pyramid's pillagers. | |
|---|---|
Attacks
|
Weaknesses
Mummipokey can be jumped on from the higher floors of the pyramid. However, with each hit, he'll grow in size. Three hits is enough to defeat him. In the rematch, Mummipokey will instantly regrow any body segments he tosses. |
Tutankoopa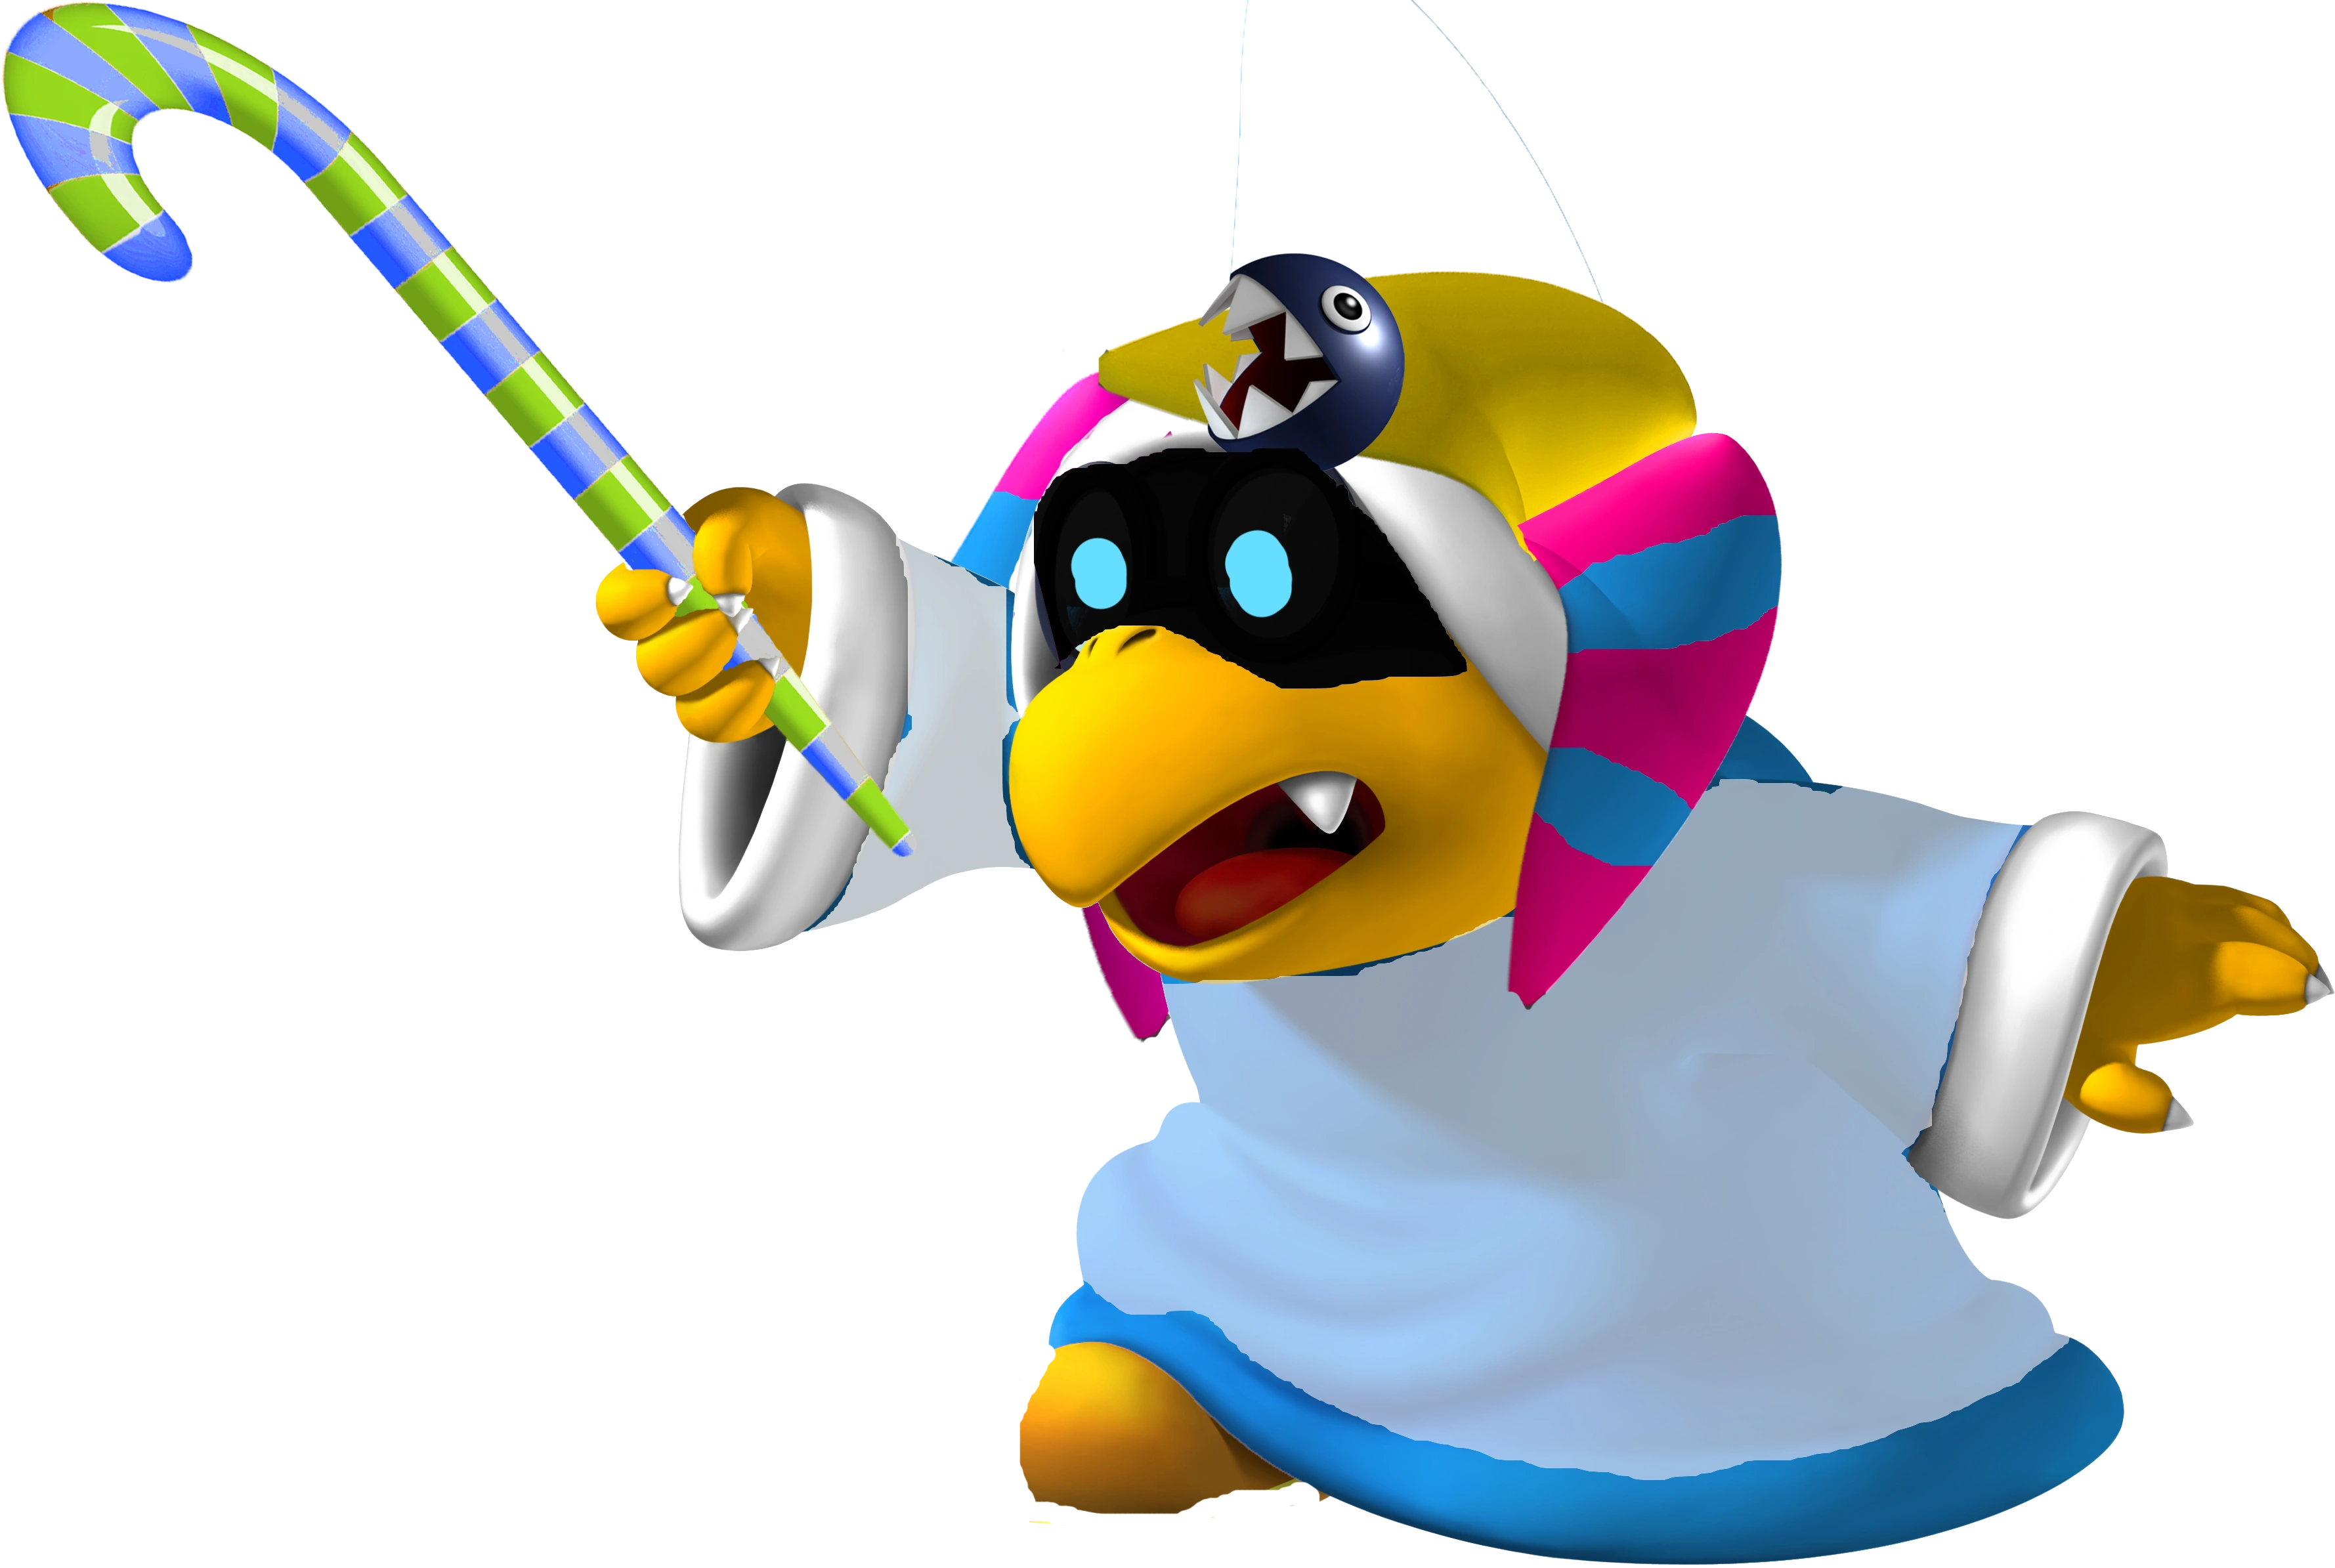 An old servant of Bowser's, Tutankoopa has come to the pyramid to teach Mario a lesson. | |
|---|---|
Attacks
|
Weaknesses
Tutankoopa's Chain Chomps will always lunge at you in a certain direction. This way, you can get them to lunge at the boss himself. Three Chain Chomp lunges is enough. In the rematch, Tutankoopa's Chain Chomps are much faster and harder to lure. |
Francis This nerdy user of digibutter.nerr has been sent by Bowser to see if he can weaponize the nostalgic effects the ruins create. | |
|---|---|
Attacks
|
Weaknesses
Francis takes the three usual stomps to defeat. However, he's very shifty and will often try to trick or disable you with his color changing and camera use. Try to stomp on him when he's blended into a wall, as you can follow his shadow. In the rematch, Francis can teleport while blended into a wall. |
Pixel Bowser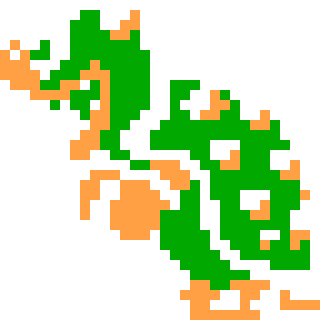 This unusual creature resembles Bowser slightly, but is obviously flat and 8-Bit. What does he have up his sleeves? | |
|---|---|
Attacks
|
Weaknesses
If you've ever played Super Mario Bros. 3, you'll know how this fight goes down. Bowser slams into the bricks, and falls into lava. However, this time there's multiple floors of bricks to break, and the room gets smaller every time. To remedy this, Bowser's Bob-ombs can break the bricks on the floor. In the rematch, Pixel Bowser is larger and there's more floors of bricks to break. |
King Bob-omb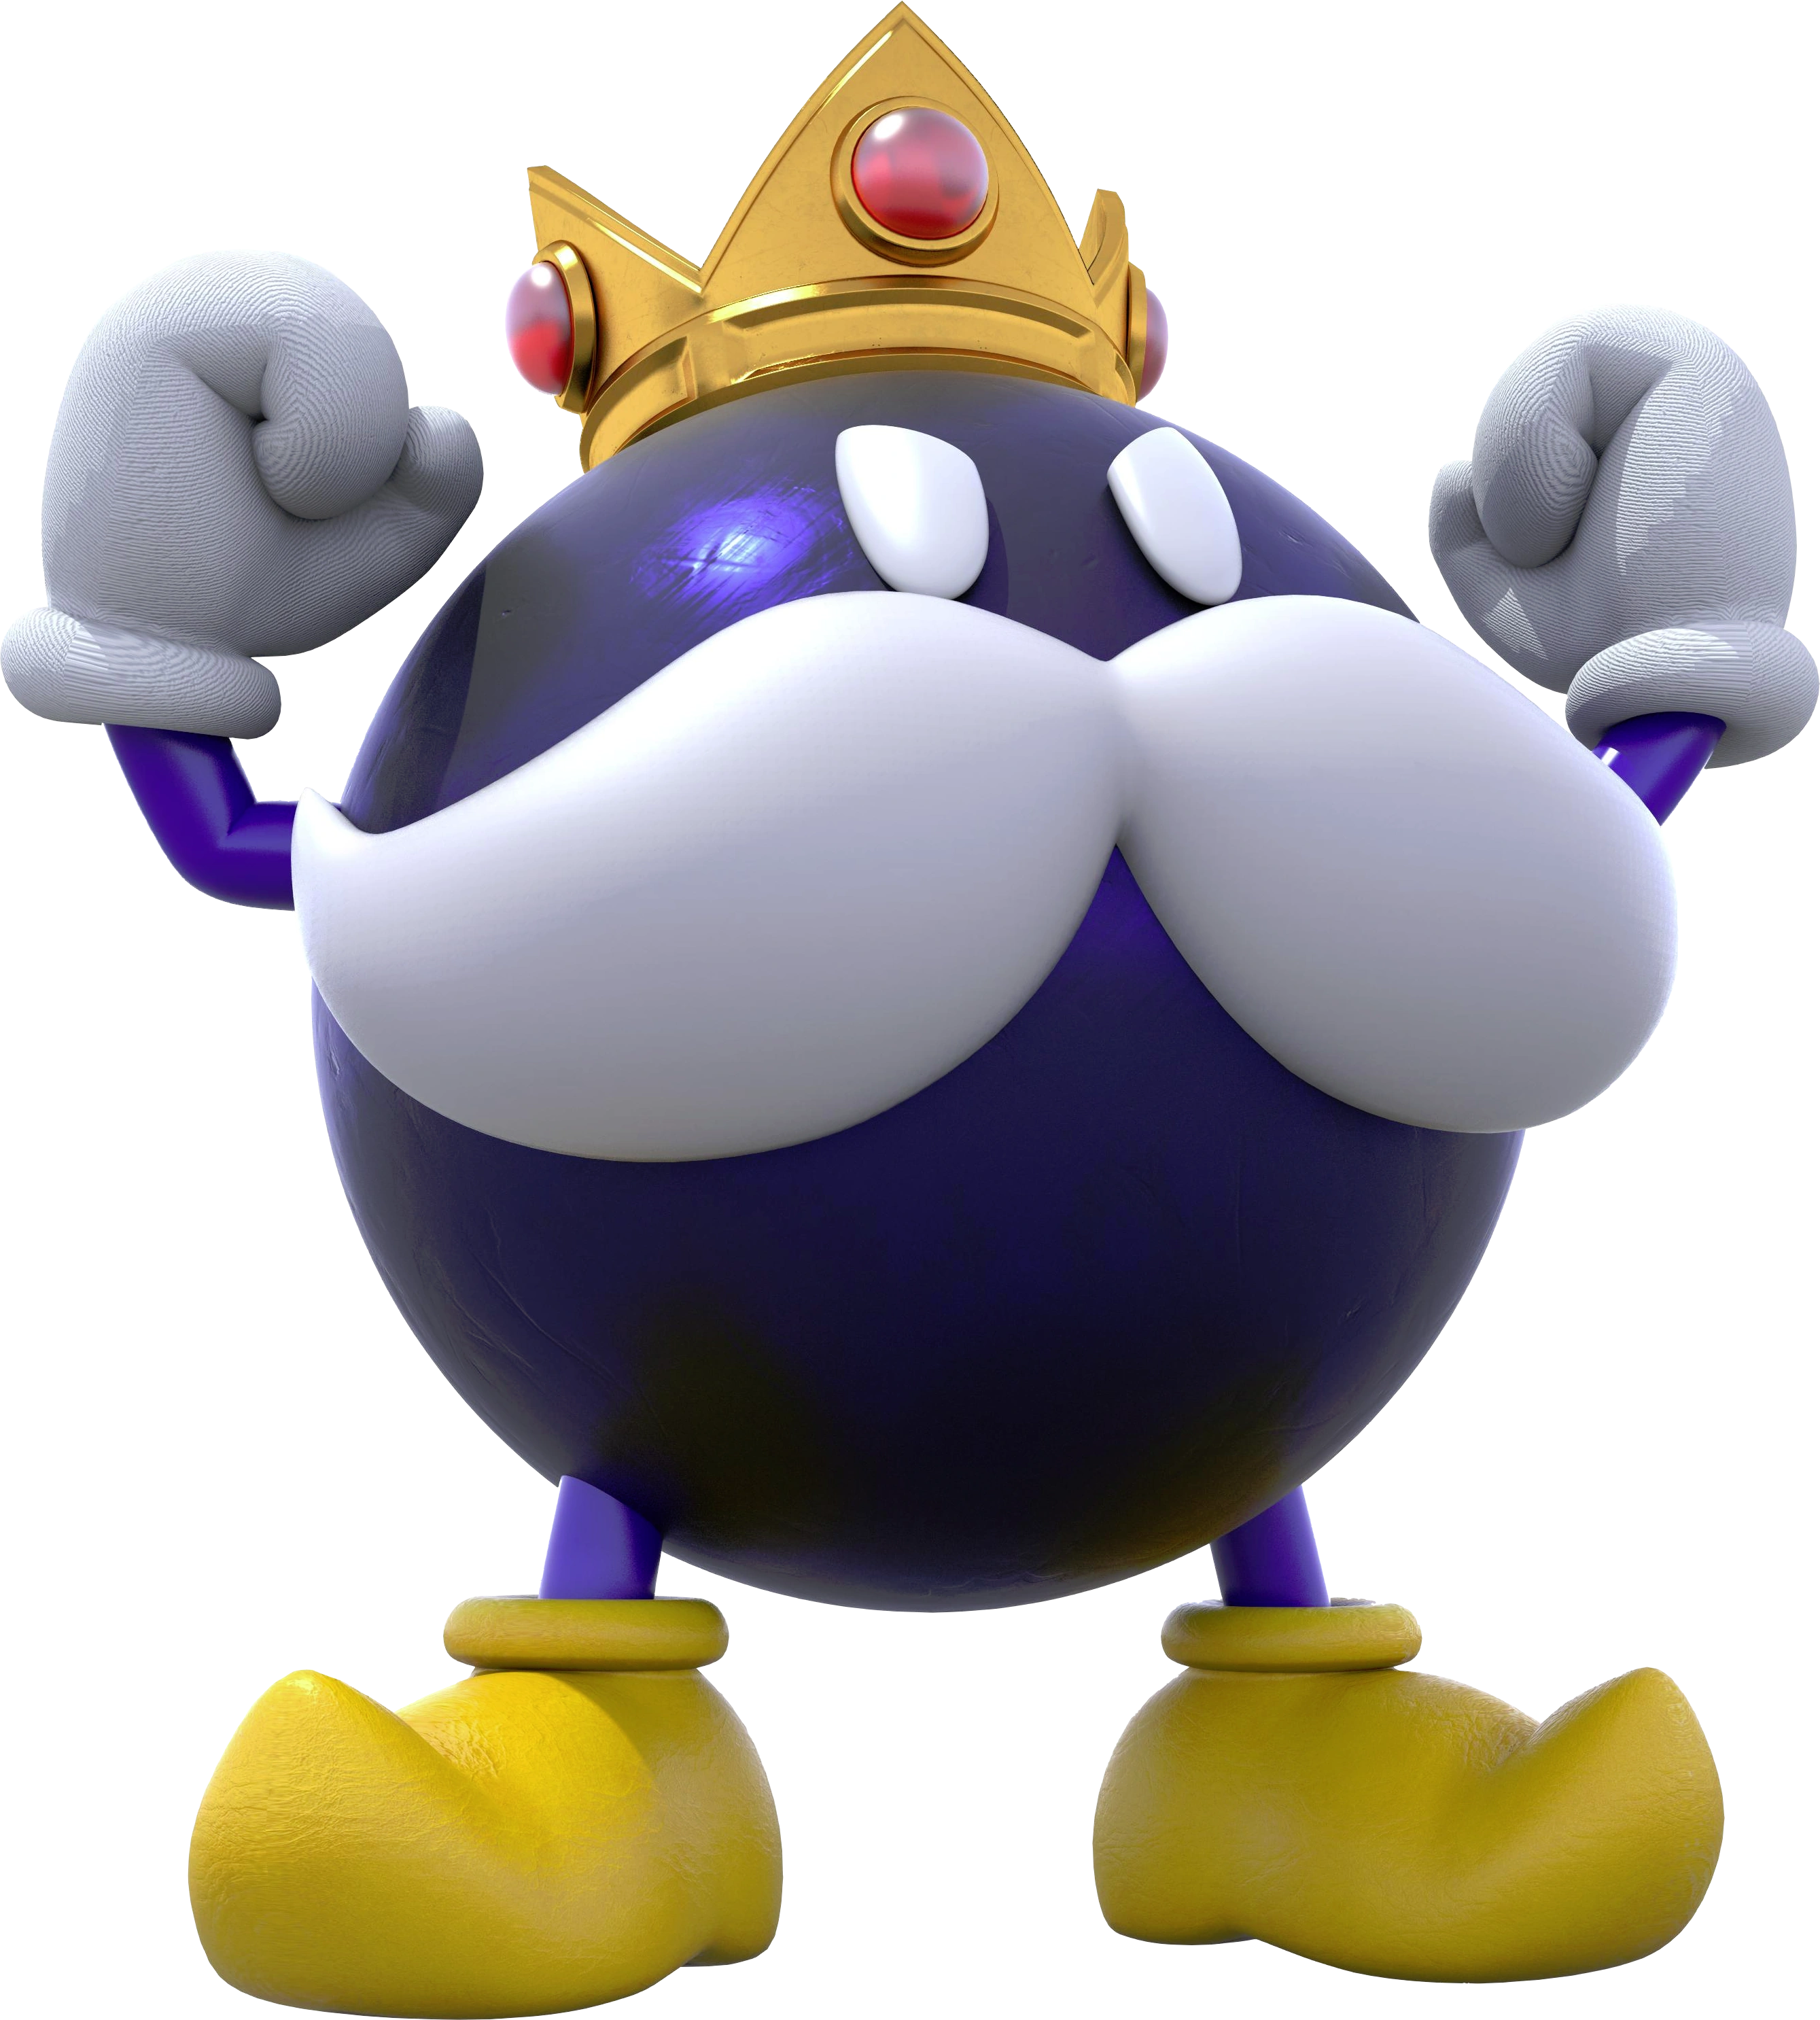 The mustachioed ruler of the explosives is back, and has a score to settle with Mario. | |
|---|---|
Attacks
|
Weaknesses
King Bob-omb retains his weakness from Super Mario 64. However, this time it'll take one of his larger Bob-ombs to flip him over and allow you to throw him. Three tosses is enough as usual. In the rematch, King Bob-omb is heavier will need two Bob-omb hits to be flipped over. |
Tubba Blubba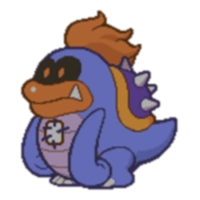 This gargantuan monstrosity has gotten sick of eating ghosts. | |
|---|---|
Attacks
|
Weaknesses
You can climb onto the icicles to jump on Tubba's head. As usual, it's three hits. In the rematch, Tubba Blubba will create more icicle spikes when he slams the ground. |
Coastergeist (Art by User:Pokerninja2) Bouldergeist has been revived, but he's no longer content to utilize rocks. Now, he's more of a fan of rollercoaster parts. | |
|---|---|
Attacks
|
Weaknesses
Bomb Boos aren't necessary here. This time, you need to climb on Coastergeist's hands, and ground-pound on his head three times. In the rematch, the two of you are on a rollercoaster that's constantly moving, so you'll need to climb on his hands when his side of the rollercoaster gets closer to you. |
Foreman Spike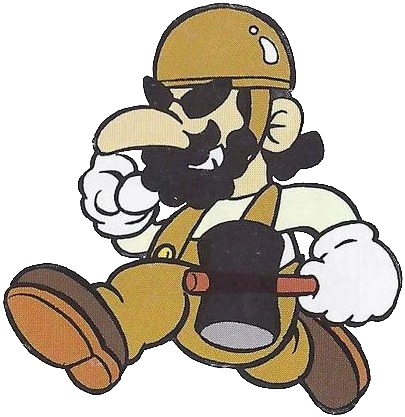 Mario's old boss has been hired by Bowser to demolish the rest of Luma Park to make way for a new castle. | |
|---|---|
Attacks
|
Weaknesses
Foreman Spike is fought in a similar fashion to the game Wrecking Crew, in that you need to demolish the entire building to defeat the foreman. However, the fight is in a 3D plane this time, so you'll need to compete with the foreman directly. Whoever demolishes the building first wins. In the rematch, the building is larger and Foreman Spike has a larger hammer that can break multiple objects at once. |
Tatanga The former kidnapper of Daisy is overseeing his factory in Sarasaland, and has a score to settle with Luigi. | |
|---|---|
| Attacks
Tatanga is fought from his spaceship.
|
Weaknesses
When Tatanga is close to the ground, Luigi can jump on his ship, and ground-pound the glass cockpit. Three hits will take down this alien invader. In the rematch, Tatanga's cannonballs are larger and move faster. |
Madame Broode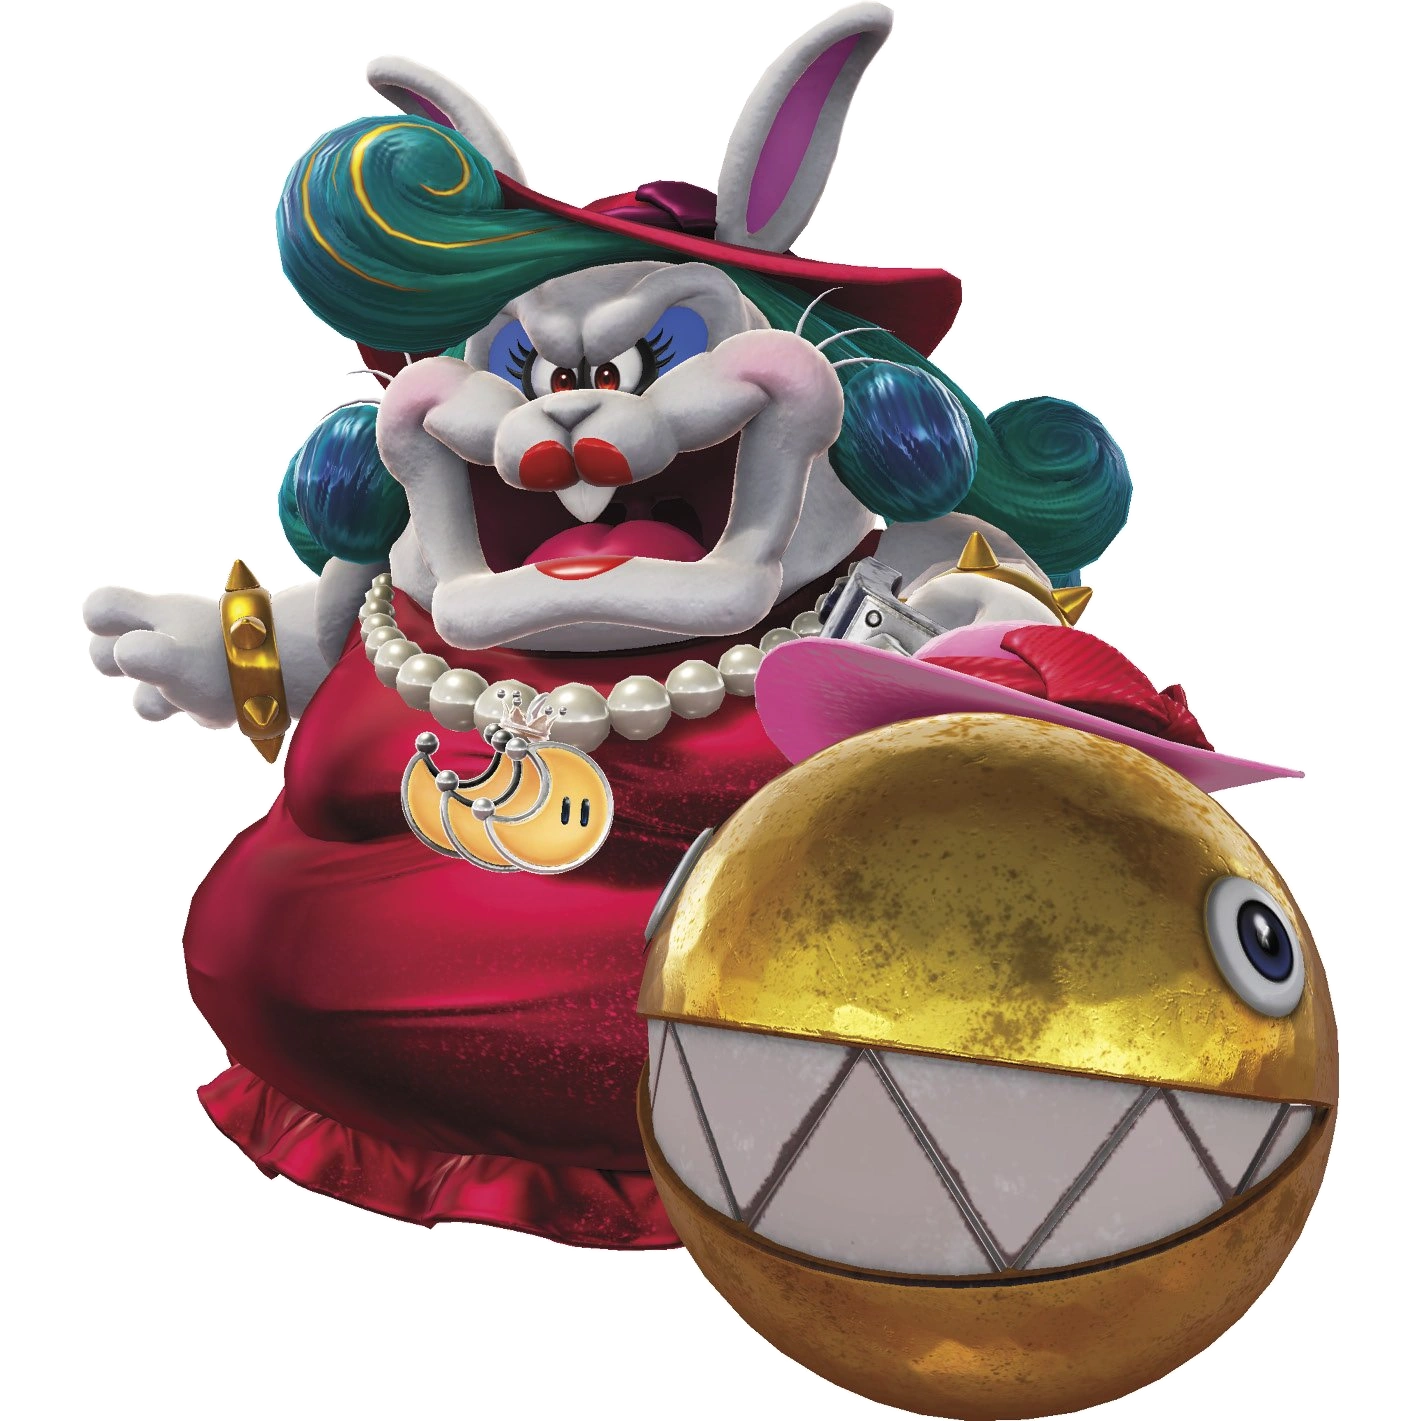 The boss of the Broodals is back, and has been sent by Bowser to deal with the factory's attack. | |
|---|---|
Attacks
|
Weaknesses
Madame Broode is fought in a circular area surrounded by conveyor belts. These conveyor belts will spew out items, and some are marked as explosive crates. Mario needs to get Chain Chompikins to hit one of the explosive crates so that he goes flying into Madame Broode's face. Three hits is the amount needed to defeat Broode. In the rematch, explosive crates appear less often and Chain Chompikins is larger than normal. |
The Dragon King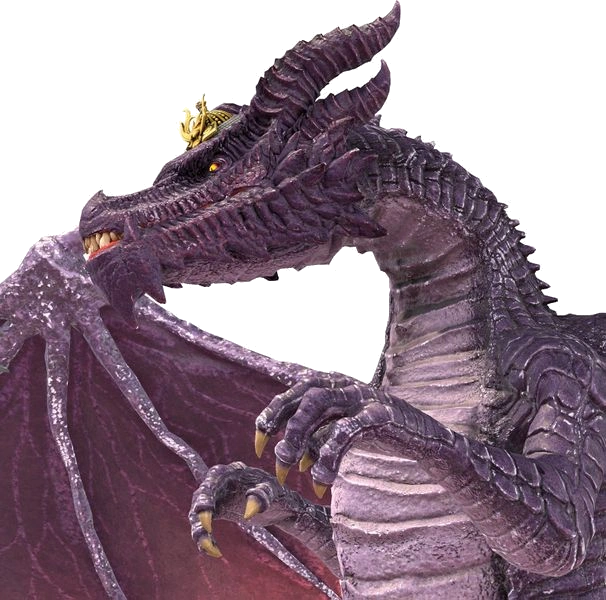 This massive dragon rules over Ruinia and its draconic inhabitants. With the disappearance of his son, he's fallen into a deep depression that can only be sated with violence. | |
|---|---|
Attacks
|
Weaknesses
The Dragon King's back can be hopped onto from a nearby ledge. From there, you can ground-pound on his head after evading the electricity emerging from his back. In the rematch, the spikes in the ground are constantly popping in and out of the ground. |
Elite Trio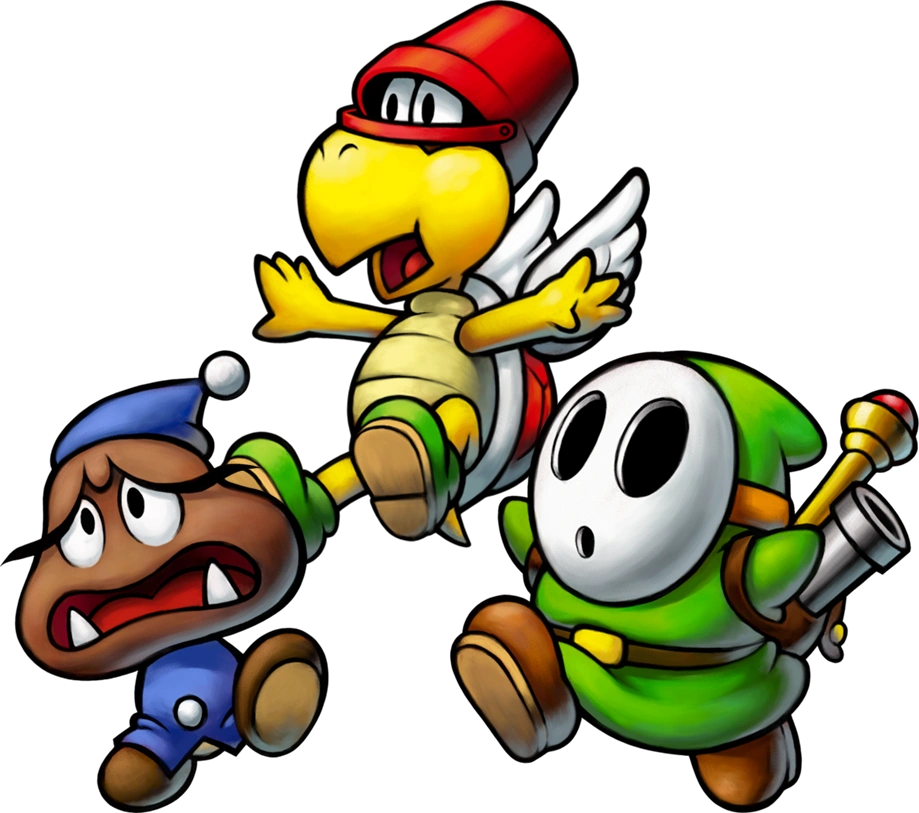 Despite some stupid decisions they make, the Elite Trio are a formidable fighting force that Bowser's sent to Ruinia. | |
|---|---|
Attacks
|
Weaknesses
Each trio member has their own specific weakness, and need to be hit two times each:
In the rematch, Corporal Paraplonk can pick up his allies off the ground and drop them at a new location, making it harder to land precise attacks. |
Koopa Bros.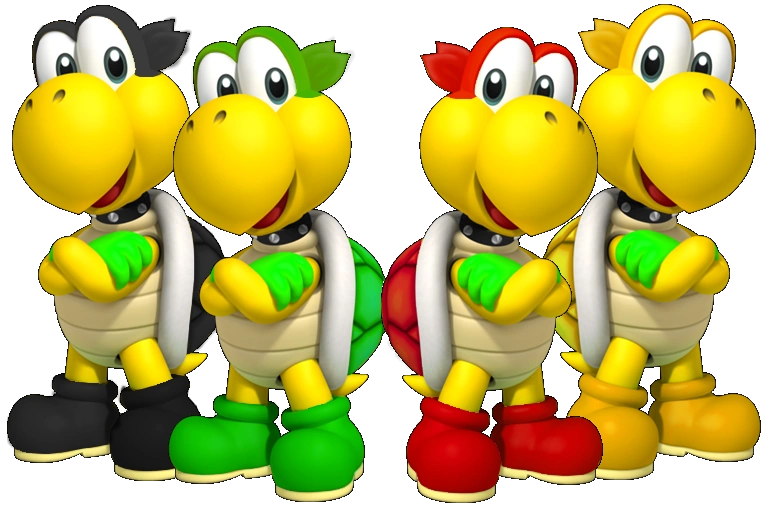 Bowser's four finest Koopa Troopas are here to teach Mario a lesson once again. | |
|---|---|
Attacks
|
Weaknesses
Mario needs to punch the Koopa Bros. whilst their in their shells so that they will hit each other. They take two hits each to defeat. In the rematch, the Koopa Bros. will form various shapes with their spinning shells. |
O'Chunks The former servant of Count Bleck has been brainwashed by Bowser (using the Floro Sprouts) to serve his armies. | |
|---|---|
Attacks
|
Weaknesses
On the ground of the battlefield is several geysers of sorts. If O'Chunks hits them, hot sauce will come pouring out and burn him. Three hits is enough to defeat him. In the rematch, hot sauce geysers take multiple hits to be opened up. |
| Chuck Team This horde of Chargin' Chucks only take sporting competitions as an answer for their battles. | |
|---|---|
| Attacks
Five of these Chargin' Chucks are fought, and they're invulnerable to attack, as attacking them will stun them or cause them to drop the ball if they have it. Without the ball, they'll do the following:
If a Chargin' Chuck has the ball, he can use the following attacks:
|
Weaknesses
The Chuck Team are fought in a game of soccer, in that you need to get a ball into their net three times. Should they score three goals, you have to restart the fight. In the rematch, there's now six Chargin' Chucks and four goals are required. |
Midbus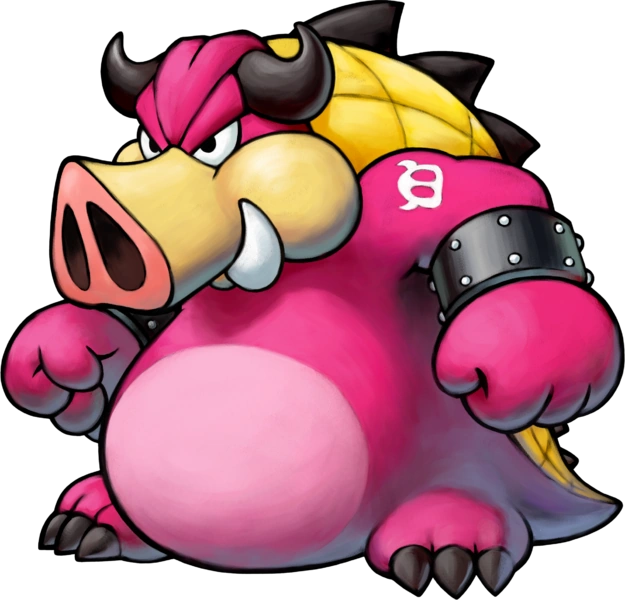 Bowser's former "rival" has been brainwashed into serving him, and should be a formidable foe, having retained his ice-based abilities. | |
|---|---|
Attacks
|
Weaknesses
When Midbus rolls towards Mario on his snowball, it will eventually run out of snow if it goes fast enough, and cause Midbus to hit the ground. From there, you can land a punch. Three punches is all it takes. In the rematch, Midbus's snowballs will create icy terrain when they hit the ground. |
Doopliss This mysterious Duplighost has made his way to the Excess Express to deal with Mario, in the name of his new boss Bowser. | |
|---|---|
| Attacks
Uniquely, Doopliss is fought in a turn-based battle similar to the Paper Mario games. Mario can utilize the following abilities, and has 10 HP:
Doopliss has access to the following attacks, and has 15 HP:
In the rematch, Doopliss has 20 HP and deals 1 more point of damage on all of his attacks. |
Weaknesses
Doopliss is defeated by depleting his HP to zero. |
Lord Crump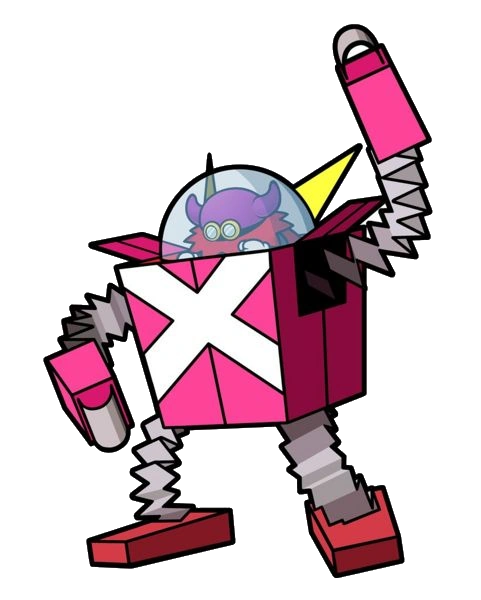 The new leader of the X-Nauts is using a Grand Star to power his robot this time. | |
|---|---|
Attacks
|
Weaknesses
Lord Crump will chase after Mario on the Excess Express's roof. You need to run to the front of the train, and get Crump to be hit by it as you jump off the track. In the rematch, some train cars will have Bullet Bill cannons on them. |
Goomboss The lord of the Goombas is in Goomba Mountain to finally deal with the ones who stomp on his soldiers once and for all. | |
|---|---|
Attacks
|
Weaknesses
By punching three Goombas into Goomboss's face, he'll be momentarily stunned and vulnerable to a punch. Three punches is enough to take him out. In the rematch, Goomboss will toss Paragoombas, Galoombas, and Spiked Goombas alongside regular ones. Only regular Goombas will stun him. |
Petey Piranha Everyone's favorite Piranha Plant is ready to rumble once again after a long break from the action. | |
|---|---|
Attacks
|
Weaknesses
When Petey crashes into a pile of Goop after ending his flight, he'll slip and fall. Ground-pound on his belly after, and as usual, he needs three hits to be defeated. In the rematch, the Goop disappears faster. |
Antasma The former menace of P'illo Island is overseeing the invasion of the Beanbean Kingdom, so that his new master Bowser can secure full control of the world. | |
|---|---|
Attacks
|
Weaknesses
Antasma's Antasmunchies will ricochet off walls, so if you get Antasma to throw one at a wall, it'll bounce back and stun him. After the stun, a jump attack can be delivered. Three jumps is what it'll take to defeat the bat king. In the rematch, Antasma is fought on multiple platforms above an abyss, with varing elevations. The battlefield isn't entirely surrounded by walls either. |
Yoob The gargantuan Yoshi that once caused unprecedented chaos on Yoshi's Island is now the apparent "leader" of the Shroobs, mostly due to his size. | |
|---|---|
Attacks
|
Weaknesses
Yoob's tongue can be walked on when it's stuck to the ground. From there, you can get onto his head to land a ground-pound. Three ground-pounds will eliminate the monster. In the rematch, Yoob will now toss two eggs at once. |
Smithy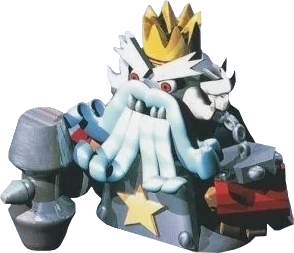 The lord of the Smithy Gang has now found himself forging weapons and equipment for Bowser, utilizing the various artifacts in his factory. | |
|---|---|
Attacks
|
Weaknesses
Smithy's hammer can be picked up after it unleashes the last of its energies, but you'll need to be quick. From there, you can bash him with it after he overheats. In the rematch, Smithy's cannonballs will lock onto you. |
Boom Boom and Pom Pom The infamous brother-sister duo has come to the Smithy Factory to act as Bowser's eyes and ears. | |
|---|---|
| Attacks
Both of the siblings are fought at the same time.
|
Weaknesses
Pom Pom's boomerang is capable of hitting several switches in the room, which will cause spikes to emerge on the walls for a short period of time. From there, you can try and lure one of the siblings into the spiked wall. They each take two hits to defeat. In the rematch, Pom Pom will now throw two boomerangs at once. |
Kammy Koopa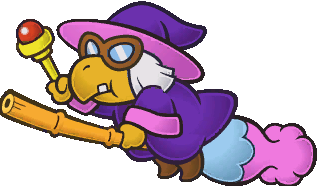 The other major Magikoopa under Bowser's command, Kammy Koopa is personally fighting in the siege of Toad Town. | |
|---|---|
Attacks
|
Weaknesses
Kammy flies on her broom, high up at a position where she can't be hit. However, when she teleports, the direction she will teleport in is clearly marked, and will change as you walk into it. Use this to get her to hit a Goomba and be stunned, making her vulnerable to a jump. Three jumps is enough. In the rematch, Kammy's ring of flame will now bounce back towards her after going all the way outwards. |
Bowser (Phase 1)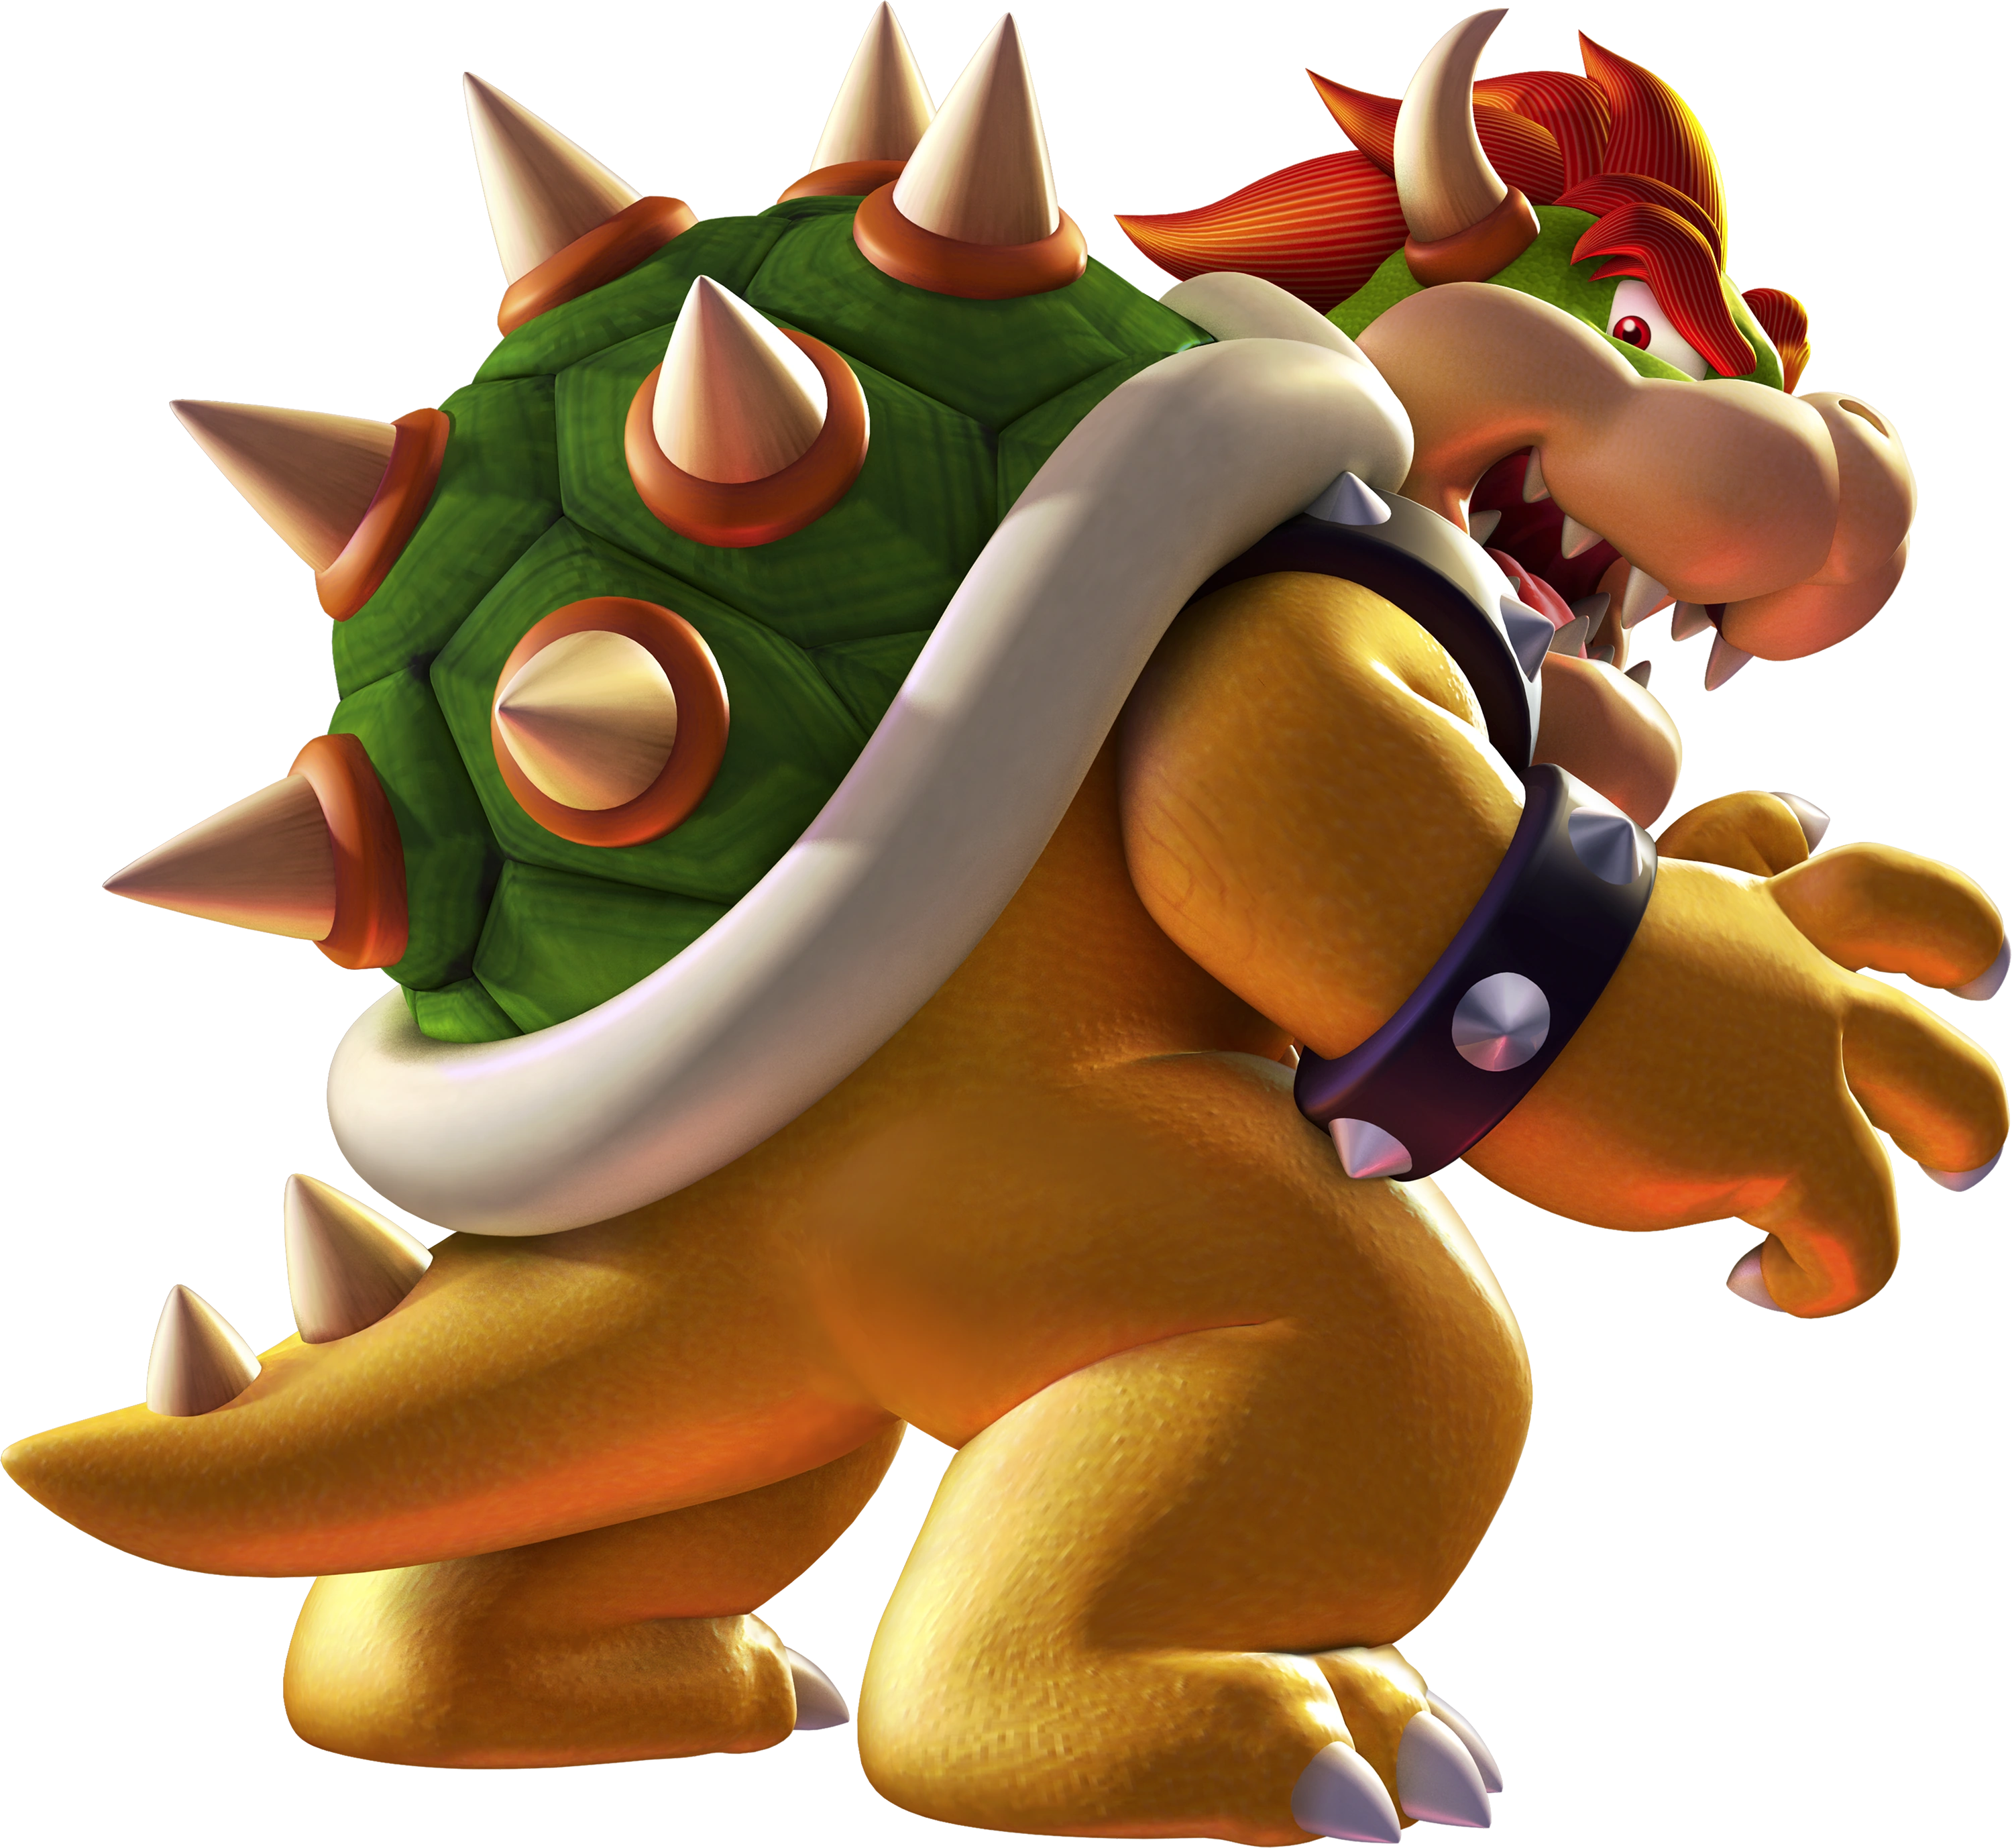 Bowser is on board his flagship, ready to take down the airship your forces made to get to Neo Bowser City. | |
|---|---|
| Attacks
Bowser is fought from his airship, instead of being fought directly. Both your ship and his ship are constantly moving.
|
Weaknesses
This phase of the fight against Bowser is more of a time-based one. Essentially, you have to survive long enough to land three cannon blasts to Bowser's flagship, with the cannons being fired at certain points in the battle. In the rematch, Bowser will shoot two Banzai Bills at once. |
Firelord Bowser (Phase 2) The lava transformed Bowser into a relentless monster. One that has almost complete control over the element of fire. It's now or never to put an end to his reign of terror! | |
|---|---|
Attacks
|
Weaknesses
Bowser is fought on a circular platform surrounded by lava, on top of his castle. When he throws his Bomb-Chomps, you can grab them by the chain and toss them at Bowser, sending him into the nearby lava. Five dips in the lava will end the Koopa King once and for all. In the rematch, Bowser's meteors will move across the battlefield before exploding and leaving behind a fire residue. |
Slanito The so-called "master of Poison Mushrooms" is at the very end of Rainbow Road, seeking to test Mario's mettle before he can call himself a true platforming master. | |
|---|---|
Attacks
|
Weaknesses
Slanito must be defeated by luring Poison Mushrooms towards his body. He'll eventually explode from the sheer number of Poison Mushrooms inflating his body like a balloon. After all, you're in space, where pressure is extremely dangerous. |
Toad Town and the Resistance[]
Toad Town is the main hub of the game, where you'll unlock access to new Kingdoms via a network of Warp Pipes. As you collect Power Stars, the town will be rebuilt and various NPCs will come to inhabit it, providing shops and services. This also ties into the Resistance mechanic, an ongoing project the player will involve themselves with by forming a rebellion against Bowser's Koopa Empire.
Resistance Members[]
Some resistance members don't do anything, and are just NPCs.
| The Toad Brigade | 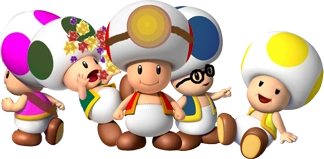
|
The Toad Brigade is recruited when Mario and L.K. first arrive in Toad Town. They mainly work on building up the town itself. |
| Goombella | 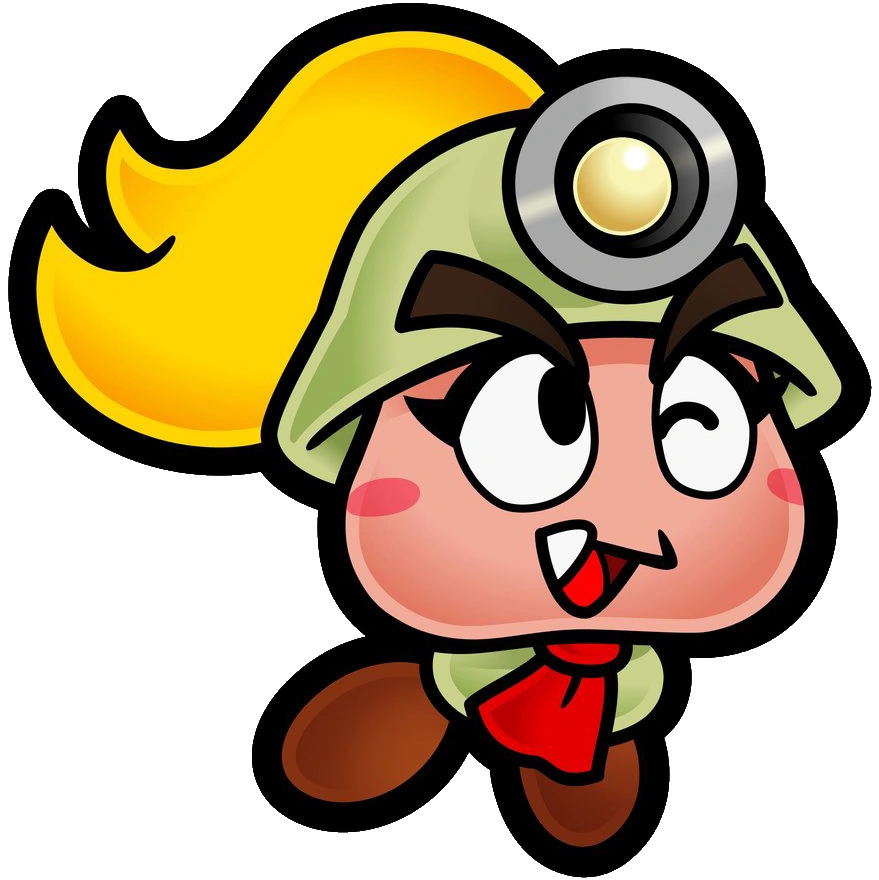
|
Goombella is recruited in Shy Guy Valley. She takes the place of Odyssey's Hint Toad, scouting out Kingdoms and offering the locations of Power Stars for a price. |
| Timid Guy | 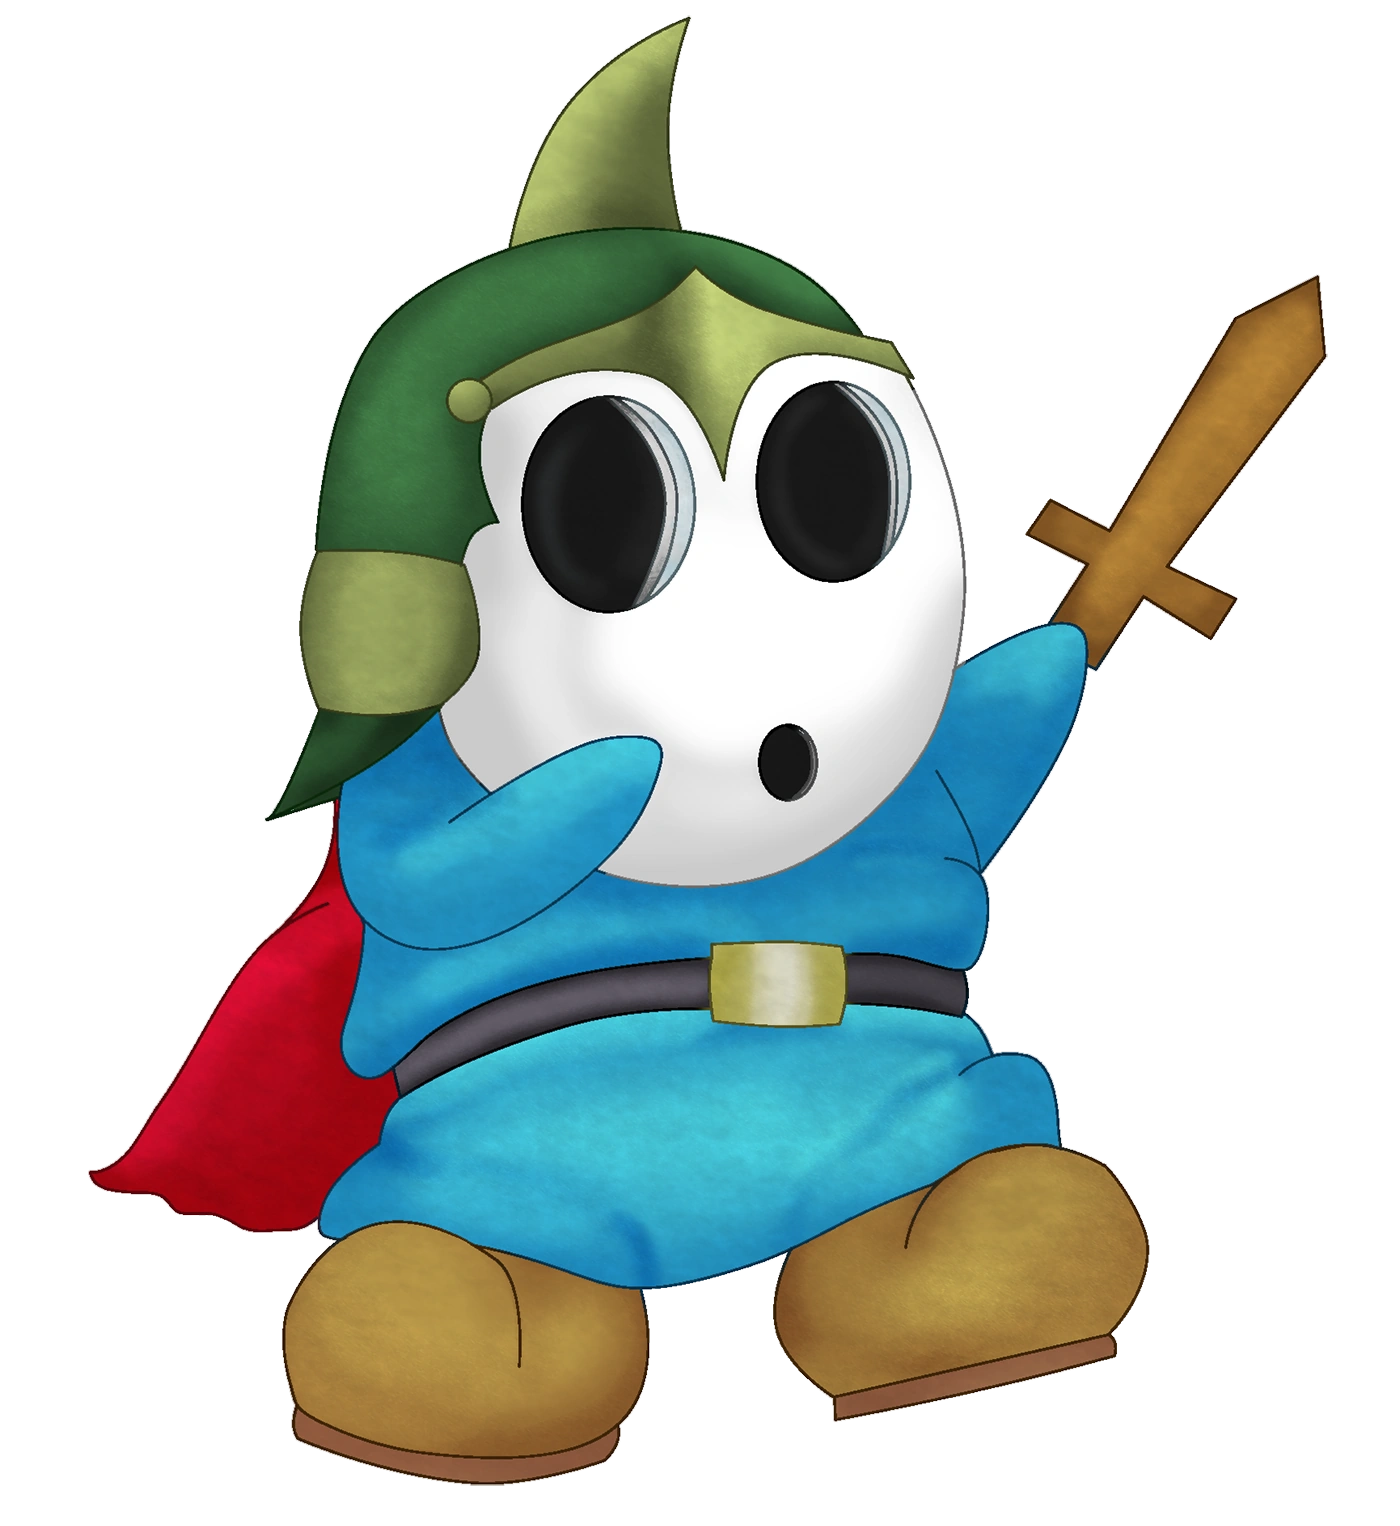
|
Timid Guy is a traitorous Shy Guy who sides with Mario due to his desire to end his life of villainy and become a hero. |
| Vivian | 
|
Vivian is recruited alongside Lady Bow in Boo Woods. |
| Lady Bow | 
|
Lady Bow is recruited alongside Vivian in Boo Woods. She appears in every Kingdom, sending you to rescue her lost Boos throughout the kingdom in exchange for a Power Star. |
| Professor E. Gadd | 
|
E. Gadd is rescued from Boo Mansion alongside Luigi. He runs a store in Toad Town that sells power-ups and various decorations for Toad Town. |
| Sushie | 
|
Sushie is found in Cheep Cheep Shore alongside Starlow. She'll offer access to special underwater caverns that hold challenging obstacle courses. |
| Starlow | 
|
Starlow is recruited alongside Sushie in Cheep Cheep Shore. She's able to turn five blue coins into a Power Star. |
| Yoshi Kid | 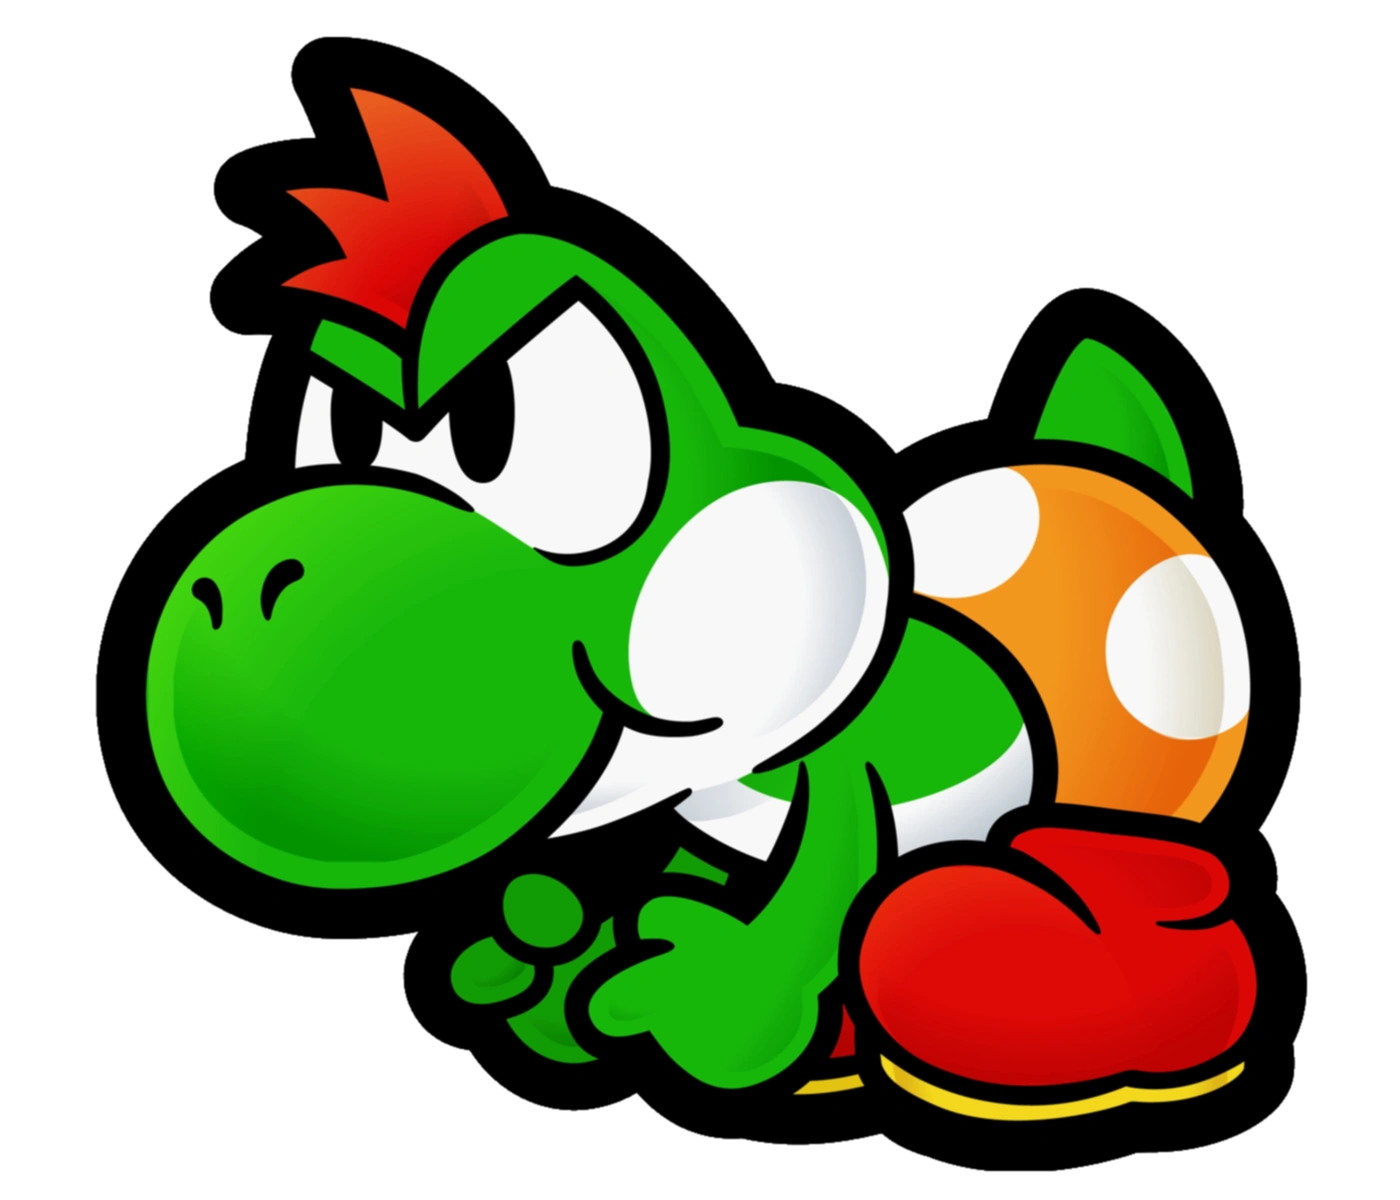
|
The Yoshi Kid is found on Yoshi's Island alongside Parakarry. |
| Parakarry | 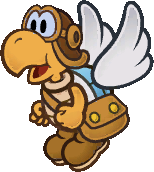
|
Parakarry is recruited alongside the Yoshi Kid on Yoshi's Island. He'll haul Mario up to ledges in a similar fashion to Sunshine's Pianta tossing. |
| Pearl | 
|
Pearl is often found getting into sticky situations in various Kingdoms. She'll give you a Power Star every time she's rescued. |
| Cranky Kong | 
|
Cranky Kong joins the resistance on Donkey Kong Island. He's capable of letting you rewatch cutscenes on demand. (Through telling long, boring stories) |
| Funky Kong | 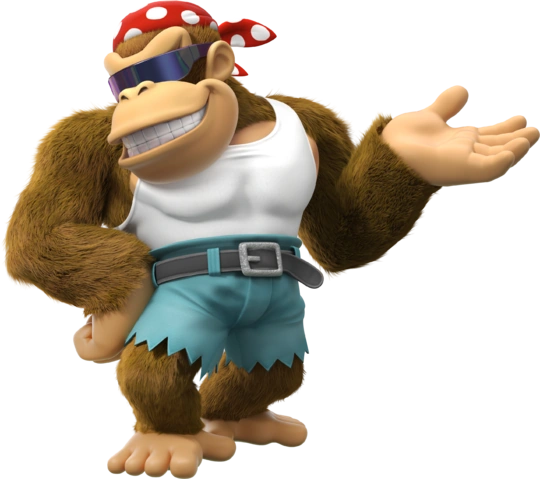
|
Funky Kong is recruited alongside Cranky on Donkey Kong Island. |
| Goombario | 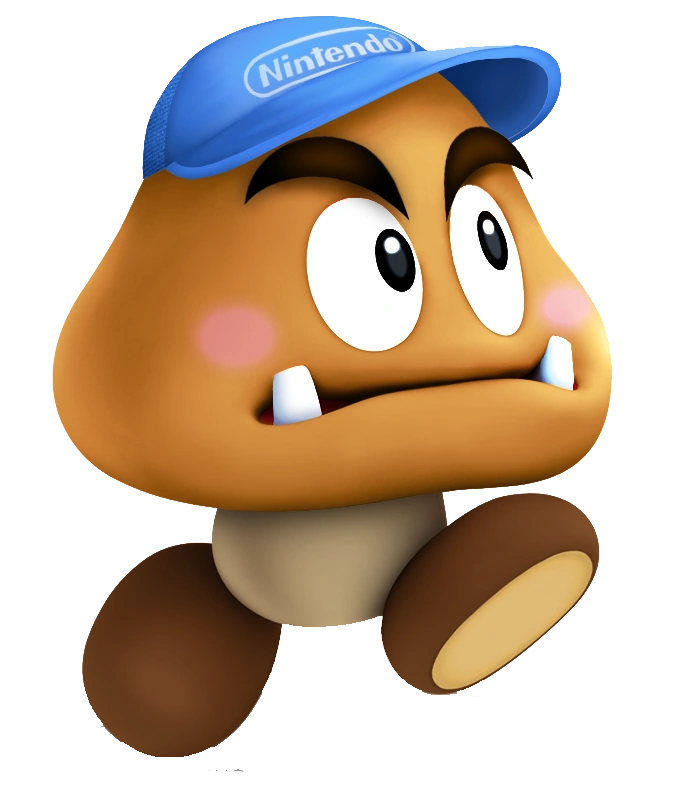
|
Goombario is recruited on Isle Delfino. He's capable of providing background info on a Kingdom as you collect Power Stars in it. |
| Admiral Bobbery | 
|
Bobbery is recruited on Isle Delfino. |
| Princess Lotus | 
|
Lotus is recruited in Saucercrash Dunes. |
| Chiro | 
|
Chiro is recruited in Saucercrash Dunes. He can provide Mario with background information on the bosses he's encountered. |
| Eight-Bitters | 
|
The Eight-Bitters arrive in Toad Town after Francis is defeated. |
| Trumbone | 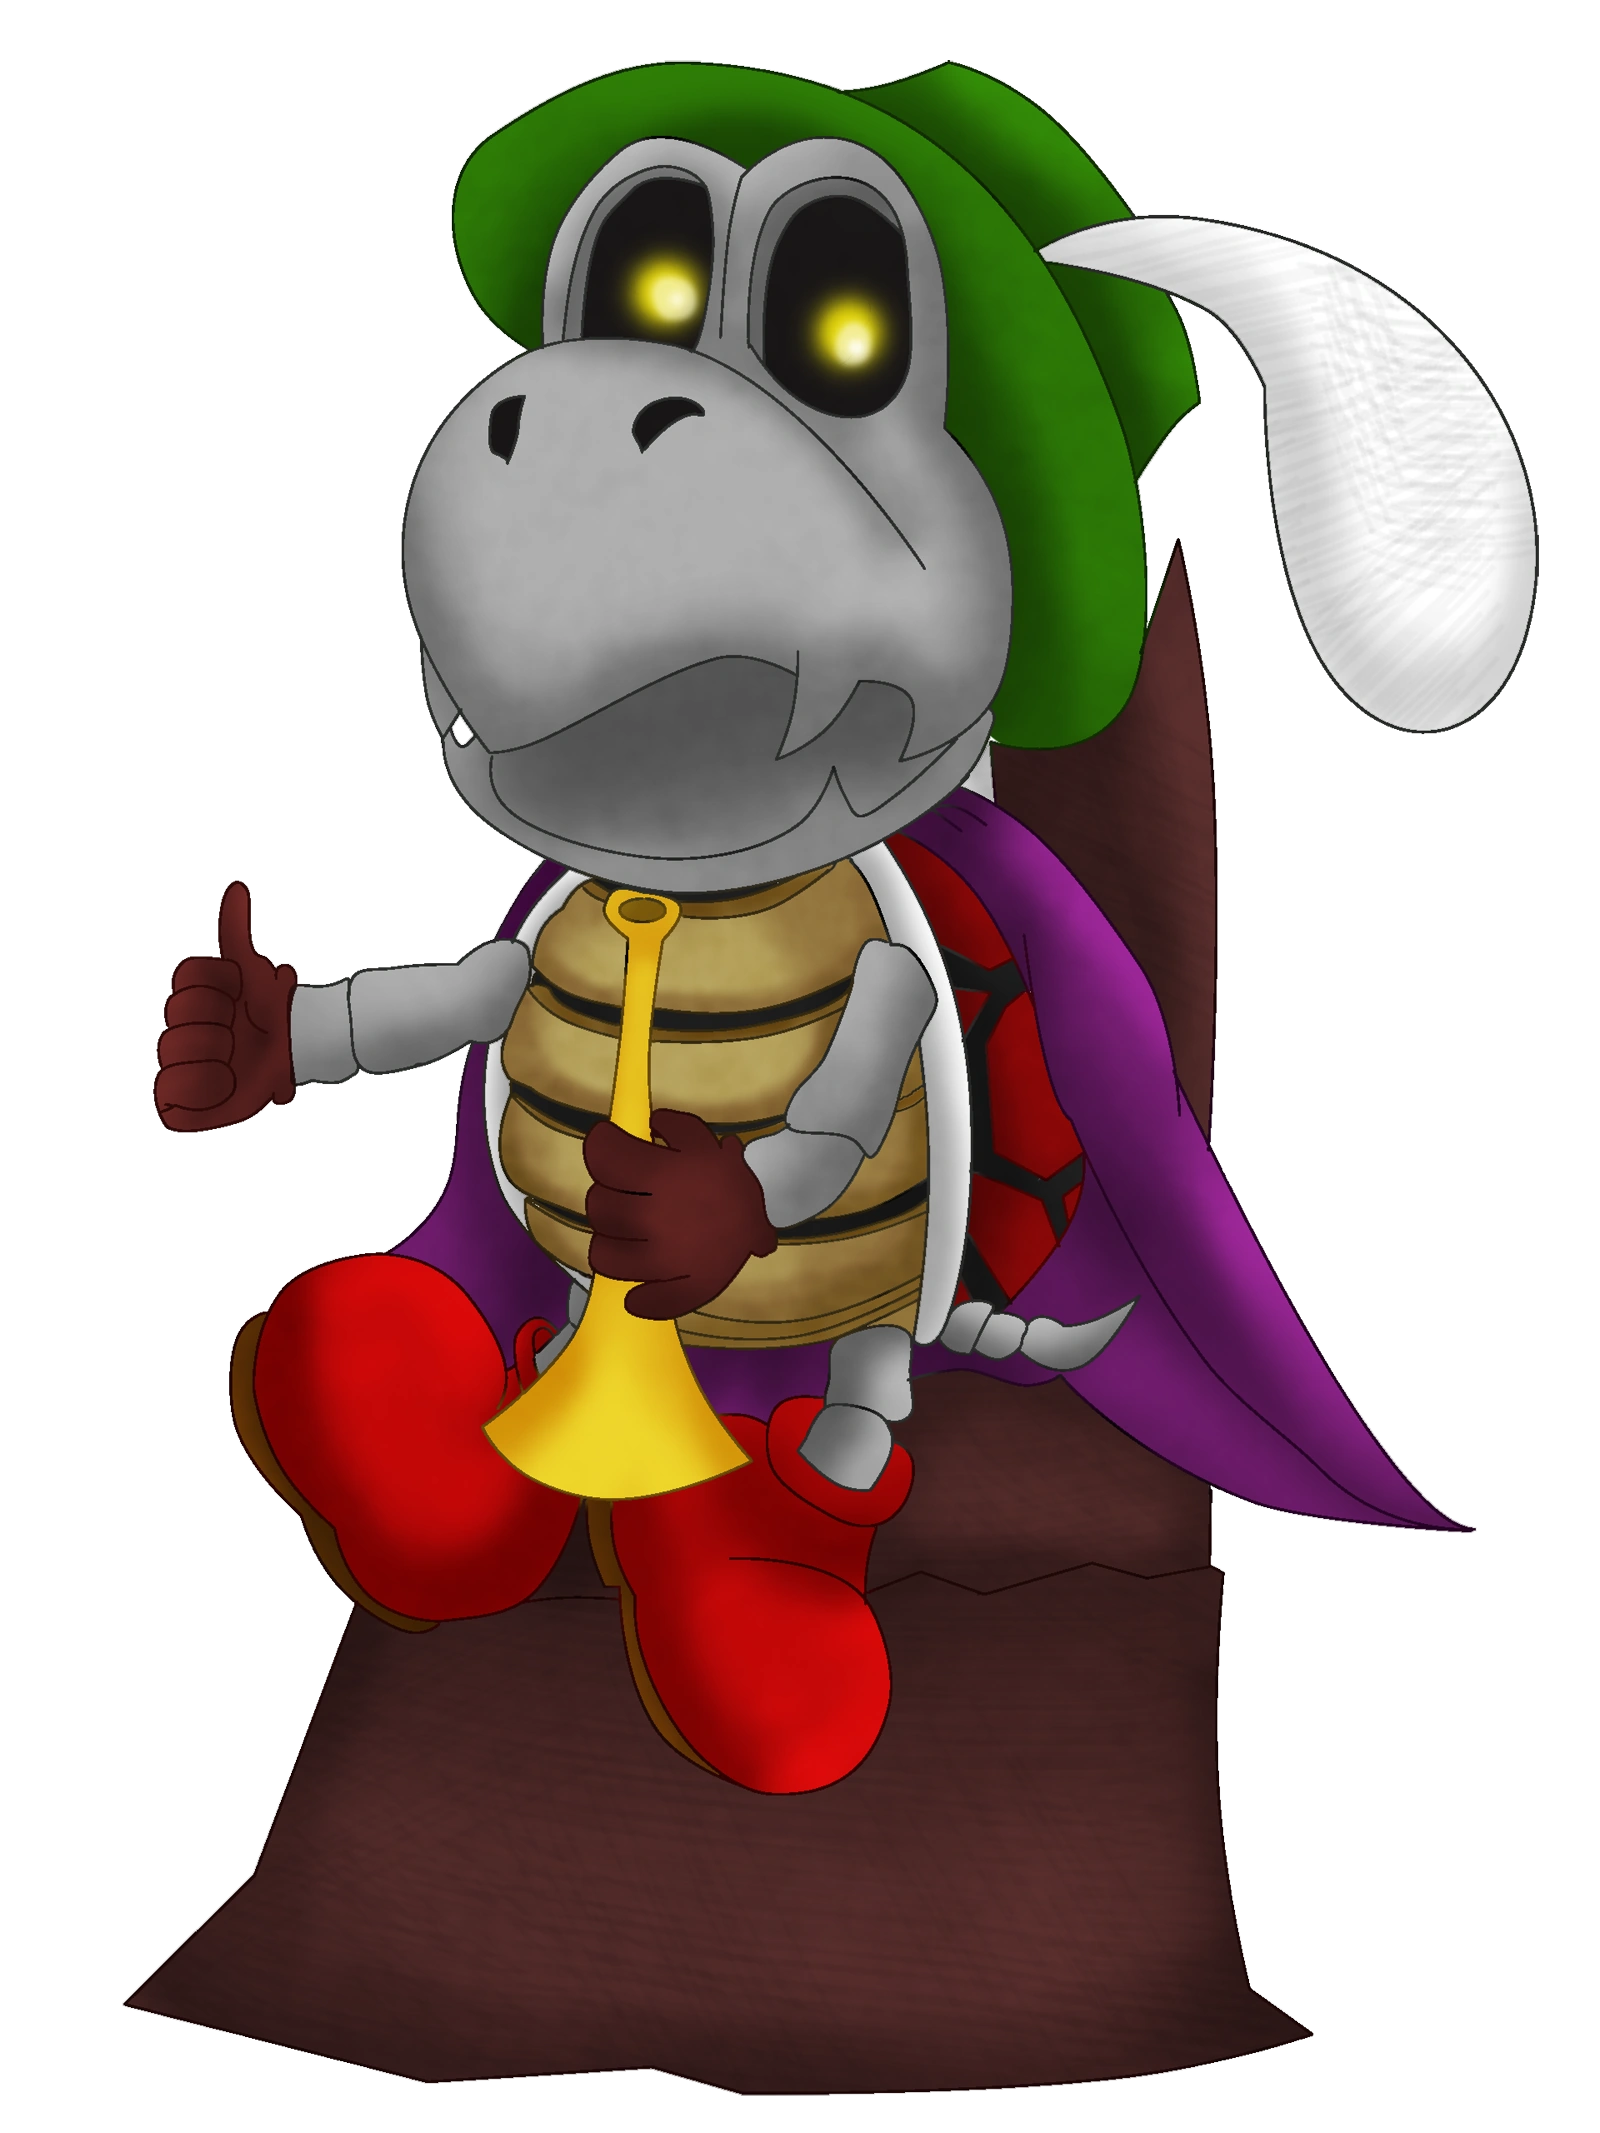
|
Trumbone is recruited in Iceshard Tundra. He'll let you listen to any song in the game whilst playing it. |
| Rosalina | 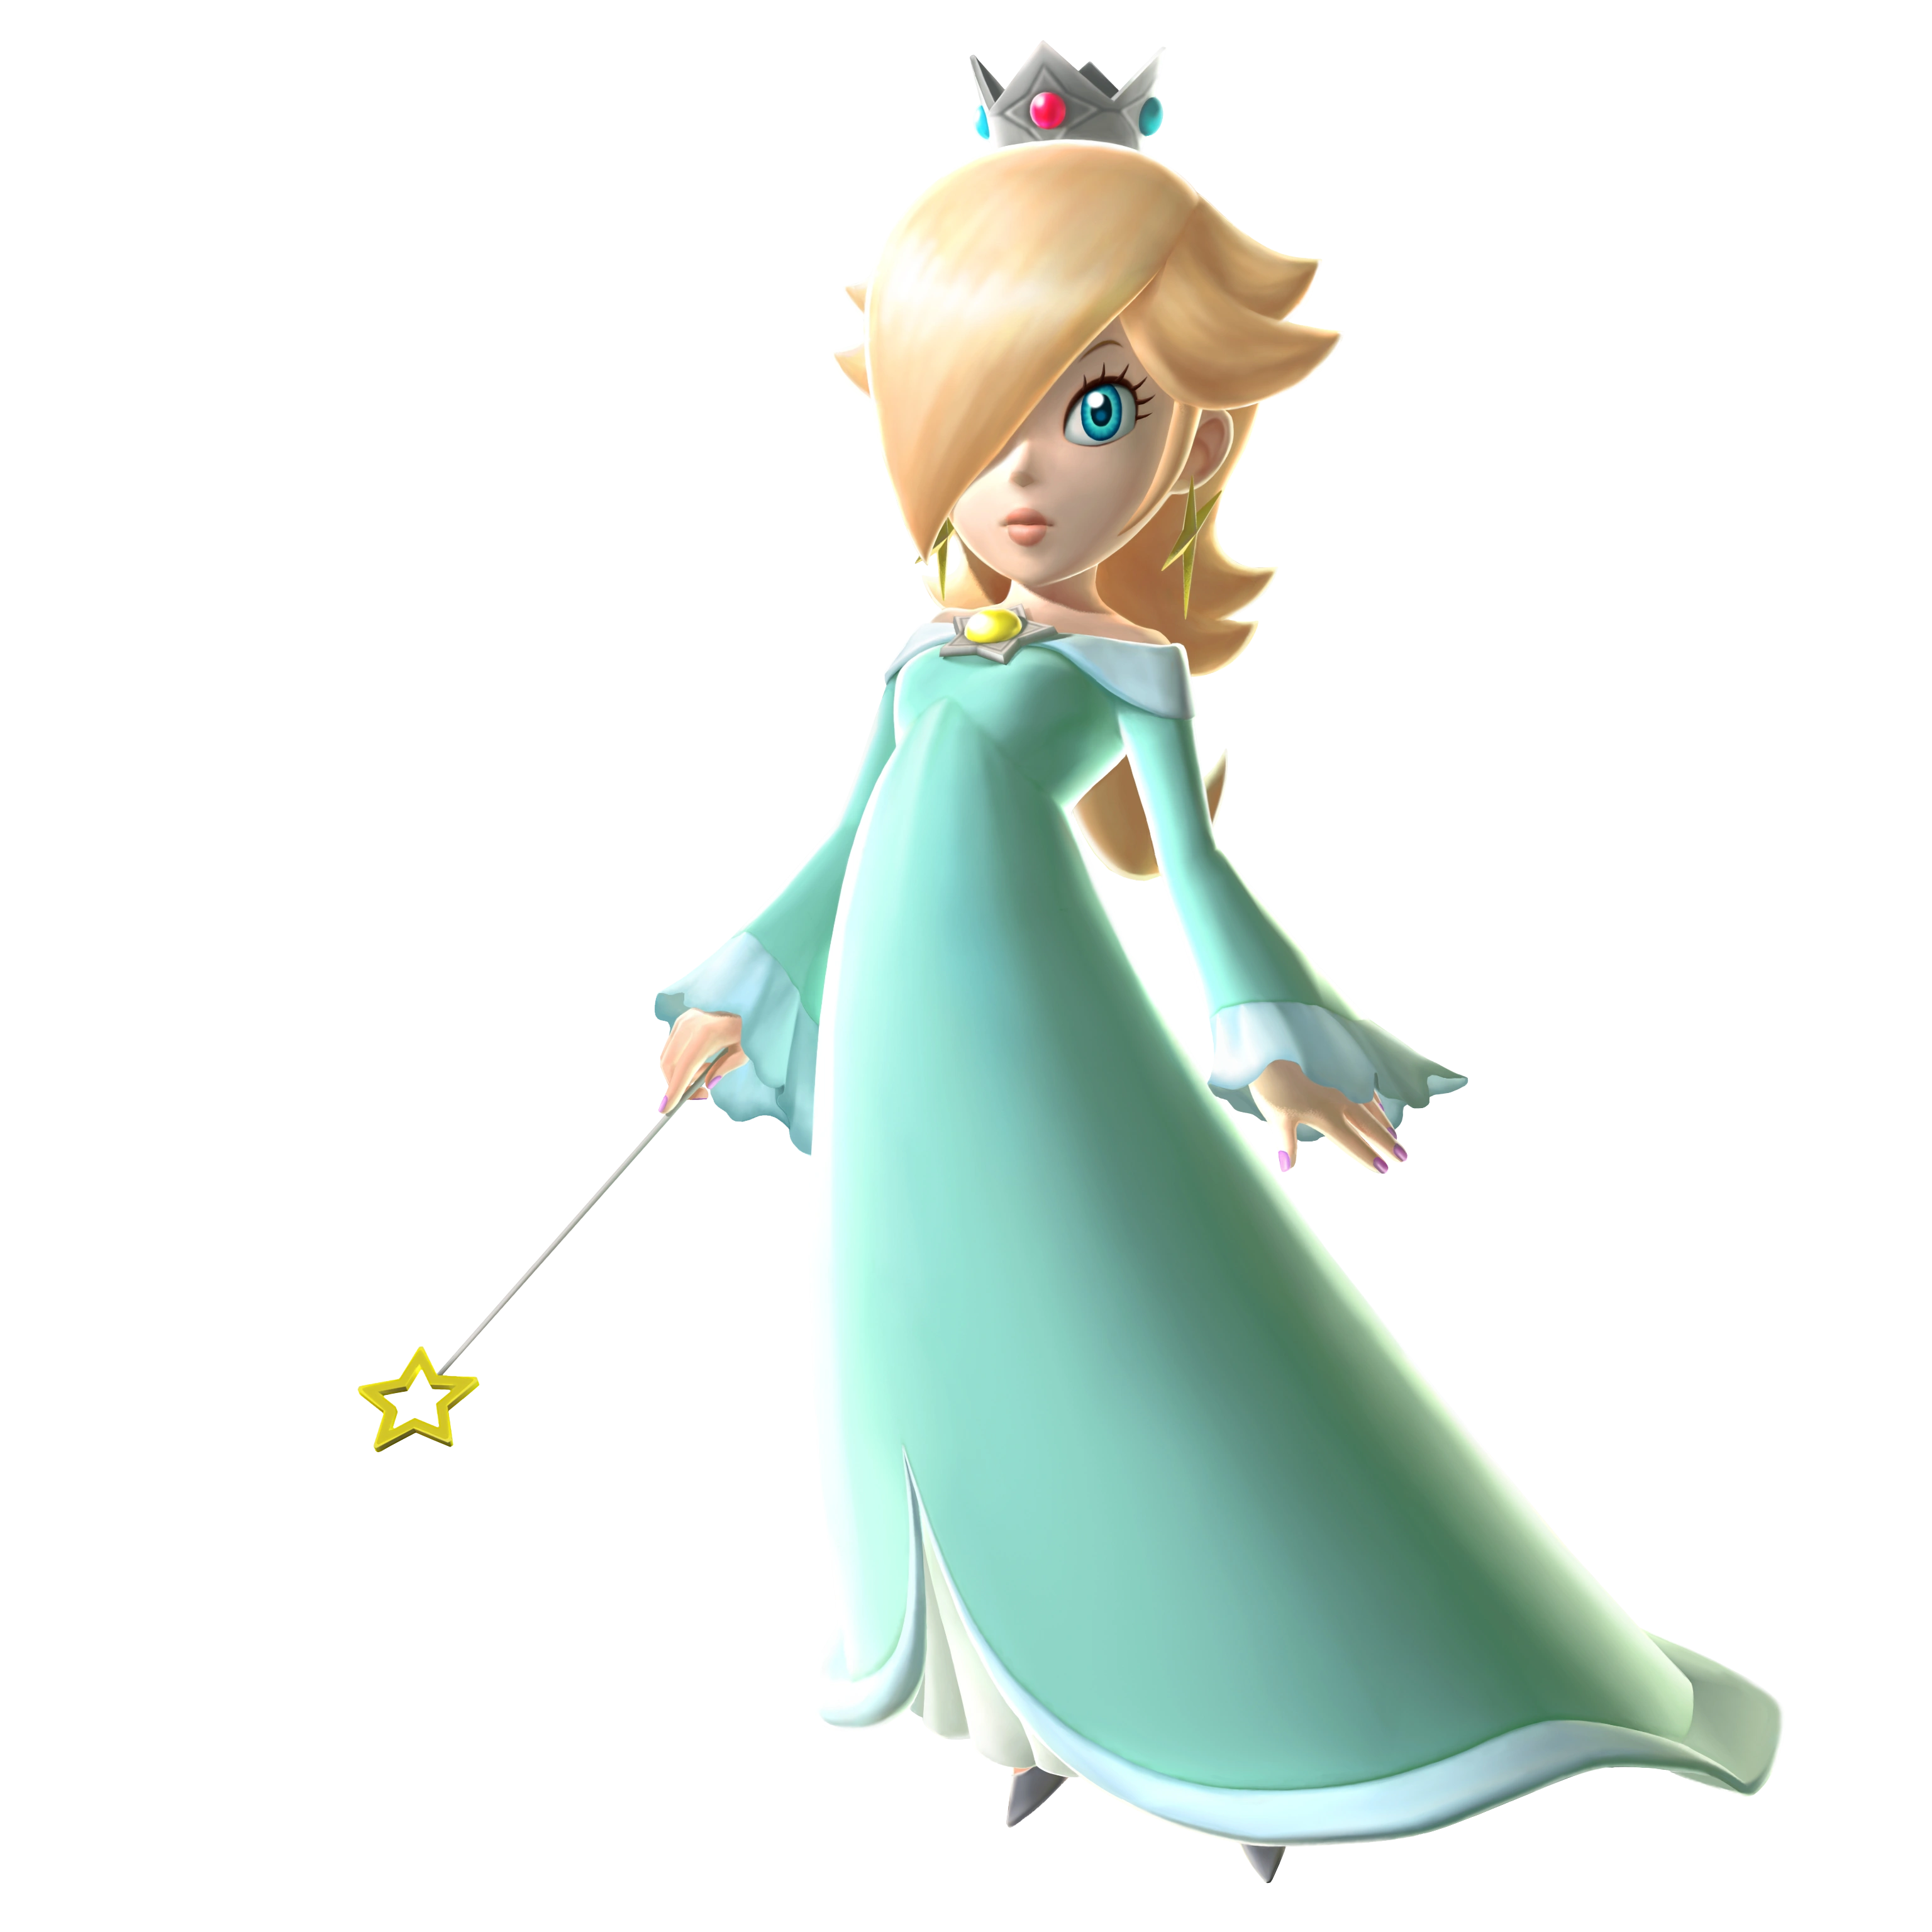
|
Rosalina is recruited in Luma Park. |
| Daisy | 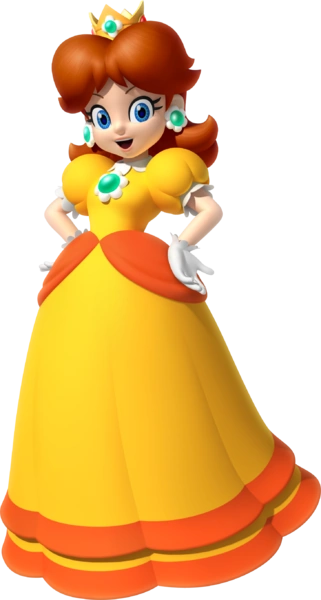
|
Daisy is recruited in Sarasaland. |
| Toadsworth | 
|
Toadsworth is recruited in Ruinia. |
| Kylie Koopa | 
|
Kylie Koopa is recruited in Ruinia. She sells additional Snapshot Mode filters. |
| Koops | 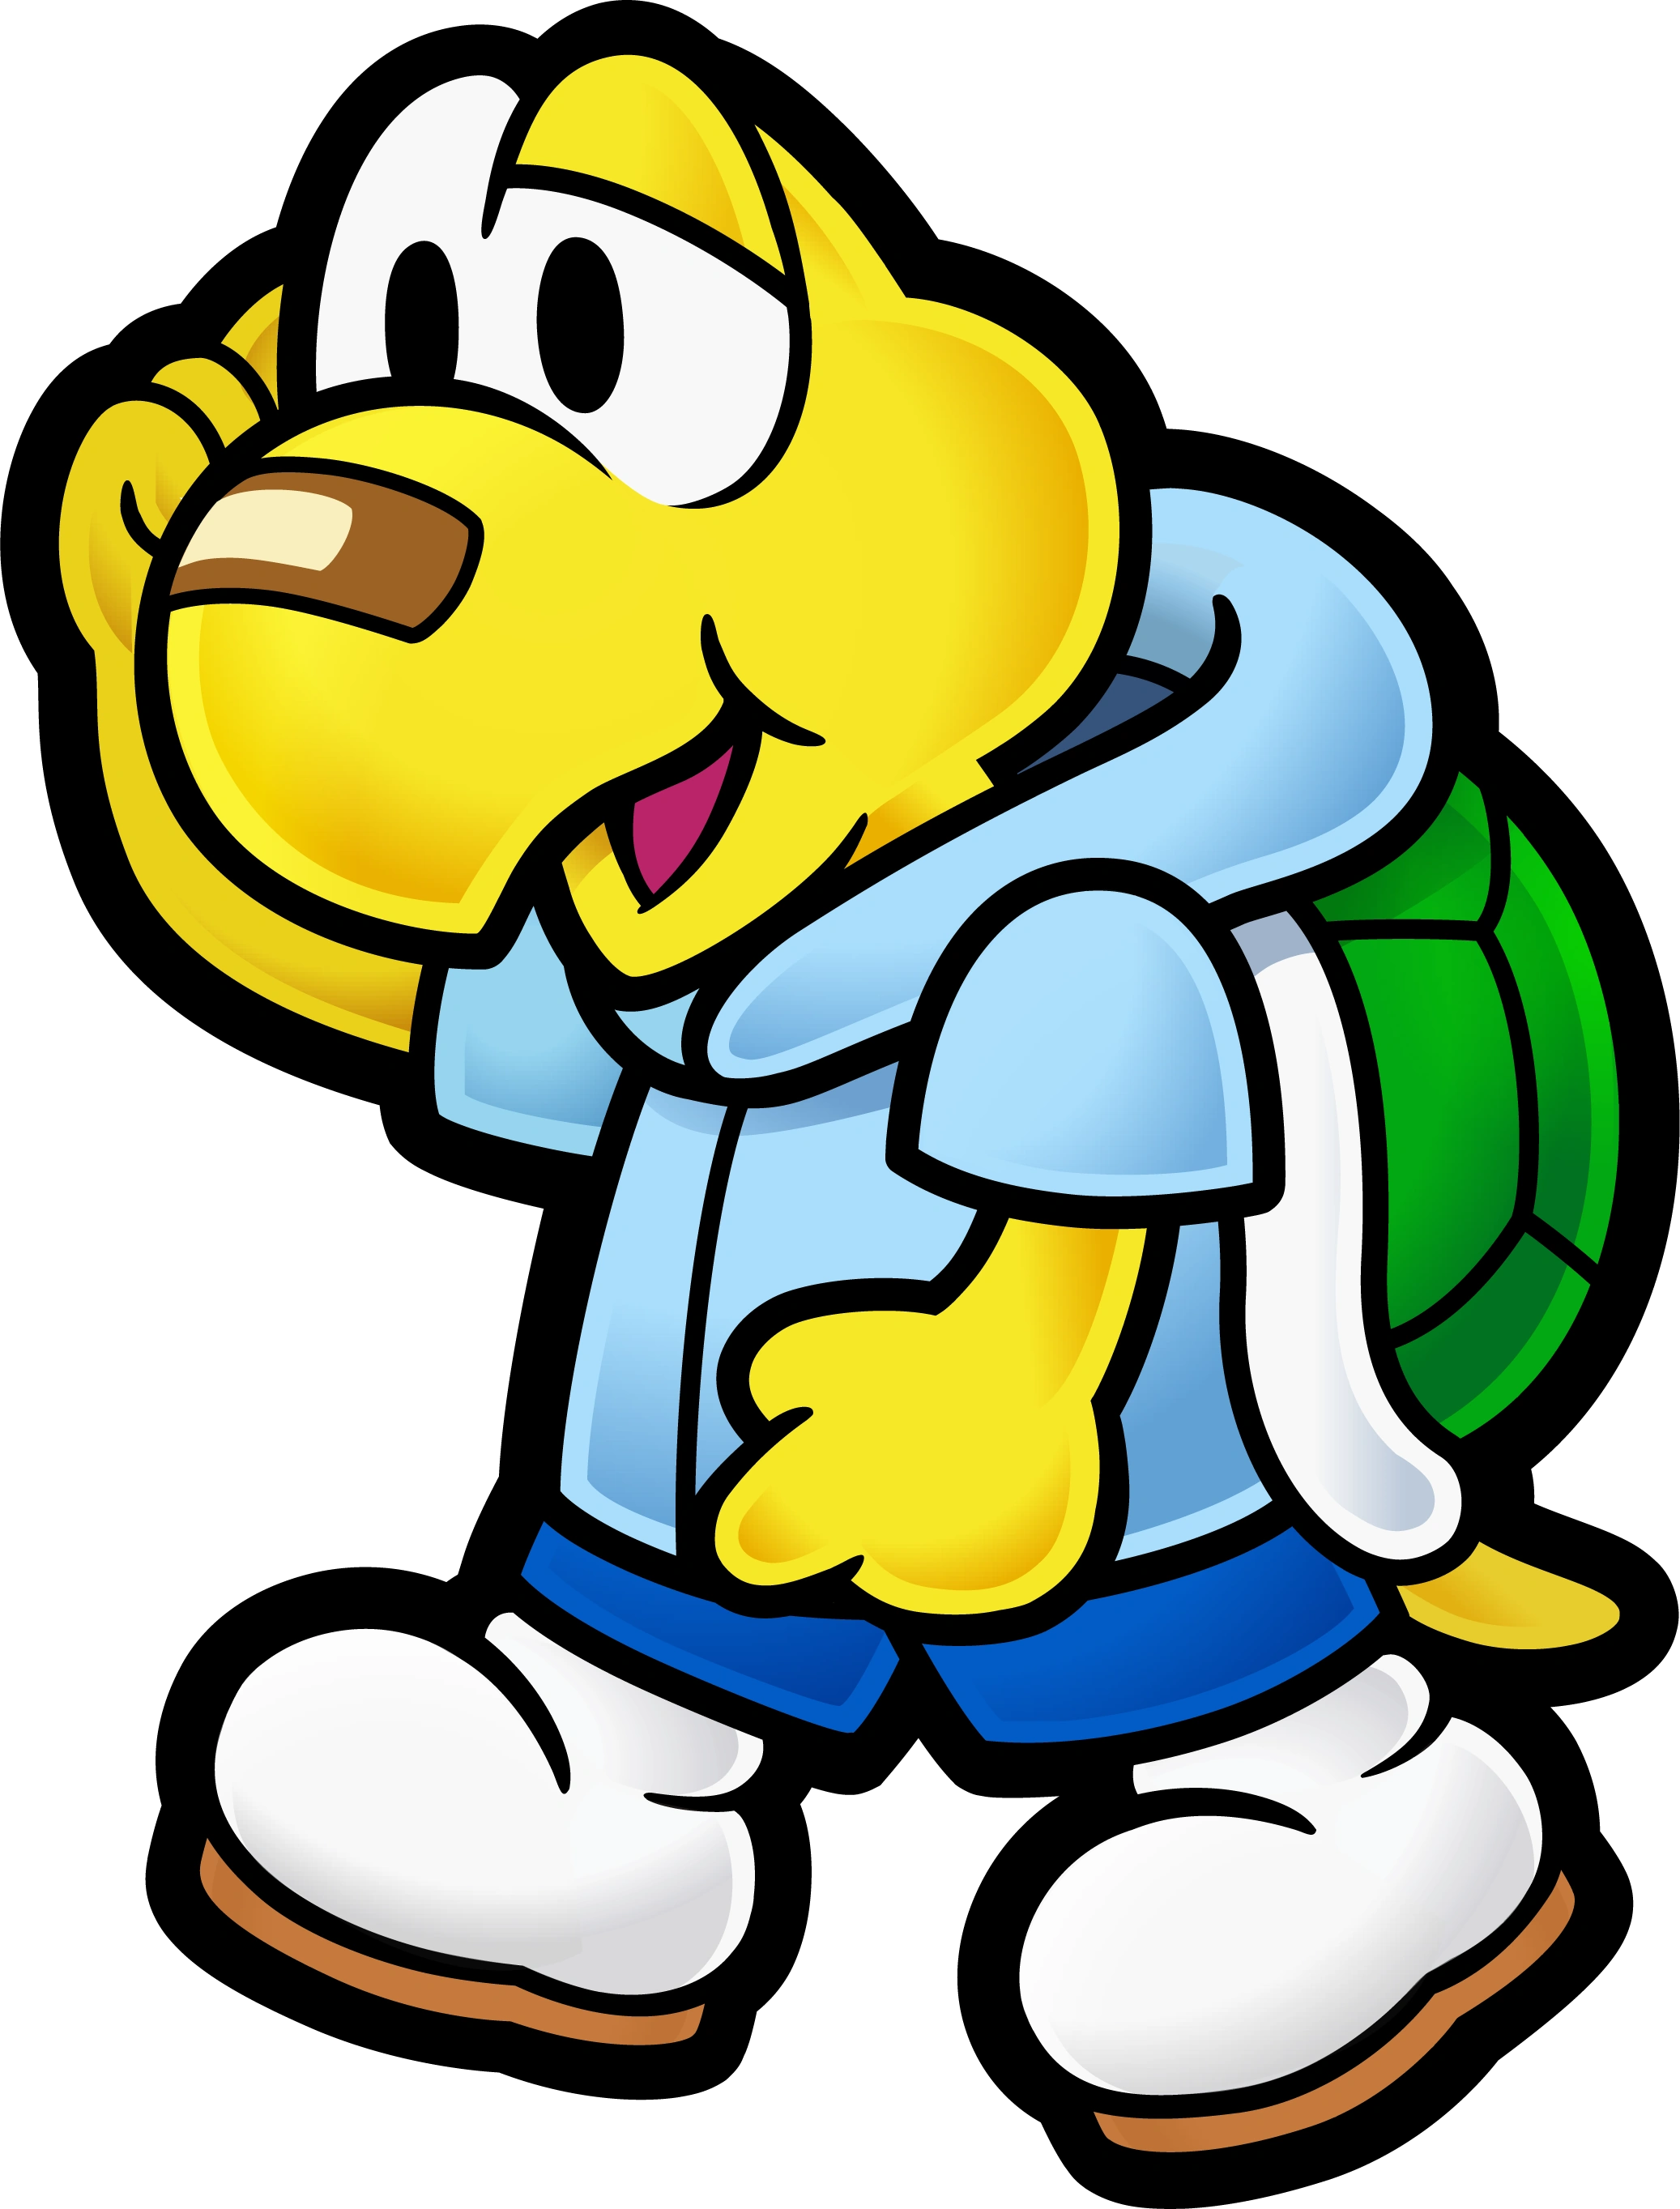
|
Koops is recruited in Koopa Coliseum. |
| Bombette | 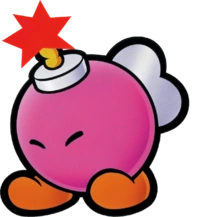
|
Bombette is recruited in Koopa Coliseum. |
| Lakilester | 
|
Lakilester is recruited in Goomba Mountain. |
| Ms. Mowz | 
|
Ms. Mowz is recruited in Goomba Mountain. |
| Prince Peasley | 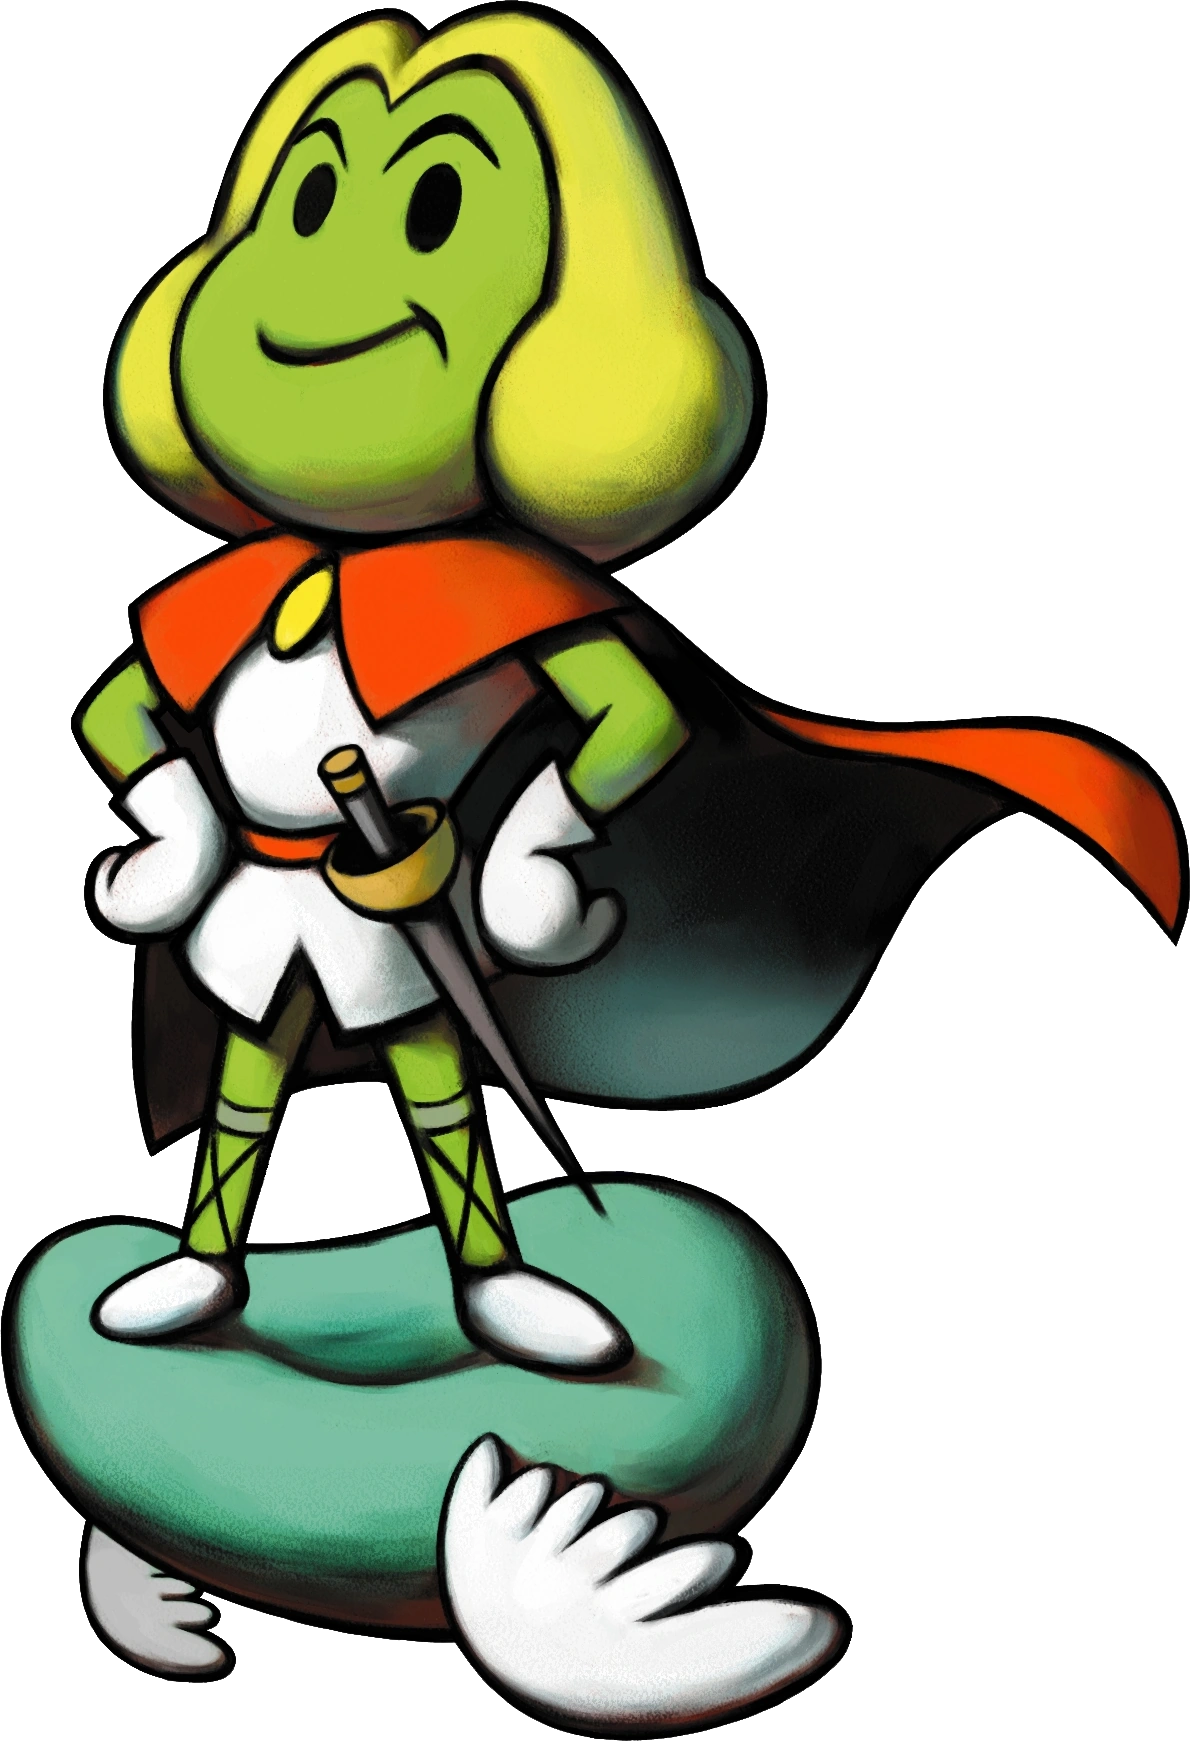
|
Prince Peasley is recruited in the Beanbean Kingdom. |
| Geno | 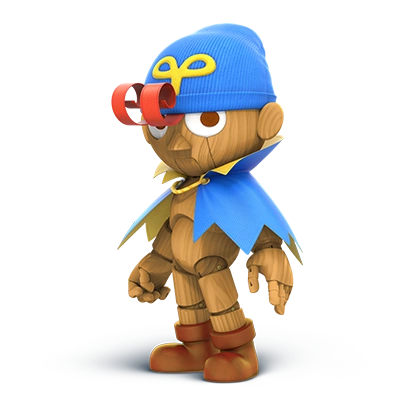
|
Geno is recruited at Star Hill. |
| Mallow | 
|
Mallow is recruited at Star Hill. |
Toad Town Buildings[]
Whenever Mario returns to Toad Town after obtaining enough Power Stars from the last Kingdom, he'll have the option to decide on a building to construct in the town. Each building has its own special functions.
| Observatory | The Observatory can be used to look at each Kingdom in the game from a specific angle that's impossible for Mario to achieve whilst inside said Kingdom. This helps locate Power Stars. |
| Pipe Hub | The Pipe Hub allows for Kingdom Pipes to pop up in more locations, and these Kingdom Pipes go between Kingdoms instead of straight back to Toad Town. Some can even lead to Kingdoms that are further ahead in the game, but you won't be able to do much. |
| Gaddworks | The Gaddworks are capable of spawning special power-up blocks across the game's Kingdoms. |
| Shroom Bank | The Shroom Bank allows Mario to invest coins into the bank, storing them for later. Interest is generated as you play the game, tracked using an internal clock. For every hour you spend playing the game, you'll get 10% interest. However, you can't just leave Mario idle overnight. The Shroom Bank also generates 5 coins for every Power Star you obtain. |
| Enemy Zoo | The Enemy Zoo is a building dedicated to showing off every enemy you've encountered in the game, within special caged areas. |
| Roulette House | The Roulette House lets Mario try his luck whenever he visits Toad Town. He's capable of getting a Life-Up Heart, a random power-up, coins, or even a Power Star from the roulette. |
| Arcade | The Arcade holds small minigames based on old Mario games.
|
Decorations[]
Toad Town is a fully customizable hub world, with players capable of placing down various decorations that can be obtained by purchasing them with both types of coins or scanning amiibo. Many of the decorations are replicas of famous Mario objects.
NPCs may also crowd around specific decorations and comment on them, and your character may also have their own reactions.
| 8-Bit Mario Statue | A statue of Mario in his 8-Bit glory. | |
| The Odyssey | A replica of the Odyssey airship! It flies around Toad Town too! | |
| Yoshi Egg | A giant Yoshi egg. What did you expect? | |
| Fountain | A simple fountain. | |
| Power-Up Display | A glass case full of all the power-ups you've obtained. | |
| Paintings | (These paintings come in different styles, each one depicting a different Super Mario 64 level.)
Make sure not to jump into it. |
|
| Master Sword Statue | This sword was used to slay a demon king, and it's now a great decoration. | |
| Shine Gate | A replica of Isle Delfino's Shine Gate! | |
| Tree House | A replica of Donkey Kong's tree house! | |
| Samus's Gunship | A gunship used by a famous bounty hunter. | |
| Arwing | A spacecraft of sorts used by a mercenary team. | |
| Warp Star | A method of transportation on a faraway planet. | |
| Blue Falcon | This is far from your average racing vehicle. | |
| Game & Watch Console Statue | A relic from another era. | |
| NES Controller (Famicom Controller in the Japanese version) Statue | Don't forget to blow into the cartridge! | |
| SNES Controller (Super Famicom Controller in the Japanese version) Statue | Perfect for tossing shells into the air. | |
| Nintendo 64 Controller Statue | For when you want to talk about parallel universes. | |
| GameCube Controller Statue | Don't get used to the analog triggers too much. | |
| Wii Remote Statue | Why not take a break? You can pause the game by pressing |
|
| Wii U GamePad Statue | Some artists aren't recognized for their talent right away. | |
| Joy-Con Pair Statue | The motion controls enable extra options! | |
| Golden Mario Statue | A worthwhile investment. | |
| Bowser Statue | Keep your friends close, and your enemies closer. | |
| Whomp's Fortress Diorama | Don't ground-pound on it. | |
| Cereal Bowl | Part of a nutritious breakfast! | |
| Poke Doll | Looks cuddly, but it can take a beating. | |
| Gyroid | Whatever you do, do NOT reset the console. | |
| Golden Banana | If only he were here to see this wonderful creation... | |
| Kart | Lakitus found these falling out of space a lot. | |
| Mini-Mario Box | Children begged to get these during the 2004 holiday season. |
Items[]
Throughout Mario's journey, he'll come across various objects that will help him out.
| ? Block | 
|
? Blocks grant Mario coins or items when he hits them. Some ? Blocks will produce multiple coins! |
| Brick Block | 
|
Brick Blocks usually don't produce anything when hit, but may occasionally contain coins or power-ups. |
| Used Block | 
|
Used Blocks don't produce anything when hit, but can be used as platforms. ? Blocks and Brick Blocks that contain items turn into these. |
| Coin | 
|
Coins are the main currency of the world. You buy items with them, collect them from enemies, blocks, or off the ground, and lose ten of them when you die. Collecting one-hundred coins in a single Landmark will give you two Power Stars.
Coin Rings are worth five Coins, and Coin Stacks come in varying sizes. |
| Red Coin | 
|
Red Coins are the focus of red coin missions. If eight of them are collected, two Power Stars appear. |
| Blue Coin | 
|
Blue Coins are a rarer type of coin that are collected separately from regular coins. Turning in five of them to Starlow will give you a Power Star.
There are 240 Blue Coins throughout the entire game, enough to get 48 Power Stars. |
| Heart | 
|
Hearts restore one wedge of Mario's health meter. |
| Regional Coins | 
(Each Kingdom has a different style of regional coin) |
Regional Coins are coins that can only be used in the Kingdom they're collected, but are often used to purchase more interesting rewards. They also aren't lost upon death. Each Regional Coin has a different design:
|
| Power Star | 
|
Power Stars are the main objective of the game, and are needed to open up Warp Pipes to the next Kingdom. Regular objectives out in the Kingdoms give one Power Star each, and most Landmark missions give you two each. Each Kingdom also has its own color of Power Star:
|
| Grand Star | 
|
Grand Stars are more powerful Power Stars that are obtained from boss battles. Collecting a Grand Star adds three Power Stars to your total, and they have the same color as the Kingdom they're obtained in.
On Isle Delfino, Grand Stars are replaced with Grand Shines, which are larger Shine Sprites. |
| Silver Star | 
|
Silver Stars are usually found scattered around in an area of a Kingdom. Collecting five of them will spawn a Power Star. |
| Music Note | When first touched, a Music Note will produce more of itself in an area. Collecting all of them will give you a Power Star. | |
| Binoculars | 
|
Binoculars allow Mario to get a better view of an area. |
| Cannon | 
|
Cannons allow you to shoot yourself towards a specific location. |
| Crate | 
|
Crates are stationary blocks that can be opened up by ground pounding or punching on them. They usually contain nothing, but may sometimes hold power-ups or coins. |
| Warp Pipe | 
|
Warp Pipes transport Mario from one location to another. Some pipes are only one-way, however. |
| Kingdom Pipe | 
|
Kingdom Pipes are used to travel between Toad Town and the Kingdoms of the game. |
| Pixel Pipe | 
|
Pixel Pipes place Mario in a 2D area on the floor or nearby wall based on an old NES or SNES-era Mario game. |
| Checkpoint Flag | 
|
Checkpoint Flags, when touched, restore Mario's health to full and can be used for fast travel with L.K. |
| Ground-Pound Switch | 
|
Ground-Pound Switches do something when you hit them with a Ground-Pound. |
| Lever Switch | 
|
Lever Switches, when hit with a punch or kick, will perform some function. |
| P-Switch | 
|
P-Switches will turn coins into Used Blocks and vice-versa when hit, as well as causing special doors to spawn. P-Switches don't last forever however. |


Power-Ups[]
Many different power-ups return in Super Mario Excursion. Power-ups are lost when you take damage or when the time limit runs out, if it has one. Their abilities often replace punching/kicking if it's like an attack.
Blue Shell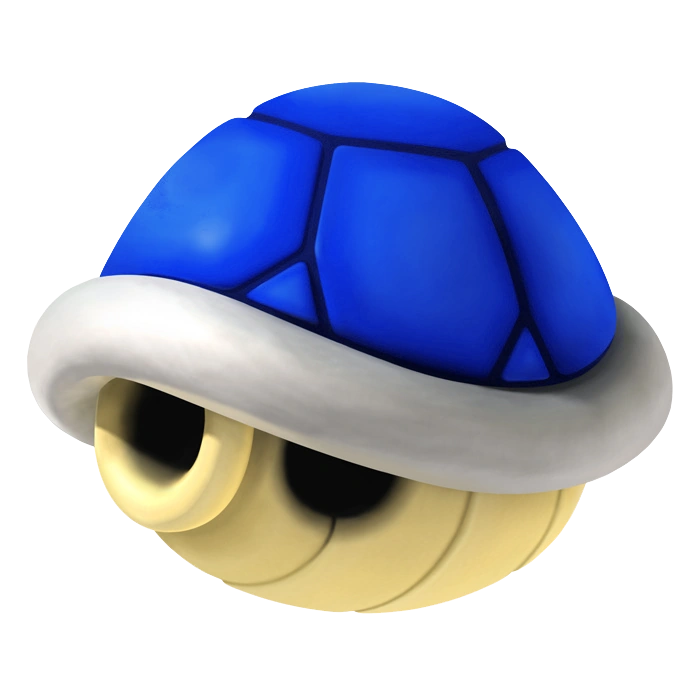
|
|---|
| The Blue Shell allows Mario to tuck himself inside a Koopa Shell and utilize a dashing move. This comes in handy for taking out enemies, crossing gaps, and solving pinball-esque puzzles. |
Boo Mushroom
|
| The Boo Mushroom lets Mario transform into a Boo, allowing him to levitate and pass through walls. |
Cannon Box
|
| The Cannon Box causes Mario to constantly shoot cannonballs for a few seconds. |
Frog Suit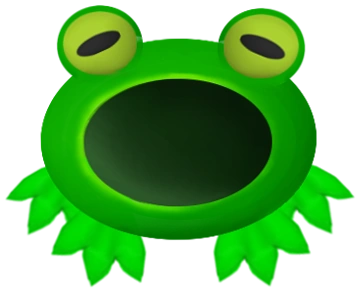
|
| The Frog Suit increases swim speed while also preventing drowning. |
F.L.U.D.D.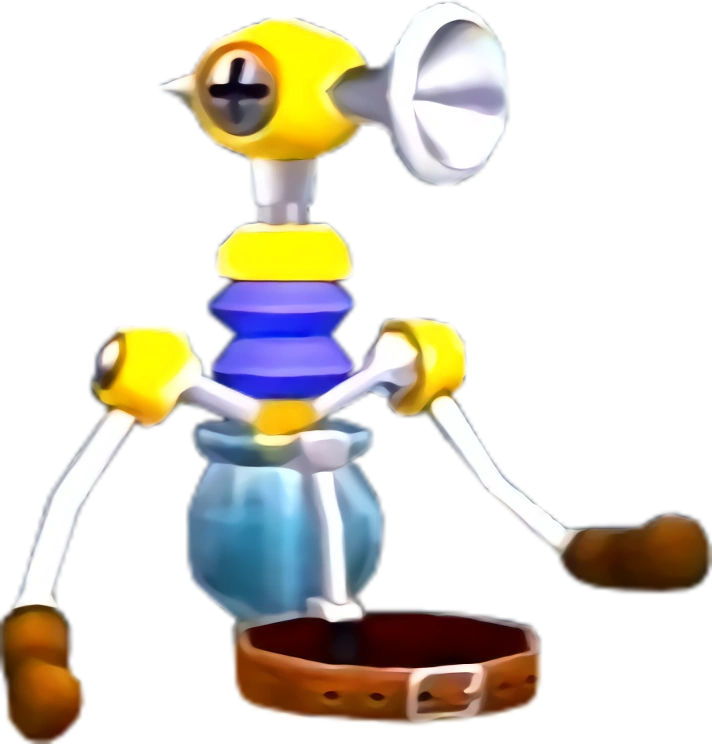
|
| The Flash Liquidizing Ultra Dousing Device (F.L.U.D.D.) allows Mario to shoot water that can clean away obstructive liquids and damage enemies. Its powers are lost if you run out of water, which can be replenished by breaking open other boxes that contain F.L.U.D.D.. |
Goomba's Shoe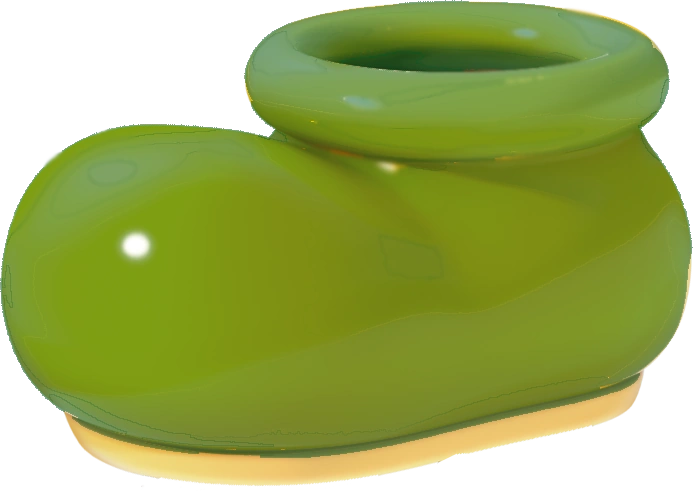
|
| The Goomba's Shoe allows Mario to hop on top of enemies and obstacles that would normally hurt him for a short amount of time, as well as granting the ability to squish most enemies he jumps on top of. |
Hammer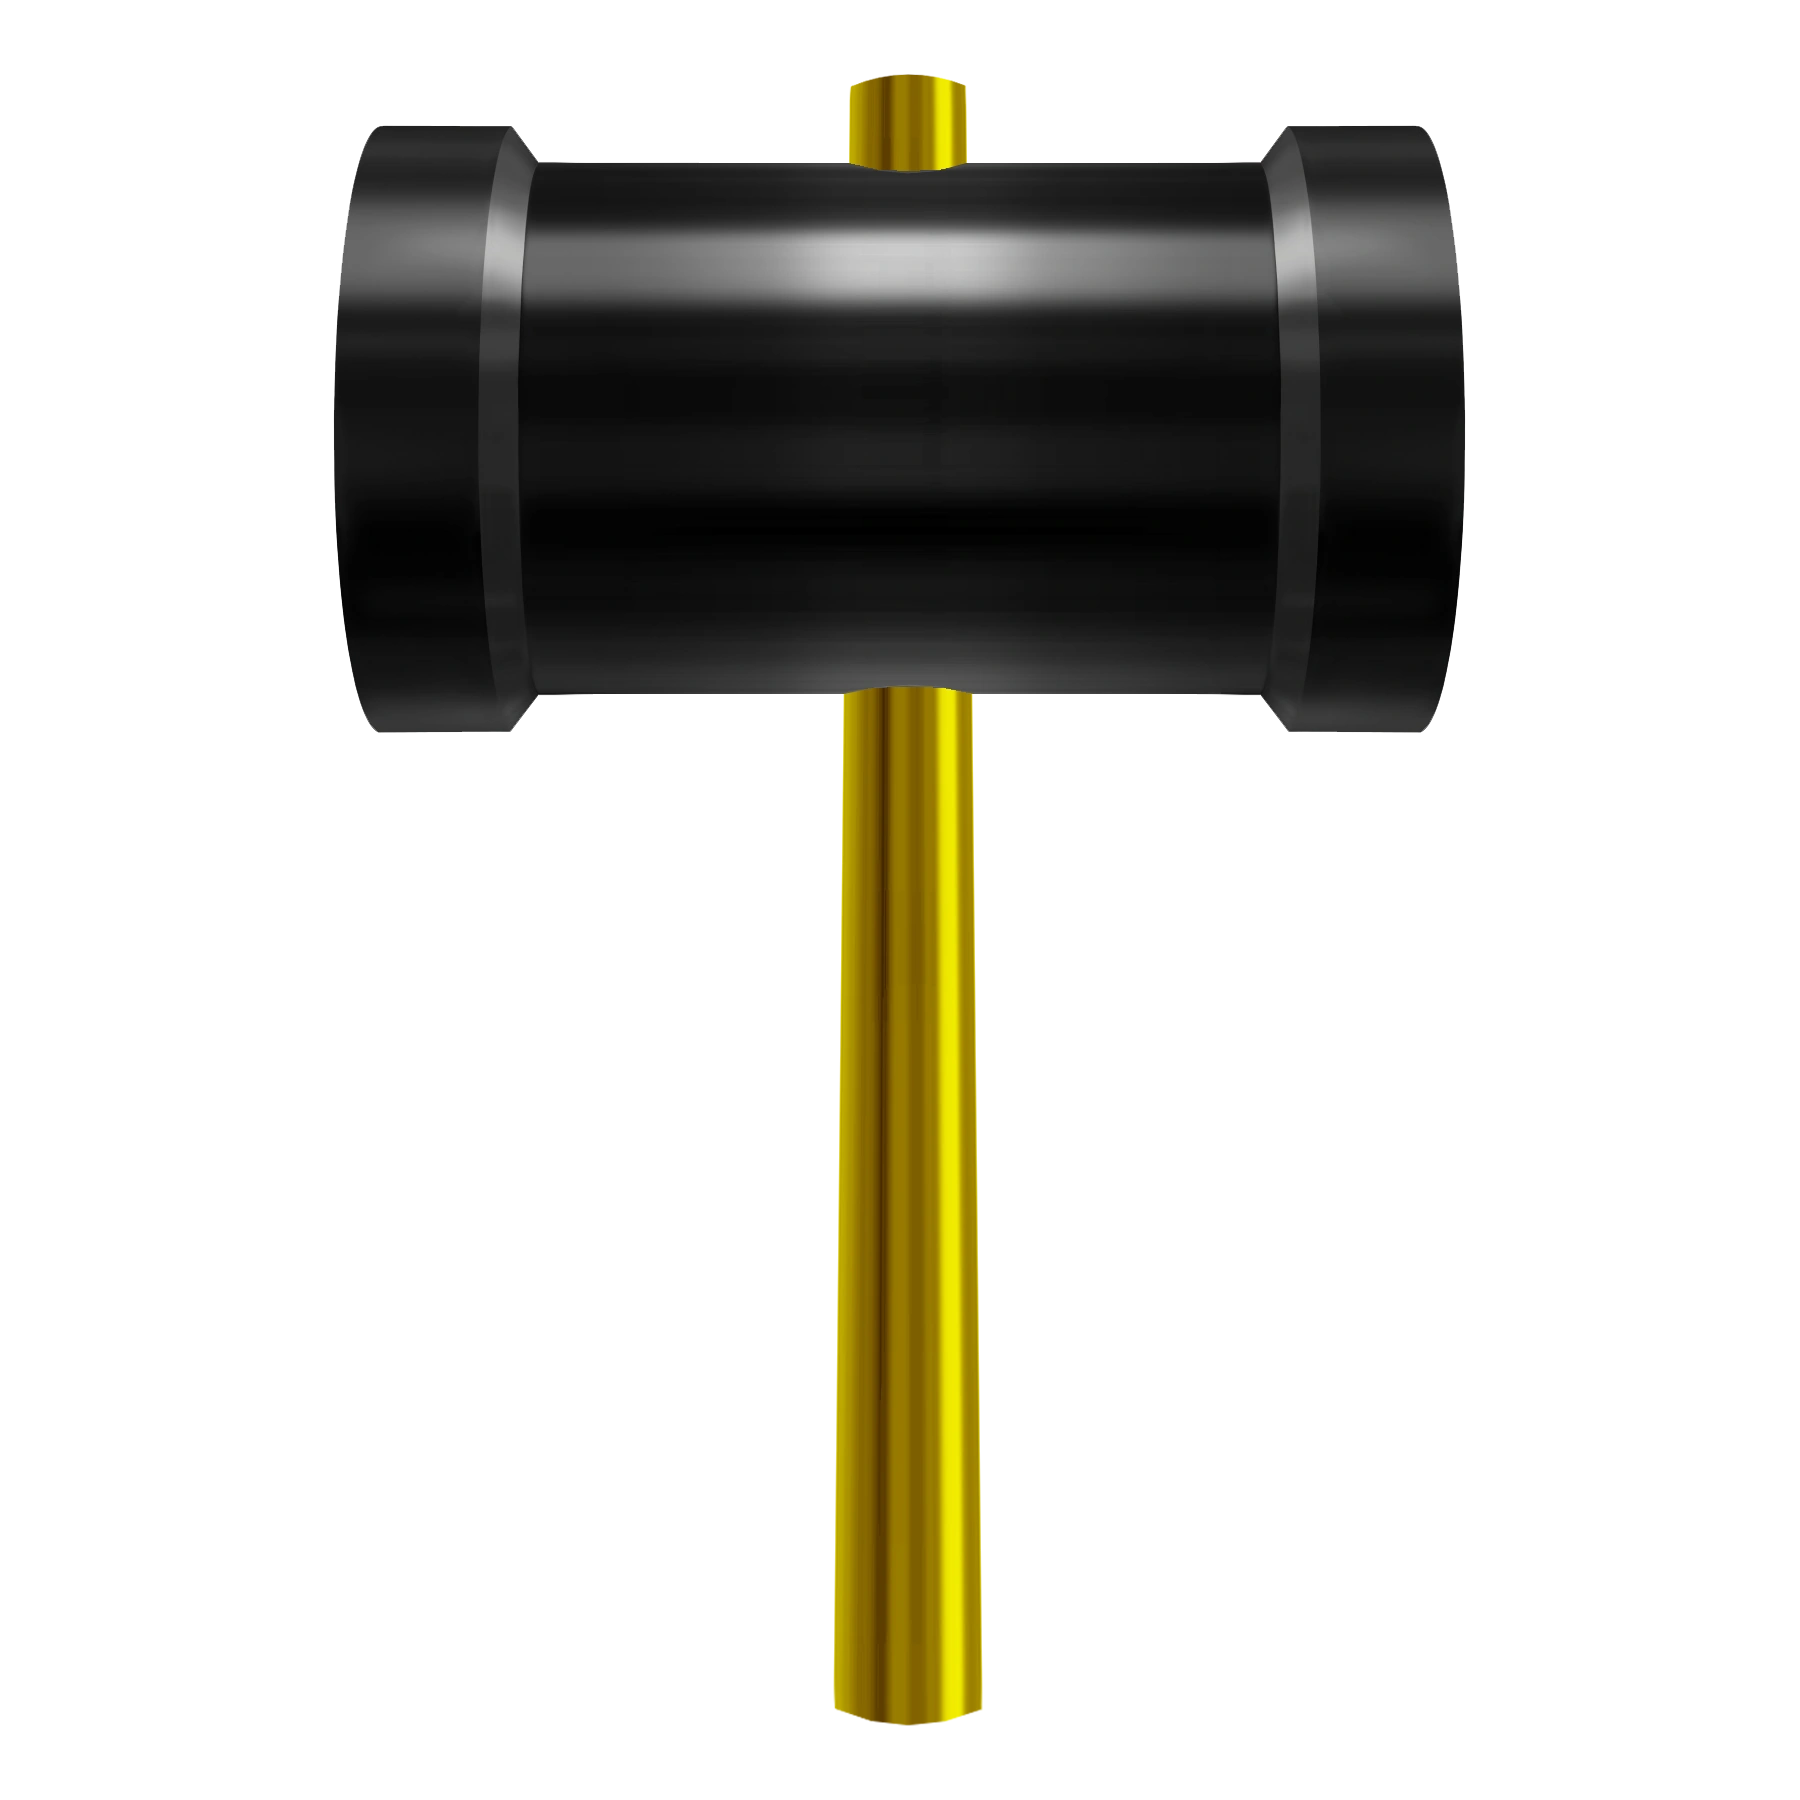
|
| Unlike other power-ups, the Hammer is picked up off the ground or when it comes out of a block. Mario can use it to attack enemies and hit buttons, and it can also be thrown across large distances as well. Hammers simply drop to the ground if you're attacked. |
Ice Flower
|
| The Ice Flower transforms Mario into an icy version of himself that turns any water or lava he skates over into ice and grants immunity to fire-based attacks for a short amount of time. |
Life-Up Heart
|
| The Life-Up Heart heals Mario's health and doubles it to six wedges. When you're down to three health wedges, the extra health is removed. |
Luma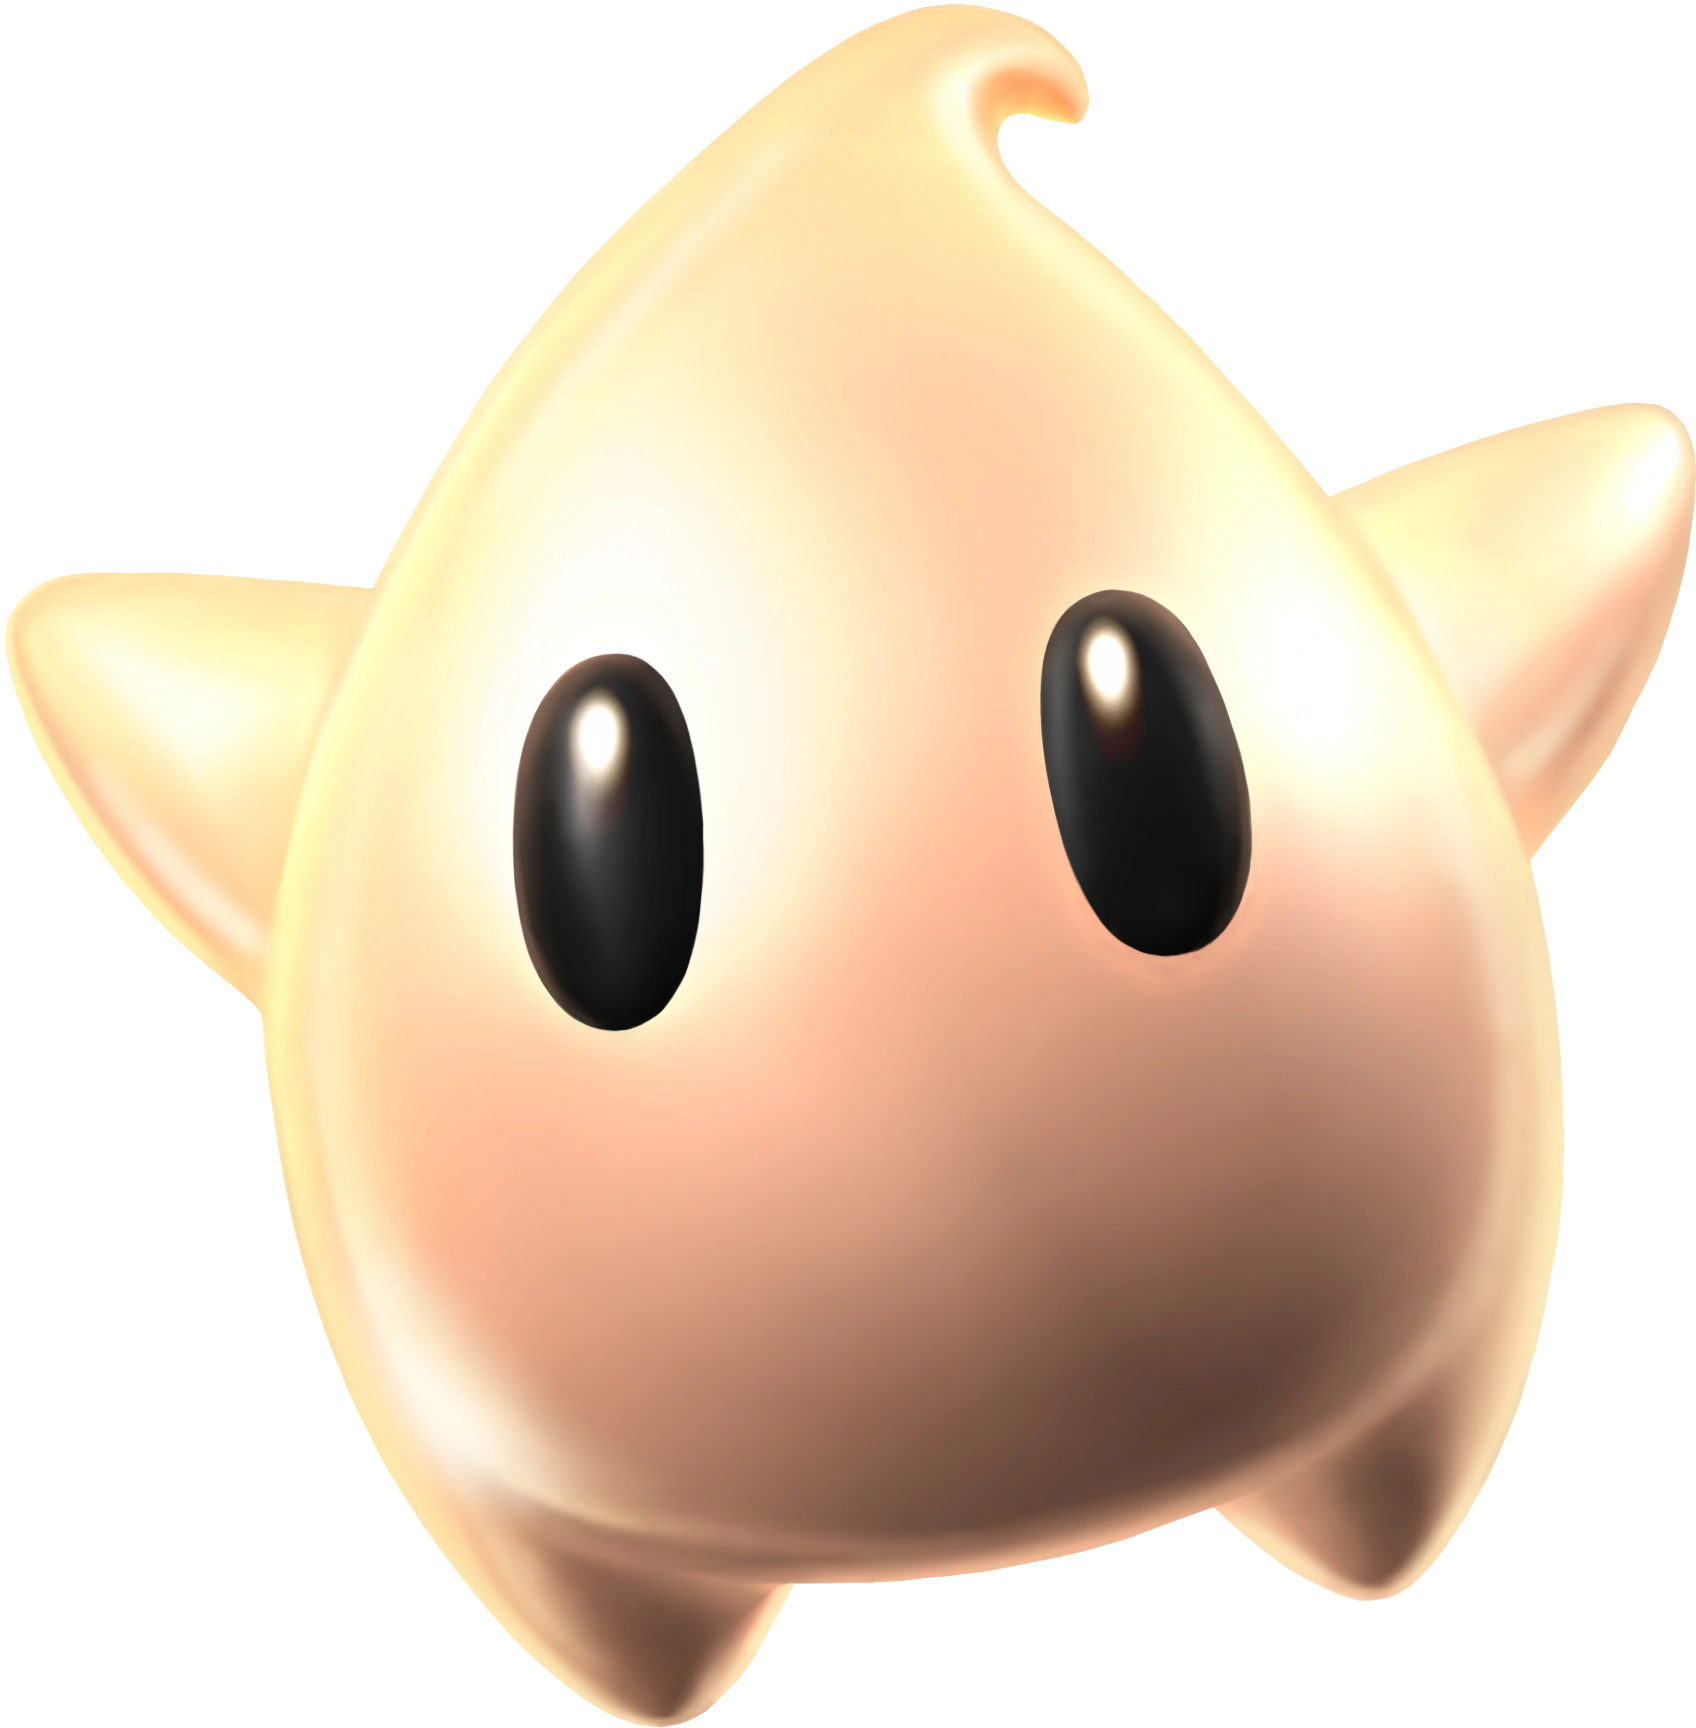
|
| This little guy allows Mario to utilize his spin move from the Super Mario Galaxy games by pressing Yoshi and Birdo utilize a head shake instead of a spin. |
Metal Box
|
| The Metal Box transforms Mario into a metallic form, making him much heavier than usual. This allows him to resist strong winds and water currents, walk underwater, and be resistant to poison and enemy attacks. |
Mini Mushroom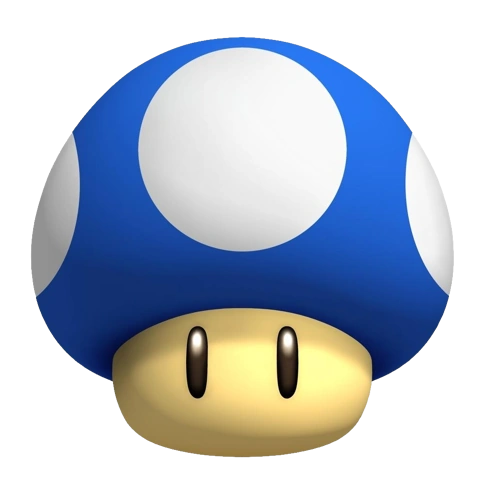
|
| The Mini Mushroom lowers Mario's health to one health point, but shrinks him down to a tiny size. This allows Mario to walk on water and reach small gaps, and collecting another Mini Mushroom will restore you to your original size. |
Power Flower
|
| The Power Flower grants you a special ability based on which character you're playing as. This ability only lasts for a certain amount of time. |
| Pal Pill |
| Pal Pills create an 8-man army of mini 8-Bit Marios around you that will follow you around, killing any enemies they jump on. If they hit an enemy, it's a mutual kill. Collecting more Pal Pills allows you to expand your army up to a maximum of 24 Marios. |
Poltergust 6000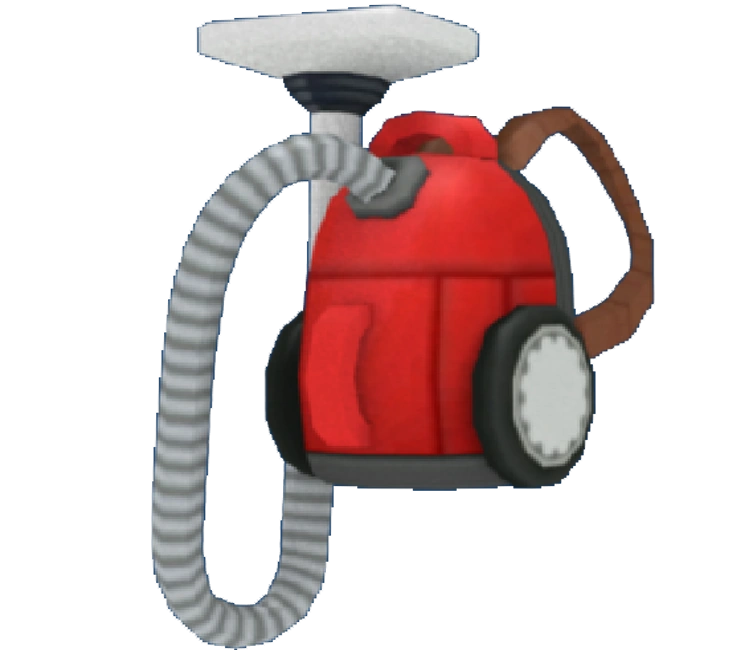
|
| The Poltergust 6000 allows Mario to suck up enemies for a short time, who produce more coins than if they were defeated normally. |
Spring Mushroom
|
| The Spring Mushroom allows Mario to jump MUCH higher than normal, but his traction is immensely reduced. Spring Mario can also interact with magnetic objects. |
Spin Drill
|
| The Spin Drill allows Mario to dig through dirt surfaces. Unlike its appearance in Galaxy 2, the Spin Drill can now drill horizontally. |
Rainbow Star
|
| The Rainbow Star increases Mario's speed for a short amount of time while also granting him invincibility and the ability to kill enemies just by running into them. |
Wings
|
| Wings grant Mario the ability to fly after a triple jump or being shot out of a cannon. The wings only remain on you for a short amount of time however. |
VS Mode[]
Super Mario Excursion brings back Super Mario 64 DS's VS Mode, which lets up to four players face off in a variety of game modes. Any Landmark in the game can be chosen as the map.
Game Modes[]
- Star Battle is similar to 64 DS and New Super Mario Bros.'s VS modes, with players fighting for Power Stars.
- Minigame Competition has players working to beat each others' records in minigames that can be found out in the Kingdoms.
- The Race game mode is simple: players run to the goal while trying to impede their foes.
- Enemy Hunt has players splitting up throughout the Landmark to take down as many enemies as possible.
amiibo[]
Special amiibo will be produced for all of the playable characters. When an amiibo of a playable character is tapped, they unlock access to a special challenge stage intended for that character, which can also be unlocked in-game later on.
Amiibo will also unlock special decorations for Toad Town.
Development[]
Super Mario Excursion started development around the time of Odyssey's team wrapping up development. The goal was to provide the best of both worlds when it came to 3D platforming: sandbox collectathon gameplay, and mission-based linear platforming. The Landmark system is the cornerstone of this, providing players with a choice between linear or non-linear gameplay.
The general plot of the game was designed to be darker than most Mario games, surpassing even that of Super Mario Galaxy's plot. Another plan for the game was to bring in spinoff characters and locales.
Cut Content[]
Buffet Badlands was originally called the Waffle Kingdom, as a callback to the Thousand-Year Door's sidestory involving Luigi. However, the name and environment was changed due to it being too obscure. Saucercrash Dunes was also referred to as Dry Dry Desert at one point.
Reception[]
Before the game's release, Super Mario Excursion was heavily anticipated by fans and reviewers, who were especially excited to see the combination of mission-based and sandbox Mario gameplay. The story was also given praise, but was compared to Sonic Forces in some situations.
At release, the game received universal acclaim. Reviewers praised the throwback vibe of Super Mario Excursion, as well as how it paid tribute to all Mario fans. The gameplay was praised heavily due to how it was replayable and highly entertaining. Despite this, there was slight criticism that the game didn't innovate enough.
Collector's Edition[]
The game's collector's edition costs $120, and contains the following:
- The game itself.
- A special Nintendo Switch case.
- The game's soundtrack.
- A strategy guide detailing Power Star locations, secrets, and other useful tidbits.
- A Nintendo Switch theme that adds special music and visuals to your Switch's menus.
Trivia[]
- Super Mario Excursion is meant to be the final main series Mario game in terms of atmosphere and plot.
- Sonic Forces is an inspiration for the game, but it only shares the idea of the main villain finally winning.
- The idea of Landmarks existing alongside Kingdoms was done due to complaints about Odyssey lacking objective-based missions.
- Unlike other main series Mario games, the RPGs are considered canon, as well as a few spinoff titles.
- Saucercrash Dunes's temples are based on those of the Aztecs.
- Neo Bowser City's architecture and theming is based on urban Japan as well as his casino theme in 3D World.