
| ||||
| ||||
| Developer(s) | ||||
| Publisher(s) | ||||
| Platform(s) |  
| |||
| Genre(s) | Platformer, Action RPG, Beat-Em Up, Dating Simulator | |||
| Release Date(s) | ??? | |||
| Age Rating(s) | ||||
| Media Included | V² Disc | |||
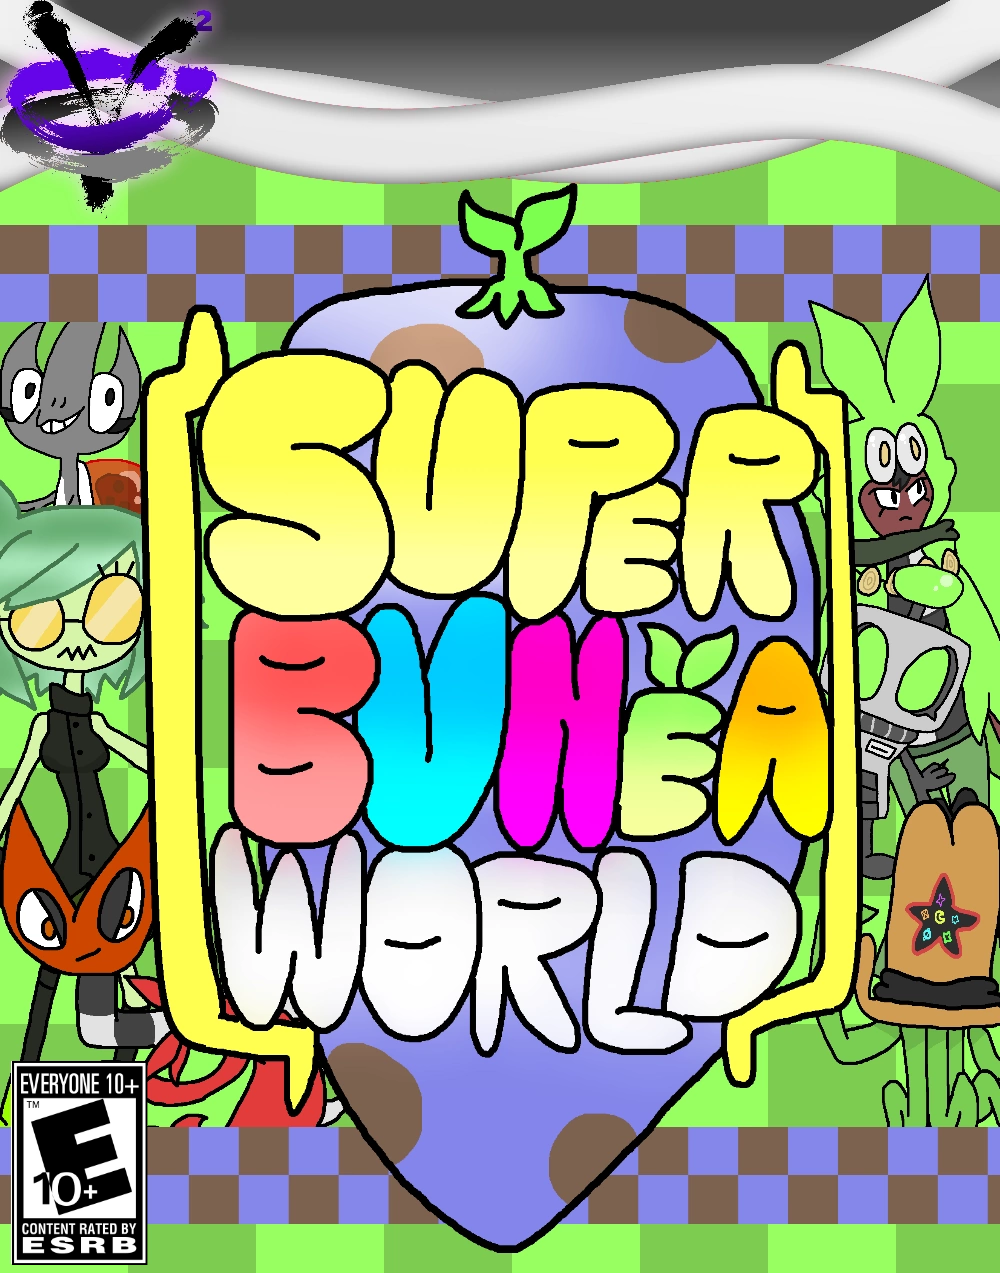

Super Bunea World is a game that is primarily a platformer with RPG, Beat-Em-Up, and Dating Simulator elements created for The V² by Toroko. The game features a entirely original world with original characters (save a single cameo by Zellen Harley Quimbleson and a bonus battle with Chain). The game stars a girl named Bunea who is on the run after she stole something, although the player isn't told what this "something" is for the majority of the game. The game revolves around her journey across various worlds, on the run. The player can go through several different routes both in level progression and in the story.
The game has been critically acclaimed, creating the successful Super Bunea franchise. A semi-sequel called Super Bunea Mayhem by Samtendo09 (t∣b∣c) was created for a Series Swap Day, beginning the Gaiden entries in the series. It was also re-released as a launch title for the TimeStrike Falcon. Super Bunea 64 would act as the true sequel for this game, following up much of it's events.
Gameplay[]
Overview[]
Super Bunea World is a platformer with a emphasis on combat. Bunea can carry around several weapons, swapping through them using the scroll wheel on the controller. Each weapon has a use rate that will slowly go down the more the player uses it, and will shatter when it's use rate is down to zero.
The player can preform a double jump by tapping the jump button twice. The player can run and get more distance for their jumps pushing the control stick to build up to running speed. They can also build instant momentum by pressing the dash button. While in the air, the player can press the dash button to preform a air dash. By pressing down, Bunea can use her cloak to float across the air.
In underwater sections, Bunea has unlimited time underwater but cannot dash. She can preform various swimming strokes by pressing the dash button instead, allowing her to progress quickly through the water. She can also jump indefinitely under the water.
Bunea gains EXP by defeating enemies, which increases up her attack, speed, defense, attractiveness and luck stats.
- Attack - How much damage Bunea can dish out.
- Speed - How fast Bunea can be.
- Defense - How much damage Bunea can take from enemies without the use of a shield weapon.
- Attractiveness - How well flirting with bosses works.
- Luck - How often "criticals" to any of these stats occur.
World Progression[]
Super Bunea World features eight worlds, each with a different theme and enemies exclusive to that theme. Each of the eight worlds contain multiple levels, although the number of levels can vary from world to world. Bunea needs to make to the Edge of each world, and some worlds have multiple progression paths to get there. The Edge of each world also gives Bunea a heavy amount of EXP for getting there. However, each Edge of the world also contains a boss.
Facing Bosses[]
When Bunea reaches the Edge of each of the worlds, she must face off a boss. She is then treated to a dialogue box where she can talk it out with the boss. This gives the player some choices in how they treat bosses; they can either skip straight to the fight or attempt to talk the situation out with the boss. The player can also flirt with each boss. Should the player manage to befriend or romance bosses, they also can get help from them later on and receive gifts from them. The player can romance multiple bosses, although a polygamous relationship is harder to maintain and not all bosses that are charmed by you may be cool with it.
Should the player skip straight to the boss fight, they will have to fight against the boss and defeat them. Each boss drops a bunch of EXP as well as a Soul, which the player can collect to liquidize into even more EXP. At the cost of this though, it will become much harder to reason with certain bosses, although this might be the opposite case for some of the other bosses.
Controls[]

Plot[]
Main Story: Super Bunea World[]
The game begins with Bunea exiting down some steps as some Edgy Eddies roll after her, but she quickly dashes away. The player can see her shift something into her hood as she does, and the adventure begins as Bunea dashes through the edge, landing in World 1: Chococarrot Charge.
From here, the adventure begins. Bunea progresses through the worlds at a breakneck pace, dealing with the bosses in her own way. More details on these encounters can be found in the respective bosses section.
Over the course of the game, the player will get hints as to what exactly Bunea stole from the building at the start. These are spoken by the bosses, although what exactly it is never actually spoken until World 7.
- Liz Izzard: "Give it back! You can't go home."
- Gwenasis: "You stole something very important to the Mistress... but I honestly can't remember what is, or... care, really."
- Tikzaku: "You're the girl with the world in her palm, huh?"
- Shardene: "You really have no shame being a pretender to get what you want, huh? And for something so big too..."
- Vaisha: "Amazing... how the worlds sparkle at night. There used to be more... I guess there's no harm in clearing in the sky."
- Anaheim: "A real warrior keeps the world under their feet. Let's see how you fare, considering."
- Lydia: "Hey, I don't really know what you stole, I'm just here to make sushi and keep my head low. But... we got rules around here and we gotta keep things in order for the Mistress. I apologize in advance."
With World 7, it's a lot more obvious at what they're getting at.
- Moona: "Aw... it's so cute that you're carrying around your home world with you... but it's not your's... sorry..."
After defeating Snowtato Slushlands and taking care of it's boss, it's time to take on the Exhausted End.
Good Ending[]
To get the good ending, generally you need to have made friends with most of the bosses. Although you CAN get the good ending if Lydia and Moona are killed, they will not appear in the ending celebration. Additionally, you can get the good ending if just those two are alive. Another variable to get the good ending is how you deal with the final boss. Killing her will trigger the bad ending, but making friends with her or becoming her girlfriend will trigger the good ending.
At the end of the game, the last three levels of the Exhausted End take place in the Museum of the Weird. These levels are a collection of strange artifacts, and those are more detailed in those respective level sections. At the end of the Museum of Weird is the encounter with the Mistress of Weird, the final boss of the game.
Should Bunea talk her out of her imperialistic nature, the Mistress of the Weird will free the worlds from her grip, although this development will take years to fully fix the damage she has caused. The Mistress of Weird becomes so distraught over her actions she nearly becomes suicidal, which Bunea has to comfort her out of. After this, the two will become friends, and if they player should pursue it, lovers. The game ends on a happy note, with Bunea finally being able to visit her home planet (along with those she has grown close to), although she states that she now feels the winds of other worlds begging to be explored.
Bad Ending[]
Should Bunea fight the Mistress of Weird and defeat her and collect her soul (and if she has collected the rest of the bosses souls), she takes over the Museum of the Weird herself and redubs herself Vulpea, changing her outfit as well. This ends the game on a somewhat sad note, as Vulpea's personality shift causes her to keep the other worlds in their bottles, and even begins to bottle the ones up that the player has been through, becoming her own Mistress of the Weird.
Side Story: Super Voidmato World[]
Beginning with the assassination of a Galaxburgian, we first get a glimpse of Voidmato as a sniper on the rooftop of the Museum of the Weird. The alarms go off in the building, with the personal bodyguards being sent off after Voidmato. Voidmato pulls off a Void Grenade and returns to his shabby apartment, although when he gets there a demonic creature named Diablister informs him he has a debt to pay and that he has taken away what Voidmato finds most precious to him. Voidmato stares at the couch and gasps, with Diablister telling him to assassinate the Mistress of the Weird and the bosses of each of the worlds she has conquered, although this is mostly so Voidmato can grab their most prized possessions. Voidmato sets off.
Voidmato can only fight the bosses, although not steal their souls, merely just the prized possessions of each boss. The prized possessions are listed in the Boss section, although a recap is listed below:
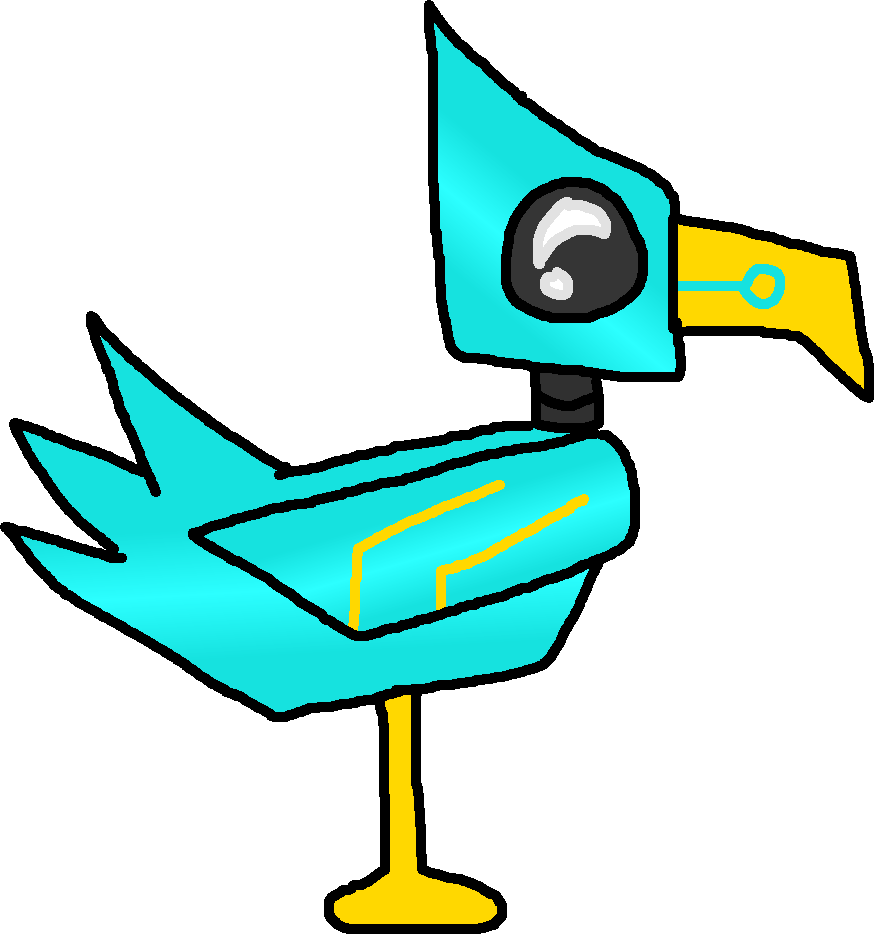
- Liz Izzard - Small mechanical bird named "Clementine"
- Gwenasis - Coffee mug shaped like a tiki head
- Tikzaku - Eyeball microphone
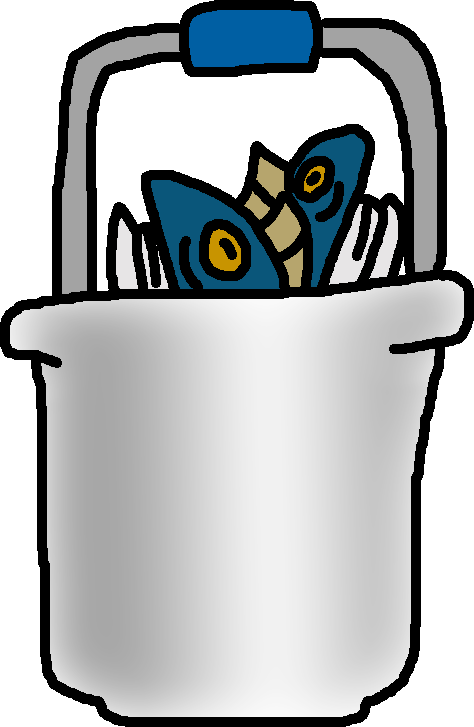
- Shardene - Bucket of tuna fish
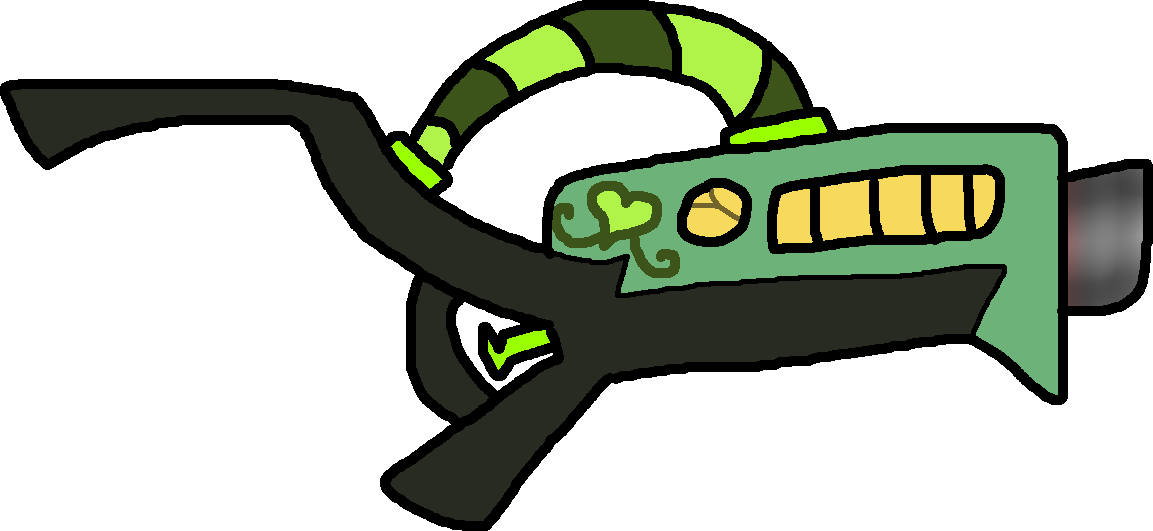
- Vaisha - Virtusystem 64
- Anaheim - Anaheim's Axe
- Togea - Bunea's XXX
- Lydia - Sushi-themed sleeping bag
- Moona - Moon flowers bonquet
- Brakkara - Steel stingray
- Mistress of Weird - Rainbow potion
After obtaining these prized possessions, Voidmato returns to his apartment, only to learn that Diablister isn't holding up his end of the bargain and taunts Voidmato into going to his home world, a small world hidden from view that is a flaming junkyard. The bosses locate Voidmato and intend to destroy him, but he tells them what his story is and what exactly Diablister is keeping from him. As he explains, he went to Diablister to procure a extra 50 dollars to buy his girlfriend, Roxanne, a gift, that being a stuffed toy of a Oni. He was unable to pay Diablister after the scheduled week, and as such Diablister has been keeping her hostage. The bosses decide to help Voidmato, but only if they all get to punch him, which he agrees to.
After arriving at Diablister's Junkyard Junction, Voidmato goes through the levels with the assistance of the nine~ bosses helping him through in their own unique way. Those are listed in the Junkyard Junction level listings. After finally reaching Diablister, Voidmato fights him and defeats him. The junkyard rig is set to explode shortly after defeating Diablister and grabbing Roxanne, the two barely escape the explosion. The two watch as it crumbles in the distance, sharing a kiss. Voidmato offers to take Roxanne on a date to Lydia's sushi resturant, and Roxanne agrees, following Voidmato as he uses a Void Grenade to head to Laser Lake. The story ends on a happy note as the two go on their date at the sushi restaurant.
Differences[]
While Voidmato and Bunea's stories go through the same worlds in the same order, Voidmato's story takes place after Bunea's and reflects this. Additionally, Voidmato has a couple of gameplay differences that effects his story.
- Voidmato cannot dash, but can walljump.
- Voidmato never faces against Dexa-9E due to Dexa-9E being destroyed prior to his story.
- Voidmato cannot make friends with the bosses or romance them.
- Voidmato has a exclusive world and boss to his story campaign.
- Voidmato only has a single ending for his story and is generally more linear.
- Voidmato gets less uses out of melee weapons.
- Voidmato gets more uses out of ranged weapons.
- Voidmato cannot obtain boss souls, but can picked up prized possessions instead.
- Voidmato gets Dexo-F4 as his robotic companion instead of Dexa.
- Voidmato doesn't have to do Scrape Goat's side quest as Scrape Goat's family will be already be found by Bunea earlier. He can skip fighting Shardene if he goes the alternate route though.
- Voidmato doesn't have to upgrade Dexo-F4, relegating the alternate level in Virtupine pointless.
- Mint Tezuka does not appear in Snowtato Slushlands.
- Voidmato does not receive bonuses from Scraper Goat.
Characters[]
Playable[]
| Image + Name | Info | ||||||||||||
|---|---|---|---|---|---|---|---|---|---|---|---|---|---|
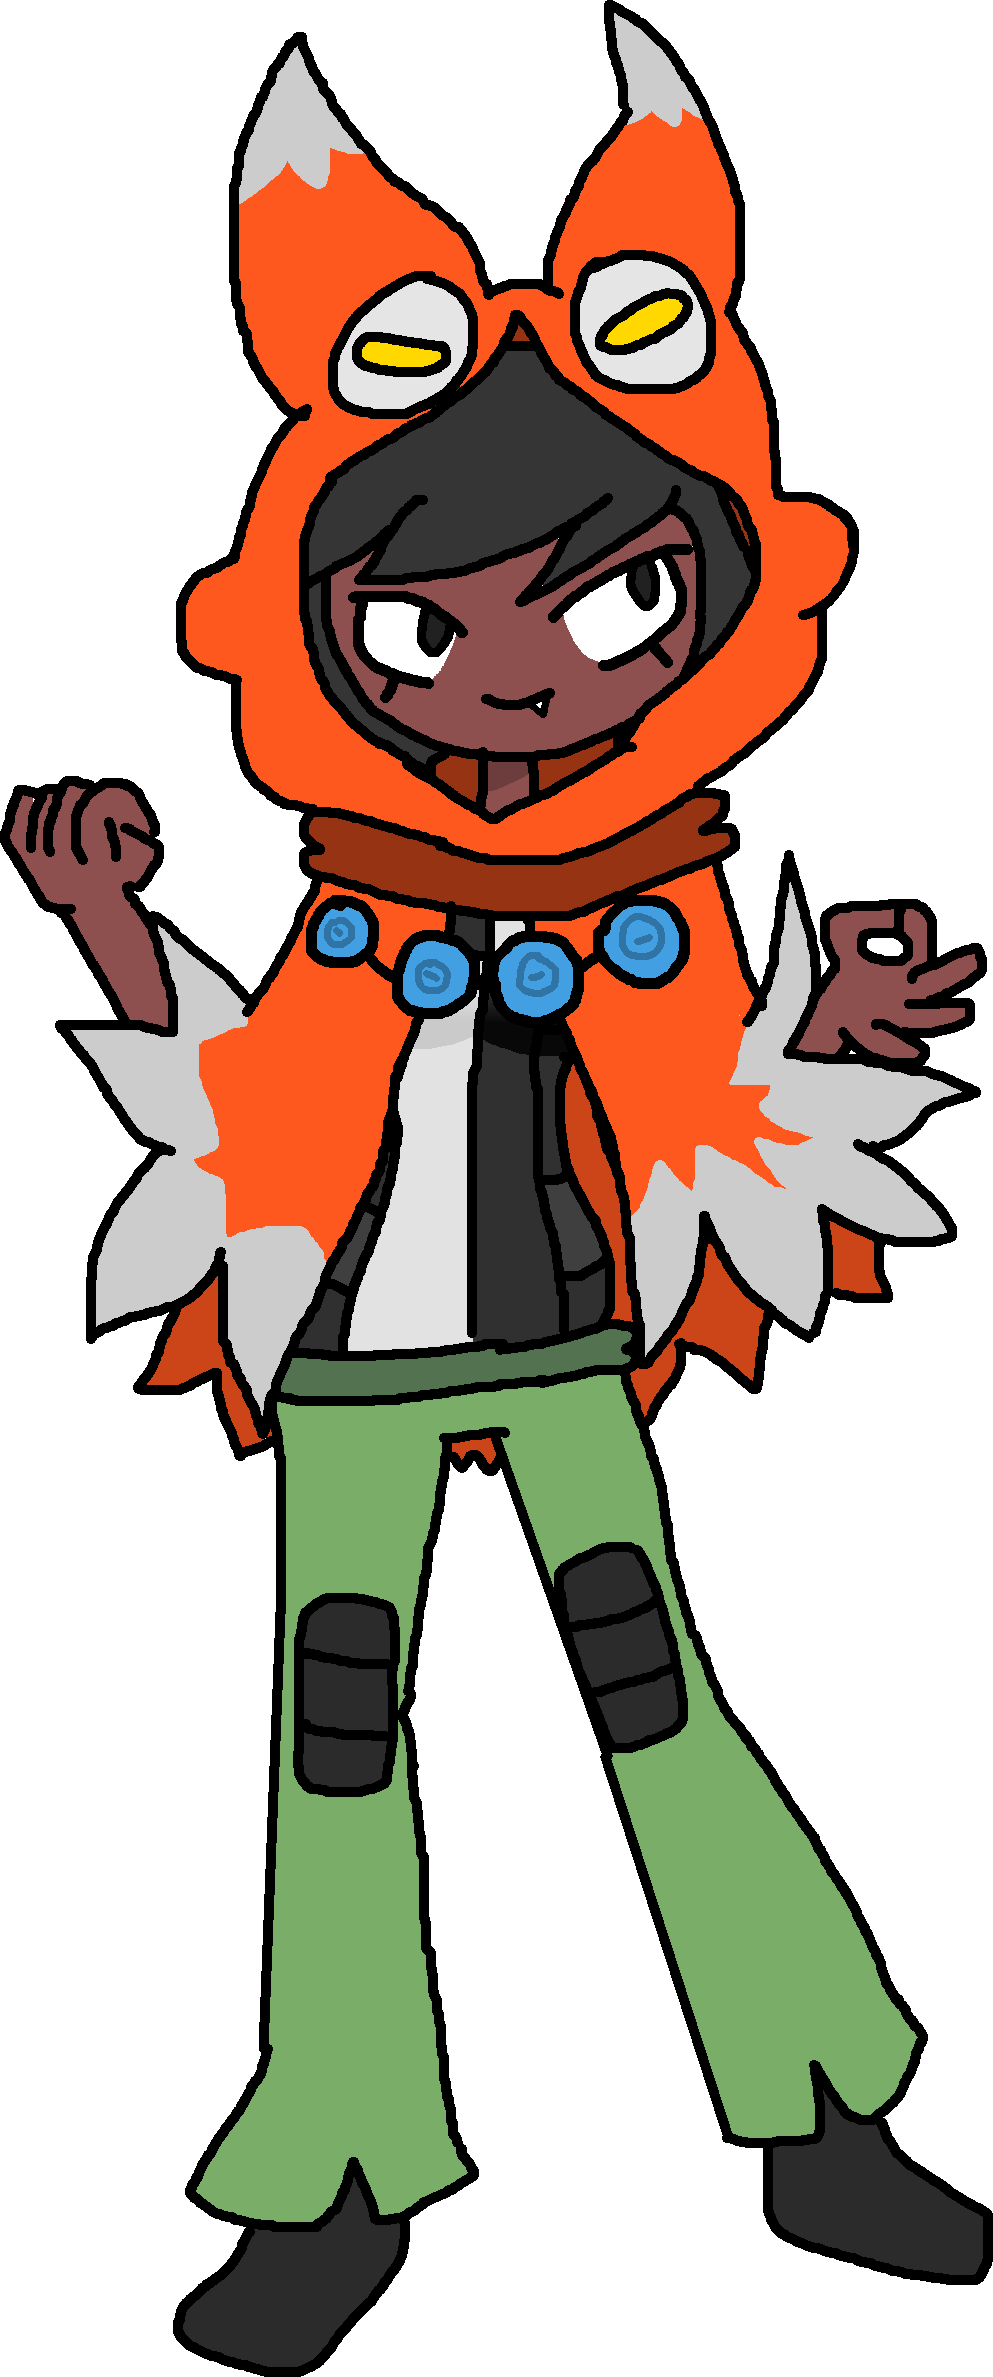
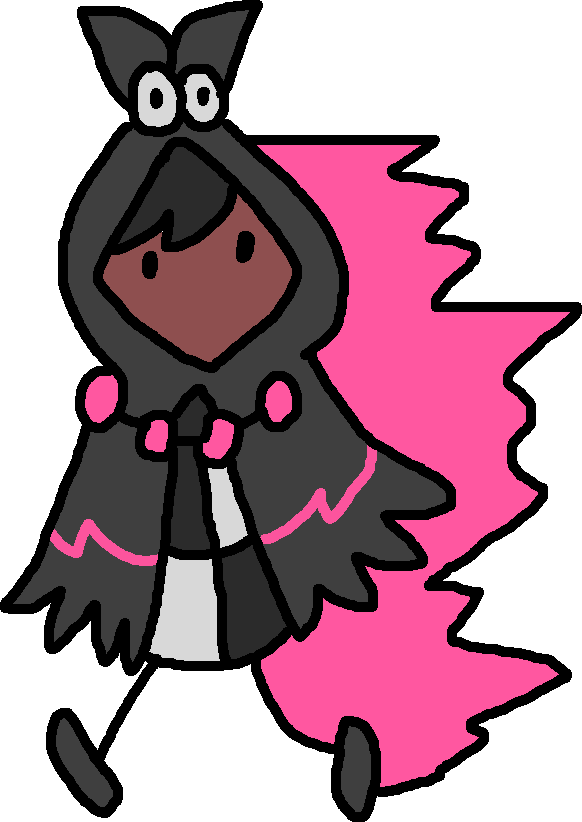
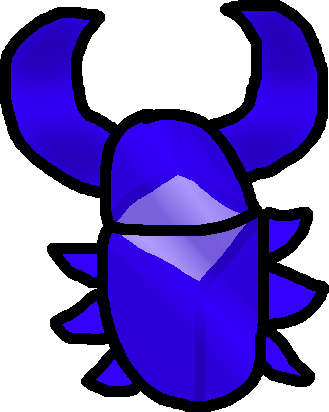
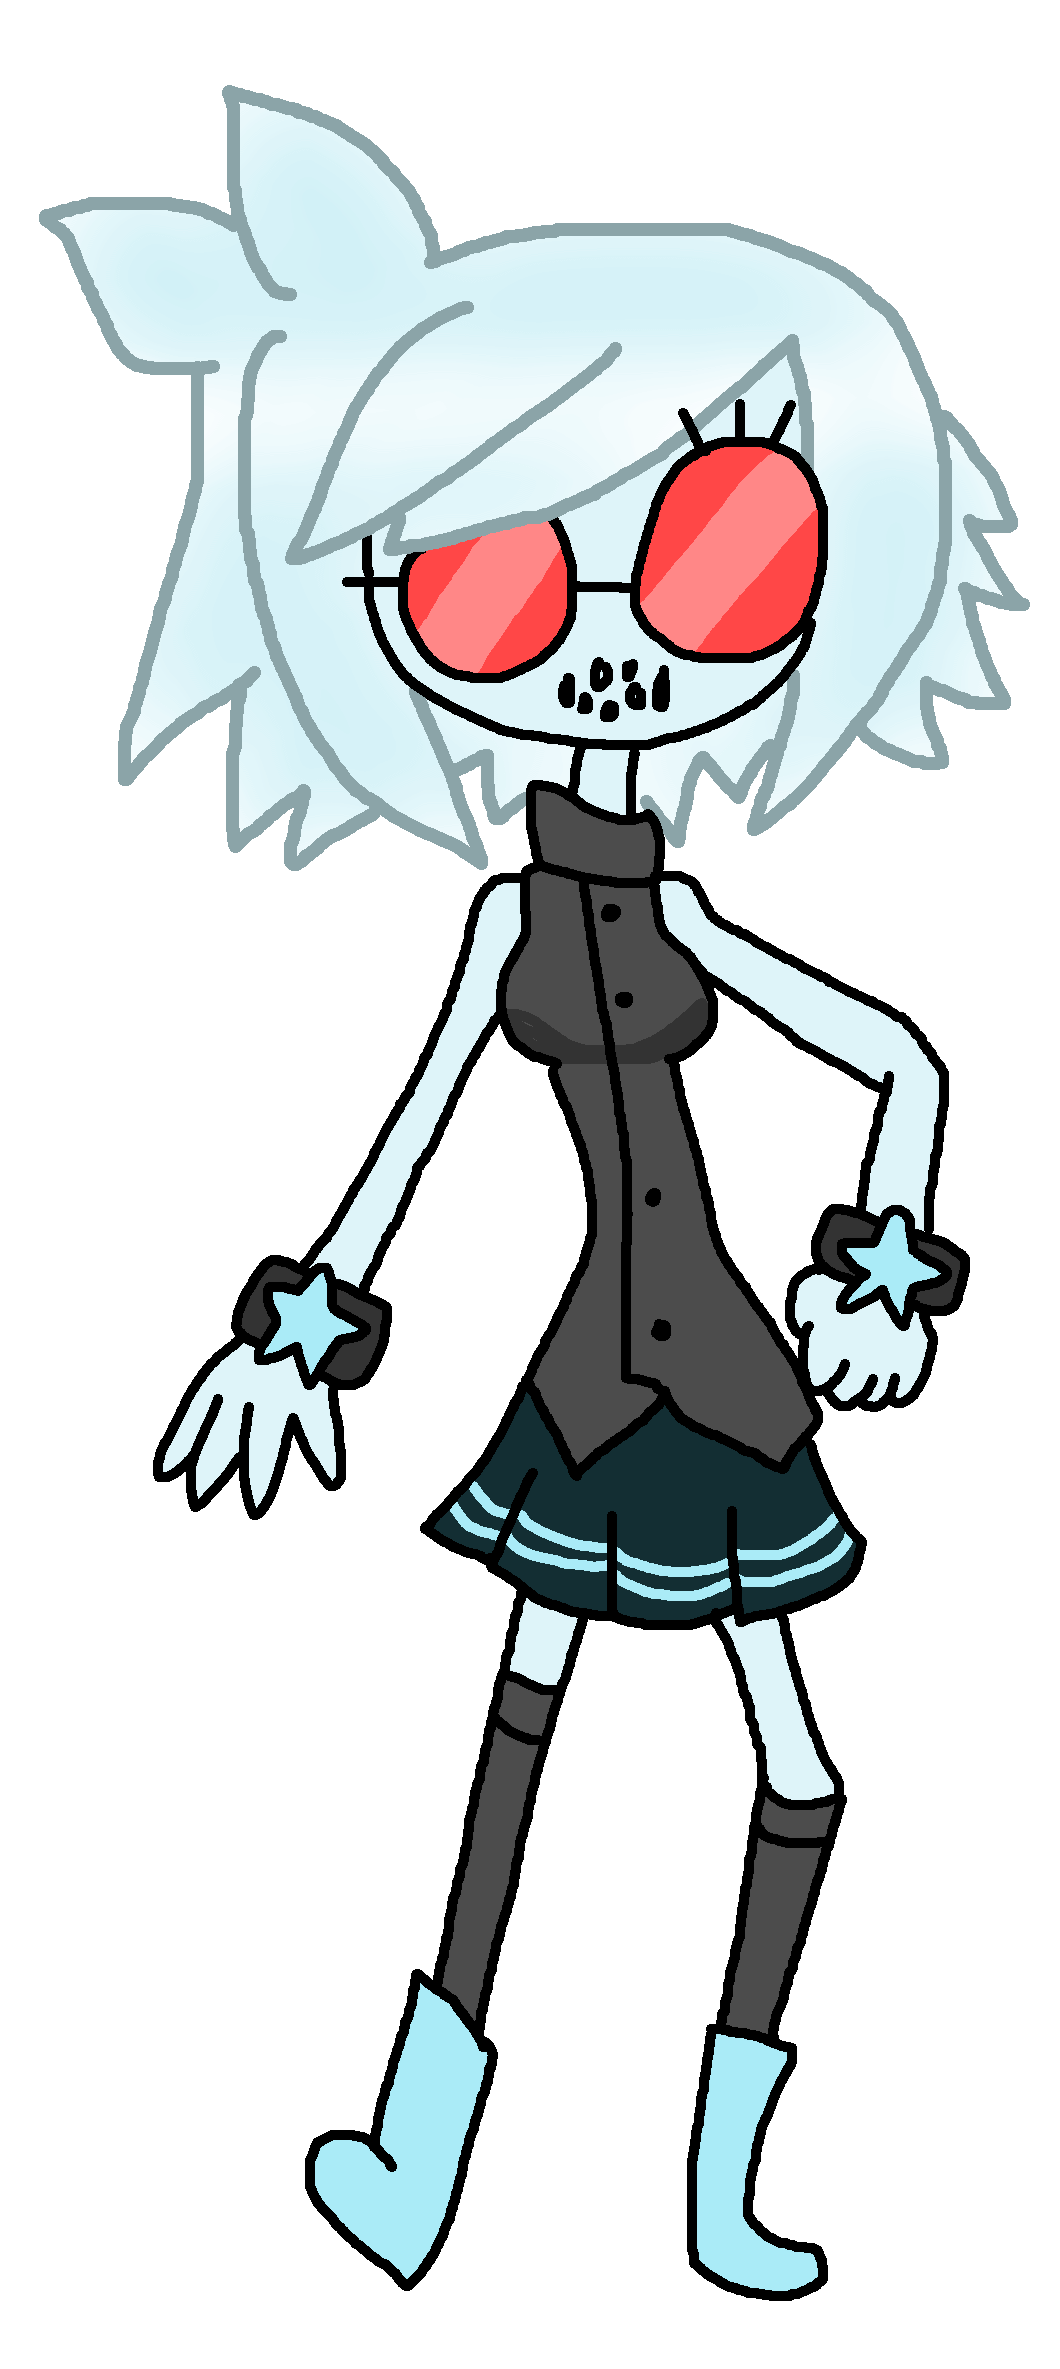
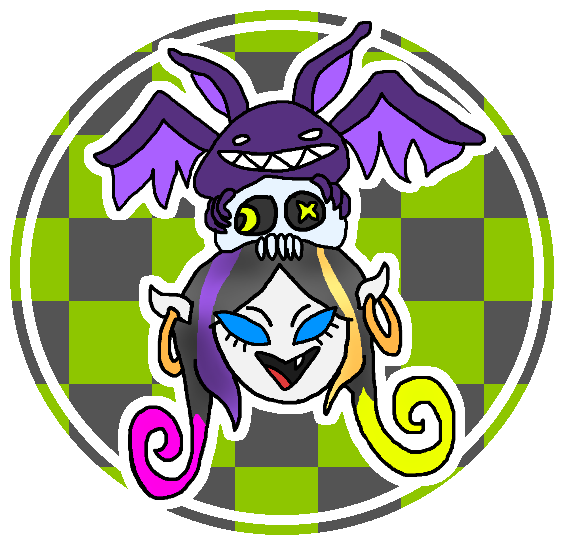
 Bunea |
Bunea is a girl who stole something. Born a thief, she will probably always remain one. But this thing that she stole... it was really important. She knows she messed up, but there's only running from it that she can do now. She is comptent in all weapons, but none are really her specialty, so to speak.
| ||||||||||||
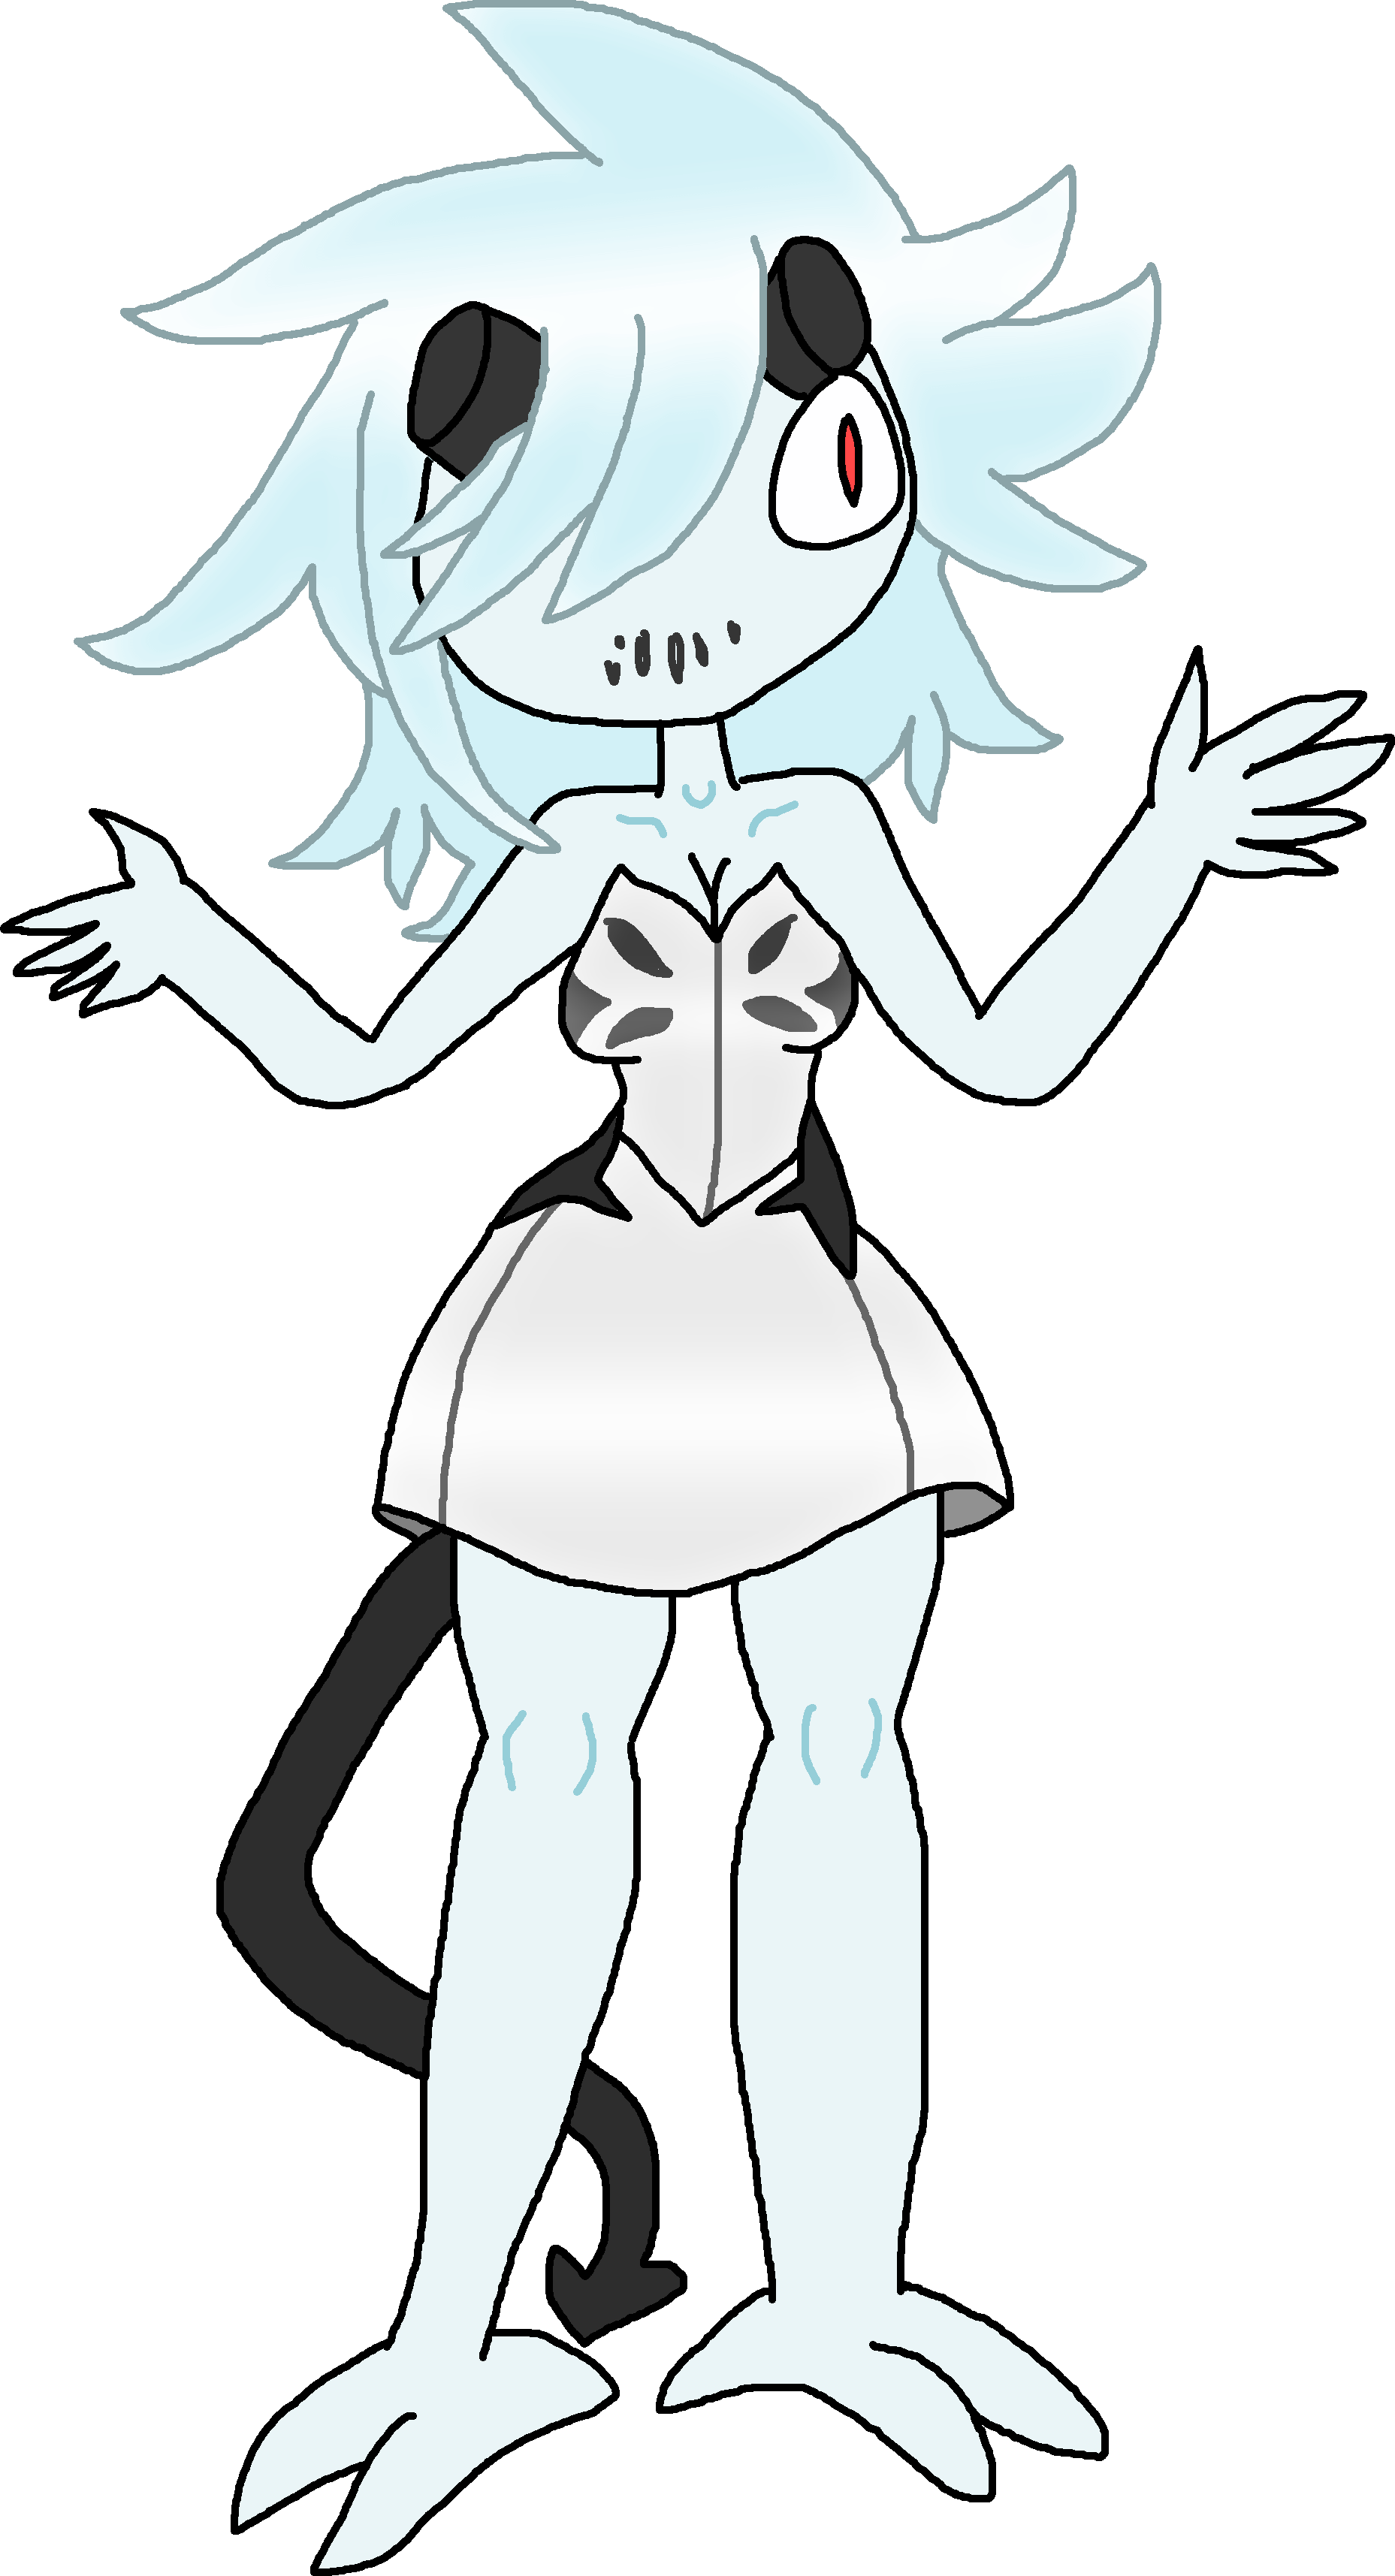
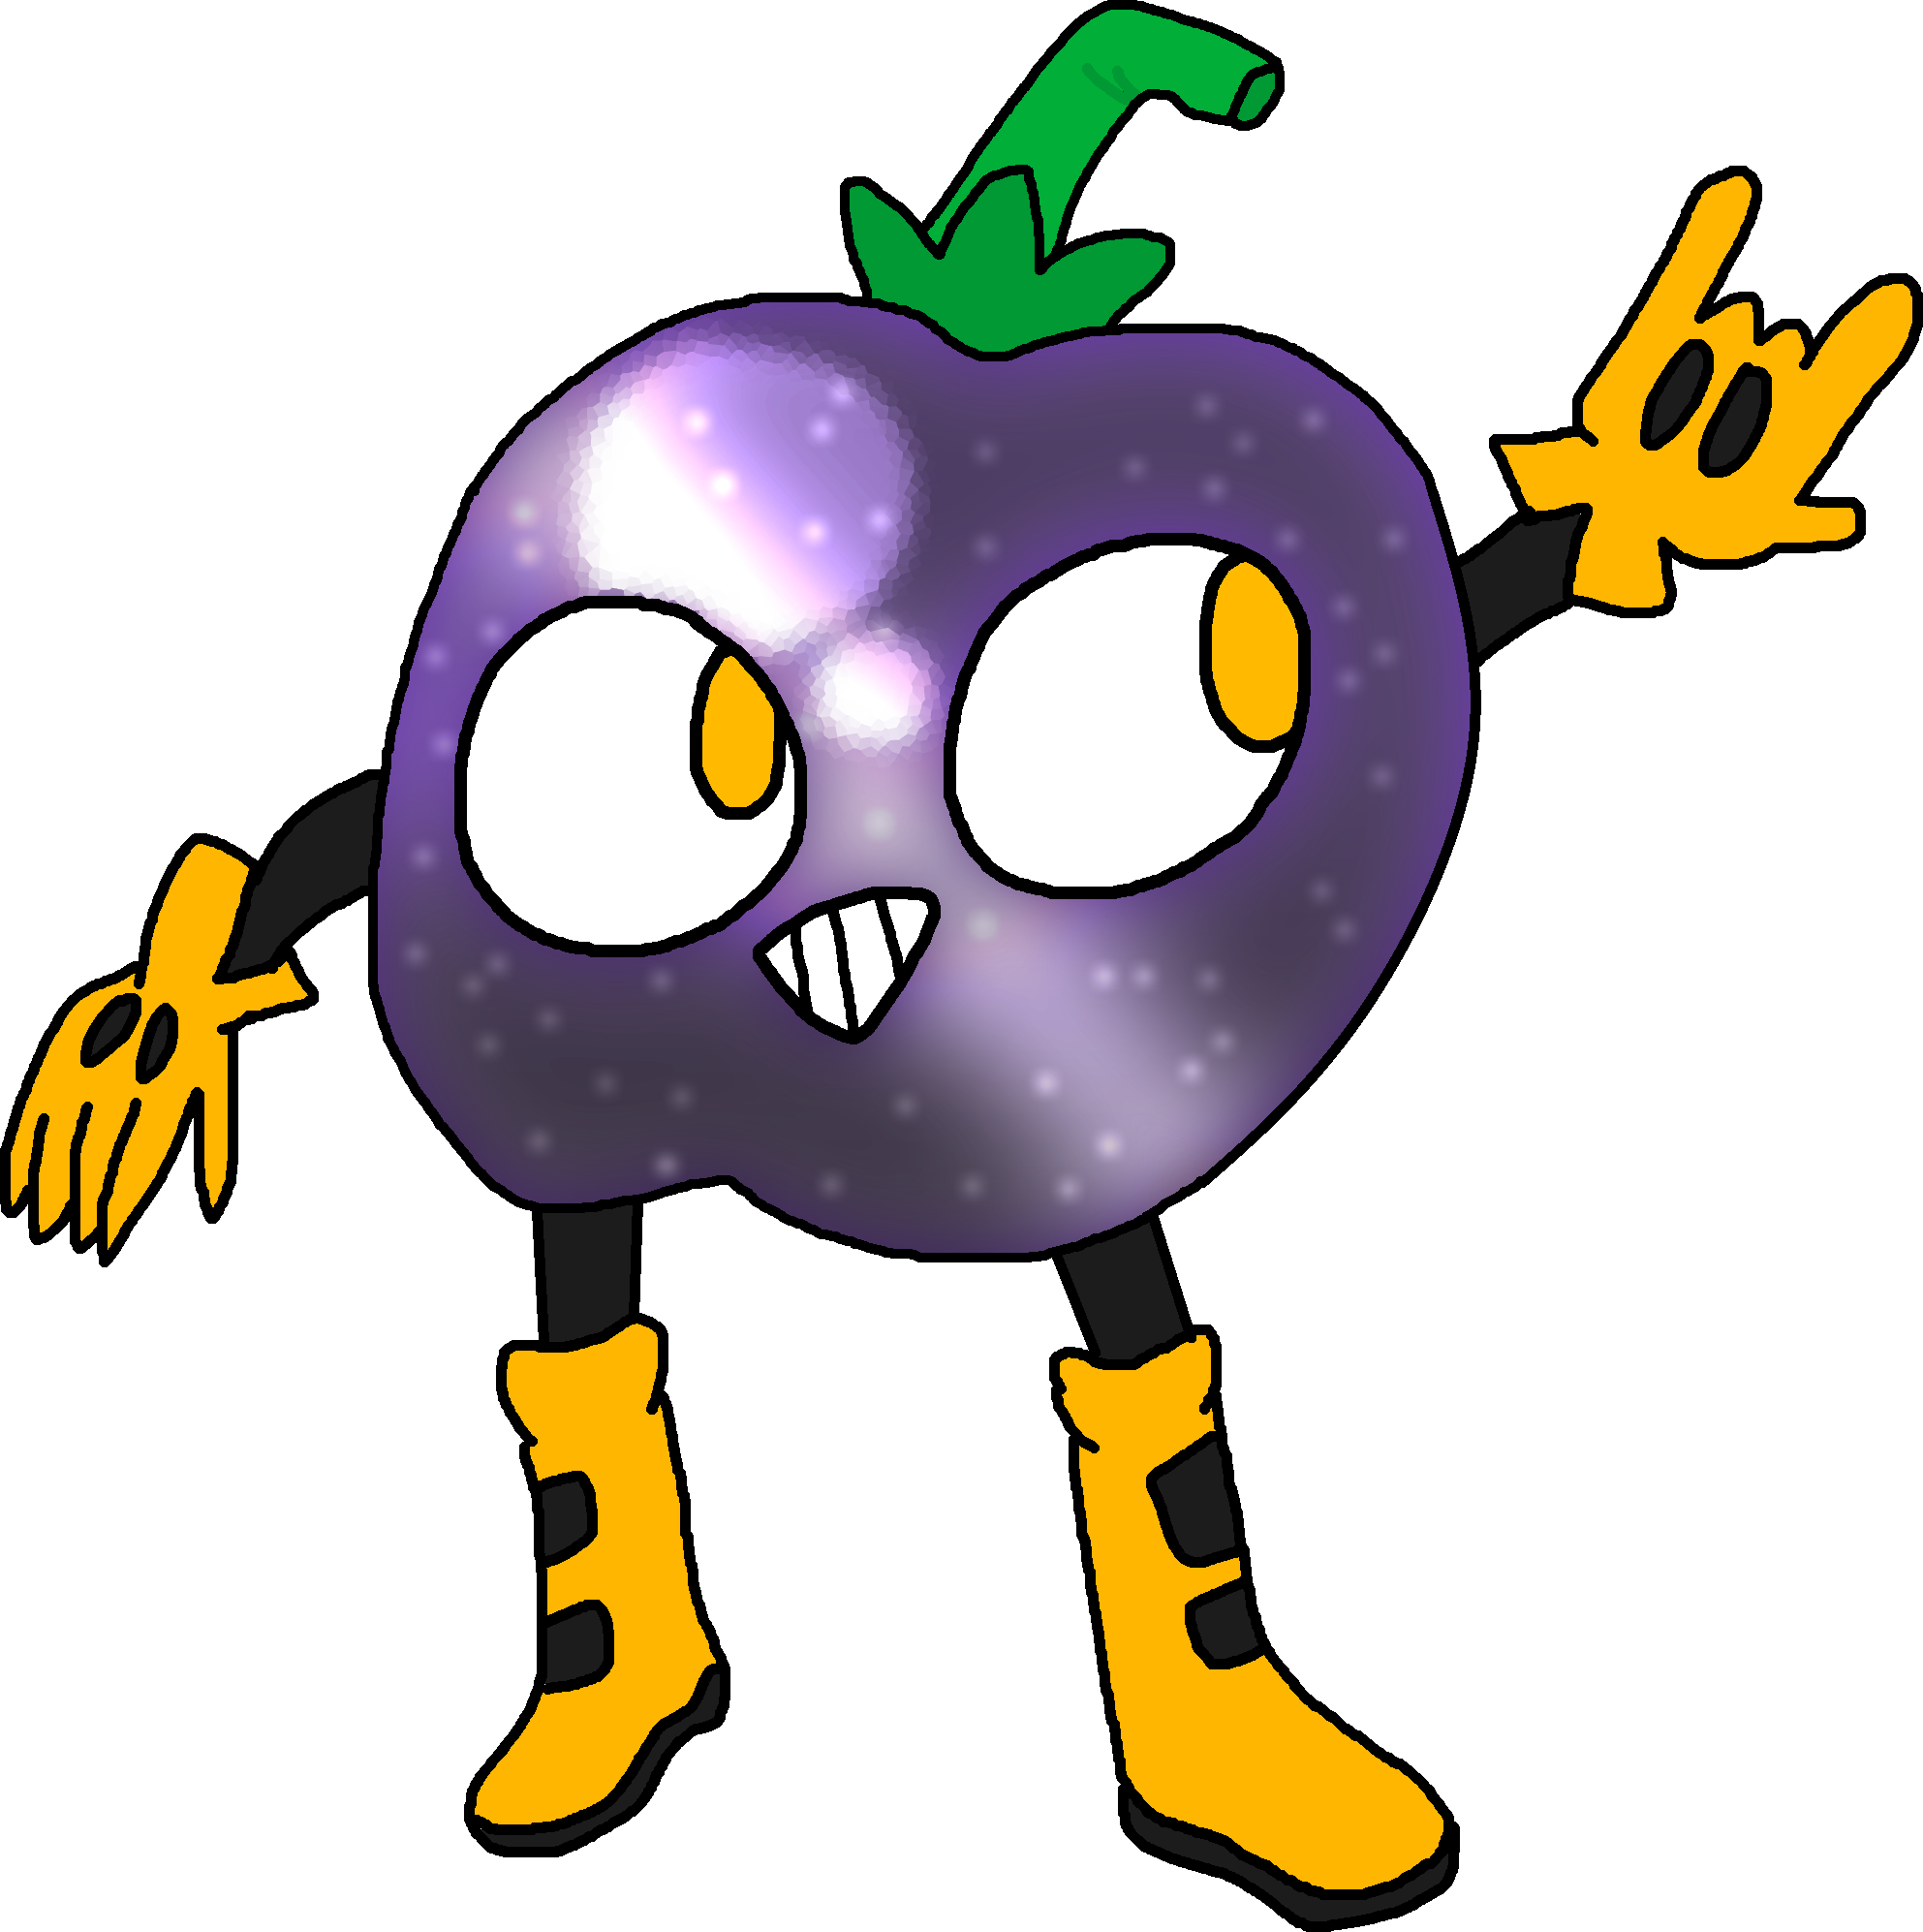 Voidmato |
Unlocked after completing the game once. Voidmato is a odd character who is unlocked after the game is completed. He cannot romance characters, as his nature inclination to violence permits him from that. He is a assassin by trade and was sent by a mysterious organization to take out the bosses of the game, although unlike Bunea he does not take their souls but rather prized possessions. He is specialized with guns.
| ||||||||||||
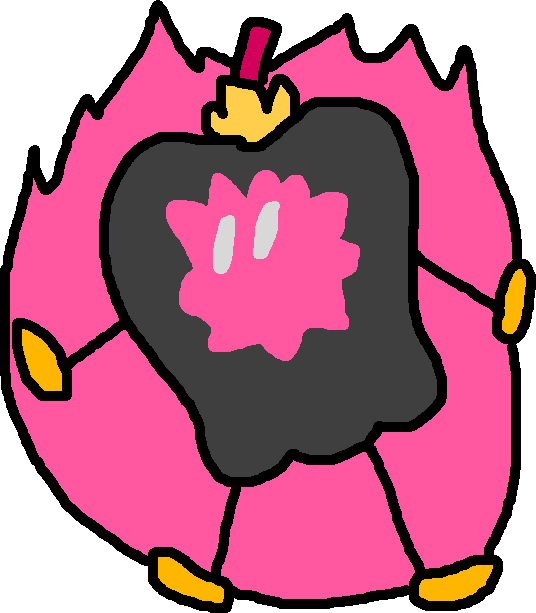
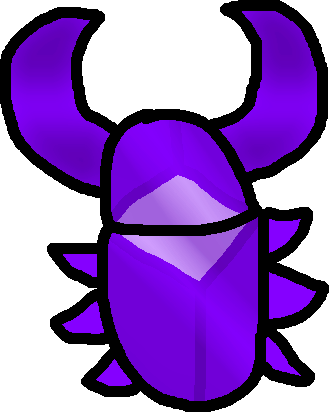
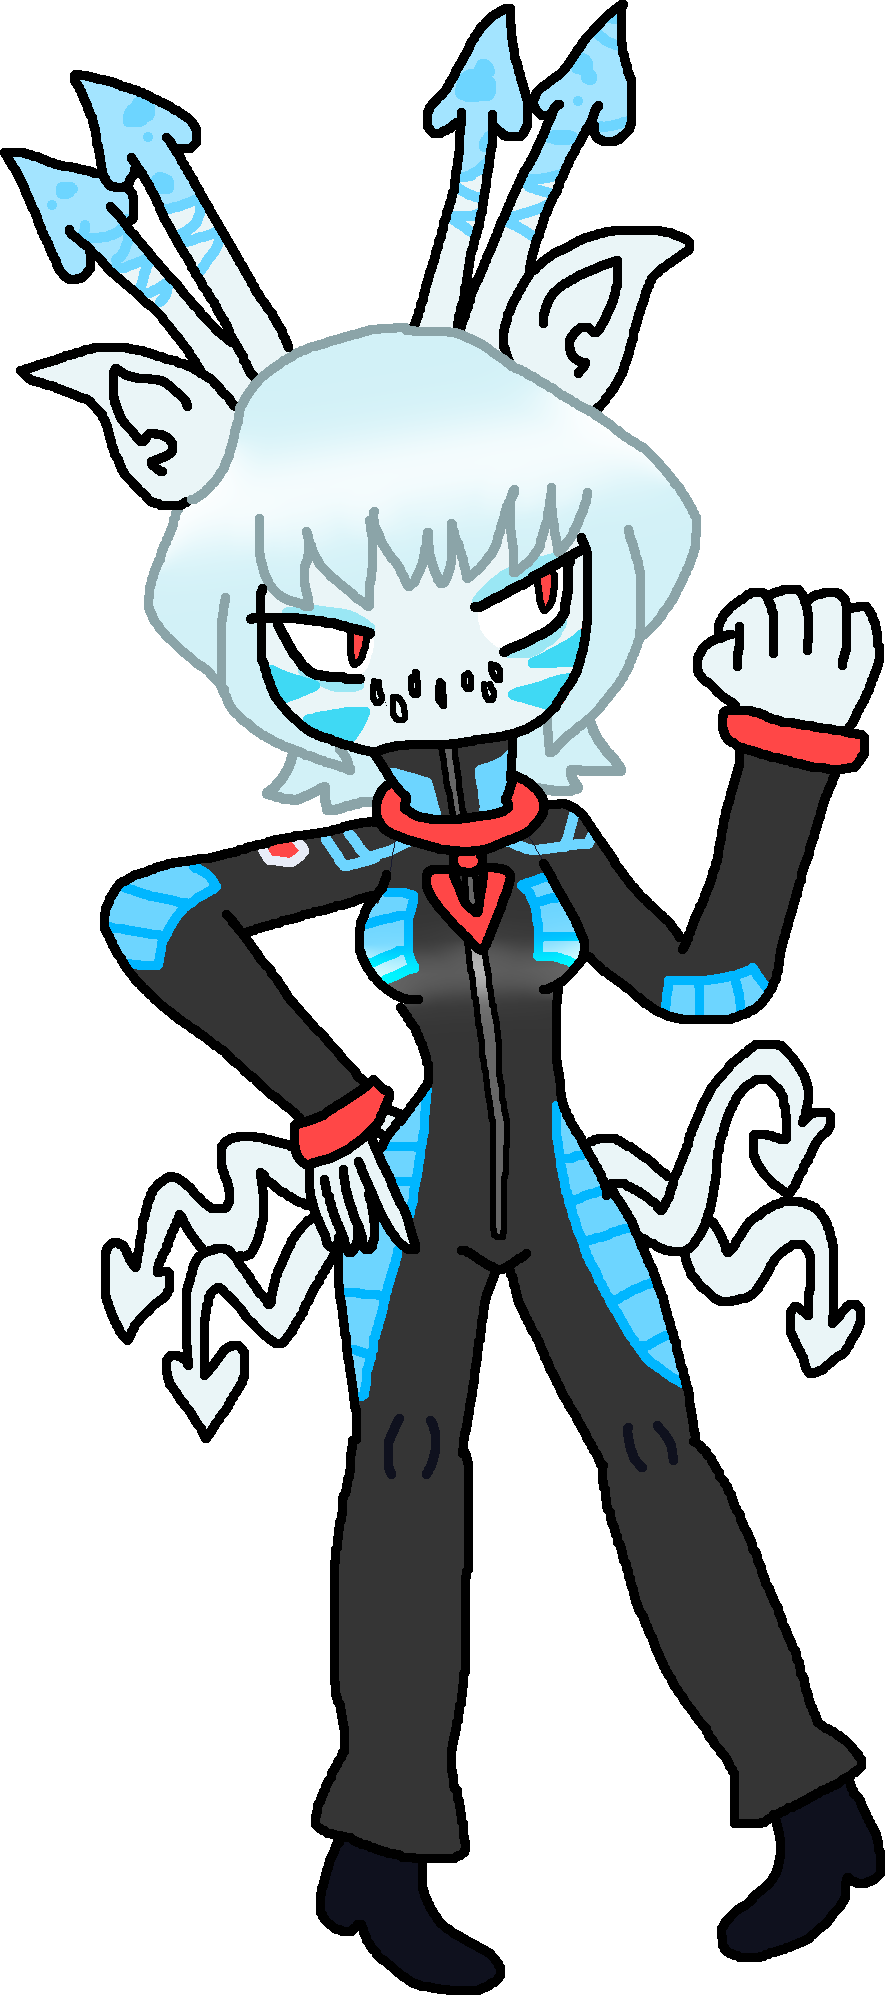
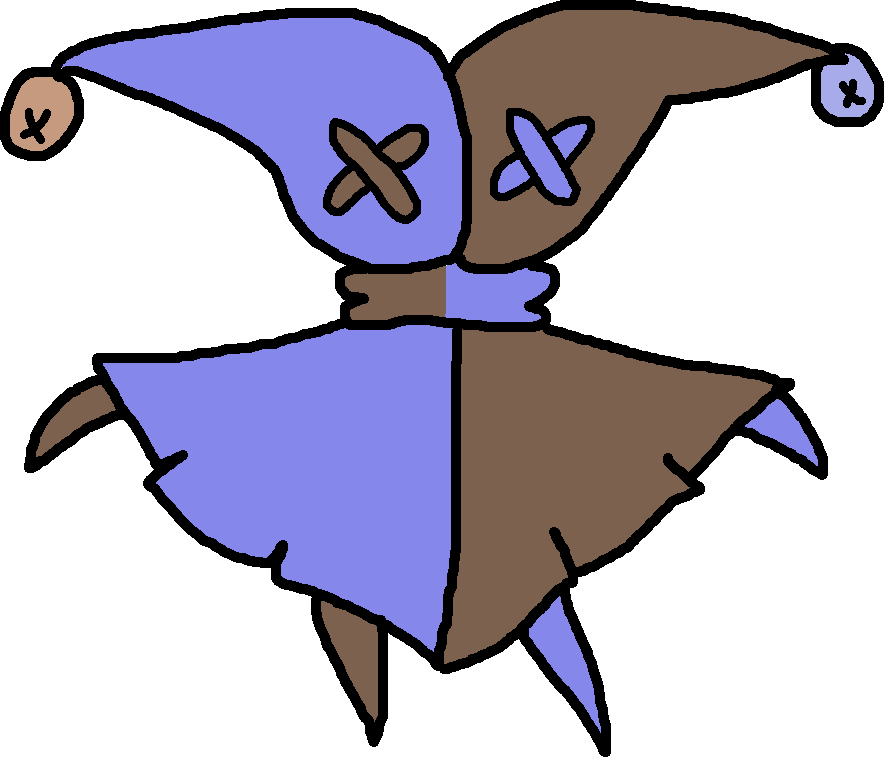
 Vulpea |
Not a real seperate character in the traditional sense, but Bunea will become Vulpea upon completing the bad ending. Vulpea has the same stats the player had at the end of the game, all that changes is the costume. | ||||||||||||
NPCS[]
| Image + Name | Info |
|---|---|
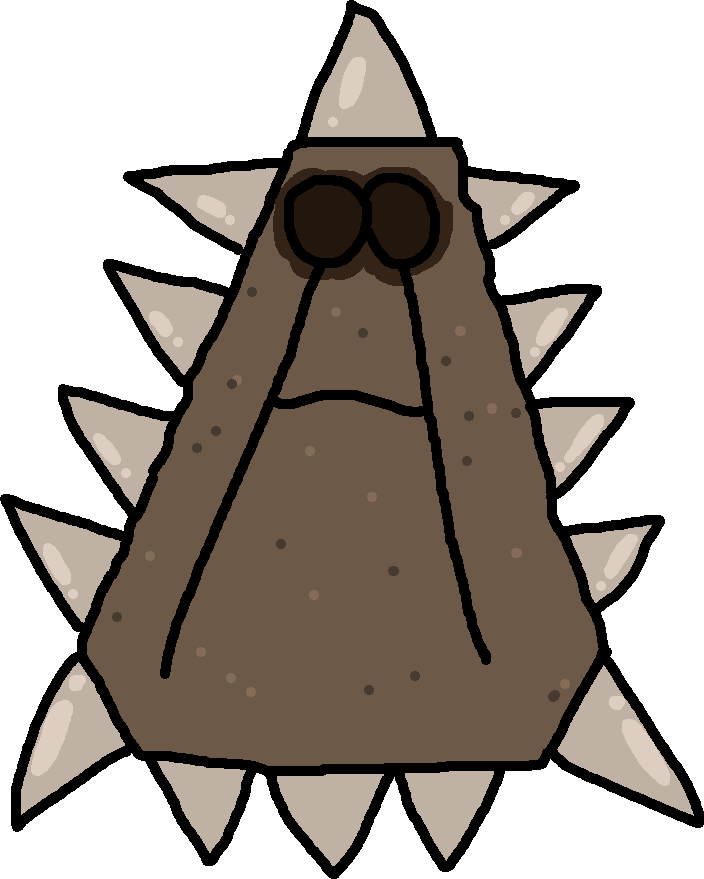
 Scrape Goat |
Scrape Goat can boil down old weapons that Bunea doesn't need anymore and convert them into raw materials into new weapons. Scrape Goat is rendered in a pixel style that's completely different from the rest of the cast due to the fact he comes from the Dimensional Dungeon. The player, when they reach Dimensional Dungeon, can free his family from there in a optional side mission. By rescuing them, Scrape Goat will have lower fees and generally be happier to see the player, showering them with bonuses. |
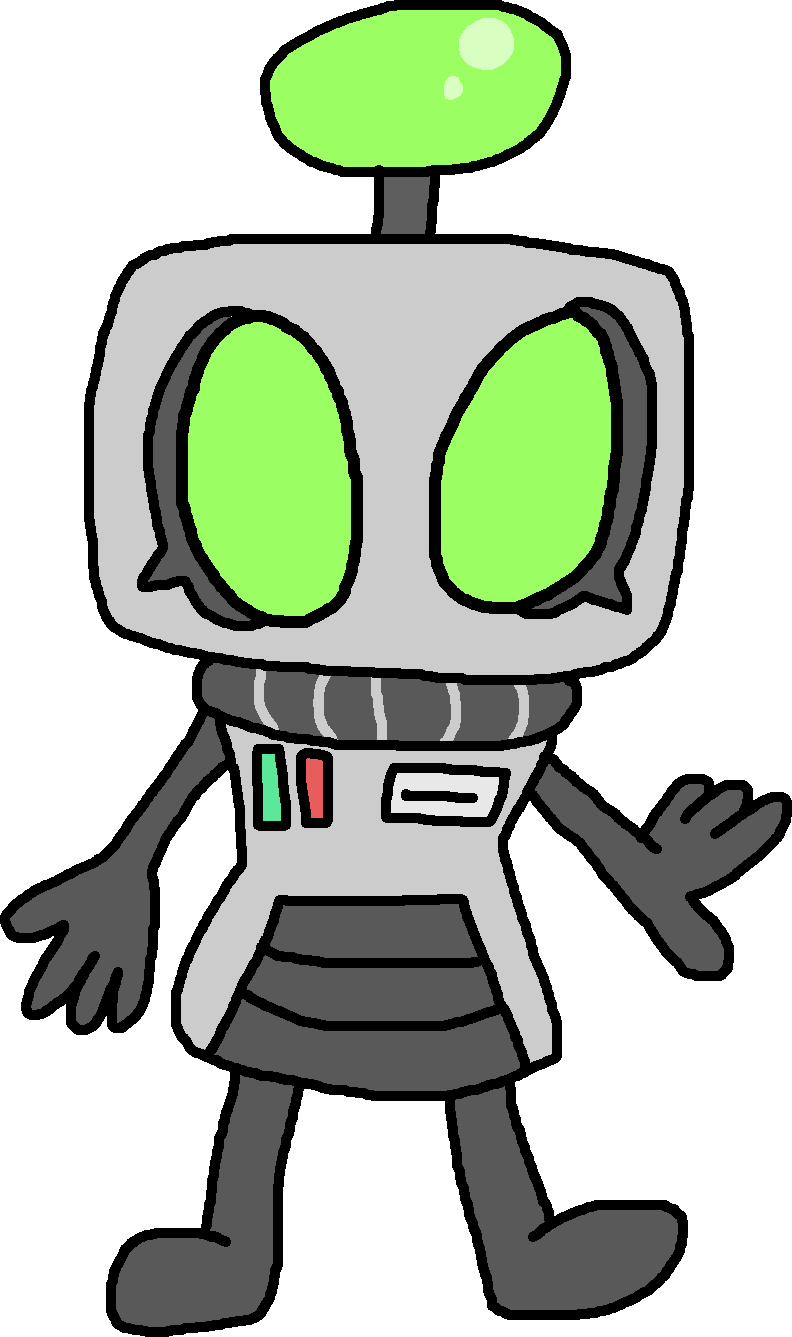 Dexa |
Dexa collects information about everything Bunea collects or comes across and can fill in Bunea the information from the pause menu. Dexa is from Virtupine, and the player can upgrade her capacities immensely in a side mission when they get to Virtupine. After this side mission, Dexa is able to collect more than just basic descriptions, but also numbers, skills, weakpoints, and more for enemies, bosses, and weapons. |
 Dexo-F4 |
In Voidmato's story, Dexo-F4 acts as Voidmato's personal informatio collecting droid and helps Voidmato get into Virtuapine Virtuaworld. His infortmation circuits have been already upgraded, and can thus fill Voidmato in on the numbers, skills, weakpoints, and more for enemies, bosses, and weapons. |
 Heart Sorceress Juliet |
Juliet is a Heart Sorceress, who appears in her traveling spring on top of a giant turtle's back in each world. She heals Bunea up when Bunea goes to visit her, and Bunea can exchange five Demon Hearts for health upgrades. She is hinted to be a darker character than she appears, as her health upgrade spells have a somewhat demonic tone to them, as well as implying that she has partial command over Bunea's soul (with each health upgrade being a "chained anchor" to her soul). She is also implied to be the sister of the Mistress of Weird, the main antagonist of the game. |
 Borbie |
Borbie travels via a traveling circus, requesting either Borbz or Tandem Tablets to play her minigame. Bunea or Voidmato can pay up to play through a target destroying time trial, of which each target awards a set amount of Borbz, ranging from 100, 200, 500, 700, 1,000, or even 10,000 Borbz. Borbie's minigame costs 1,000 Borbz a minute or a single Tandem Tablet for a minute. Borbie is depicted as a shifty and somewhat sleazy character, and during the last 30 seconds will release enemies into the target stage to hopefully trip up her customers so they pay her for another attempt. Despite this, she really only does this so she can get enough money to finally leave the circus life behind, given her crippling debt. |
 Zellen Harley Quimbleson |
Zellen Harley Quimbleson appears in World 3: Dimensional Dungeon and has her own icon on the map. When the player goes over there, she can scan amiibo to pull exclusive weapons to the player. When the player's attractiveness stat is over 100, she will also begin to flirt with them. This doesn't actually amount to anything aside from the rare occasion she asks the player to share a drink of Helix Juice with her, which ends in a kiss should the player be okay with it. |
 Turnip Boys |
Turnip Boys are characters that pop up in levels, often walking around aimlessly and Bunea can talk to them, although they usually have nothing of worth to say. They can be picked up and thrown at other enemies, taking them out. Turnip Boys are excited about the concept of death and don't mind being dropped into a pit either, seeing it as their ticket to the next stage in life. |
 Qwestove |
A mysterious species of men that wear red paper bags with a question mark on it. They drop power-ups and weapons when Bunea either hits them, shoots them, or touches them. They then dash off. |
 Masher Goat |
Masher Goat is found in the second route's World 3-3, found in a cage in one of the rooms that Bunea needs to rotate. When freed, she will assist Scraper Goat in melting down old weapons Bunea or Voidmato gives them. |
 Flipper Goat |
Flipper Goat is found in the first route's World 3-4, found on a alternate swinging route in a cage that Bunea can open. When freed, he will sell weapons to Bunea with a slight uptick in usage values. |
 Escape Goat |
Escape Goat is found in the second route's World 3-5, found in a alternate route with the wind vents in a floating cage Bunea can open. When freed, Bunea can offer to "babysit" the tyke and take advantage of her floating powers to get across pits, although if Bunea gets hit, Escape Goat will go into a bubble and be grabbed by enemies in a matter of seconds, which requires Bunea to grab the tyke and rescue him or she will lose a life. |
 Mint Tezuka |
Mint Tezuka is a knight hailing from the Kingdom of Robos, a world that was taken by Mistress of Weird. She is found in World 7 and can be found in World 7-1, racing through the level just like Bunea. She will go through the world herself, at her own pace, as well as dying and respawning in levels. She claims she is a knight wanting to rescue Moona, who she sees as a captive princess. If she beats Bunea to Moona, she will take care of herself, although this will result in a bad end for Mint, who winds up frozen as part of Moona's ice wall. Should Bunea beat Mint to Moona, she will still be around in World 7-BOSS, at Moona's castle. She is kind of a odd NPC with her own story, and the player never gets a full idea of that story, needing to piece it together from Mint and Moona's side as well as their accidental role in it. |
 Roxanne |
Roxanne is Voidmato's girlfriend appearing exclusively in his story for the most part. She is a scruffy looking character who lives in Voidmato's shabby looking apartment, and in extra picture after the credits after getting all the Rainbow Scarabs shows her smoking from a bong. She and Voidmato are a loving couple, and she seems to be the only other person aside from Mistress of Weird to find Voidmato cute. |
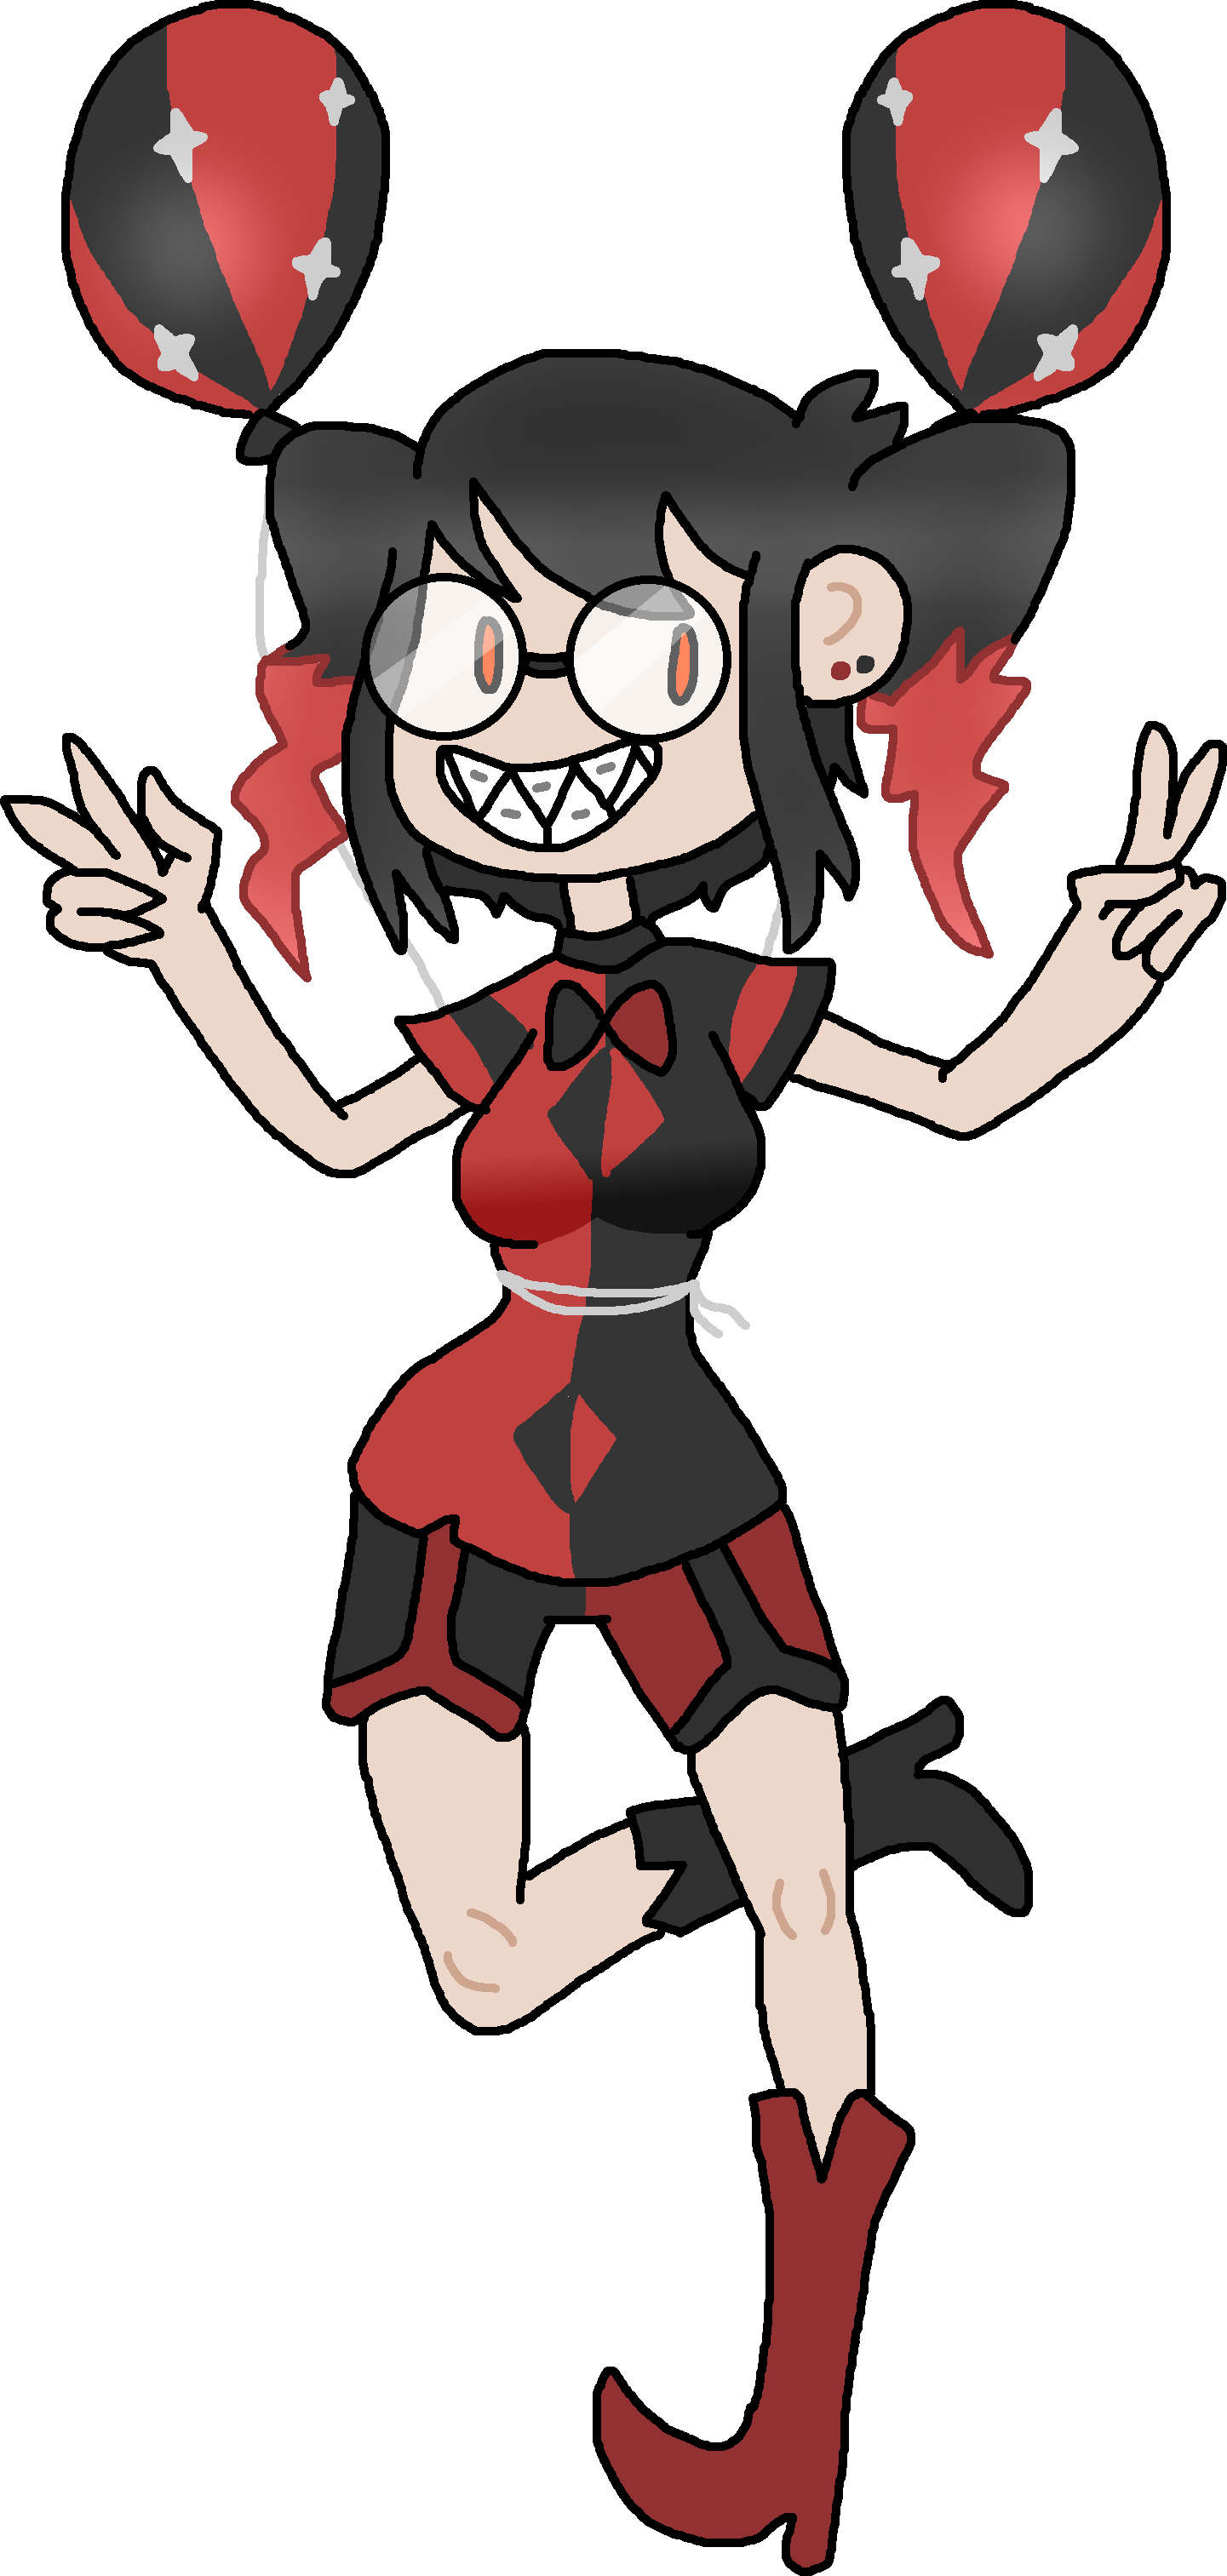 Quinn Fooly |
A DLC character that appears in various levels after the player has completed the main story. A Herald like Zellen Harley Quimbleson, Quinn Fooly runs the Balloon Land minigame in various levels. Quinn can summon balloons placed by other players and for a fee, allow Bunea to go through levels to pop as many as she can to earn Borbz. More details can be found under the "Quinn Fooly's Balloon Land" section. |
Items[]
Weapons[]
| Image + Name | Info | ||||||||||
|---|---|---|---|---|---|---|---|---|---|---|---|
| Regular Weapons | |||||||||||
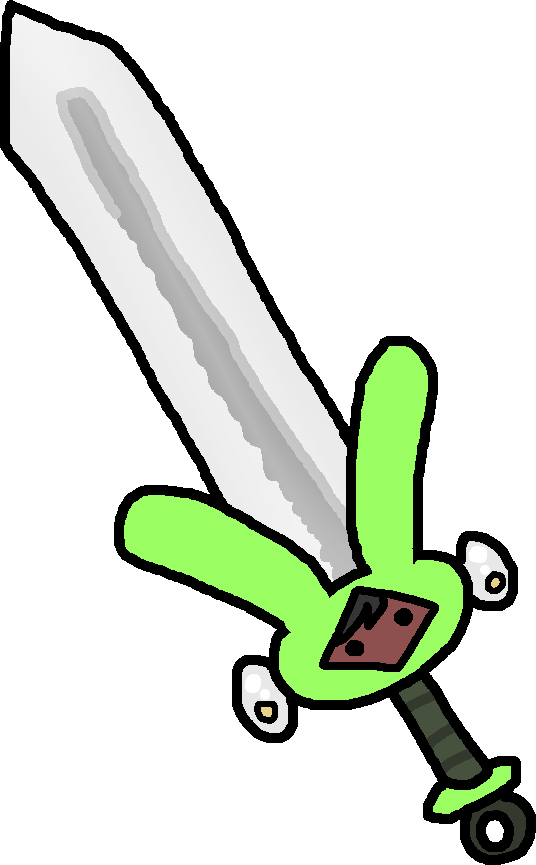
 Foxtail Sword |
The weakest weapon in the game, but hey, it's better than nothing. It's literally just a foxtail diaspore fashioned into a crummy sword, and it's EXTREMELY flammable.
| ||||||||||
 Cool Dude Shield |
The Cool Dude Shield will defend you righteously against low-level harm, but once it gets hit 30 times, it's out of here, dude!
| ||||||||||
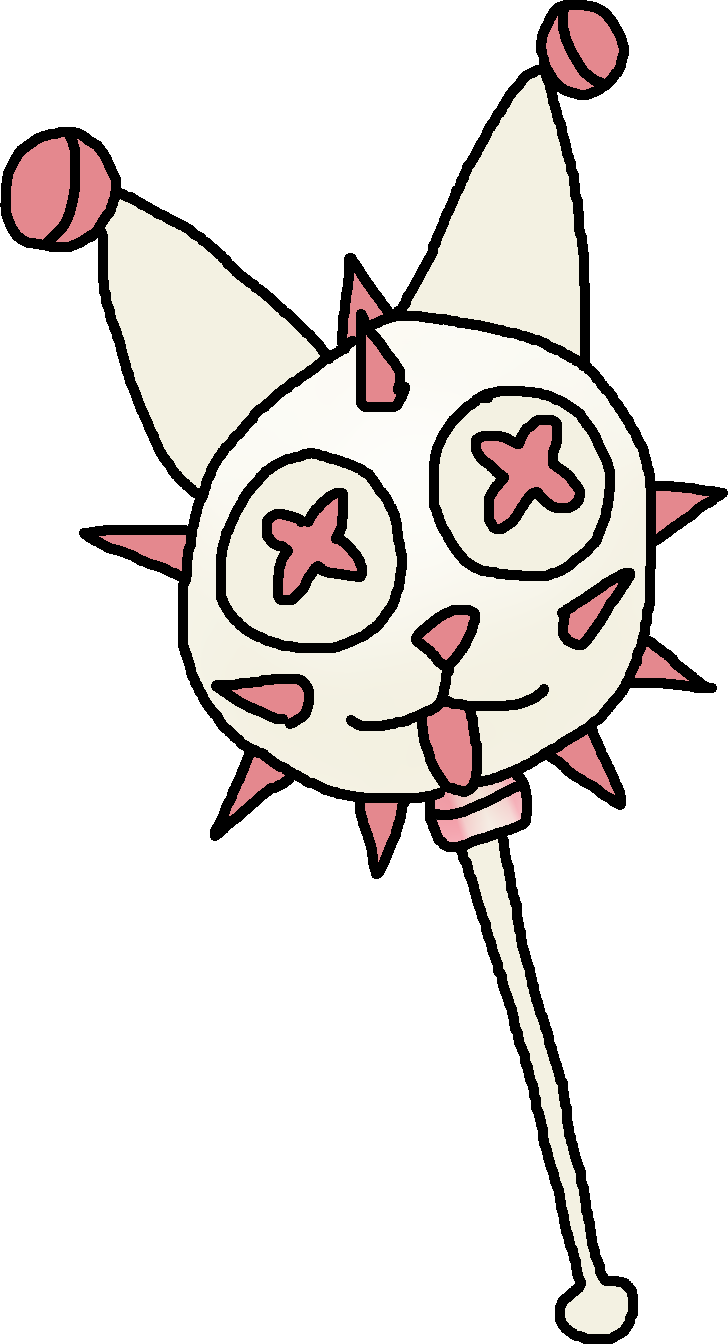 Kitty Mace |
This Kitty Mace packs a wallop despite it's cutesy look. Not very sneaky considering the bells, but those are the first to fall off anyway.
| ||||||||||
 Klingtoid |
The Klingtoid can be thrown out and used to attach to a foe and drain the health from them and replenish Bunea's health. Only one can be sent out at a time.
| ||||||||||
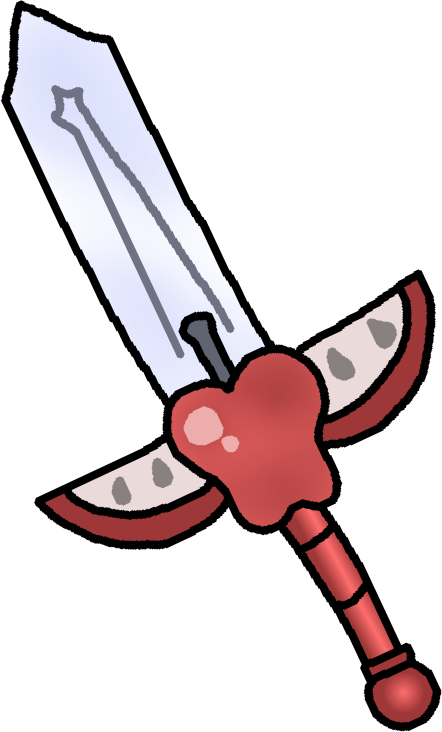
 Galaxy Blade |
Galaxy Blade can be used like a sword and used in tandem with dashes for dash attacks. It looks pretty cool with it's twisted blade, but it kind of shatters pretty quickly.
| ||||||||||
 Chocodice |
Chocodice aren't the traditional kind of weapon. Bunea must roll these and whatever the dice add up unleashes a different kind of attack.
| ||||||||||
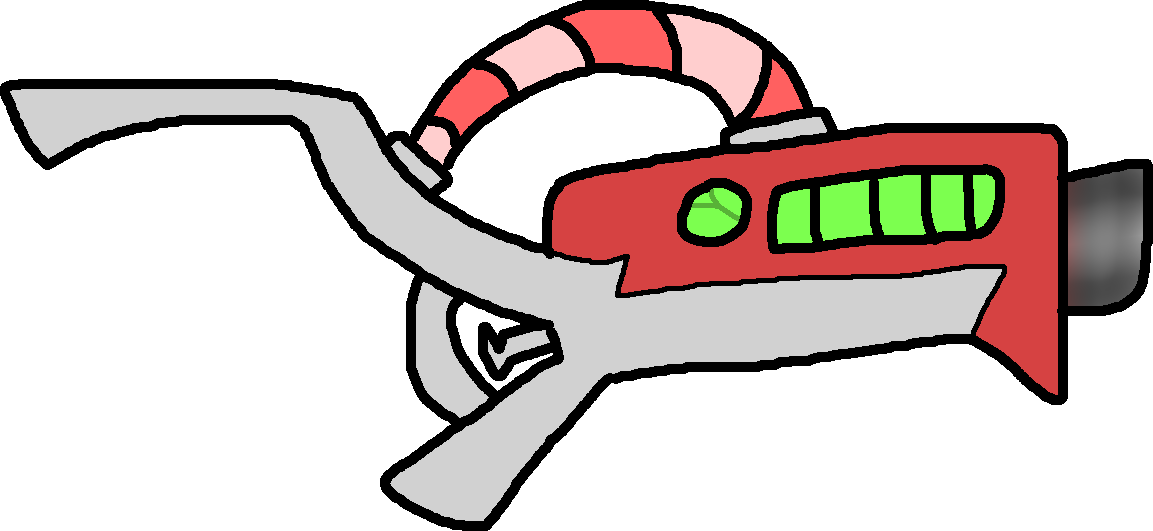 The Lancer |
The Lancer is a laser gun that can fire off 160 bullets. Holding it is said to decrease your luck, cursed by the past user.
| ||||||||||
 Fireworker Arm Cannon |
A arm cannon that attaches to the hand, able to shoot off dizzing shots of various fireworks. Not a totally effective weapon, but fun!
| ||||||||||
 Chocowand |
The Chocowand is a pretty basic wand that has the styling of a Chocofruit. It can summon stars from the tip of the wand and blast them at a short range before fading into star dust.
| ||||||||||
 Cyber Homey 2000 |
The Cyber Homey 2000 is last year's top killing machine, able to shoot ring shaped projectiles at any foe that crossed it's path. It's not latest and greatest but it'll get you through.
| ||||||||||
 Swamp Gas Aura Shield |
The Swamp Gas Aura Shield has it all! A green aura. A 360 full body shield. All the shades of green you could want. The only drawback is that you'll smell like swamp gas for a bit.
| ||||||||||
 Wizaraxe |
Wizaraxe can be used to cut down enemies to size through melee attacks, increasing the speed and attack of the user immensely. However, defense and luck are cut down a bit when using this axe.
| ||||||||||
 Gumball Mace |
The gumballs inside the mace rattle inside with every swing, and when the glass breaks, you get a tasty treat afterwards.
| ||||||||||
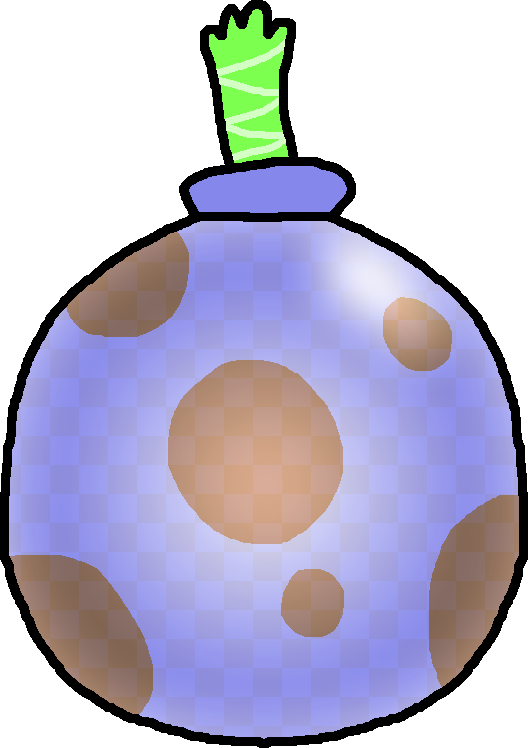
 Basic Bombs |
Bombs are a bit of a strange weapon, as they can only be thrown and carry no status buffs or debuffs. When they explode three seconds later or after Bunea detonates them, they can do up to 20 damage!
| ||||||||||
 Fire Bombs |
Fire Bombs are a flaming version of normal bombs that explode in a fiery burst, setting everything on fire afterwards.
| ||||||||||
 Ice Bombs |
Ice Bombs are a icy version of normal bombs that explode in a snowy burst, freezing everything in it's vicinity.
| ||||||||||
 Thunder Bombs |
Thunder Bombs are a electrifying version of normal bombs that explode in a zapping pulse, shocking everything in it's vicinity.
| ||||||||||
 Vaporwave Bomb |
The Vaporwave Bomb is a special kind of bomb that explodes in a much smaller vicinity but has higher damage output. It also has less uses.
| ||||||||||
 Chocobomb |
The Chocobomb is a special kind of bomb that explodes in a much larger vicinity but has lower damage output. It also has more uses.
| ||||||||||
 Peanut Boy Guitar |
The Peanut Boy Guitar isn't really much of a weapon but it does pack a wallop. It breaks super fast, so be wary when you utilize this nutty boy.
| ||||||||||
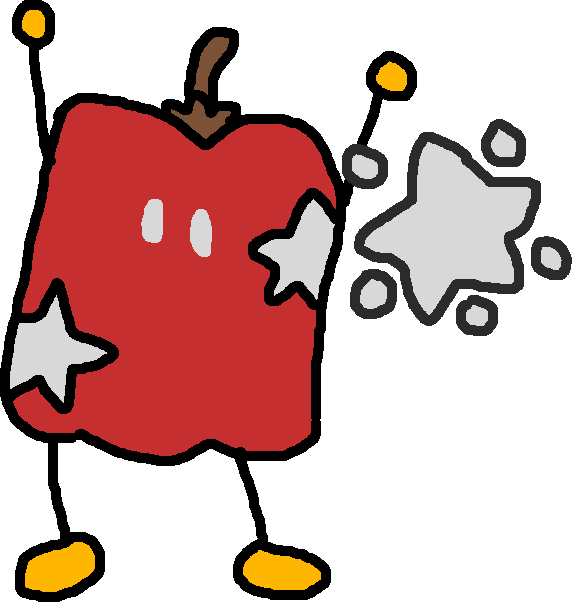
 Apple Ripe Blade |
The Apple Ripe Blade is a blade themed after apples, and is kind of just a standard weapon until it breaks, in which it leaves a seed. This seed is planted whereever it broke, and after 15 real time minutes, will sprout into a new Apple Ripe Blade. This isn't especially useful but if you're replaying a stage, chances are that it will be waiting for you to grab.
| ||||||||||
 Cosmic Nova |
The Cosmic Nova is a one-time use weapon that clears the entire screen of enemies, obstacles, and creates cosmic platforms to bridge gaps. It's exceptionally rare.
| ||||||||||
 Bego Bricks |
Bego Bricks are trap items that can be set for enemies to run across for serious damage. Be sure not to step over your own trap or you'll get hurt too.
| ||||||||||
 Solar Radiation Aura Shield |
The Solar Radiation Aura Shield will probably kill you. It's dangerous as !$%@ to use and doesn't take a lot damage before it fades away. That being said, nobody will come close to touching you ever again with this on.
| ||||||||||
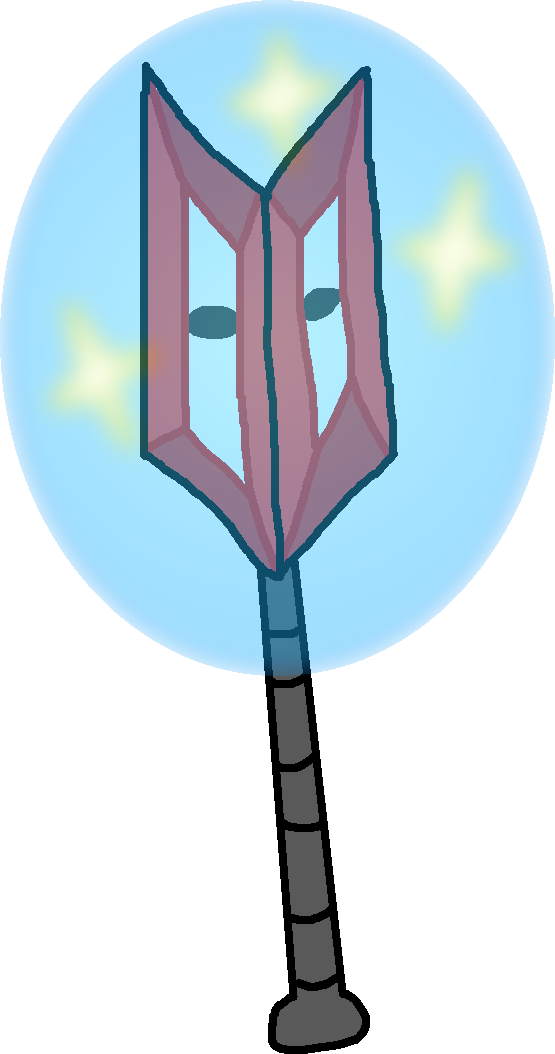
 Fairy Battle Axe |
The Fairy Battle Axe is a huge axe that was blessed by several fairies, enchanting it with a light weight that allows Bunea to swing it with ease.
| ||||||||||
 Crystal Club |
The Crystal Club was forged by the Carbunkli Company, and while its crystals aren't the strongest part of the club, they are the sharpest part of it.
| ||||||||||
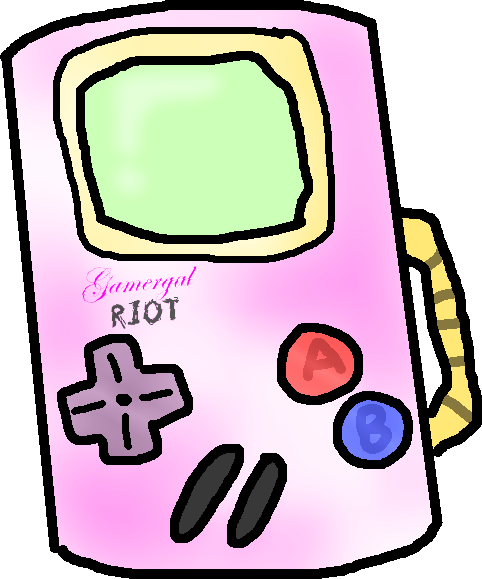
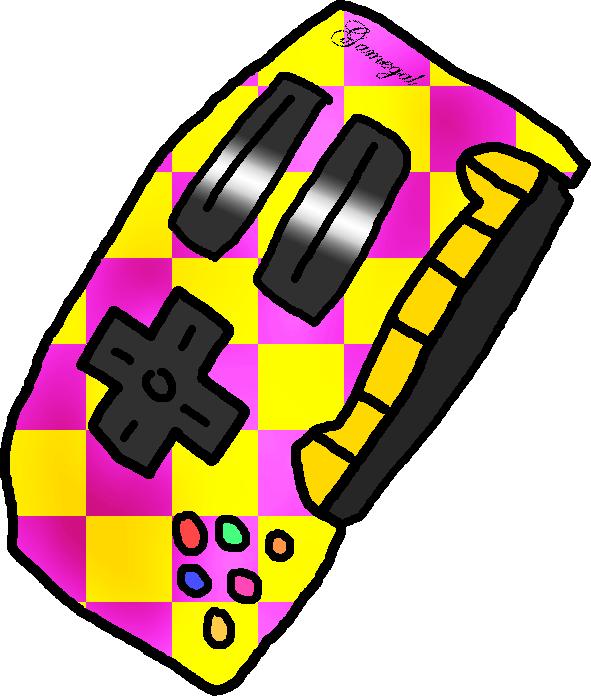
 Gamegal Piano |
The Gamegal Piano was recalled after it reportedly created hearing loss in the young girls who used the peripheral. Reports were not exaggerated, using it's sonic-based sound attacks, you can cut through several opponents very quickly.
| ||||||||||
 Gamegal Riot Shield |
The Gamegal Riot Shield was used in the launch craze at video game shops, to hold back... "rowdier" costumers. It has since been retired from use, but it's perfect for large crowds.
| ||||||||||
 Captain Timely's Shield |
The Captain Timely shield is able to reflect projectiles and attack as a melee weapon. It was the iconic weapon of a captain that came to save the day at just the right time.
| ||||||||||
 Flesh Mace |
This disgusting flesh chunk is attached to a stick, and it works well enough as a mace, with the hard metal prodding out of it. It's crude, but it'll have to do!
| ||||||||||
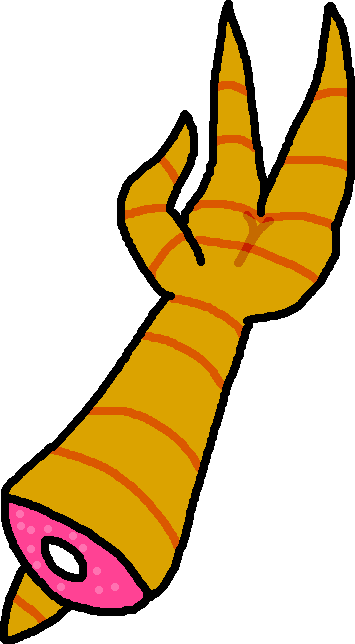 Succubus Talons |
The forearm from a female demon that never returned to her arm. It can be shot off like a projectile and used to dig into enemies. Can also be used as a melee weapon, clawing at enemies.
| ||||||||||
 Dark Shard Hatchet |
A hatchet created from the shard of a mysterious dark artifact. When swung, Bunea gains a dark glow around her that makes her invincible to projectiles.
| ||||||||||
 Slithering Flames |
Slithering Flames is quite the blade, hard to even hold with the nicks across the sword and the fact two separate flames curl around the flames. As such, it will hurt Bunea a single unit every time she swings it. That said, it's attack power is legendary, and it's speed is lightning fast.
| ||||||||||
 Prince Rupert's Drop |
A odd weapon that can held like a club, also it can be charged to be thrown like a projectile. It's incredibly hard and withstand a ton of use.
| ||||||||||
 Barrier Stick |
A odd weapon that is held like a melee weapon, which, when swung, doesn't actually do any damage to any opponents, but rather keeps them inside of a barrier that protects you from their attacks. You can attack their barrier with other weapons and then when it pops, all the damage coalesces into a single powerful attack.
| ||||||||||
 Ultra Rifle |
The Ultra Rifle blows gigantic bullets out from barrel, although it's range as a ranged weapon is rather limited. It also has a explosive kick to it's projectiles.
| ||||||||||
 Golden Bunny Sword |
The Golden Bunny Sword is crafted from a utterly useless material called gold, which isn't that great and definitely would break into it's usage if it wasn't charmed with magic. This blessed sword gives Bunea a slightly higher hop.
| ||||||||||
 Obsidian Knife |
Just a knife with a obsidian blade that has a pretty high attack and luck stat, with some hits to defense and speed. No additional effects.
| ||||||||||
 Snakehide Shield |
The Snakehide Shield acts as a shield and as a cloak, masking you into the background, allowing you to become invisible to enemies as they pass by you. If spotted prior to disappearing, the shield's effects will not work, but will still protect you from harm.
| ||||||||||
| 100% Heart Level Weapons | |||||||||||
 The Lizard |
A reskinned Lancer that was a gift from Liz Izzard should you romance her and maintain your relationship for a long time. It fires off a triple spread of bullets.
| ||||||||||
 Oasis Cannon |
A reskinned verion of the Ultra Rifle obtained by romancing Gwenasis and keeping up the relationship up for a while. While it's nerfed in comparsion to it's counterpart, the Ultra Rifle is a late game weapon and the fact a comparable power can be gained by World 2 is not something to ignore.
| ||||||||||
 Tikazoid |
A reskinned Klingtoid that was a gift from Tikzaku should you romance her and keep the relationship up for a while. It sucks away more health than the Klingtoid and two can be sent out at a time.
| ||||||||||
 Virtupine GameGal Piano |
A reskinned GameGal Piano that was a gift from Vaisha should you romance her and keep the relationship up for a while. It is a enchanced version of the weapon, which is especially helpful considering it's a later game weapon.
| ||||||||||
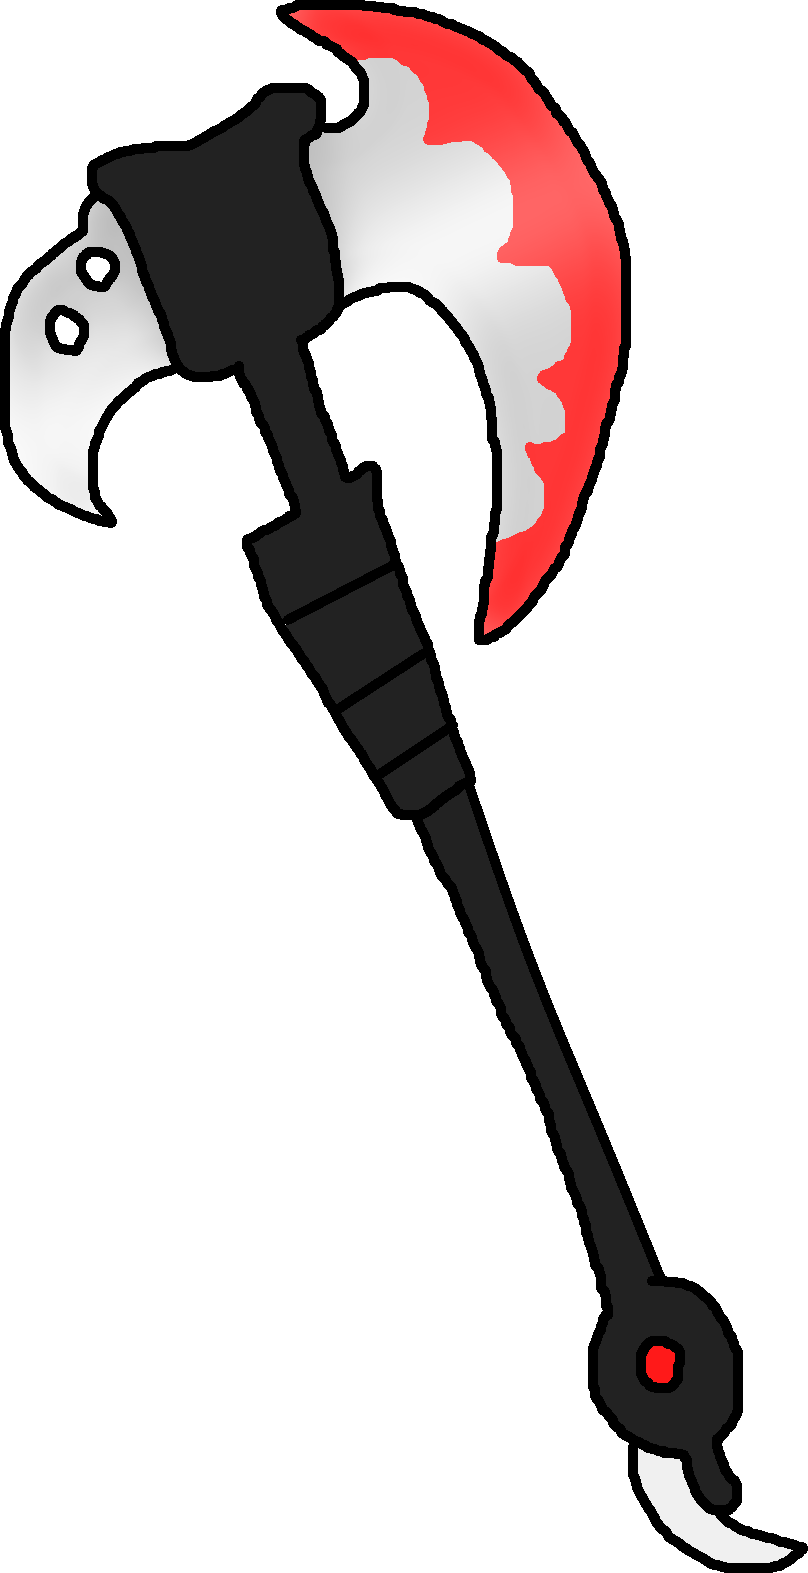 Anaheim's Axe |
Anaheim's Axe is one of the best weapons in the game, and is only obtainable through a 100% Heart Level with Anaheim. With it's heavy and fast melee attacks, Anaheim's axe is practically the perfect melee weapon, although defense and luck are cut down a lot when using this axe.
| ||||||||||
 Bunea Blade |
A reskinned Golden Bunny Blade that was a gift from Togea should you romance her and keep the relationship up for a while. It is a enchanced version of the weapon, although features a little more drawback than usual due to Togea's inexperience in making good weapons.
| ||||||||||
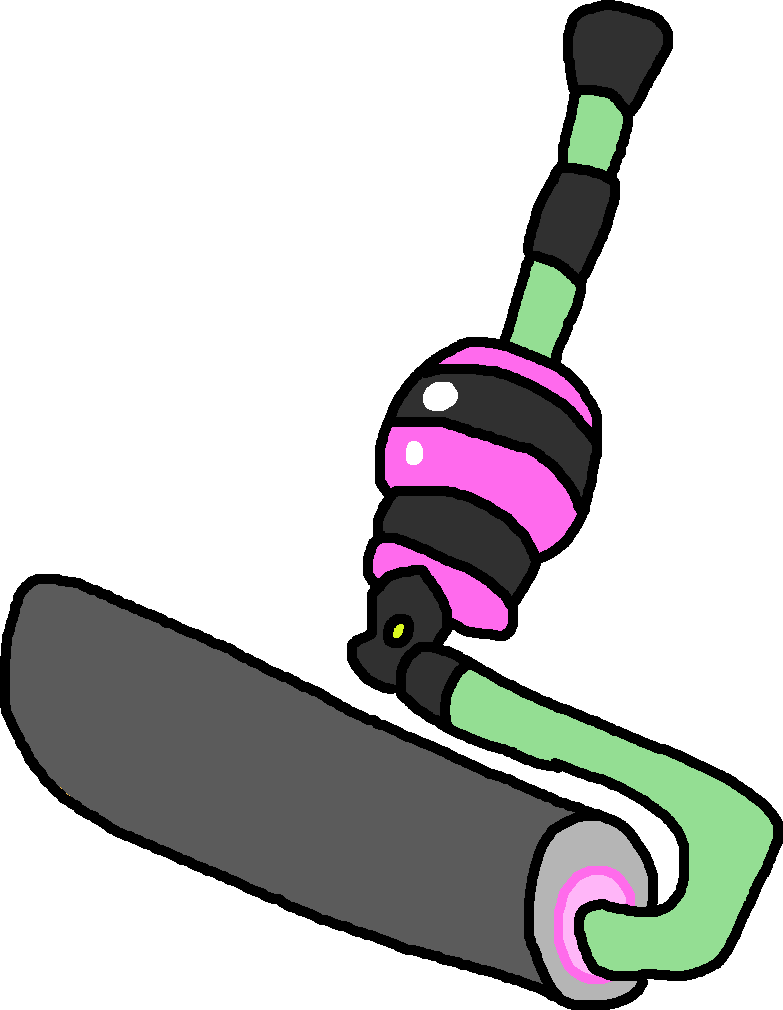 Sushi Roller |
A reskinned version of the Splat Roller weapon that is a gift from Lydia. It can be used to squish enemies under it as well as create healing sushi from said squished enemies. It features boosted stats as well.
| ||||||||||
 Moon Shard Hatchet |
A hatchet created from the shard of a moon rock. When swung, Bunea gains a light glow around her that makes her absorb projectiles and heal from their energies. She gains this weapon from a 100% Heart Level with Moona.
| ||||||||||
 Rainbow Drop |
A reskinned version of the Prince Rubert's Drop, which has higher stats. It is obtained by having a 100% Heart Level with the Mistress of Weird. It is a odd weapon that can be used as a club as well as a projectile and has a huge usage count.
| ||||||||||
Power-Ups[]
| Image + Name | Info |
|---|---|
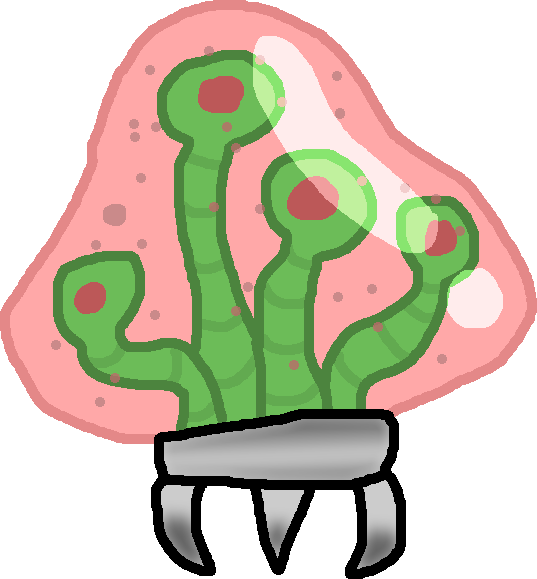
 Chococarrot |
  Chococarrots restore all of Bunea's health when picked up. They also remove any status effects Bunea has, even getting rid of some side effects on weapons that Bunea picks up for a short time. |
 Dragonfruit |
 
Dragonfruits allow Bunea to use a limited use short-range fire breath attack. It can be used while in motion, but will eventually reduce to nothing after prolonged use, requiring cool-down. The power up is removed after Bunea gets hit. |
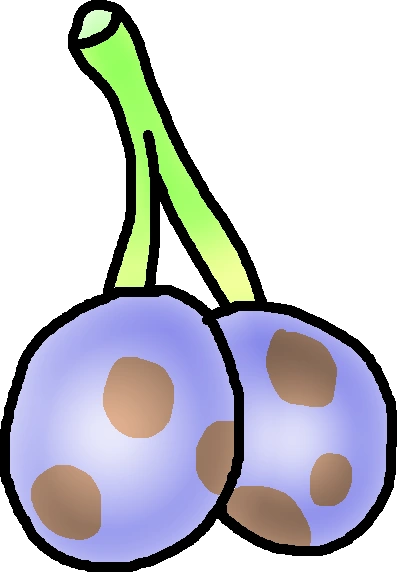 Chococherry |
  Chococherries creates a duplicate of Bunea that shares Bunea's health bar and the weapon uses. The clones however can die when they fall into a pit, although this won't impact Bunea in any way. |
 Virtupine |
  Virtupines allow Bunea to shoot lasers while in motion, although requires a cool-down after prolonged use. Lasers can go through walls and floors, only stopping once they hit the end of the screen. It goes away the instant Bunea gets hit. |
 Starapple |
  Starapples allow Bunea to do a twisting spin that propels her up in the air, which does replace her dash. It also allows Bunea to shoot weak star projectiles that bounce off floors and walls. It goes away the instant Bunea gets hit. |
 Laserberry |
  Laserberries allow Bunea to instantly charge her weapons and perform the Laser Dash, a quicker dash that allows her to phase through enemies and avoid projectiles and attacks. It goes away the instant Bunea gets hit. Voidmato gets a slightly different effect under the Laserberry; while it'll instantly charge his weapons, he instead performs the Laser Block, which allows him to phase through enemies and avoid projectiles and attacks while blocking. |
 Snowtato |
  Snowtatos allow Bunea to accumulate snow, turning into a giant rolling snowball that absorbs enemies and objects smaller than her snowball. While she can jump and slow her speed, her movement is very limited. The power-up goes away when Bunea either runs out of snow or reaches a wall that stops her, causing her to jump out. |
 Balloonagus |
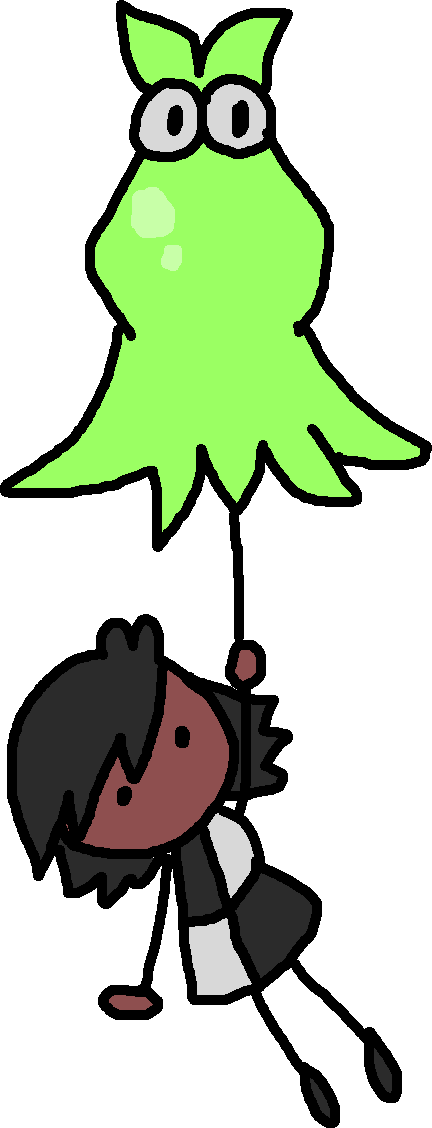  Balloonagus' inflate Bunea's hood, turning it into a balloon that she holds onto as she goes directly up. The power-up instantly goes once it pops, which is after three hits. |
Collectibles[]
| Image + Name | Info | ||||||||||||||||||||||||||
|---|---|---|---|---|---|---|---|---|---|---|---|---|---|---|---|---|---|---|---|---|---|---|---|---|---|---|---|
 Borbz |
Borbs are the currency in Super Bunea World and are dropped from enemies. There are three types of Borbz, each worth a different amount and have a different rarity.
| ||||||||||||||||||||||||||
 Tandem Tablet |
Two Tandem Tablets will always appear next to each other. Bunea can dash through them to collect them. They can be found rarely, and the number of them varies from level to level, with 8 sometimes appearing in long levels. Bunea can then exchange them to Borbie for her Borbz-collecting minigame, with each Tandem Tablet giving her two minutes in the mini-game. Additionally, they can be used to summon amiibo weapons from Zellen if the player doesn't have a amiibo. They are restocked in the levels every day, but once they're taken, they don't reappear for another 24 hours. | ||||||||||||||||||||||||||
 Demon Heart |
Demon Hearts are scattered across the worlds in secret areas for Bunea to find. When she collects five of them, she can upgrade her health through the Heart Sorceress. | ||||||||||||||||||||||||||
       Rainbow Scarabs |
Rainbow Scarabs are optional collectables for the campaigns, and unlock a extra picture after the credits. There are 10 for each color, with 70 hidden across the levels for each campaign. For each character, their picture is different:
| ||||||||||||||||||||||||||
         Souls |
Souls are dropped by bosses in Bunea's story, and are collected after defeating them. In Voidmato's story, Souls are dropped but Voidmato won't collect them, instead grabbing the bosses prized possessions. Each Soul can be liquidized into Bunea to give her a ton of exp, with a formula of Boss Health x 1.5 - Time Against Boss. The faster Bunea defeats a boss, the more exp she will earn, although the difference becomes a bit more negligible later on. | ||||||||||||||||||||||||||
Prized Possessions |
Prized Possessions are what Voidmato needs to collect in his story mode. Each boss he faces in the game has their own Prized Possession, with a list here:
| ||||||||||||||||||||||||||
Summons[]
While not really a "item", Vulpea gains access to summon the bosses for charged attacks by charging up her soul meter by defeating enemies. Every boss can be summoned since she now possesses their soul.
| Image + Name | Info |
|---|---|
 Liz Izzard |
When summmoned, Liz Izzard attacks with a variety of haunting drills that cover the screen, drilling into enemies. |
 Gwenasis |
When summmoned, Gwenasis screeches as she holds all the enemies in place with pink energy, firing icy arrows at the enemies. |
 Tikzaku |
When summmoned, Tikzaku painfully groans as red eyeballs coat the background, glancing at enemies to freeze them as well as attack with blue colored lasers. |
 Vaisha |
When summmoned, Vaisha attacks with glitching pixel characters that infect the enemies with a poison effect. |
 Anaheim |
Anaheim screeches as she pulls on her skin, wanting to die as she forcibly moves her axe, her bones scraping audible as she slashes through enemies against her will. |
 Togea |
Togea slashes at enemies with knives as she manically laughs, running through the screen as she looks for enemies to chop for her beloved master. |
 Lydia |
Lydia moves like a puppet on strings, water tridents raining down from the screen as she wraps enemies in seaweed. |
 Moona |
Moona freezes all the enemies on screen and blasts a chunk of moon rock to clear the screen, sobbing as she does. |
 Mistress of Weird |
Mistress of Weird hangs like a puppet on string, screaming as she summons a giant bowling ball to roll over enemies, before clearing the rest of the screen with fireworks. |
Worlds[]
Map[]

World 1: Chococarrot Charge[]
| Course | Information |
|---|---|

World 1-1 |
Incredibly bland looking plains level at first, featuring Jelly Shellys and Flowees as the main enemies. As Bunea goes further into the levels, the platforms begin to rise up and swing around, with a mechanical sounding whirring down from below. Bunea must stay on the swaying platforms and get to the goal gate. |
|
World 1-2 |
This level is almost a entirely downhill plains level, focusing on "teaching" the player how to best use their dash ability while sliding and crossing small pits while having a lot of momentum. The main enemies are Jelly Shellys and Flowees, with a Edgy Eddy at the end of the level just before the goal gate. |
|
World 1-3 |
This level takes place on a giant buffet table, with giant forks and knives digging into food. Bunea must avoid these obstacles while taking down Bio Thorns and Jelly Shellys. The goal gate is once again guarded by a Edgy Eddy. |
|
World 1-4 |
Bunea heads through a dry patch in the plains, with dead grass and red dry soil. Galactic Rustlers will aim at her through the level and she must dodge them and take them out as she runs through. A Galactic Rustler and a Edgy Eddy guard the goal gate. |
|
World 1-5 |
Taking place near a dumpy carnival with half burnt out neon signs, Chocojesters surround this level. Bunea can launch herself high into the air using dunk tanks and test your strength machines. Edgy Eddys appear towards the later end of the level as more common enemies, along with some Galactic Rustlers. The goal gate stays somewhat surprisingly unguarded. |
|
World 1-6 |
Taking place near a destroyed grey fortress, Bunea has to make her way through Chocojesters and Biothorns while navigating through the ruins. She will also encounter some Edgy Eddies and Galactic Rustlers as she makes it up to the top of the ruins. Using a slingshot to get to the goal gate, Bunea lands near a green castle. |

World 1-BOSS |
The player meets with Liz Izzard outside of their green castle. Liz Izzard puts up a tough and aggressive act at the beginning, but should the player initiate the fight they become very scared very suddenly. More details are available under the "Bosses" section. |

World 1-HEART |
Liz Izzard's green castle, Liz Izzard is seen working on various machines and will ask Bunea to assist her. Liz Izzard will also sometimes ask the player to sleep over at her castle, although if someone else wants Bunea over at their place, Liz Izzard may just show up over there if she really wants Bunea. Liz Izzard may also ask Bunea to come over for lunch, often giving her a Chococarrot or a helping of Borbz in exchange. Liz Izzard rarely invites anyone else over to her castle even when in a poly relationship with them, preferring to show up at their place. |
World 2: Dragonfruit Desert[]
| Course | Information |
|---|---|

World 2-1 |
This level features a pretty flat desert level that is slowly revealed to be taking place on a bunch of cubic planetoids. Bunea can use Star Gates to jump to the desert planetoids, taking down Fruit Bats and Bandlekoots in her way. The Dragonfruit is introduced in this level. |
|
World 2-2 |
This level takes place on the back of a giant pink and green dragon's back, who has sandy segments entrapped into it's back where enemies like the Bandlekoots, Fruit Bats, and Inkstorms reside, ready to attack Bunea. A Eddy Edge guards the Star Gate that leads to the dragon's head, where the Goal Gate resides just above it's mouth. |
|
World 2-3 |
This level takes place inside of the sandy interior of the dragon, filled with enemies it has swallowed in the past. The player needs to watch for Sevenakes and Flamebeaks, who are up in the air. The end of the level revolves around Bunea needing to cut open a opening in the dragon's stomach, and then escaping out the opening and landing down into the Goal Gate. |
|
World 2-4 |
This level is a auto-scrolling level where a incoming sand storm will kill anything that lags behind. Bunea should focus on running and never lingering to stop a enemy, even if it's something like a Edgy Eddy that serves to impede the player's path. The Goal Gate is inside of a pit where the sand storm will blow over. |
|
World 2-5 |
This stage takes place in a "Cacti Carnival", with bouncy cacti that Bunea needs to jump on the flower and avoid the prickly needles. The course also sees her running across a tight rope where if she lingers for a second she'll fall right into a pit of Edgy Eddys and a trapeze section that she needs to swing to get through to the Goal Gate. |
|
World 2-6 |
This level features dead trees that enemies hide in and attempt to surprise attack the player, although it is telegraphed with their eyes peering out from a hole in the trees. The level also features giant tumble weeds that the player needs to jump over or will be flattened by. |

World 2-BOSS |
The player meets with Gwenasis outside of their red beach shack. Gwenasis is actually looking to make friends (or maybe more...) with the player and expresses boredom and disappointment if they want to battle her instead. More details are available under the "Bosses" section. |

World 2-BOSS |
Gwenasis' somewhat messy home that is on a beach, of which she lives in. Gwenasis will ask the player to come here when she feels bored, which might be often if Gwenasis is the only person Bunea is friends with or is otherwise not entangled with anybody else. Gwenasis might ask Bunea to sleep over, go fishing, or listen to albums from the player's V2 Library. Gwenasis also loves kissing every now and then, and will invite over friends and lovers Bunea has for that. |
World 3: Dimensional Dungeon[]
| Course | Information |
|---|---|

World 3-1 |
Jumping out of a portal, Bunea arrives in World 3-1. This level features a tight enclosed area filled with bouncy jelly that Bunea can jump off, rocketing her to the next tunnel. The next tunnel is filled with a couple Meteorzoids, which Bunea must dodge or shoot to destroy to get them out of her way. The jelly expands over a large horizontal area, filled with bouncing Brazaxus' and Yogo Rollers, of which Bunea needs keep away from their needles as well as destroying them. She will then come against another tunnel, which she needs to jump across while she avoids Yogo Rollers. Entering through the wormhole at the end will allow her to clear the level. |

World 3-ZELLEN |
Zellen Harley Quimbleson is found sitting upon a bunch of boxes, sipping Helix Juice. Bunea can approach her to talk with her or scan amiibo to gain specialty weapons. |

World 3-BONUS BOSS |
Only accessible after beating the story and seeing the credits. Zellen summons Chain for a bonus battle, claiming that she has seen Bunea/Voidmato progress so much since the beginning of the game and wants to give them a true challenger to fight. Chain is a bit hesistant until Zellen tells her that they'll leave her alive, of which she agrees to the battle. More details are available under the "Bosses" section. |
|
World 3-2 |
This level takes place on a magic red carpet, which will move on it's own. Bunea needs to keep up with it while it travels through the level, going over and under platforms with various enemies in the level. Kronk Buckets debut in this level, often found in certain sections where the carpet floats over to. Bunea can do a double jump to avoid these, although if she's caught she will merely loose her ability to use weapons until the Kronk Bucket breaks. The end of the level is found through another wormhole, which the red carpet goes through. A second wormhole can be found directly above it, which leads to a alternate route. |

World 3-MINI BOSS |
Shardene impedes the player's progress as they exit out of the wormhole on the bottom, appearing underneath a barrel to assassinate Bunea. They can't be dealt with, as they have zero interest in becoming friends with Bunea and are already in a relationship with another girl. Bunea has to fight her way through her to progress, although she can miss her entirely if she only takes the alternate route. As such, a additional scene will be unlocked after defeating the world without finding her, showing her still under the bucket, prepared to fight Bunea as the hours tick by. More details are available under the "Bosses" section. |
|
World 3-3 (First Route) |
This level features several moving platforms that activate against a switch, which ascend, descend, go to the right or left, or explode. Bunea needs to activate various switches to progress through this stage, while avoiding Yogo Rollers and Etti Bits that appear throughout the stage. At the end of the stage, a giant switch will activate a wormhole that is used to end the level. |
|
World 3-4 (First Route) |
This stage is themed after a meat locker, in which Bunea needs to grab onto cold corpses of alien animals while a wall of Etti Bits is packed behind her, making this a autoscroll level. Etti Bits are the only enemies in this stage, and aside from wooden, shambling platforms, a majority of the stage consists of swinging across the stage as quickly as possible before diving into the wormhole at the end. |
|
World 3-5 (First Route) |
Bunea comes across a room filled with three doors. colored blue, red, and green, each featuring a different platforming challenge. The blue door features a auto-scrolling vertical level featuring the Etti Bits, forcing Bunea to keep traveling up across the shambling wooden tower. The red door features a red carpet level that centers around avoiding or destroying Yogo Rollers in narrow hallways. The green door features various switches that contain platforms that spin around, only stopping when Bunea activates the switches. Once all three doors are cleared, the floor opens up to reveal a bunch of bouncy jelly that propels Bunea up into the wormhole to end the level. |
|
World 3-6 (First Route) |
Bunea is trapped inside of a giant rolling cage for most of the level, with a wormhole that spawns enemies inside of it. Bunea needs to roll the cage down the level, while firing at switches to raise or lower parts of the level so she can proceed while avoiding her death! |
|
World 3-3 (Second Route) |
This level appears in enclosed room chunks, which have to be rotated through switches located in other chunks in order to access pathways between the chunks. The player must activate the switches to create a path to the wormhole that clears the level while avoiding Galactic Rustlers, Meteorzoids, and Flamebeaks. |
|
World 3-4 (Second Route) |
A level that descends downwards, with several air vents stopping Bunea in the air, causing her to head down. She must avoid floating Meterorzoids and Sevenakes while pushing down fast enough to avoid the spiked crushers that poke out from the walls of the level, down to the wormhole. |
|
World 3-5 (Second Route) |
Bunea must use the air vents to propel herself upwards into portals that lead into other areas of the level, finding seven blue keys to unlock the wormhole to complete the level. Several Edgy Eddies and Yogo Rollers appear here to attempt to impede her progress. |
|
World 3-6 (Second Route) |
A mad dash to the travelling wormhole on the back of a flying truck, Bunea must quickly dash across floating cars and vehicles to get to it while the screen autoscrolls with a flurry of Etti Bits. Several Kronk Buckets will attempt to get the drop on Bunea, so she must progress carefully so that she isn't without her weapons to deal with the Brazaxus' scattered throughout. |

World 3-BOSS |
The player meets with Tikzaku, who attempts to rattle the player with a bunch of nonsense at first, and is extremely aggressive if the player has killed any of the bosses. Should the player have any Souls on them, Tikzaku will immediately try to engage in battle unless the player's Attractiveness exceeds 50, in which they will become flirty again. If the player has befriended or romanced other bosses, Tikzaku will respond more positively to them should they get past her barrage of nonsense. More details are available under the "Bosses" section. |

World 3-HEART |
Tikzaku's backstage, where she sleeps and gets dressed up in. Tikzaku will ask Bunea to head here to help her warm up for performances and to get her opinion on outfits she wears. She may ask some of Bunea's friends or lovers to show up to her performances as well. |
World 4: Virtupine Virtuaworld[]
| Course | Information |
|---|---|

World 4-DEXA |
Before the player can begin to head to Virtupine Virtuaworld, Dexa tells the player that they actually come from Virtuapine Virtuaworld, being a prototype of the Dexa protocol droids used there. Getting in there will be tough, but Dexa will help Bunea get inside Virtuaworld because they have been friends for so long and Dexa thinks she can upgrade her programming, considering she's a incomplete prototype. Bunea and Dexa launch into the World via a rocket ship from Tikzaku's performance stage, blasting into the asteroid field and jumping out from the ship and onto the asteroids. |

World 4-1 |
The first stage begins in space, on a series of asteroids. Dexa follows Bunea around as Buzz Harlequinns zip around them, with Bunea needing to defeat them with Dexa assisting her with laser blasts from her finger guns. Bunea needs to jump from asteroid to asteroid to get to the Virtupine Virtuaworld entrance, in which Dexa will leave to hack the gate open. In the meantime, Bunea needs to blast away the Buzz Harlequinns, Galaxburgians, and Yogo Rollers that are spawned in as enemies. Once the gate is open, Dexa and Bunea can go inside the space station's Goal Gate. |
|
World 4-2 |
Bunea and Dexa arrive on the ship's cargo bay, of which is filled with crates and boxes, as well as a bunch of sneaky Galaxburgians and Yogo Rollers. Dexa will leave Bunea to find a recharge station, meaning that Bunea is now on her own. Bunea needs to navigate the cargo hold, which holds many weapons, as well as the Virtupine power-up but also a ton of Galactic Rustlers, Meteorzoids, and Sluggaplats that go across a bed of spikes. Bunea needs clearance to get to the Recreation Deck, but Dexa is nowhere to be found, which requires Bunea to smash it open with a series of dashes or using her weapon. The Goal Gate is found right after smashing the door open. |
|
World 4-3 |
The recreation deck is a series of enemies coming in, wave after wave as the alarms sound off. Bunea needs to defeat the waves of enemies coming at her to progress, with five waves of enemies in total. Qwestoves will appear on occasion to drop weapons and power-ups for Bunea.
After completing the waves, Bunea manages to get a ID card from the last enemy she defeats, allowing her to proceed to the Goal Gate. |

World 4-MINI BOSS |
Impeding Bunea and Dexa's progress through this world is Dexa-9E, a mini-boss that has less health than a normal boss and has a less harder strategy. Dexa-9E is found in the entrance to the right and left wings of Virtuapine Virtuaworld, forcing Bunea and Dexa to fight him. More information about his fight can be found in the boss section. He does not drop a soul and cannot be made friendly. After his fight, the player can either go to the left wing or the right wing. Dexa explains that while the right wing will not lead them to the boss, it will allow Dexa to update her software. |
|
World 4-4 |
Taking the left wing, Bunea and Dexa head down the spacious hall before Dexa is suddenly grabbed by a giant tentacle from a irrigation entrance. Bunea needs to head into the pipes of Virtuapine to rescue her friend, tackling on Yogo Rollers and Invadlees lurking inside this maze of pipes, following the sounds of the tentacle as well as it's visual cues. At the end of the level, Bunea can attack the tentacle to make it drop Dexa, which Bunea catches. The tentacle then grabs and throws the two out, directly into the Goal Gate. |
|
World 4-4 (Alternate) |
Taking the right wing, Bunea and Dexa find the area is under construction and have to navigate past the unfinished steel beams and wooden placeholder, which require tight feet. In addition, Yogo Rollers roll across the beam, requiring Bunea to also jump. Bunea cannot attack when walking across these beams, as she needs her arms out for balance. When Bunea makes it back to solid ground, they find the programming room and the goal gate. Dexa downloads a update from the system, allowing her to create data entries for everything as Bunea goes through the Goal Gate. |
|
World 4-5 |
Still going down the left wing, Bunea and Dexa find a rollercoaster that will lead across a giant-under construction gap, requiring them to ride a giant rollercoaster cart. Bunea can still jump, use weapons and dash, although she is locked into the constraints of this rollercoaster cart. Invadlees, Galaxburgians, and Buzz Harlequinns appear as enemies in this stage. Bunea needs to stay alive on this ride, which will pass through the Goal Gate. |
|
World 4-6 |
Arriving in the personal quarters of the residents of Virtuapine, Bunea and Dexa need to find keys to unlock Vaisha's boss door. A total of five are needed. Each key is surronded in a orange aura that will trigger Infernal Stalks to chase after Bunea, and Bunea can't attack them unless she puts down the key, which the Infernal Stalk will repossess and teleport away if they come into contact with it. After grabbing all five keys from the door maze and fighting off Galaxburgians, Galactic Rustlers, and Invadlees, as well as using Sluggaplats to get a key, the boss door is unlocked and a Goal Gate is just through the door frame. |

World 4-BOSS |
The player meets with Vaisha, who is not thrilled to see Bunea, as she was supposed to go after her but got distracted playing Jazz Turpentine Adventure on her Virtuasystem 64. Doubly irritated, Vaisha isn't too easy to talk with although if Bunea can bullshit her way though talking about video games, Vaisha considerably warms up to her. More details are available under the "Bosses" section. |

World 4-HEART |
Vaisha's personal living quarters. Vaisha will rarely ask Bunea to come over, usually to play video games with her. Bunea can play some games with her, or stare at the constellations with her. Vaisha may on occasion invite friends or lovers of Bunea to play with them as well. |
World 5: Starapple Skies[]
| Course | Information |
|---|---|

World 5-1 |
Bunea falls from space into Starapple Skies, landing on a cloud platform as she begins the level. The level is oddly absent of enemies aside from Wavebirds, which Bunea needs to find platforms high enough to avoid the tides or break through the tides using a good weapon. Found in this level are trees which Bunea can shake to get Starapples. The Goal Gate is found on a black cloud at the end of the level. |
|
World 5-2 |
Bunea heads into a stormy ascent of black clouds, filled with Cloudizuru and Cirrus Cubes. Bunea needs to navigate past the lightning and get her way through the enemies to get to a sky blue clearing with a Goal Gate. A alternate route requires Bunea to descend upwards, where she can get on top of the storm clouds to find a secret alternate Goal Gate that leads to a alternate World 5-3. |
|
World 5-3 |
Bunea begins to find bricks embedded into the clouds, with Satellite Scotts hanging in air. As Bunea progresses, the bricks quickly reveal themselves to be part of a fortress. Inkstorms appear and Satellite Scotts become more dangerous as they rotate around platforms. Bunea finds a key covered in a firey aura at near end of the level, summoning Internal Stalks as she uses it to open up the fortress. |
|
World 5-3 (Alternate) |
Taking place just above the storm clouds, Bunea goes across a bunch of platforms, encountering Galedogs and Etti Bits as she platforms across. Eventually she reaches the top of the fortress, which has many Cloudizuru and Cirrus Cubes out to attack Bunea. Getting past them and to the Goal Gate allows her to skip straight to World 5-6! |
|
World 5-4 |
Inside the Cloud Fortress, Bunea has to fight her way through Cirrus Cubes and Galedogs as she makes it up the spiraling stairs. |
|
World 5-5 |
Somewhat of a breather level at first glance, Bunea heads through the dining hall of the Fortress, finding the bones of various past dinners. She then heads through the weapons room, which turns out to be a mistake as she goes inside. She then needs to fight a series of enemies, with three waves in total.
After defeating the enemies, the Goal Gate descends down from the ceiling. |
|
World 5-6 |
Bunea makes it to the last floor, where she can see the Goal Gate right in front of her, but the hallway quickly warps as she moves forward, making the Goal Gate move just out of reach. As the hallway extends, it quickly becomes a gauntlet, throwing in Cloudizurus, Wavebirds, Cirrus Cubes, Satellite Scotts, and Galedogs at Bunea as she has to go through the twisting hallway, which splits, reforms, and even goes up and down at points. |

World 5-BOSS |
The player meets with Anaheim, who congratulates her for being able to go through her fortress in one piece, seeing her as a great warrior, that she wants to fight. Bunea can either battle her or try and talk her out of the fight. Anaheim actually gains respect for the player if they killed bosses prior to her, and loses respect for the player if she has actually made friends or lovers with them instead. Anaheim can be talked into being friends or even lovers though, although she'll need some ego feeding. More details are available under the "Bosses" section. |

World 5-HEART |
Anaheim's cloud fortress. Anaheim will ask Bunea to either come to the dining hall, her bedroom, or in her training arena to spar with her, usually the third, and rarely the second. Bunea can fight her friends her in sparring matches that end when half of the fighters health has been diminished. |
World 6: Laserberry Lake[]
| Course | Information |
|---|---|

World 6-1 |
Diving off the Cloud Fortress, Bunea finds herself in water, landing in Laserberry Lake. After spitting out some water and getting to shore, Bunea begins her run through Laserberry Lake. This is a fairly calm level, with a beach ball that Bunea can kick around throughout the level and features Jelly Shellys and Spike Shells as enemies. Laserberries appear on bushes scattered through the level. A bit of a breather level. The Goal Gate is in some shallow water at the end of the level. |
|
World 6-2 |
Bunea begins this level by going into the water, which is a crystal blue until she eats a Laserberry, which turns the water around her red. The red water will attract Squid Towers and Gillus Shrimp in the water, but otherwise it's kind of a simple level to just get Bunea used to the water mechanics. Jet turbines can be used to boost Bunea faster through the level. A Goal Gate is located next to a sea of coral. |
|
World 6-3 |
Bunea swims through a jungle of coral reef, which will damage her if she stays on top of them too long. Gillus Shrimp and Brainiac Jellyfish appear as common enemies in this level, and will swim near Bunea to try and make her touch the coral. Laserberries will help, giving Bunea the Laser Stroke to phase through foes but also attract enemies with the underwater scent. The Goal Gate is located on the surface on a buoy. |

World 6-MINI BOSS |
Located on a oil rig, Togea is sent by Mistress of Weird to take care of Bunea, although upon seeing her, Togea immediately falls in love with Bunea, although her definition of love is rather obsessive and unsettling. Bunea can coax Togea into a relationship where she doesn't cut her up, although can just as easily reject her advances and fight instead. More details are available under the "Bosses" section. |
|
World 6-4 |
Should Bunea fight Togea and kill her, Bunea will have to go through a oil rig located on the lake, entering it's three levels and having to grab three keys that will summon Infernal Stalks. Pentafishes and Spike Shells appear as enemies. After unlocking all the doors, Bunea finds a control room that contains a control panel. Bunea messes with it and the oil rig goes into self destruct mode, giving Bunea a minute to escape. As the oil rig explodes, Bunea goes right back into the water. |
|
World 6-4 (Alternate) |
Should Bunea enter into a relationship with Togea, Togea will take Bunea on a romantic cruise ride in a motorboat, driving it as Gillus Shrimp, Wavebirds, and Brainiac Jellfish attempt to attack the ship, which has it's own life bar. Bunea must fight off the enemies until Togea can reach the shore, skipping the two straight to 6-6 where Togea remarks she'll let Bunea take on Lydia while she goes back to her bunker.
Voidmato cannot go into this level. |
|
World 6-5 |
Deep in the water, Bunea is grabbed by a tentacle and is sent into really dark water, filled with Pentafish and Squid Towers. Bunea can use Laserberries to light the way, although if she collects them the light source will go away and she has to light it up using a laser stroke swim. The Goal Gate is located in a beacon of light through the dark linear tunnel, over a jet turbine that will shoot Bunea out of the water. |
|
World 6-6 |
Landing on the shore, Bunea spots a sushi restaurant that appears to have a light cast on her, sounding a alarm. Bunea needs to head to the sushi restaurant while avoid enemies and the spotlight, hiding behind rocks in the ground as she deals with Pentafish and Squid Towers. The Goal Gate is located right in front of the sushi restaurant entrance. |

World 6-BOSS |
The player meets with Lydia, who offers to make Bunea some sushi, remarking on the beautiful sunset. She then reveals that she does know she needs to fight Bunea, but almost remarks on it in a bored way. Talking with her reveals she just wants to make sushi, and that she actually kind of finds Bunea cute, although Bunea can only be friends with her if she already is in a relationship. Lydia remarks she can't share, revealing that she is monogamous. If the player decides to romance her, Bunea has to stay commited with her unless the player makes Lydia depressed through a variety of fail states, such as killing a boss or failing to meet up with her after she asks her to visit. More details are available under the "Bosses" section. |

World 6-HEART |
Lydia's sushi restaurant, of which Lydia will ask Bunea to visit on occasion to help her make sushi or sleep over at, providing a second sleeping bag for her. She may also invite over some of Bunea's friends to join the sleepover with. Occasionally, Voidmato can be found here with Roxanne on a date, eating sushi, although this only occurs after finishing Voidmato's story. |
World 7: Snowtato Slushlands[]
| Course | Information |
|---|---|

World 7-1 |
Bunea walks into the Snowtato Slushlands, walking around a bit as Mint Tezuka jogs past her. The level is fairly standard pits and platforms, with Sergeant Snowmen, Zeti and Etti Bits appearing as enemies. The player can race after Mint Tezuka, who will stop if Bunea gets close enough and explain who she is and what's she doing, although if the player takes too long she will finish the level at her own pace and this interaction can't be done. The Goal Gate is located at the end of the level with some icicles on it. |
|
World 7-2 |
World 7-2 introduces the Snowtato, which allows Bunea to become a giant snowball. The entire level is centered around building up mass down a steep declining hill of snow, absorbing Zetis and eventually Sergent Snowmen and Punch Timbers as she goes along. A giant cliff face will appear at the end of the end of the level to stop Bunea in her tracks. Mint Tezuka also appears in this level, using the a pair of skis to go down the mountain and using a grappling hook to get up the mountain. Should Bunea absorb her into the snowball, Mint will only be able to get out 30 seconds after Bunea does. The Goal Gate is located at the edge of the cliffside. |
|
World 7-3 |
Bunea starts the level on a pits and platform-based level, dodging Swinging Sals. The center chunk of this level is another Snowtato roll, although Bunea needs to gain enough mass to avoid loosing all her snow on the frozen lake towards the center of this roll before being stopped by another cliffside. After this cliffside, a bunch of Etti Bits and Sergent Snowmen appear to attack Bunea. Mint Tezuka continues her journey through the level, stopping at the cliffside to take a hot chocolate break before continuing. |
|
World 7-4 |
Bunea comes across a bunch of glaciers, needing to jump on them while avoiding the frozen water. Pentafish pop out of the water alongside Chill Skulls and Punch Timbers, and Bunea needs to avoid Swinging Sals as she jumps across from glacier to glacier. Mint Tezuka breezes past this with her energy blade, cutting down foes in her past as she attempts to outpace Bunea. The Goal Gate is in front of a log mansion. |
|
World 7-5 |
Entering inside the Log Mansion, Bunea needs to navigate the log mansion and avoid the Internal Stalks as she grabs keys to unlock doors. Landing in the library, Bunea needs to platform across the books as Punch Timbers and Swinging Sals act as obstacles to her. She then needs to glide down a vent and escape out to the other side, next to the Goal Gate around a giant ice wall. Mint Tezuka will go for keys that Bunea isn't going to, although she is nowhere near as fast as Bunea so she will die a couple of times. If the player is slow going through this world, all the doors will already be unlocked. |
|
World 7-6 |
The final level of Snowtato Slushlands is across a wide ice wall that is very slippery and is covered in snow. Bunea can use Snowtatos to clear paths of Sergent Snowmen and Zeti on the wall, and stop once Bunea hits a wall or gets the snowball wedged into a pit. Mint Tezuka will appear in the ice wall towards the middle of the level, frozen inside if the player is too slow but will otherwise appear alongside Bunea, fighting off enemies with her energy blade. |

World 7-BOSS |
Bunea meets Moona. If the player keeps pace with Mint Tezuka, they will meet with the boss together, although if she's too ahead or late, she will face her alone. Moona is a boss that prefers her isolation in her icy tower, being held there by her father and mother due to her illness, of which she doesn't actually have. Moona is depressed but prefers the crippling isolation compared to the outside worlds, and will fight Bunea if she gets in the way of that- although will leave Bunea alone if she agrees to leave her alone. Moona can be befriended or romanced, although like Lydia is monogamous. More details are available under the "Bosses" section. |

World 7-HEART |
Moona's icy tower. Moona will sometimes ask Bunea to come here, usually to cheer her up or to pose for paintings she does. Mint Tezuka will sometimes appear here, although just to check in with Moona as a friend. |
World 8: Exhausted End[]
| Course | Information |
|---|---|

World 8-1 |
Bunea takes a zipline from Snowtato Slushlands into the metropolitan Exhausted End, landing in the start of a city area covered in snow. Bunea can use a Snowtato to steamroll over enemies as a giant snowball, absorbing the Zamborb and Zorbinoids into it before it stops in front of a skyscraper. Bunea can then use the Balloonagus powerup to fly to the top, avoiding Swinging Sals and Satellite Scotts as she does. The Goal Gate is located on top of the skyscraper. |
|
World 8-2 |
Going through the clouds and using Starapples to ascend through the cloudy platforms, Bunea needs to avoid Satellite Scotts, Buzz Harlequinns, and Swinging Sals as she goes through the clouds. Eventually, she needs to descend downwards, avoiding Squid Towers, Helitoppers, and Cloudizurus. She lands near a zoo, which the Goal Gate is sitting right at the entrance. |
|
World 8-3 |
Bunea goes through the zoo, which shuts it's gates and lets loose all it's enemies inside. Bunea needs to take on five waves of enemies.
After defeating the Zoo, the Goal Gate descends from the top of the screen. |

World 8-HEART 1 |
The Bunkers of which Mistress of Weird's bodygaurds sleep and train in. Togea asks Bunea to be here rather often, usually to make out with her. Shardene and Brakkara can be seen after their fights, still sore at Bunea. |

World 8-MINI BOSS |
Brakkara guards the entrance of the Museum of the Weird, telling Bunea she isn't allowed in under orders of Mistress of Weird, and that she'll have to fight her to get inside. Bunea needs to fight Brakkara just like Shardene, and she doesn't even have the option of skipping over her. More details are available under the "Bosses" section. |
|
World 8-4 |
Bunea enters the first floor of the Museum of the Weird, which is mostly a breeze save a encounter from a Pizzagheist. Bunea needs to go through the cafe and kitchen of the Museum of the Weird, tackling on Kitchen Men as she does. Once inside the kitchen, Bunea can use the elevator inside there to head to the second floor, where the Goal Gate is. |
|
World 8-5 |
Bunea enters the second floor of the Museum of the Weird, which is filled with Hat Toppers and parts of the floor mysterious vanish and reappear elsewhere, making platforming a bit tricky. Swinging Sals, Sluggaplats, and Punch Timbers appear as enemies in this segment. Kitchen Men appear towards the end along with Pizzagheists. Bunea needs to get to the elevator at the end of the level to get to the third floor. Enter through the Goal Gate from there. |
|
World 8-6 |
If Bunea has been friends with most of the bosses, she will enter this version of the third floor, where all the bosses go in to help her. The floor is a massive, las-vegas style area filled with a variety of enemies.
Once Bunea reaches the Goal Gate, she looks up to the boss door and kicks it open. Voidmato cannot go into this level. |
|
World 8-6 (Alternate) |
If Bunea has killed all the bosses, or the player is playing Voidmato's story, the level is played instead, being much tougher, lacking in power-ups and all the segements have all their intended enemies. The beginning of the level sees Bunea go up against Bio Thorns, and then faces against Sevenakes coming out of a roulette maching. Using the level to propel herself into a high platform with a key, Bunea needs to outrun the Infernal Stalk and open up the lock around the jet engine that launches her into the smoggy cloud platforms that vanish after Bunea has been on them for five seconds. Wavebirds appear in waves and Bunea needs to get on higher platforms to avoid them. She will then need to jump down into water, filled with Swinging Sals and Squid Towers. After this water segment, Bunea will make the jump to snowy land where she needs to go through a army of Sergeant Snowmen. After this gauntlet, the Goal Gate is next to the boss door and Bunea kicks it open. |
World 8-BOSS |
Bunea finally meets up with Mistress of Weird, who demands Bunea give her home world back to her so that she doesn't kill her, as it would be shame to cut someone up like her. Bunea refuses and needs to convince Mistress of Weird to drop her imperialism ways or will have to fight her. More details are available under the "Bosses" section. |

World 8-HEART 2 |
Mistress of Weird's secret VIP club inside of the Museum of the Weird, named the Hand of Strange Society. Mistress of Weird will sometimes hang out here, inviting other lovers if Bunea and Mistress of Weird are in a poly relationship with other bosses. |
World V: Junkyard Junction[]
| Course | Information |
|---|---|

World V-1 |
Voidmato enters Junkyard Junction via a Star Cannon from Vaisha from the Museum of Weird, outstretching his arms as he lands. Voidmato needs to use a Balloonagus to float upwards, which he will then come across a bunch of Litwicks around some pools of gasoline, which he needs to blow out their candles before the place gets set on fire. Voidmato then uses some upward conveyor belts to wall jump across, going across a steel section filled with Galactic Rustlers. Lydia and Gwenasis will put out some nasty fires if they occur. The Goal Gate is located near a garbage chute. |
|
World V-2 |
Voidmato enters through a garbage chute and into a incinerator conveyor belt, needing to make his way across the belts and wall jump to get higher through the level. Moona will send some snow on one of the conveyor belts, which Voidmato can use a Snowtato to roll across, rolling up Sparkrods in his path. After slamming the snowball into a wall, Voidmato needs to wall jump upwards to a escape pipe, which will suck him up into a hill of garbage, of which Sluggaplats are infesting. Vaisha attacks with pixel holograms, dealing with them before they can come to Voidmato, freeing the path to the Goal Gate. |
|
World V-3 |
Voidmato needs to climb up some smog clouds, with Anaheim providing him with a Starapple to proceed easier upwards. Going across the smog clouds and dealing with Fruit Bats, Voidmato then comes across a giant plow, which moves forward, forming a mountain of garbage that Voidmato climbs. Liz Izzard then gives Voidmato her drilling machine to drive, which Voidmato uses to get through a giant wall of garbage, landing on the other side to the Goal Gate. |
|
World V-4 |
Voidmato finds himself on another set of conveyors, this time through a crushing machine that crushes things into cubes. If Voidmato gets crushed by the conveyors, he will take massive damage as it forms him into a cube, of which he pops out of. Voidmato needs to avoid Flowees and Zamborbs. He then comes across a two person button puzzle, of which Tikzaku gives him a Chococherry to use. Finally, when he comes across the boss door and needs three keys to unlock it, Mistress of Weird freezes the Infernal Stalks so he can grab them without getting chased. With the Goal Gate behind the door, Voidmato is ready to take on Diablister! |

World V-BOSS |
Voidmato tackles Diablister, which begins as a parody of Bowser's first boss battle from Super Mario Bros., before revealing himself as a tentacle and thorned alien creature that chases Voidmato as he needs to attack it. More details are available under the "Bosses" section. |
Enemies[]
Each World has a set of five enemies that it introduces, with the exception of Exhausted End which introduces a whopping six and Junkyard Junction which only introduces two. Each enemy has their unique function and way of attacking Bunea.
World 1: Chococarrot Charge Enemies[]
| Image + Name | Info | ||||||||
|---|---|---|---|---|---|---|---|---|---|
 Jelly Shelly (Red) |
Jelly Shellys walk around with their spiked heads, with their vulnerable backs visible to the player at pretty much all times. All it takes is a dash or attack on their backs to defeat them.
| ||||||||
 Flowee |
Flowees walk around, occasionally jumping or discharging a fireball to attack foes. They are weak where their roots are, which is their lower half of their body.
| ||||||||
 Bio Thorn |
Bio Thorns stick their necks out of their bodies and fire off fireballs to attack. They can stretch their necks to follow Bunea potentially through the entire level.
| ||||||||
 Galactic Rustler |
Galactic Rustlers use their guns to fire stardust embedded bullets at Bunea, usually chasing after Bunea if they miss. A reticle will appear over Bunea if they're aiming at her, so Bunea needs to move quickly.
| ||||||||
 Chocojester |
Chocojesters can juggle projectiles thrown at them and then throw them back at Bunea. Bunea can attack them with melee attacks or a dash.
| ||||||||
 Eddy Edge |
Eddy Edges are tough as rock and covered head to toe in spikes. Touching them directly won't do you much good. They luckily don't have much health, but their defense will weaken some of your attacks against them.
|
World 2: Dragonfruit Desert Enemies[]
| Image + Name | Info | ||||||||
|---|---|---|---|---|---|---|---|---|---|
 Fruit Bat (Red) |
Fruit Bats rest upside down and strike Bunea when she gets close. Due to their small hitbox, hitting them can be tough, but they are generally weak otherwise.
| ||||||||
 Bandlekoot |
Bandlekoots are aggressive bipedal animals that spin to attack as well as using their huge fanged mouths to bite Bunea. While spinning, they can reflect projectiles but stop when hit by a melee weapon.
| ||||||||
 Inkstorm |
Inkstorms float above Bunea and attack using blots of ink, covering her vision temporarily. They act more as a nuisance than a actual credible threat. Their bucket helmets are surprisingly their weak points.
| ||||||||
 Sevenake |
Sevenakes fly in the sky and dive down to attack Bunea, diving back and forth when they hit Bunea. Bunea must movely quickly and attack them to defeat them.
| ||||||||
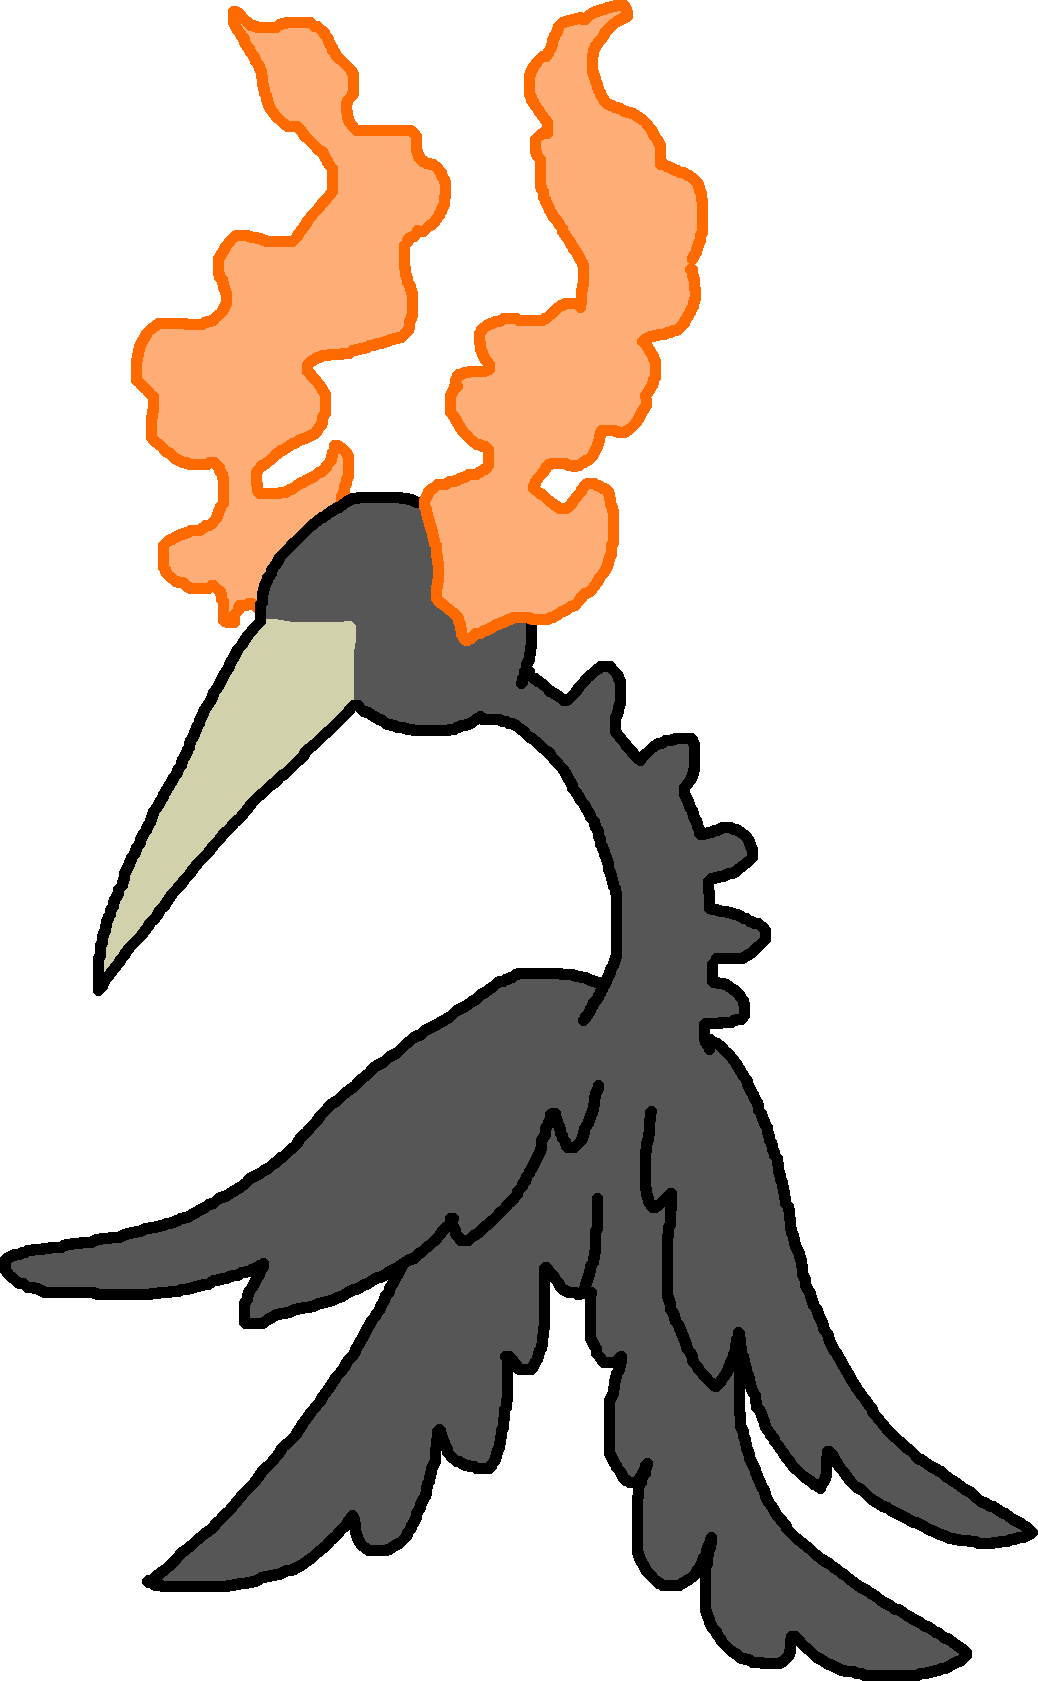 Flamebeak |
Flamebeaks follow Bunea as long as they can using their brilliant black wings, occasionally speeding up using a damaging flame charge. Their gold beak is the most vulnerable part on them.
|
World 3: Dimensional Dungeon Enemies[]
| Image + Name | Info | ||||||||
|---|---|---|---|---|---|---|---|---|---|
 Meteorzoid |
Meteorzoids dash across the screen, spewing out lava from their insides to harm Bunea. They have a +-shaped weakspot that can be easily exploited.
| ||||||||
 Brazaxus |
Brazaxus are shy individuals that don't want to attack Bunea head on, instead shooting out their needles while they deflate momentarily, before rising up again as their needles return. Before their huffing animation, it is optimal to hit them.
| ||||||||
 Yogo Roller |
Yogo Rollers roll across platforms, stopping to eject out spikes to hit Bunea. Bunea can bounce off these when they're rolling, as well as destroy them from a distance.
| ||||||||
 Etti Bit |
Etti Bits often come in packs, appearing in groups of five. They are rather speedy and go straight for Bunea to attack with their Freeze Aura, freezing poor Bunea. They don't have much health though, and can be taken out pretty easily, but their numbers make them pretty deadly.
| ||||||||
 Kronk Bucket |
Kronk Buckets aren't enemies in the traditional sense, as when they fall on Bunea, their hallow insides just cover her. This forces Bunea to stop using weapons and use the environment around her to destroy the Kronk Bucket. Kronk Buckets have spikes that extend out of them that can be used to poke into escalating walls and poke into weaker enemies. They will melt away in heated areas.
|
World 4: Virtupine Virtuworld Enemies[]
| Image + Name | Info | ||||||||
|---|---|---|---|---|---|---|---|---|---|
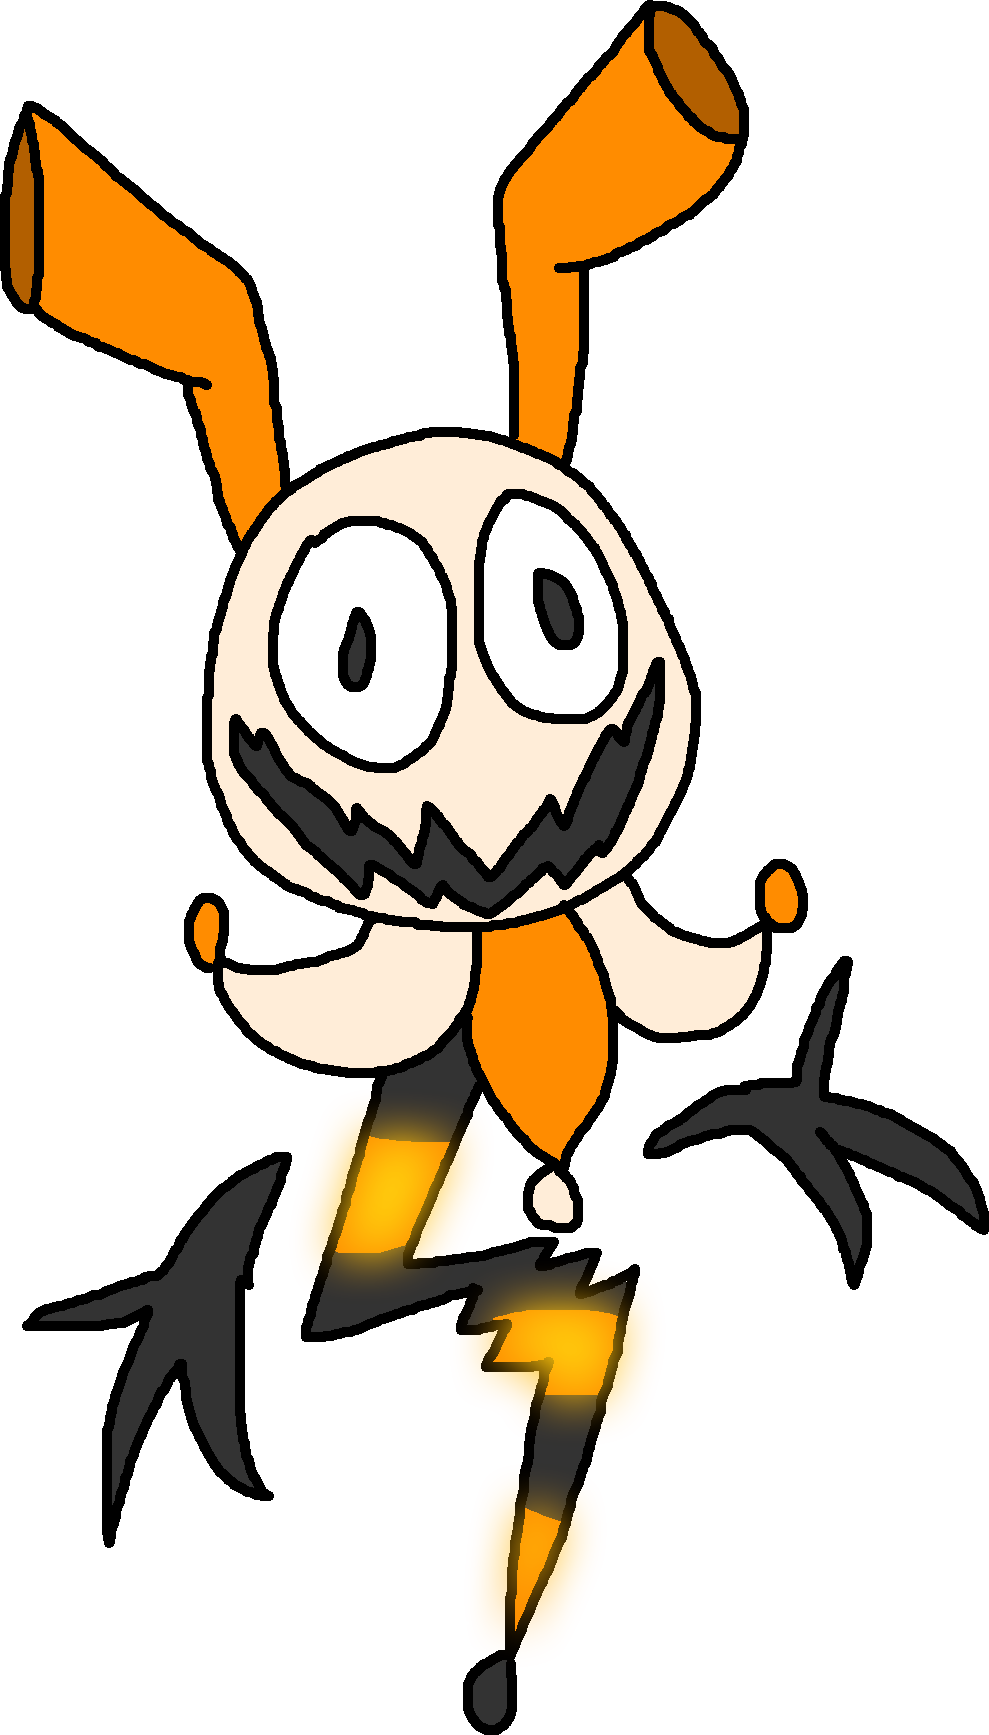 Buzz Harlequinn |
Buzz Harlequinns zip across the stage, following Bunea wherever she travels until she attacks them, in which they attack with electrical attacks.
| ||||||||
 Sluggaplat |
Sluggaplats crawl across the floor, as well as across spikes. Bunea can ride across them, although if a Sluggaplat sees her on ground level, it will chase her and attempt to bite her.
| ||||||||
 Invadlee |
Invadlees come out from below and float upwards, floating down from the screen and attaching themselves to Bunea with their tentacles if they connect with her. Bunea has to shake them off with a laser dash or by jumping repeatedly. When wrapped around Bunea, they will poison her.
| ||||||||
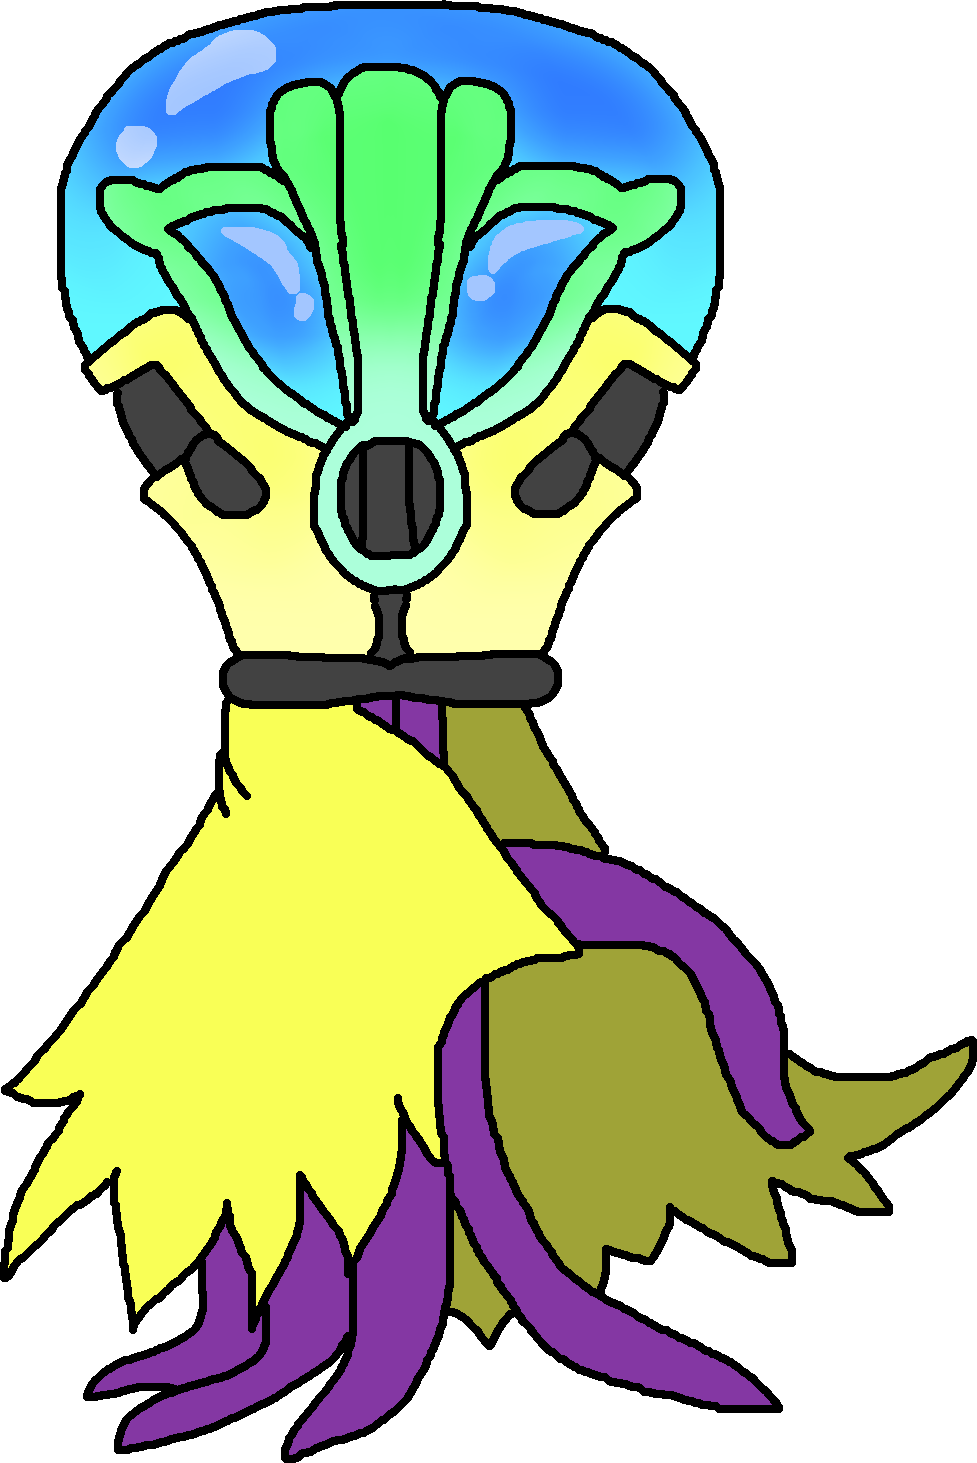 Galaxburgian |
Galaxburgians appear from the shadows, holding stand-offs against Bunea as they pull laser guns from their cloaks. They are incredibly quick sharpshooters and will vanish as soon as they shoot, teleporting away. Bunea needs to fire quickly at them.
| ||||||||
 Infernal Stalk |
Infernal Stalks appear when Bunea grabs a item surronded in a firery aura, such as a key or a switch. She must either use the key or switch before the Infernal Stalk gets to her or they will unleash devastating attacks on her. They will also follow her from room to room.
|
World 5: Starapple Skies Enemies[]
| Image + Name | Info | ||||||||
|---|---|---|---|---|---|---|---|---|---|
 Cloudizuru |
Cloudizurus are cloudy creatures that are capable of producing electricity from their head, meaning that Bunea will be shocked if she attempts to jump over them or on them. They can also walk on air. They don't actively go after Bunea, but rather casually stroll around.
| ||||||||
 Cirrus Cube |
Cirrus Cubes bounce up and down across the ground, and when defeated, they split off into smaller cubes (2-> 4-> 8-> 16). They don't have much health, but they really hurt. If they are lit on fire, when they split off, their smaller versions will be set on fire as well, killing them quickly.
| ||||||||
 Galedog |
Galedogs scuttle around until they see Bunea, jumping off as their segments "blow" towards Bunea, with each segment having their own individual health.
| ||||||||
 Wavebird |
Wavebirds fly in packs, appearing like impending tidal waves as they sweep across the stage. While they don't have a ton of health, they come in numbers of 20-50. When they complete the wave, they swoop back to do it again.
| ||||||||
 Satellite Scott |
Satellite Scott has spikes all around his body, and he just floats in place. He deflects projectiles and melee attacks. The only way to defeat him is with specific weapons like the Cosmic Nova or the Barrier Stick.
|
World 6: Laser Lake Enemies[]
| Image + Name | Info | ||||||||
|---|---|---|---|---|---|---|---|---|---|
 Spike Shell |
Spike Shells lay on the ground and are activated after Bunea steps on them, following her in a quick pursuit. They have no apparent weakpoint and use their horns to hit Bunea from a distance.
| ||||||||
 Gillus Shrimp |
Gillus Shrimps are small creatures that float towards Bunea and slowly poison her when attached. They can be shaken off with a dash, but Bunea can't dash underwater, so Bunea needs to quickly find a way to the surface to do so.
| ||||||||
 Brainiac Jellyfish |
Brainiac Jellyfishes swim towards Bunea and then attempt to attack her with a shock attack that comes off the top of her head, before descending down and then swimming close to Bunea again to try and shock her.
| ||||||||
 Squid Tower |
The Squid Towers crawl across the surface and on the bottom of the ocean floor, blowing ink bubbles that will disable Bunea's movement and cause her to float up to either the surface or the ceiling if she gets caught in it.
| ||||||||
 Pentafish |
Pentafish are creatures that walk on the land and on the bottom of the floor, with a random melee weapon in their hands. Defeat them and you can grab their weapon to use.
|
World 7: Snowtato Slushlands Enemies[]
| Image + Name | Info | ||||||||
|---|---|---|---|---|---|---|---|---|---|
 Sergeant Snowman |
Sergeant Snowmen are snowmen that carry around various random melee weapons, of which they drop when Bunea defeats them. They aren't very fast, but they add a additional ten points of damage of any weapon they use.
| ||||||||
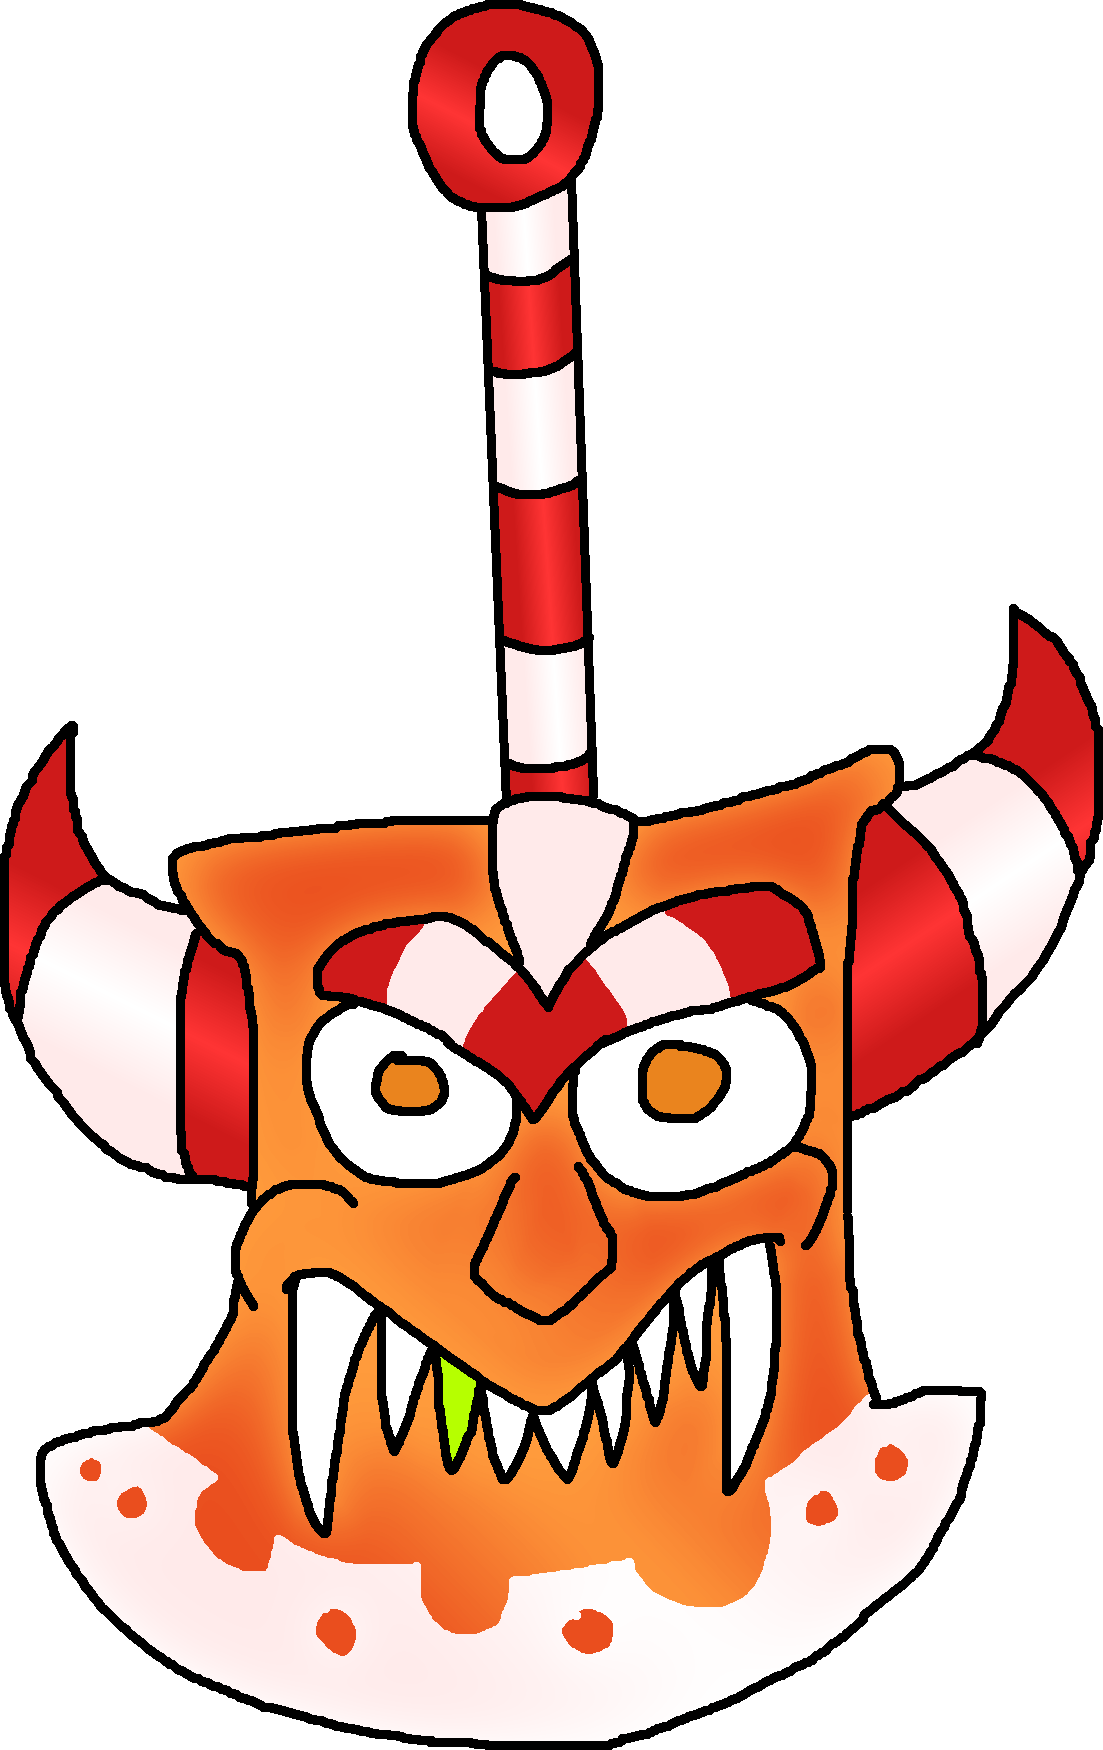 Swinging Sal |
Swinging Sals swing similar to a pendulum in the air, with the tops of their heads acting as a platform. Should Bunea touch the blade part, she'll get severely damaged. She can destroy Swinging Sals, but this isn't really recommended as they act as a platform and respawn quickly anyway.
| ||||||||
 Chill Skull |
Chill Skulls hang on the wall and become activated when Bunea walks under them, shivering as they fly towards her, floating JUST above her so that if she jumps, she gets frozen. Bunea needs to use a melee weapon or something that can hit above her to get rid of the Chill Skull, or get out of their range.
| ||||||||
 Punch Timber |
Punch Timbers appear in the background and pop out when Bunea walks past them, although they freeze in place when Bunea looks back.
| ||||||||
 Zeti |
Zetis are small enemies that hobble over to Bunea. They can be taken out easily, but Bunea can't stomp on them due their pokey horns.
|
World 8: Exhausted End Enemies[]
| Image + Name | Info | ||||||||
|---|---|---|---|---|---|---|---|---|---|
 Kitchen Man |
Kitchen Men are made of silverware, and usually prepare meals for Mistress of Weird. They are enlisted to fight against Bunea when she enters their kitchen and use their spooks and knives to attack.
| ||||||||
 Zamborb |
Zamborbs can't be stomped, but they waddle toward Bunea like a Zeti. They have a lot of health, but no way to attack. Poor guy.
| ||||||||
 Pizzagheist |
Pizzagheists pop out of pizza boxes and haunt Bunea if she stomps on the pizza boxes, making her weapons covered in sticky cheese and being unable to use them. They fade away after 60 seconds, their curse disappearing as well.
| ||||||||
 Zorbinoid |
Zorbinoids are similar to Zamborbs in that they have a lot of defense, but they also have a random gun they use against Bunea.
| ||||||||
 Scissorstack Crab |
Scissorstack Crabs crawl across the ground, using their scissor claws to attack Bunea. They retract into their shell if Bunea brings out a powerful weapon, allowing Bunea to kick their shell to use as a ground bound weapon that runs across the ground.
| ||||||||
 Helitopper |
Helitoppers fly across the air and then descend down onto Bunea to take away her dash. They can be shot out of the air and cause a explosion.
|
World V: Junkyard Junction Enemies[]
| Image + Name | Info | ||||||||
|---|---|---|---|---|---|---|---|---|---|
 Sparkrod |
Sparkrods act like dogs before they see Voidmato, barking at him as sparks fly from their mouths, electrifying wires. Voidmato needs to figure out how to calm spark rods to stop them from sparking, either by throwing a projectile or dropping a weapon for Sparkrods to play with.
| ||||||||
 Litwax |
Litwax set things on fire near them, as long as their wick is lit. They freeze when their wick is blown out.
|
Bosses[]
Major[]
| Image + Name | Info |
|---|---|
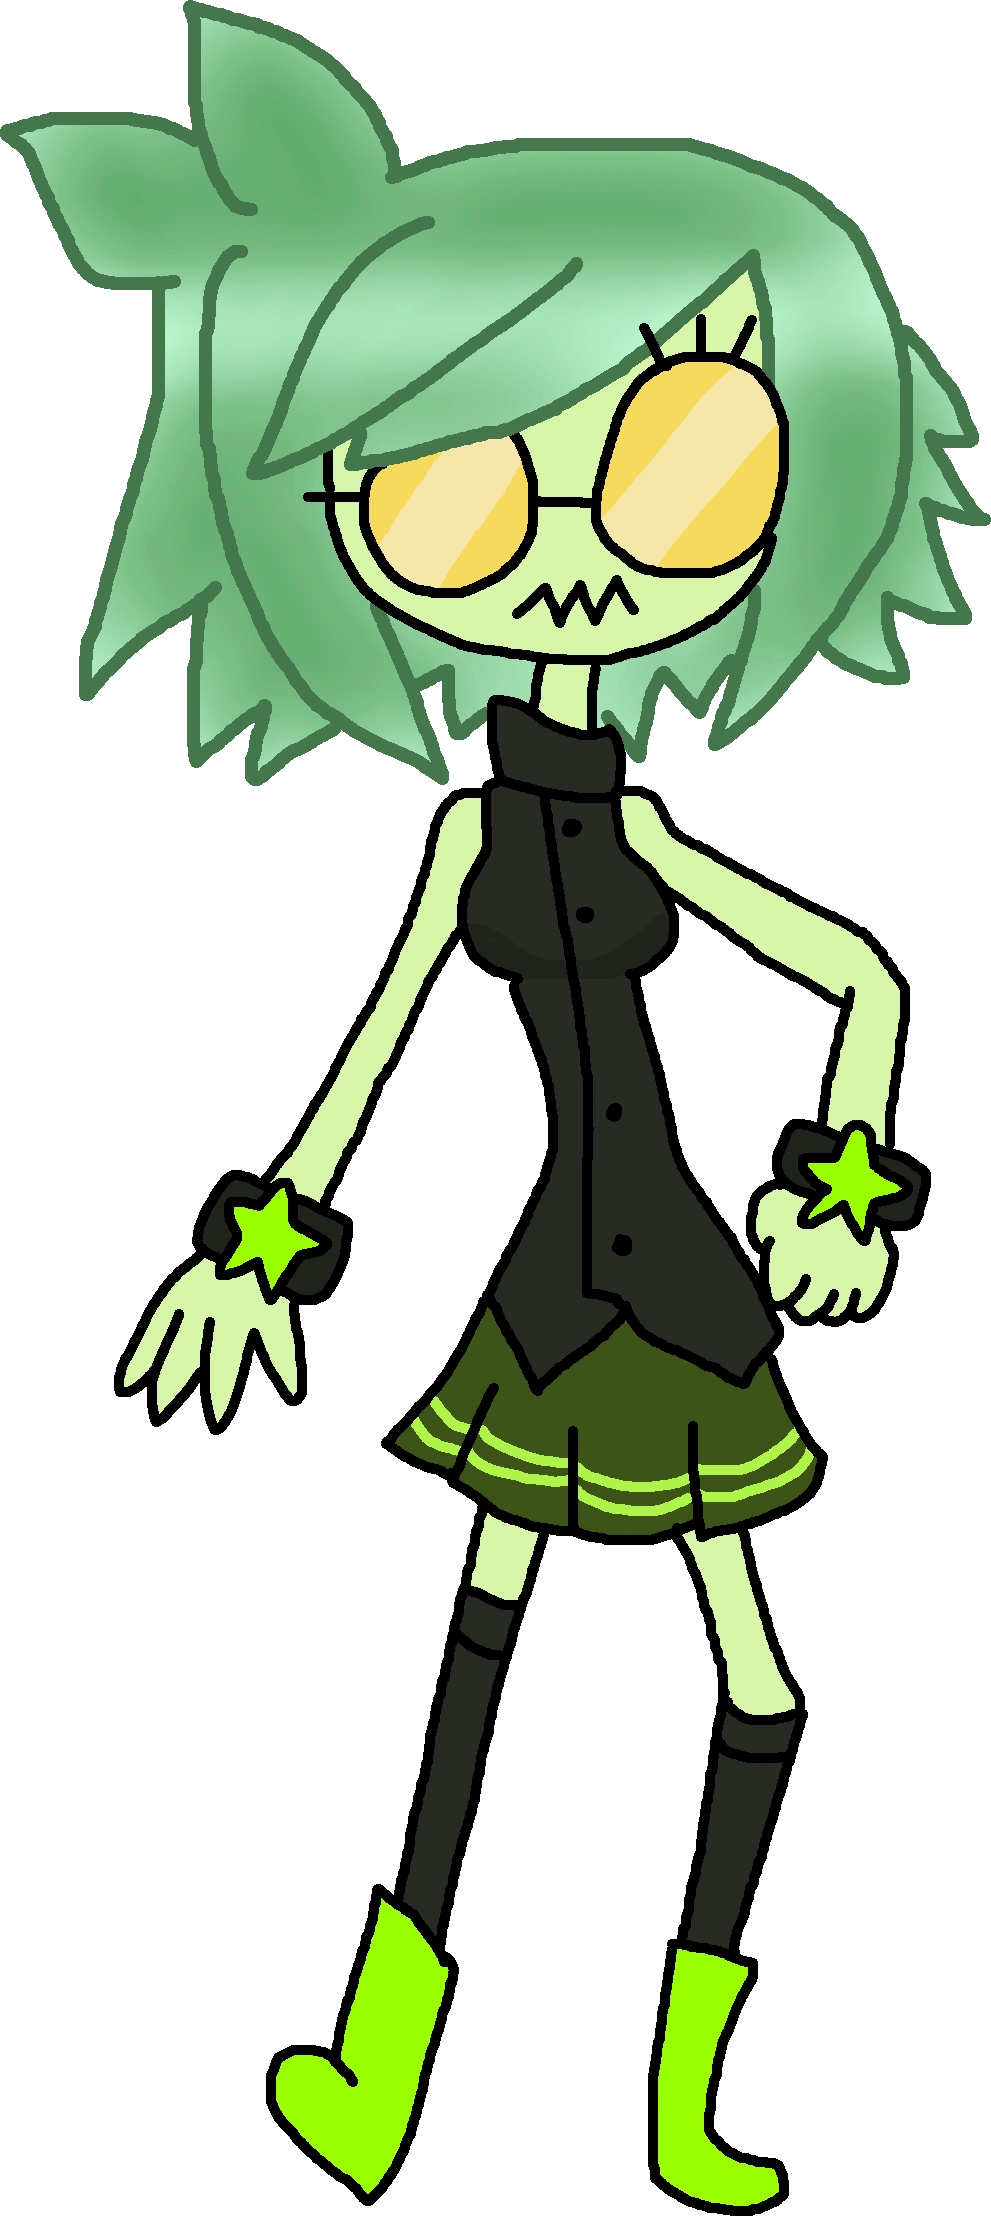 Liz Izzard |
Boss of World 1: Chococarrot Charge. Liz Izzard acts somewhat gruff and aggressive when greeting the player, but when she realizes she's actually going up against them in a fight she gets visibly scared.
Fight Befriend/Romance Prized Possession |
 Gwenasis |
Boss of World 2: Dragonfruit Desert. Gwenasis is more relaxed, and doesn't actually seem to have any actual interest in fighting you. She responds more positively when the player attempts to engage with her, but shrugs them off when they go into battle.
Fight Befriend/Romance Prized Possession |
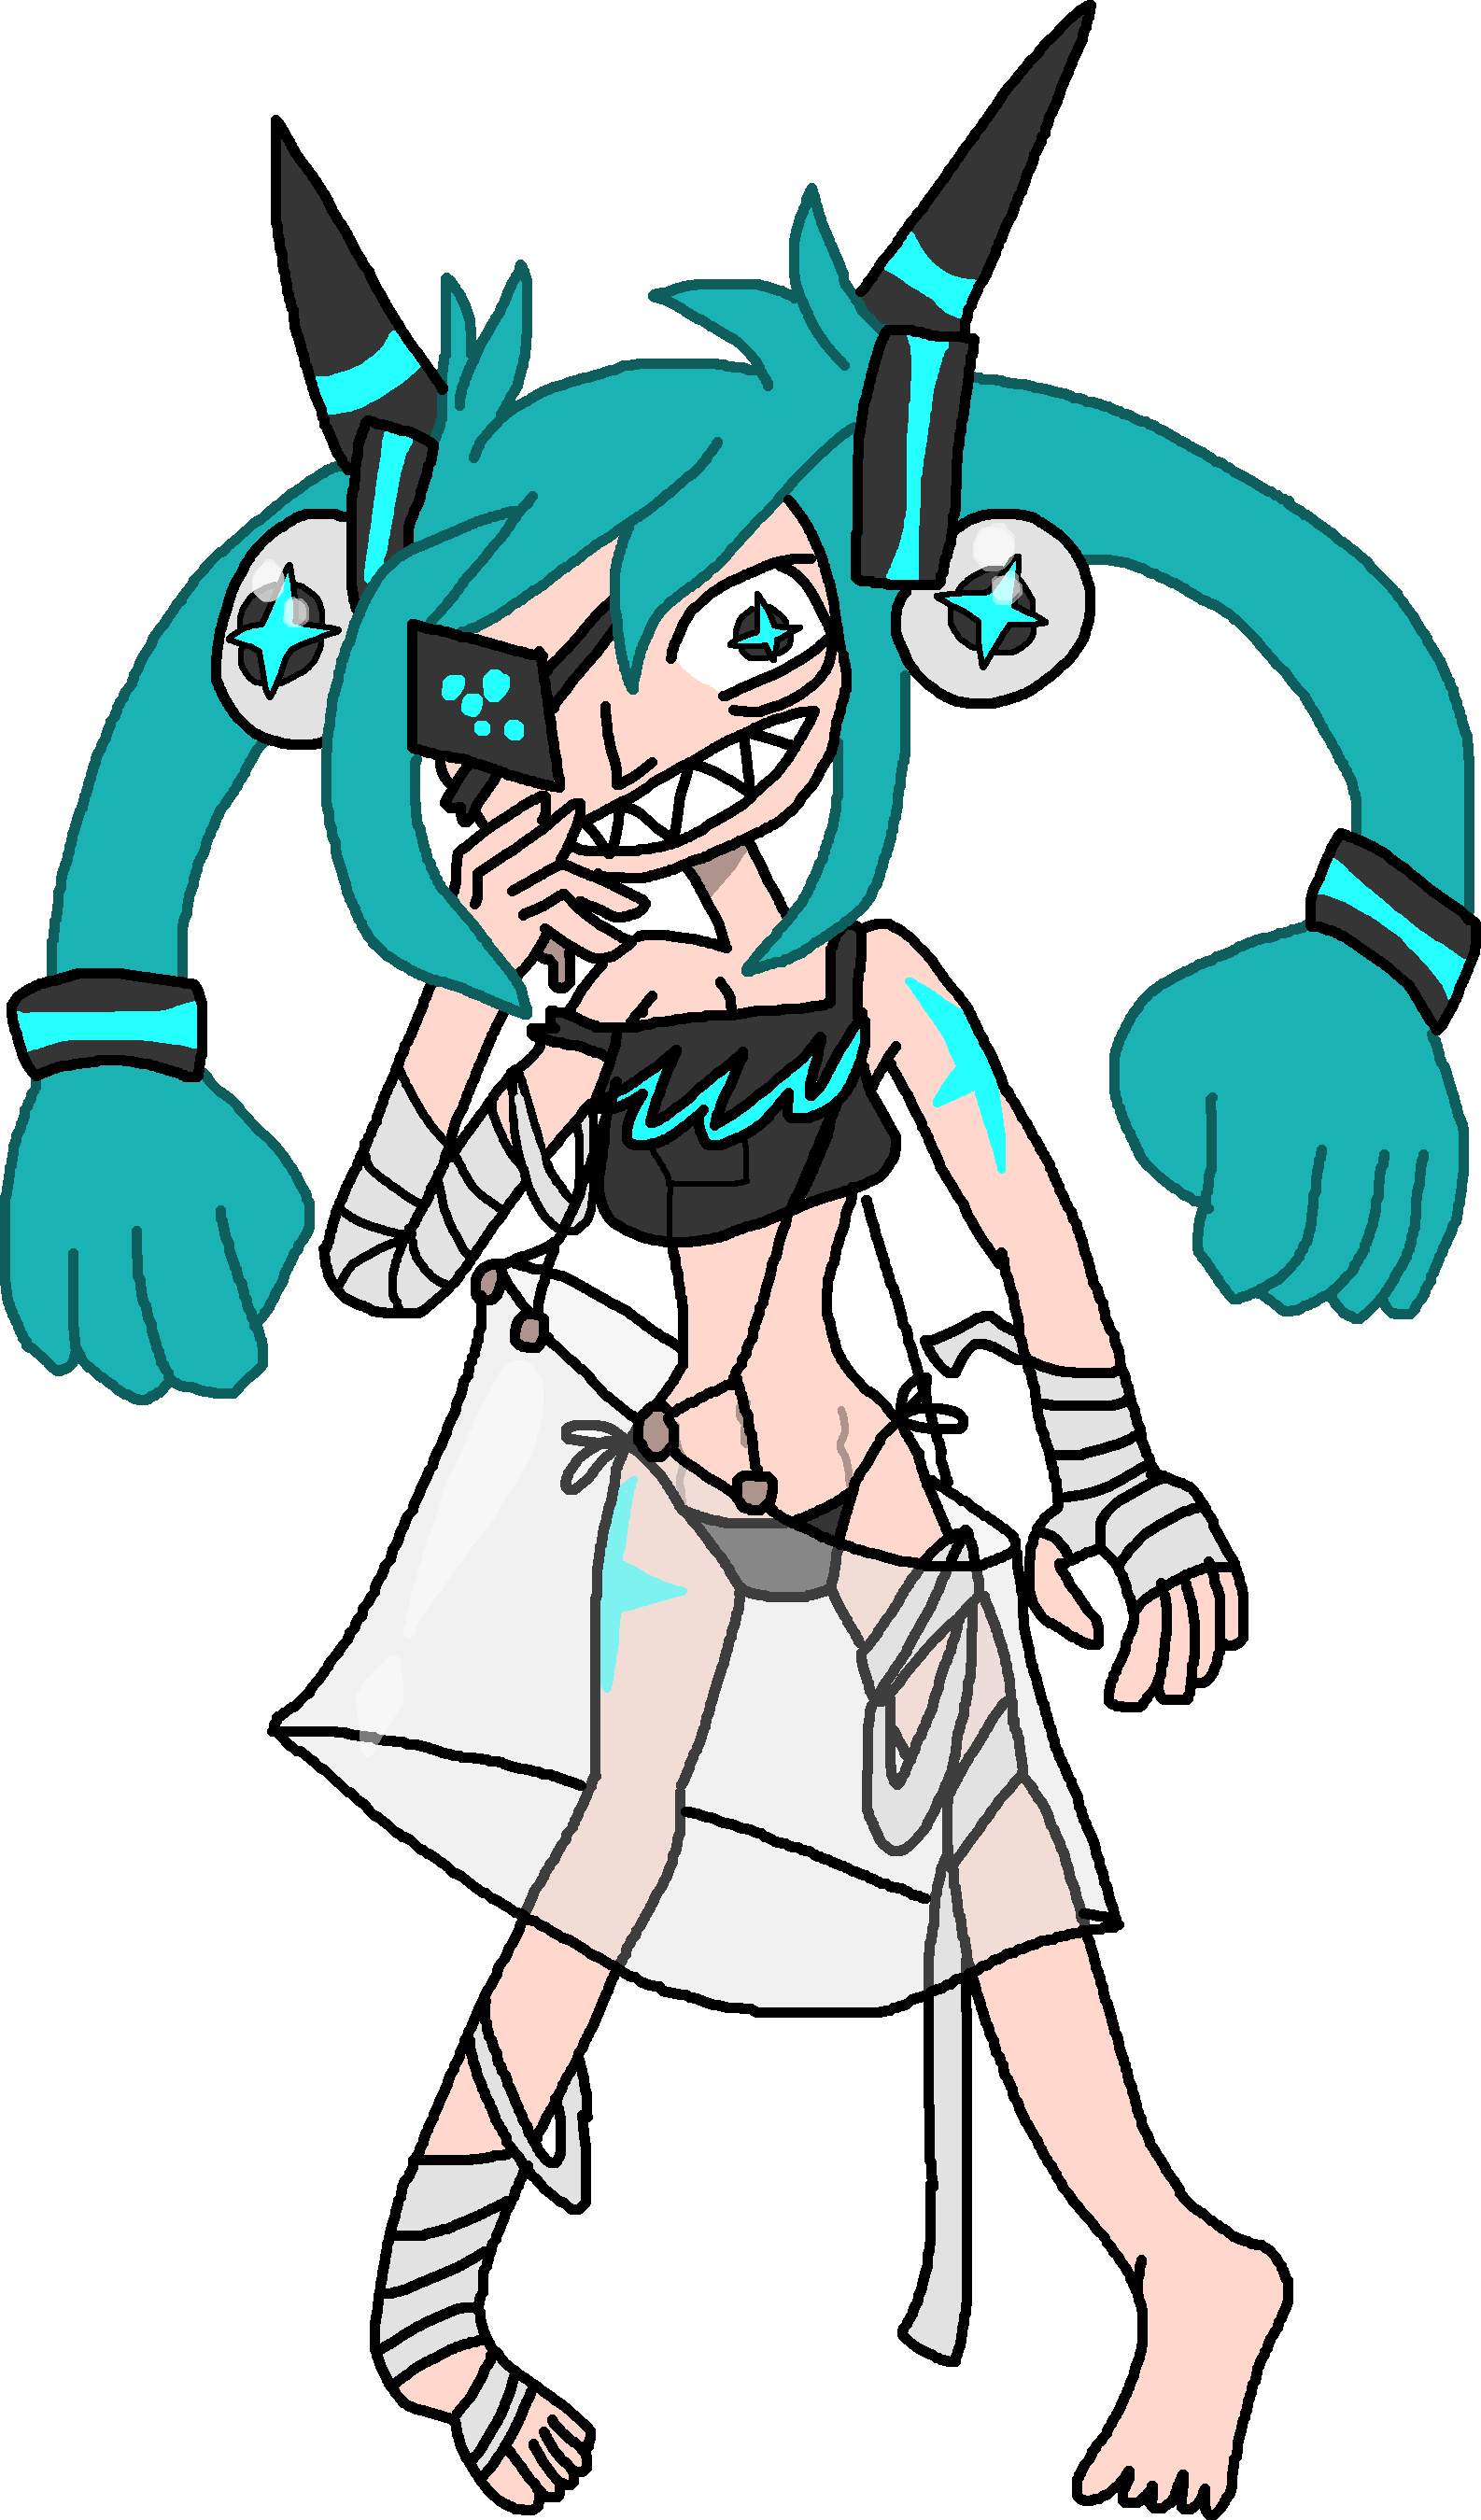 Tikzaku |
Boss of World 3: Dimensional Dungeon. Tikzaku is a pop-singer that resides within the Dimensional Dungeon, having been driven mad by her own need for perfection. She purposefully tries to drive people off from getting to know her, often spouting complete nonsense. If the person sticks around, she opens up to them. That said, she can be rather absurd from time to time and does not take murder lightly... unless you happen to be really hot.
Fight Befriend/Romance Prized Possession |
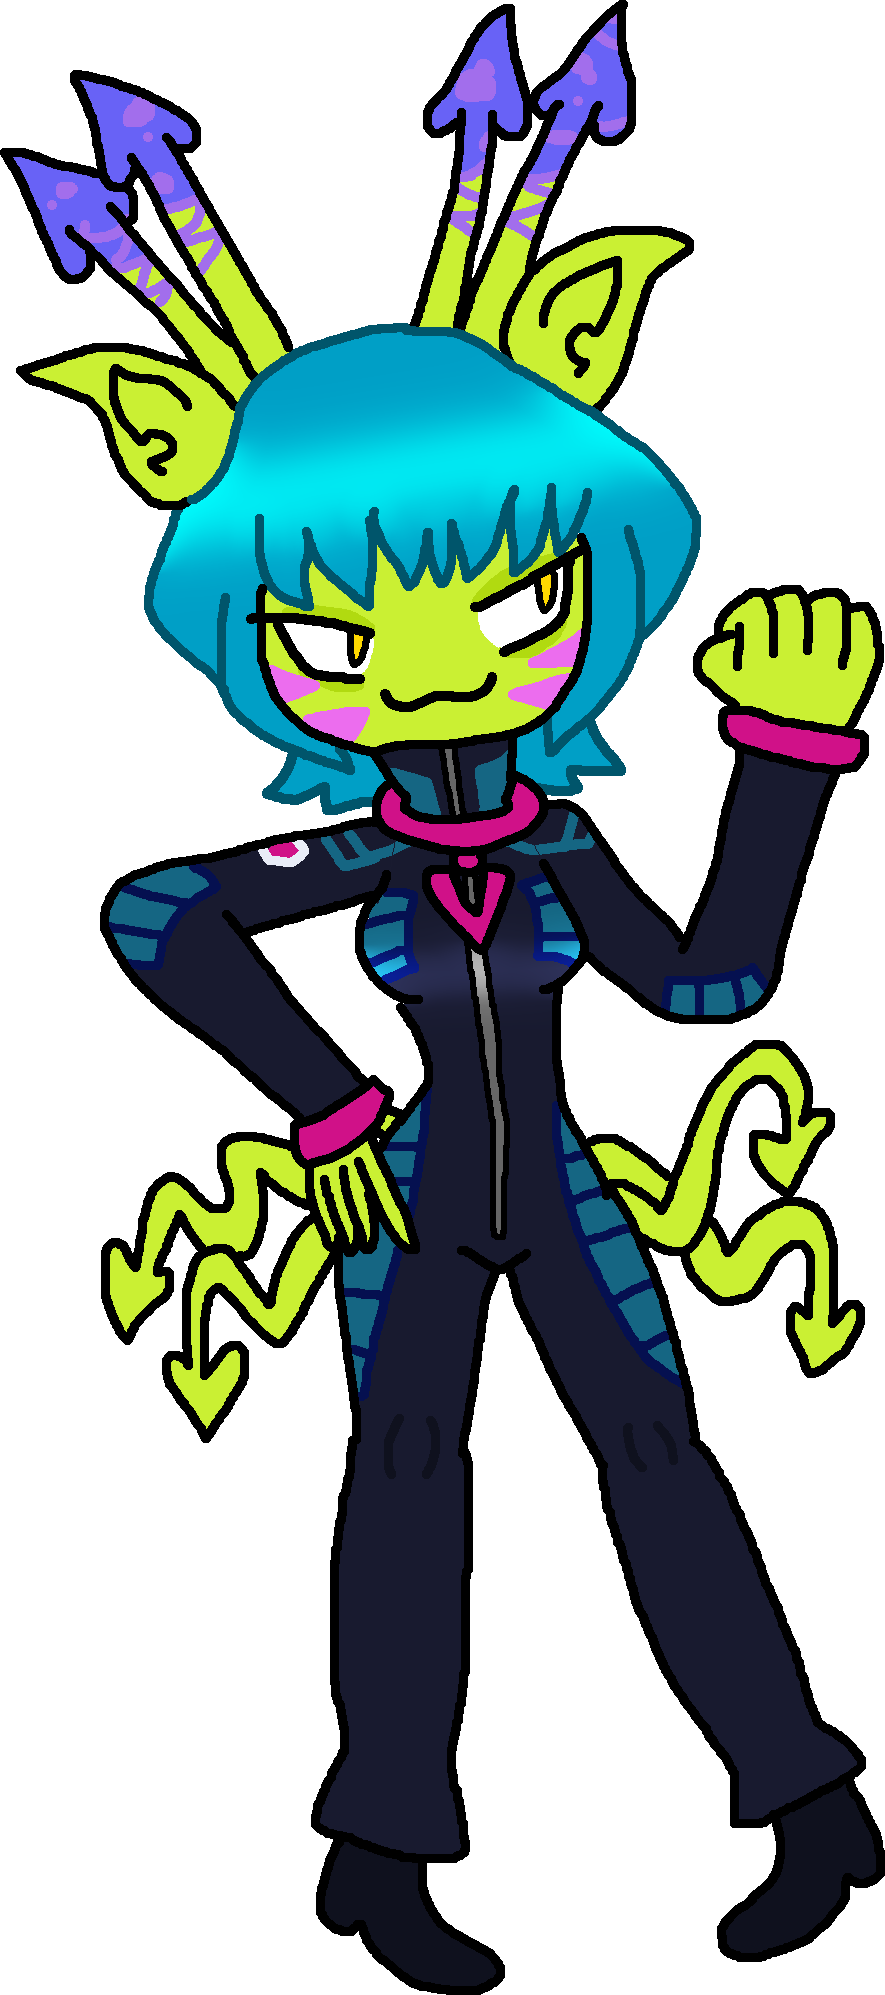 Vaisha |
Boss of World 4: Virtuapine Virtuaworld. Vaisha is the lead commander of the Virtuapine Virtuaworld fleet of command and responds directly to Mistrees of Weird, although she has a crippling gaming addiction and is usually seen gaming on her beloved Virtuasystem 64. She doesn't seem to care if Bunea has killed anyone, or if she's in a relationship with anyone else; she actually doesn't care about anything unless it gets in the way of her gaming, which Bunea definitely is.
Fight Befriend/Romance Prized Possession |
 Anaheim |
Boss of World 5: Starapple Skies. Anaheim is a warrior woman who never backs down from a fight and wishes to die a warrior's death. She is surprisingly tough for a boss, but also hard to talk out of fighting as she sees Bunea as a challenger she wishes to face. She gains respect for the player if they have killed previous bosses, although loses some respect if the player has made friends or lovers with them instead.
Fight Befriend/Romance Prized Possession |
 Lydia |
Boss of World 6: Laserberry Lake. Lydia is actually not that interested in fighting Bunea, although she does need to under orders of Mistress of Weird. She'd rather just make sushi. The player can easily talk her out of the fight simply by complimenting the sushi, which will go into a rather nice downbeat conversation about Lydia's plans to operate the restaurant and Lydia even remarks she finds Bunea cute, but if Bunea is already in a relationship she will reject advances, stating she cannot share, revealing her monogamous nature. Bunea can romance her if she is only friends with the bosses or has defeated them, although Lydia will find it hard to love Bunea at first knowing her kill number.
Fight Befriend/Romance Prized Possession |
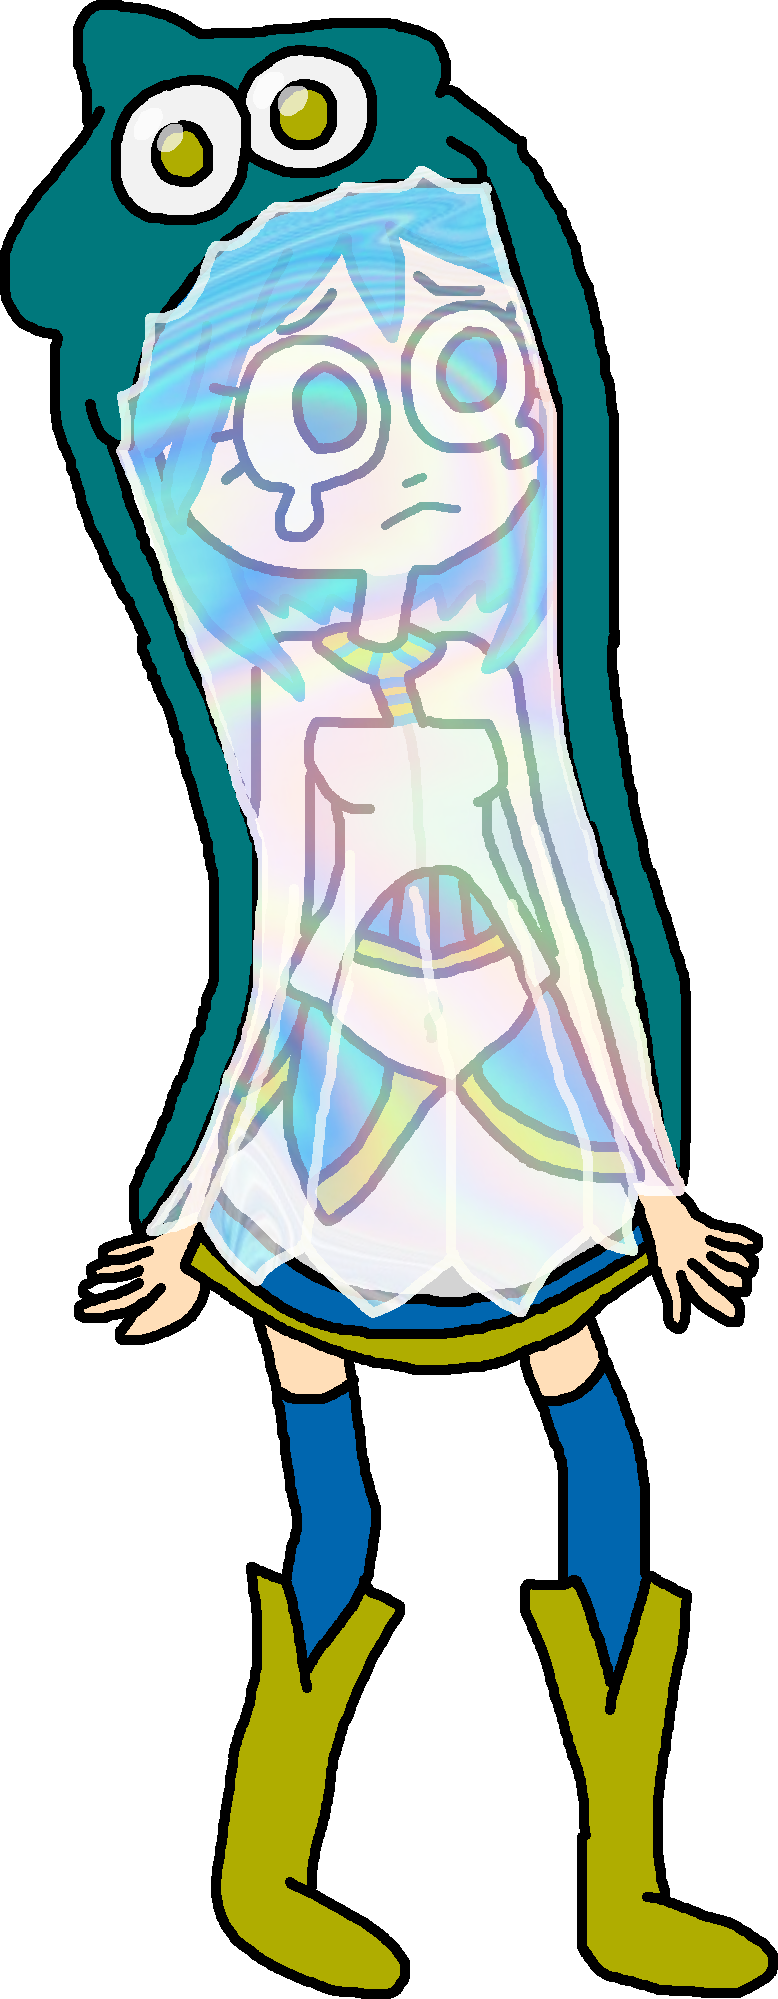 Moona |
Boss of World 7: Snowtato Slushlands. Moona is held captive in her tower, having been so since she was young to protect her from a disease she doesn't have. Moona has grown to find comfort in this captivity and uses her lunar powers to control ice and water to freeze anyone that tries to free her in a massive ice wall that surrounds her tower. She doesn't want to fight Bunea and will let her go without a fight if Bunea agrees not to rescue her. The conversation will be made more difficult if Mint is around, as she wants to rescue her and save her- Bunea needs to talk Mint out of it if she intends to be friends with Moona and not freeze Mint.
Fight Befriend/Romance Prized Possession |
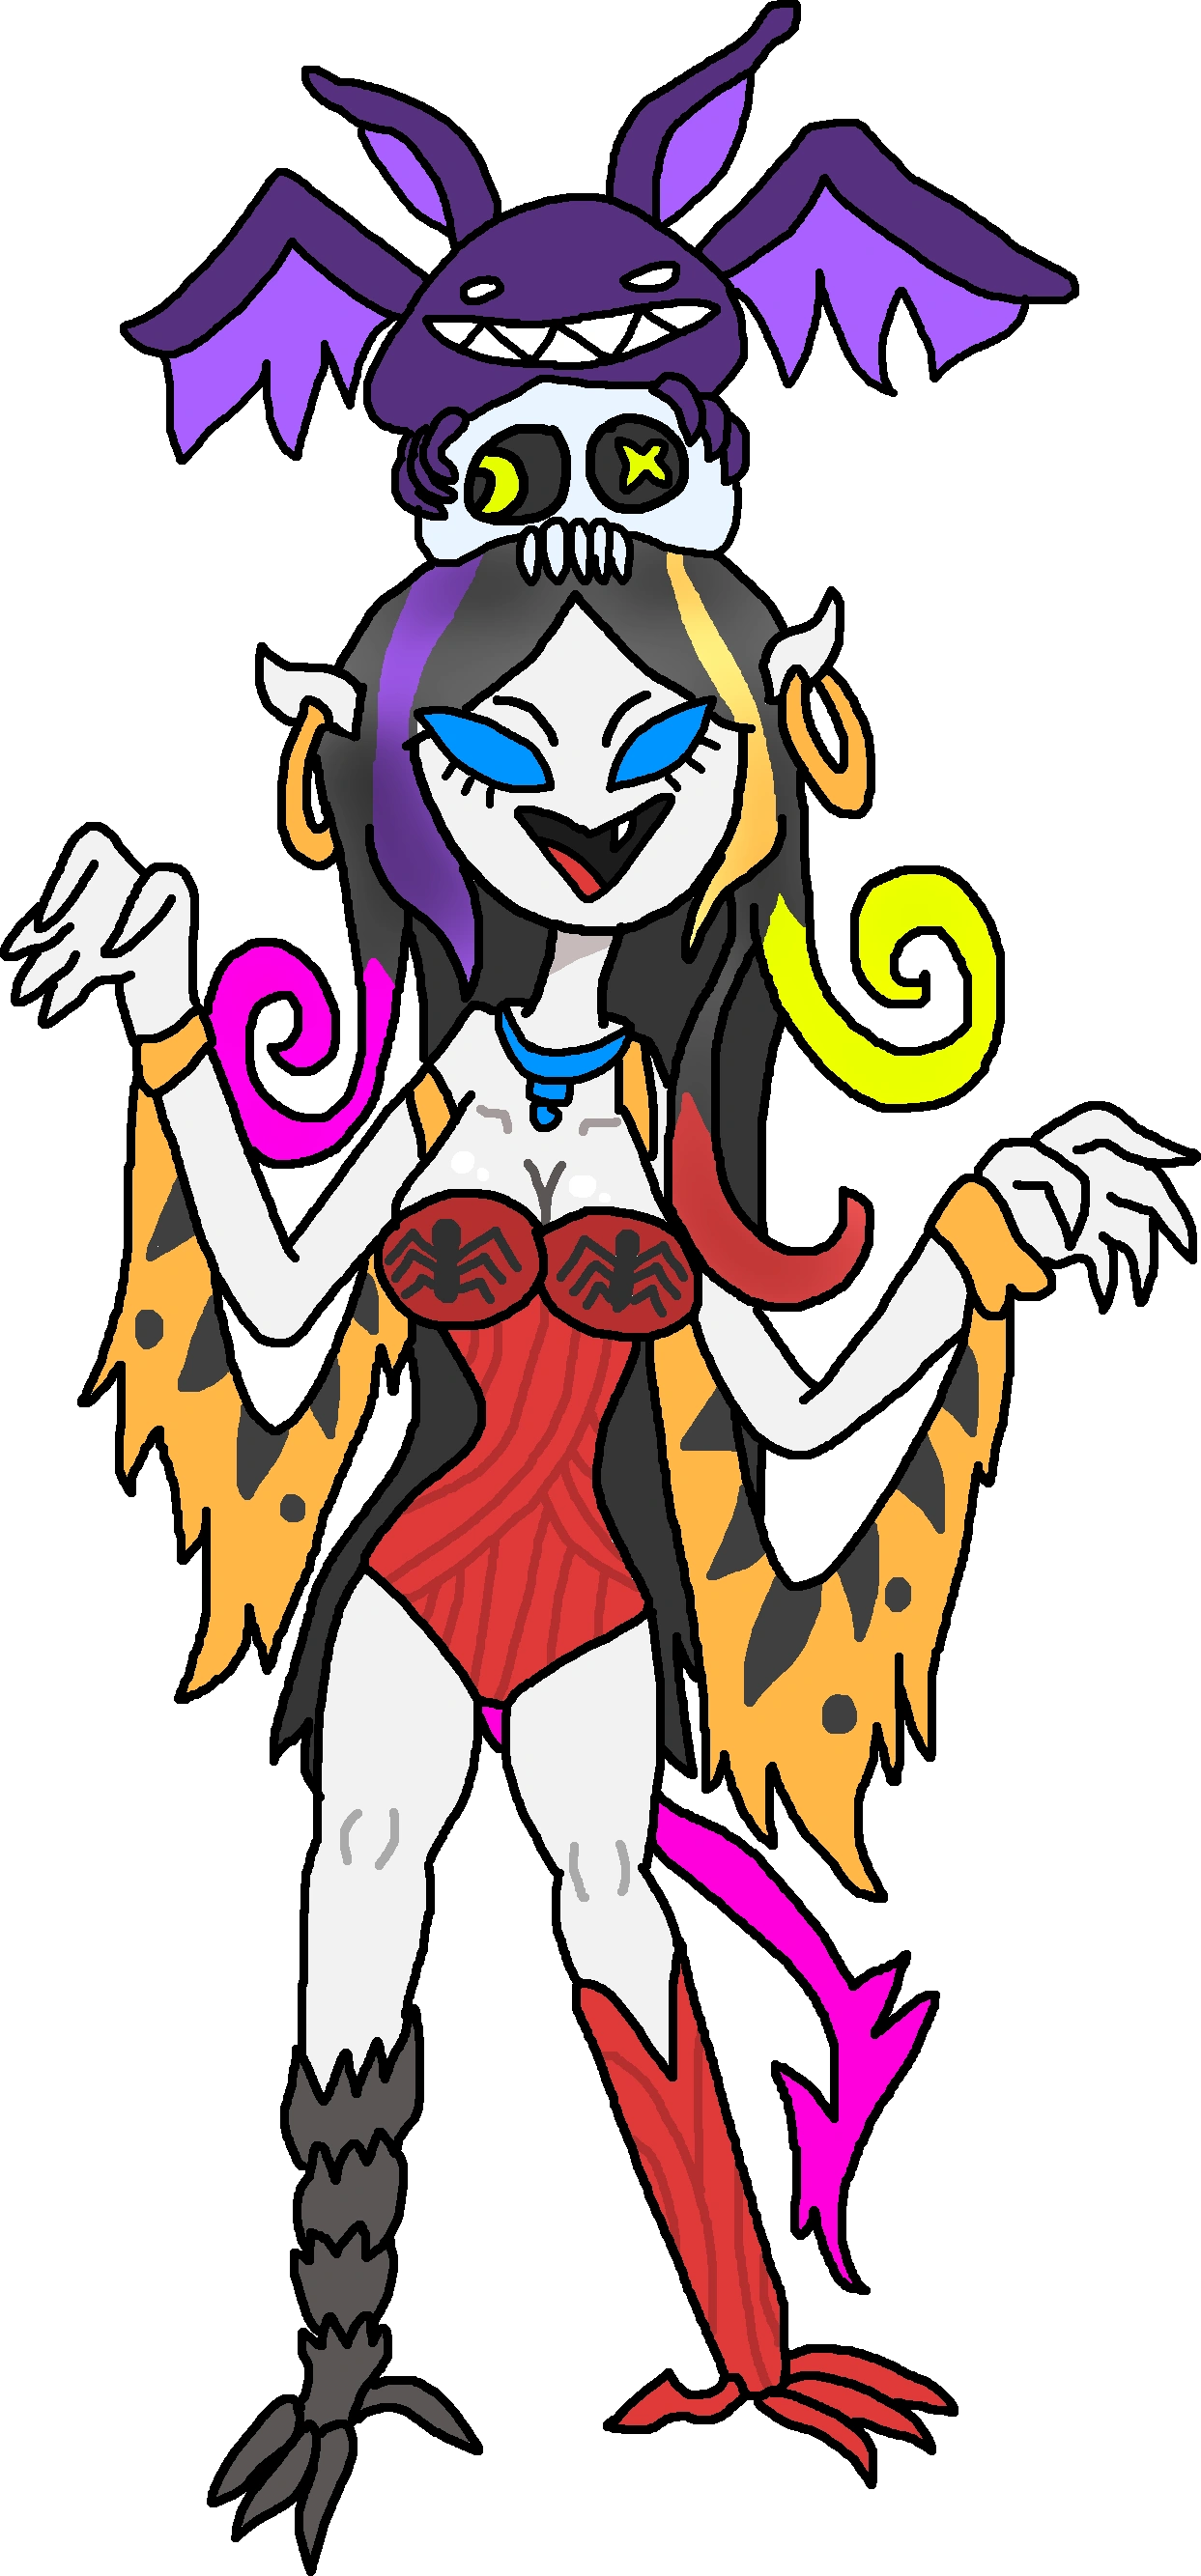 Mistress of Weird |
Boss of World 8: Exhausted End. Mistress of Weird is the main antagonist of the game and has been bottling up worlds prior to the start of the game, leaving the ones Bunea goes through. Bunea realizes she needs to stop running from her and just talk to her, but Mistress of Weird just wants what Bunea stole back (her home world) or she'll just cut her up. If Bunea can manage to find a way to convince Mistress of Weird to not do that and to stop her imperialistic ways, the Mistress of Weird can be a powerful ally... but either way the player tries to approach it, it'll be tough.
Fight Befriend/Romance Prized Possession |
Diablister |
Boss of World V: Junkyard Junction. Voidmato is just ready to mess this dude up for stealing his girl, and the bosses from the past worlds aren't too pleased with him either stealing their prized possessions. The boss looks like it'll be easy once Voidmato manages to hit a button, sending Diablister into the incinerator, until Diablister sheds the mask and costume he's wearing, revealing himself as a strange alien creature that not even Mistress of Weird seems to recognize!
Fight |


Minor[]
| Image + Name | Info |
|---|---|
 Shardene |
Mini Boss of World 3: Dimensional Dungeon. Shardene is one of Mistress of Weird's body guards, and is not interested in dealing with Bunea whatsoever, planning to kill her as soon as she can so she can take her soul and go back to eating tuna fish. She's abrasive and not really in the mood to mess around. She will reject any advances made by Bunea, stating she's already in a committed relationship with Brakkara.
Fight Prized Possession |
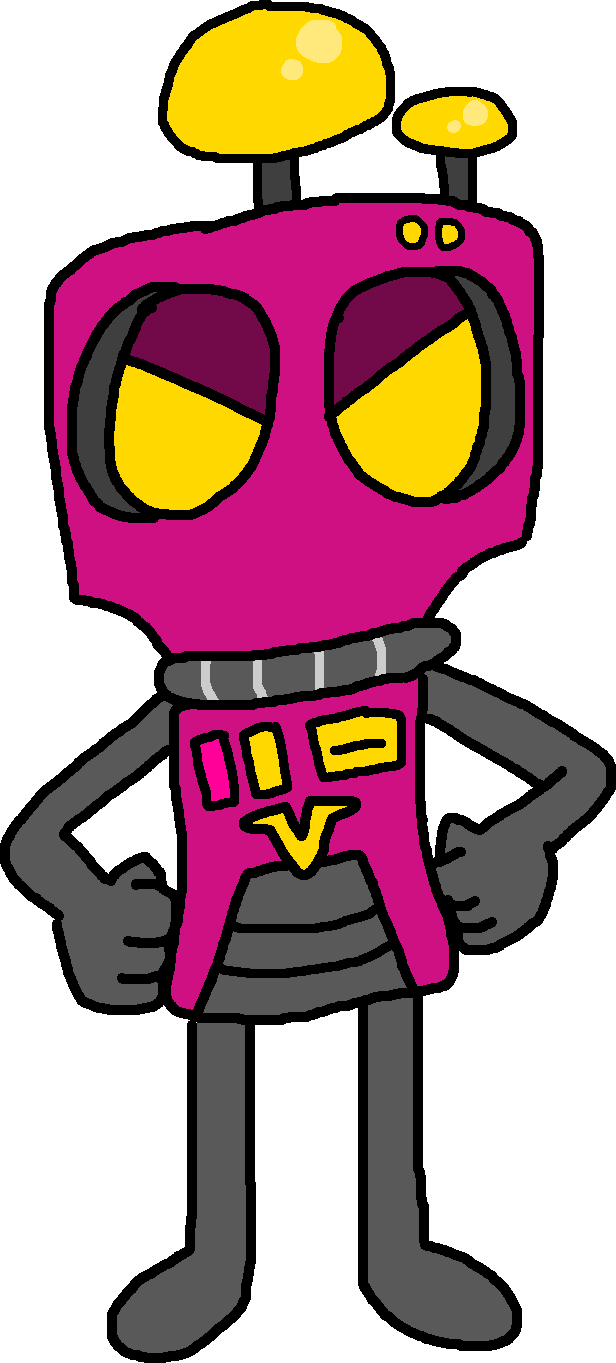 Dexa-9E |
Mini Boss of World 5: Viruapine Virtuaworld. Dexa-9E is a later model based off the Dexa prototype, who takes his job as security very seriously! He isn't around for chat, and he's just here to do what he was programmed to do; stand menacingly and battle if the intruder puts up a fight.
Fight Voidmato never fights Dexa-9E so he has no prized possession. |
 Togea |
Mini Boss of World 6: Laserberry Lake. Togea is a bodygaurd for Mistress of Weird, although when she sees Bunea, she instantly falls in love with her. Togea has sadistic tendencies and likes the smell and taste of blood, saying that Bunea would look even better if she had a couple of bruises.
Fight Befriend/Romance Prized Possession |
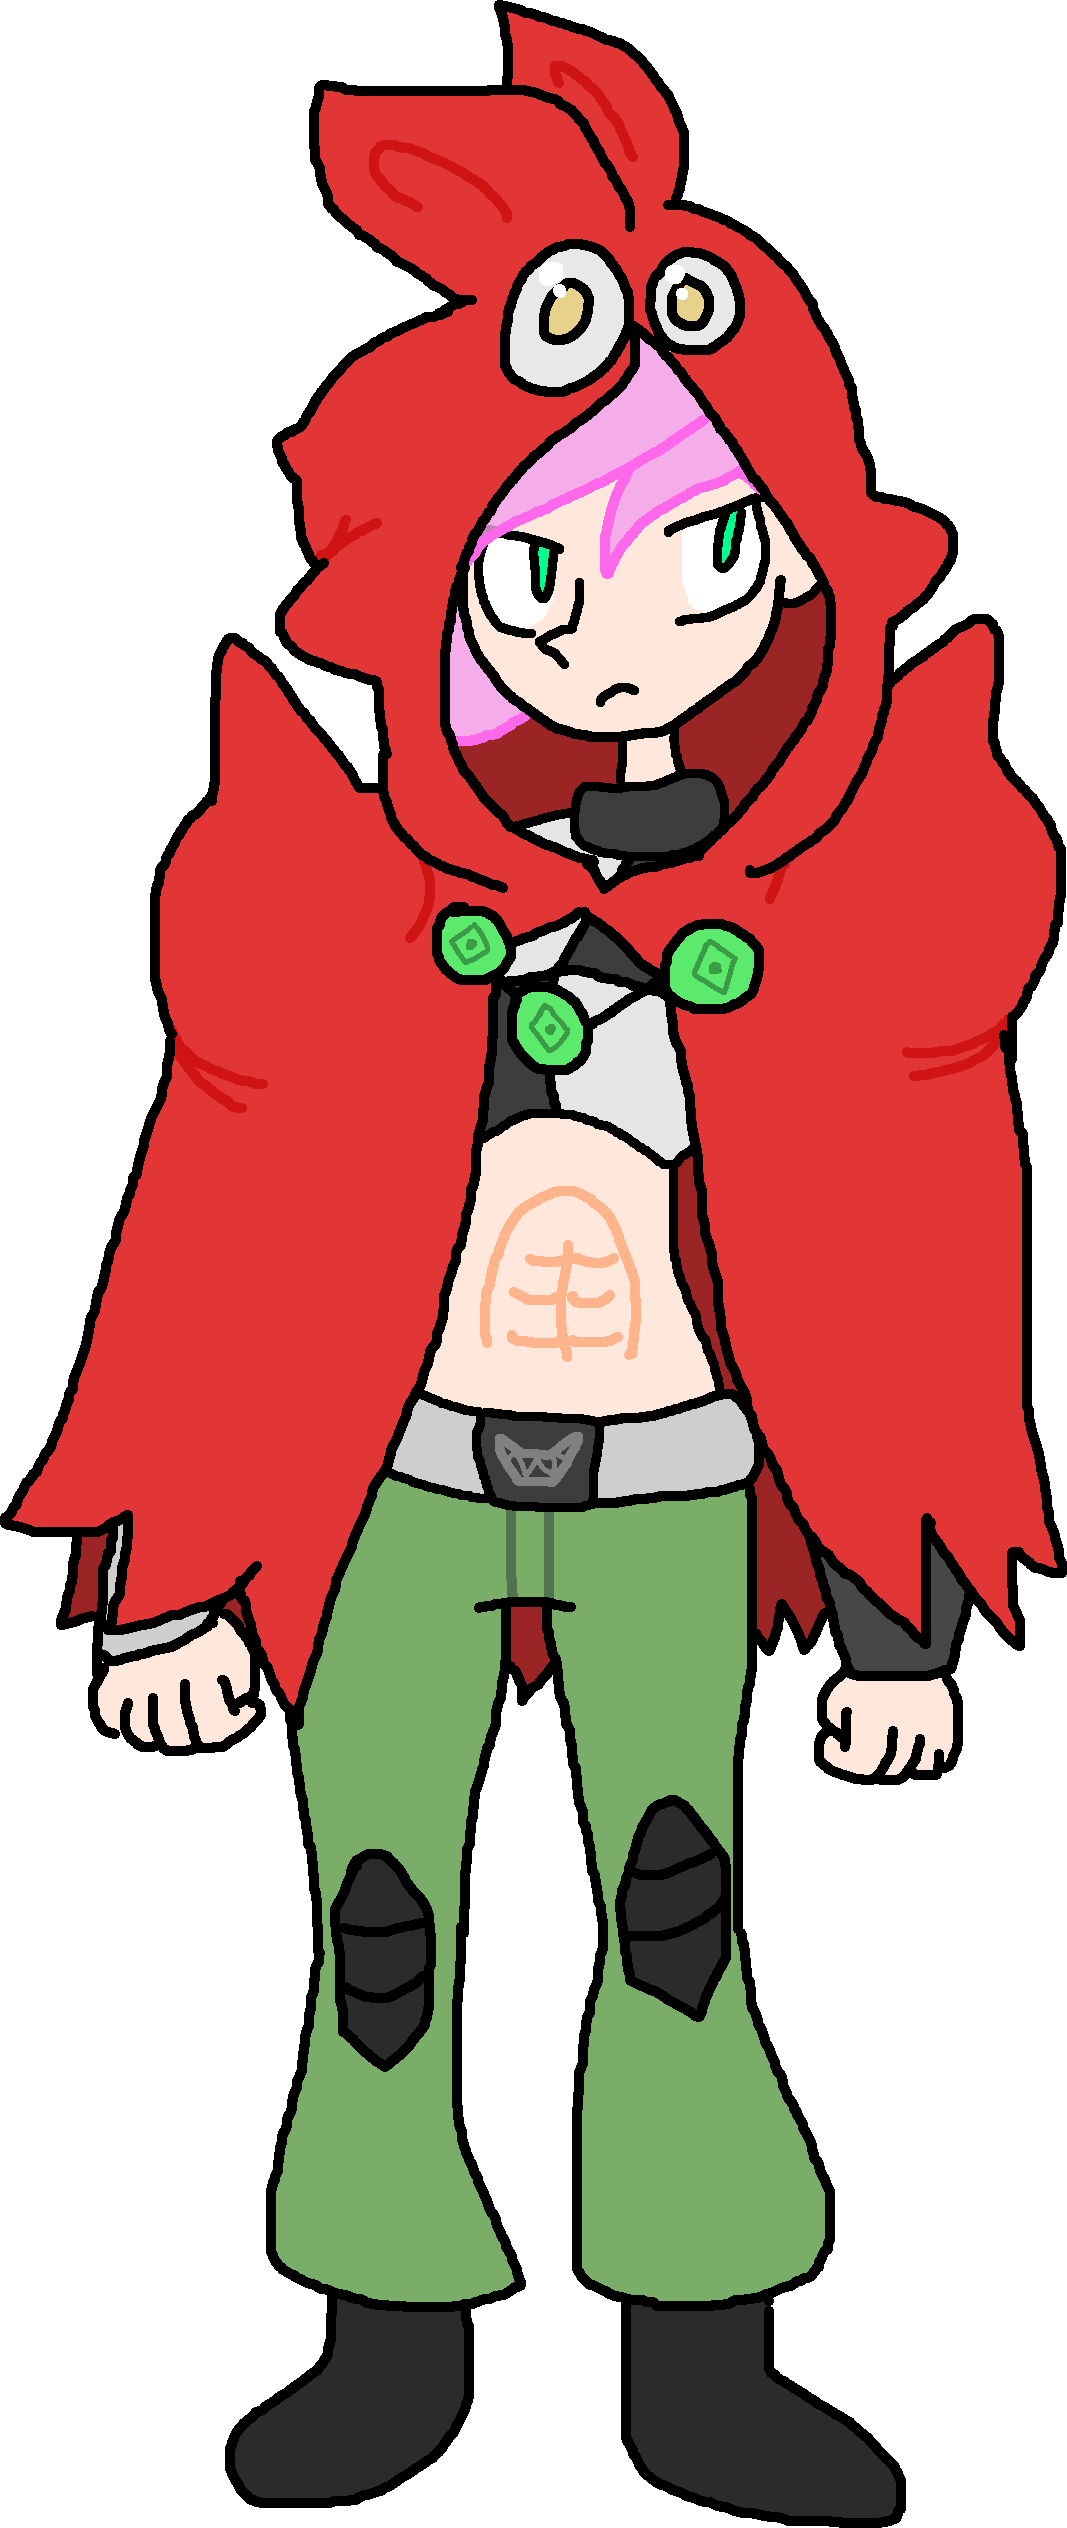 Brakkara |
Mini Boss of World 8: Exhausted End. Brakkara guards the entrance of the Museum of the Weird, and is in a relationship with Shardene. She's a rather strong girl, being able to bounce speeding bullets off her muscles. Bunea needs to get past her to enter the Museum of the Weird.
Fight Prized Possession |
 Chain |
Bonus Boss of World 3: Dimensional Dungeon. Chain is from another dimension, summoned by Zellen as a challenge for Bunea and Voidmato after they complete their stories. Chain is confused, but Zellen promises her that the player won't kill them. Chain decides to fight the player's character, shrugging as she likes a challenge as well.
Fight |
Dating[]
This section goes more into details about some of the dating mechanics, who's compatible with who and other details.
| Dating Partners and Information | ||||||||||||||||
|---|---|---|---|---|---|---|---|---|---|---|---|---|---|---|---|---|
|
Liz Izzard | ||||||||||||||||
Once the player has begun a relationship with Liz Izzard, they will begin at 50% at her heart level. Liz Izzard is a neurotic, meek character at the start, but with Bunea's love she become more confident in herself. She gives Bunea Chococarrots after beating levels and her 100% award is The Lizard. She is poly compatible, but the player should note that she dislikes Togea.
Heart Levels
| ||||||||||||||||
|
Gwenasis | ||||||||||||||||
Once the player has begun a relationship with Gwenasis, they will begin at 75% at her heart level. While Gwenasis is a notably chilled out character, and down to earth, she isn't good about talking about her problems until it's rather late. She has the most compatibility with the cast of bosses, being very poly compatible. Her 100% reward is the Oasis Cannon and she gives out Dragonfruits when the player beats a level.
Heart Levels
| ||||||||||||||||
|
Tikzaku | ||||||||||||||||
Once the player has begun a relationship with Tikzaku, they will begin at 50% at her heart level. Tikzaku demands attention and her need to satisfy her ego and crippling perfectionism will make her invite Bunea to come to her performances fairly often. Her 100% reward is the Tikazoid and she gives the player a Chococherry to use in reserve after hard levels.
Heart Levels
| ||||||||||||||||
|
Vaisha | ||||||||||||||||
Vaisha is a odd person to date because she seems to care more about video games than dating Bunea- as such, Vaisha is kind of one of the easier people to date. She doesn't expect much, but if you miss her requests for you to visit her, she has less tolerance for you. The relationship begins at a solid 25% though, weirdly lower than most other bosses, which means one mistake early in the relationship will likely end it.
Heart Levels
| ||||||||||||||||
|
Anaheim | ||||||||||||||||
Anaheim prefers to fight and trying to talk her out of it will take some pride-swallowing on Bunea's end and ego-boosting to the warrior. Anaheim actually has her own polyamorous group of girlfriends that are away during the events of the game, so she is very open to a expanding relationship circle, although she does have some people she won't be so willing to share a relationship with Bunea with, although not to the extent where she will lose a heart level over it. She is one of the few characters that actually adores Togea. She also gives the player the ability to spar with other bosses, as well as her own axe (named Anaheim's Axe), upon 100% Heart Level. She will also rarely give Bunea a Starapple upon completion of a hard level even a 100%; not really a believer in Power-Ups.
Heart Levels
| ||||||||||||||||
|
Togea | ||||||||||||||||
Togea is one of the weirder datable characters as she's not a World Boss, but a mini-boss along the lines of Shardene and Dexa 9-E. She is also incredibly obsessed with Bunea, wanting to cut up the other bosses if Bunea spends too much time with them and not enough time with her. She starts at 75% Heart Level with Bunea, overjoyed she said yes to her. While crazy, she has her own depth to her and can change to be more friendly- perhaps the only boss to go through character development while dating Bunea. She can only give Bunea random power-ups she's scavenged together, but she will always have a gift awaiting Bunea at the end of the level. She also gives her the Bunea Blade upon reaching 100% Heart Level with her. Togea generally loses Heart Levels when she isn't visited or if Bunea doesn't see her after seeing other lovers of her- the latter especially ticks her off and is the easiest way to drop heart levels with her. However, she will never go down to 0% with Bunea, always stuck at 25% unless Bunea tells her she wants to break up.
Heart Levels
| ||||||||||||||||
|
Lydia | ||||||||||||||||
| Lydia is easy going but also strictly monogamous- she just can't really handle a polyamorous relationship and doesn't really want to even entertain the thought. She also really doesn't like it if Bunea kills a boss. Bunea and Lydia start at the 50% Heart Level. She is a sushi maker, and will make sushi for Bunea as well as offer her Laserberries upon completion of levels. Her 100% Heart Level reward is the Sushi Roller.
Heart Levels
| ||||||||||||||||
|
Moona | ||||||||||||||||
| Moona, like Lydia before her, is monogamous. She also really isn't into hanging out or having fun, and is usually depressed in the tower she refuses to leave. Bunea and her start at the 25% Heart Level. Bunea can make her very happy, however, but this relationship isn't really built to last as Moona kind of admits. Moona will give Bunea the Moon Shard Hatchet upon 100% Heart Level with her, as well as give her Snowtatos in her world area.
Heart Levels
| ||||||||||||||||
|
Mistress of Weird | ||||||||||||||||
The Mistress of Weird is one of the harder characters to romance, as Bunea need to convince her that her imperialistic methods are bad as well as talk her out of her suicide attempt. After realizing the damage she's done she and Bunea help heal the damage by releasing the worlds. Bunea needs to show some interest in the Mistress herself if she wants to romance her fully. As Mistress of Weird is the last boss, she doesn't really provide any benefits to Bunea's gameplay aside from letting her take on tougher or enemy-less versions of the levels. When in a polyamourous relationship, she generally gets along well with everyone, and likes to visit all the worlds and invite Bunea to various dating spots. She also offers Bunea the Rainbow Drop at 100% heart level.
Heart Levels
|
Dexapedia Notes[]
After upgrading Dexa in Virtupine Virtuaworld, Dexapedia Notes become accessible the player and they can read them to gain more insight into characters from the game from Dexa's point of view. These are optional to read. Dexa doesn't write entries on characters that Bunea has killed, however.
| Character | Information |
|---|---|

Scrape Goat |
He's a funny looking dude, that Scrape Goat, but he's trustworthy for sure. He says his family is locked away in the Dimensional Dungeon- wonder what they did to go in there. I can't find any information of a criminal record for a Goat family. Weird that he was the only one not locked away in there... I dunno, maybe you should find them and maybe I can suss out more details, Bunea. Scrape Goat can smelt down your weapons too, I think that's cool of him to do. |

Heart Sorceress Juliet |
She's... kind of creepy, if I'm gonna be honest. I don't know if the soul stuff is legit but maybe you should find a alternate source of healing or something. Then again... I don't know where else you can upgrade your health. I'm not sure what to think anymore... just be careful around her. A fun fact: She might be related to the Mistress of Weird somehow... a secret sister...? I've only been able to find this in rumor form but the evidence is pretty compelling. |

Borbie |
Borbie is the girl running the Target Smash mini game from that traveling circus. She's kind of shady and I'm pretty sure she's rigging the game in her favor, but maybe you can make some quick cash by playing her game? She wants to make enough money to get out of the circus, maybe you're doing the right thing... then again, she has to rely on some pretty shady methods... your call. |

Zellen Harley Quimbleson |
Zellen is from far away... away from what I would call this "universe". Her ability to make portals to anywhere gives her the title of "Herald". She has a somewhat strange view of human life, but she's mostly here just for the amiibo scans. I don't know what those are... maybe you do? She's kind of flirty too... but she's not really into relationships so I've heard. Existence is fleeting... |

Mint Tezuka |
A knight hailing from a lost kingdom and world, who wants to rescue Moona. She goes through the same levels you do, but she's not on the run, but rather on the rescue. If only she knows that Moona doesn't want to be rescued... |

Liz Izzard |
I wasn't too concerned about Liz Izzard... I kind of pity her honestly. Looking more into her background, her field is developing machines. She created a young mechanical bird as a child, and still keeps it around even today. Her castle is actually more of a laboratory, if you can believe that or not! She likes to keep things relatively clean too. Despite working with machines though, Liz Izzard is surprisingly emphatic and likes the comfort of other people. |

Gwenasis |
Gwenasis is a cool chick! The desert world freaked me out with all those dead trees, but Gwenasis is surprisingly a breath of fresh air compared to the dead and arid desert. Her mom wanted to name her "Oasis" and her dad wanted to name her "Gwen", so they just combined the two names together. She likes to explore other places and worlds to meet people and their culture, although she also likes just hanging out at her house to listen to music or fish. She's very easy going, which doesn't surprise me that according to my calculations she would get along with most of the people that have expressed interest in you. A fun fact: apparently she wears contacts! She's blind as a bat without them. |

Shardene |
Shardene was hiding under that bucket, and I couldn't have detected her! What kind of master of stealth is she? She's dating one of the other Mistress of Weird's bodyguards known as Brakkara, so I guess dating her was out of the question. Personally, I don't know that I would want to see you date her anyway, given she's eating tuna out of a bucket... gross! She's kind of abrasive too... not really your type, right? |

Tikzaku |
Tikzaku is weird at first. I wasn't really sure how to think of her, but she's just a artist. I'm glad to see is trying to be a better one too- very open to criticism but still distinctive in her own way... I've grown to appreciate her snaggle-tooth smile though. It used to be scary but now it's... comforting I feel. She is apparently the gatekeeper of the Dimensional Dungeon, which isn't really a world so much as a holding ground for all the space junk polluting the sky. The Mistress of Weird wanted to keep that stuff from out of space but found the space junk all really unique and kept it in a "dungeon" of sorts. Tikzaku isn't a bad girl at all though! |

Dexa-9E |
What a scary guard! It's good that you were there to take care of him- I don't know if I could have done it, being a escaped prototype and all... he's just one of the several protocol Dexa droids, but I'm the the original... remember that! |

Vaisha |
This girl would rather play video games than fight and honestly I'm in the same boat with that. Same space ship...? Uh... she's kind of easily irritable but she means well. She knows a lot of star formations, although due to all the worlds the Mistress put away, there's less to see in the galaxy now compared to when she was a young girl. She is surprisingly chill though... not a bad idea for a date or two. |

Anaheim |
An aggressive warrior who wanted to fight you! I must admit, I was scared of her killing you, but it seemed like things worked out just fine! While she focuses a little too much on fighting for my taste, she seems like a swell and swole woman who just likes a little bit tougher activities. She even has her own polyamrous chain of women, who are on vacation somewhere... would like to meet them one day... |

Togea |
A girl that seems capital C for Crazy about Bunea. She's a bit weird, especially with that claim about being Bunea's soulmate and all, but I can't blame her for finding Bunea beautiful. You might wanna keep a good eye on her though, because she's easy to upset and almost immediately acts with violence, and who needs that? Maybe she could change though... if she knew these people better... |

Lydia |
A sushi maker who is trying to run her restaurant. She is easy going but she knows her limits and a killer and a poly relationship is beyond her limits. She just wants to have sleepovers, make sushi, and generally live a easy life. Can't say I can't get behind most of that! Fun fact: Apparently her horns were cut off by the Mistress of Weird during the colonizing years... she misses them but she's not sore about them anymore. |

Moona |
Moona is a girl who lives in a tower for a disease I know she doesn't have. She's just afraid of leaving the tower, as the slightest strong breeze could likely kill her supposedly frail body. Around her is a ice wall of people who have attempted to "rescue" her- she'd rather live in her own sadness than leave into the unknown. |

Brakkara |
Brakkara is the third of the Mistress of Weird's bodygaurds we've seen and she is... freaking swole! Anaheim would probably love her if she wasn't already in a committed relatioship with the tuna fish eating Shardene. She won't let us pass into the Museum of Weird without a fight, so do what you do best, Bunea! |
Mistress of Weird |
The... villain of our travel? She's a odd girl for sure, having captured many worlds... including your own. While her actions are vile, some part of me thinks she didn't understand what she was doing... she could still fix this. She's big into poly relationships and wants to be in a romantic relationship with everyone she can. Fun fact: The skull and bat on her head are her former husbands who she transformed after getting tired of them. |

Bunea |
Bunea... oh I can't say enough about her... she was the one who rescued me from Virtupine so many years ago when I was a trashed prototype. I've never been able to repay that debt, and since then she has only made me better. She's beautiful, charming... but I'm not ready to tell her any of this. Bunea, if you're reading this... keep it to yourself, let me live in the darkness. I love you... |
Quinn Fooly's Balloon Land[]
A DLC addition that was added free in a post-launch update. This mini-game is only accessible after the game is complete and is hosted by the new NPC character Quinn Fooly.
Overview[]
Quinn Fooly's Balloon Land is a mini-game that can be accessed by talking to Quinn Fooly in revisited levels. The player can either ask to FIND or HIDE Balloons in the level.
In FIND mode, the player runs through the level under a 1 minute time limit, attempting to pop as many of the 100 balloons scattered by Quinn Fooly. The earnings and difficulty of the hiding places is toggled by the player before they begin.
- Easy - Red and Black Balloons only. Costs 100
 to play.
 - Medium - Harlequin and Red Diddy Balloons only. Costs 500 to play.
- Hard - Blue and Green Diddy Balloons only. Costs 1,000 to play.
- Legendary - Golden Diddy Balloons only. Costs 10,000 to play.
In HIDE mode, the player hides their balloon with a 1 minute time limit for them to use, attempting to hide it somewhere in the level. Depending on how well it's hid, the Balloon will go up in rank the longer it goes unpopped. The Balloons will give the player a earning of half of the Borbz it's worth every time it's used in one of the runs.
Balloon Types[]
| Balloons | |||
|---|---|---|---|

Red Balloon |
10 Rank 3 |

Black Balloon |
25 Rank 4 |

Harlequin Balloon |
50 Rank 3 |

Red Diddy Balloon |
75 Rank 4 |

Blue Diddy Balloon |
100 Rank 5 |
Green Diddy Balloon |
250 Rank 6 |

Gold Diddy Balloon |
500 Rank 7 | ||
amiibo[]

amiibo can be scanned into the game in exchange for unique weapons. These weapons can also be earned in the game, although they only appear in late-game secret areas otherwise. amiibo cannot be scanned until World 3: Dimensional Dungeon, where the Zellen icon appears on the world map.
When encountering Zellen, she will ask you if you have any "amiibo Zhargees". If you ask what those even are or that you don't seem to have any, Zellen simply laughs and says that it doesn't exist in this reality. She will then ask to see some amiibo to scan through her amiibo Phone. You can only scan one of a amiibo once a day, although you can scan as many amiibo as you want.
amiibo Weapons[]
| Image + Name | Info | ||||||||
|---|---|---|---|---|---|---|---|---|---|
 Mario's Hammer |
 Any Mario amiibo will work. This hammer belongs to a very famous plumber. You might have heard of him? This hammer is actually based off something he uses in a spin off. This hammers enemies pretty badly into the ground, where they belong!
| ||||||||
 Luigi's Suction Destruction |
 Any Luigi amiibo will work. This vacuum gun sucks in any bothersome foes that deserve to be cleaned up. This Suction Destruction gun has low range but sucks in foes and then spits them out. You can throw foes at other foes using this!
| ||||||||
 Peach's Perry Umbrella |
 Any Peach amiibo will work. This umbrella with a smiley face is anything but friendly to any foes that bother Bunea. It's used to protecting princesses, so it does service with a smile on it's face. Bunea can swing or charge using it.
| ||||||||
 Bowser Jr's Paintbrush |
Any Bowser Jr. amiibo will work. This paintbrush was used to desecrate Isle Delfino and transform into Shadow Mario. This paintbrush can be used to splatter paint on enemies, dealing damage to them.
| ||||||||
 Villager's Rocket Gyroid |
Any Villager amiibo will work. This Gyroid can be ridden like a rocket and crash into enemies for massive damage. It only goes so far though, before puttering out. Can you believe this is just hidden underground?
| ||||||||
 Greninja's Water Shuriken |
Any Greninja amiibo will work. This water shuriken is usually only generated by a frog-like ninja Pokemon, but this weapon imitates it pretty well. It looks super wicked cool when it launches but you can only send out three at a time.
| ||||||||
 Pit's Palutena Bow |
Any Pit amiibo will work. This bow was crafted by the goddess Palutena. This bow's shots go faster the further they go. It can be somewhat of a weak weapon unless you do dash attacks.
| ||||||||
 Inkling's Splat Roller |
Any Inkling amiibo will work, including boy and squid variants. This splat roller is used to coat areas and squish unfortunate opposing inklings under it's rolling crusher. This roller can be used while running, squishing enemies underneath it but it only has so much paint before the player needs to wait for it to refill.
| ||||||||
 Bowser's Shell |
Any Bowser amiibo will work. This giant shell ignores attacks done to it, breaking apart once it collides with anything 15 times. It can also ricochet off walls and tougher enemies.
|
Gallery[]
")
")
")
")
Fan Gallery[]
You can add your fan-art into this gallery if you make any!
")
")
")
")
")
Poll[]
Poll results will factor into the further development of Super Bunea 64 and future titles.
Trivia[]
- Super Bunea World was originally going to star the Conatus character Chain but was changed to be a original character after Helena (t∣b∣c) realized that she didn't really like Chain or her cast that much, preferring something more original.
- Chain, however does appears a bonus, post-game boss fight as a nod to the original concept.
- Likewise, none of the Fantendoverse characters were considered as Helena (t∣b∣c) felt that she needed to do something entirely new.
- However, Zellen Harley Quimbleson will cameo in the game for the game's amiibo functionality. It did not make much sense to make a new character for what would have been the same purpose.
- Return to the Kingdom was a primary inspiration for this game. Exotoro wanted to take the twisting of the Mario formula as much as she could possibly do with it, having worked on a bunch of Mario games previously before.
- Super Bunea World ends a art hiatus that Helena was on since July 21st, citing that she needed to take personal break.
- Bunea's design was a personal challenge for Helena, as many of her character designs notably lack hoods. Ironically, this seems to be the opposite of the philosophy used for Mario's design, which was only created out of a need for readability and simplicity as opposed to creating a challenging character to draw.
- Due to how the game handles the last level of World 8, there are 11 Purple Scarabs, although since one version of that level exists at a time, there are only 10 to ever collect.
- The Virtupine power-up was inspired by the Laser Suit romhack for Super Mario World. Video can be found here.
- The simplified power-up arts for Bunea and Voidmato are inspired by the art used for level concepts for the original Sonic the Hedgehog trilogy, a example of this art can be found here.
- Super Bunea World contains a secret easter egg nodding to a future game by Toroko; Gwenasis' Tiki Mug is based off the design of Taigken from Haukohi's Haven.