Below is a list of all boss fights encountered in Super Mario Bros.: One Last Life. Despite the small collection of bosses, many are fought multiple times and have completely different patterns from battle to battle.
Boom Boom[]
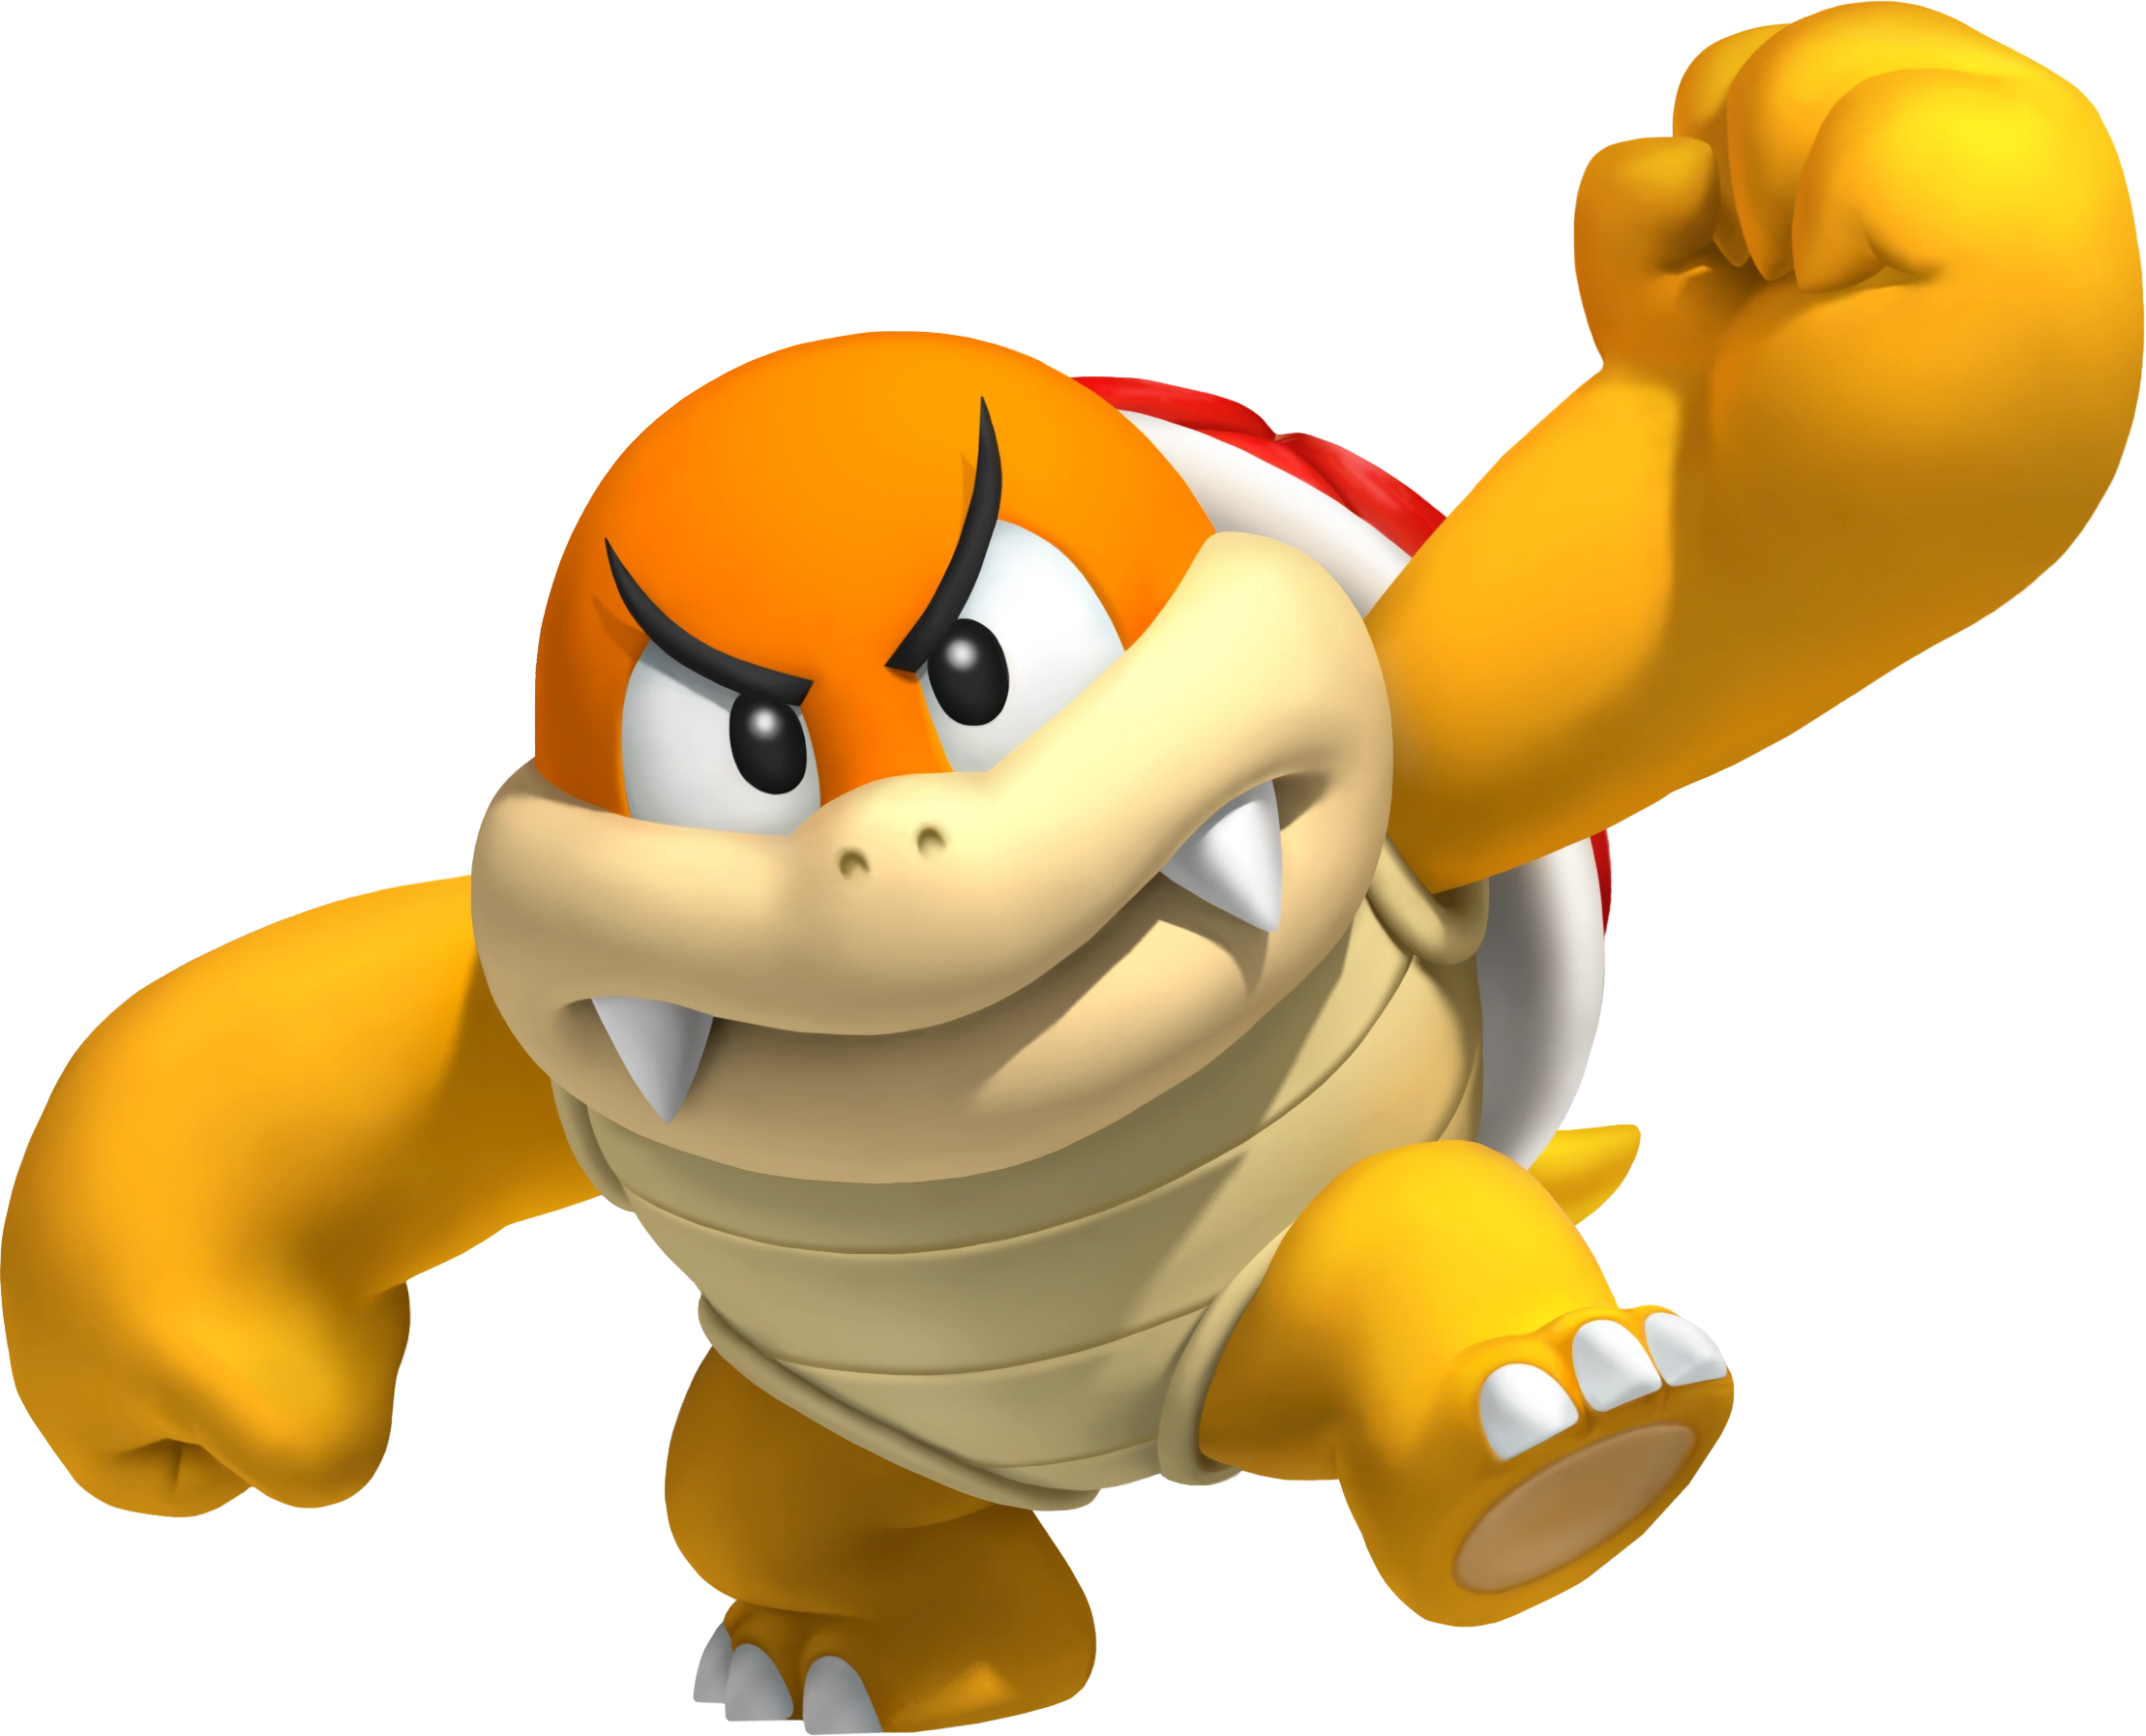
Boom Boom is encountered in the Battalion levels, and he is fought a total of 5 times.
Frontline Battalion[]
Boom Boom's battlefield is rather simple, consisting of a long platform with two gaps towards the edges of the room. His pattern is also predictable: he will charge towards you, flailing his arms. Stomping on Boom Boom's head will cause him to drop to the ground, with his spikes retracted. He'll then slam the ground, breaking away parts of the platform and revealing red and blue Push Blocks on the edges. While they can be pushed and pulled through your Toadstool's Blessing, Boom Boom can also slam them down or raise them up with his fists. If Boom Boom is pushed into the air by a Push Block, he'll come slamming down with a powerful attack that stuns you if one the ground. Stomping on Boom Boom a second time reveals Push Blocks in the center of the platform, and a third strike will defeat him.
Hypersonic Battalion[]
This battlefield is unique as it is completely invisible to the naked eye: it consists of a long stretch of Footlights. It is very important to NOT use your Toadstool's Blessing, as this disables all the Footlights and will cause you to fall. Boom Boom will hop around and attempt to smash you from above, creating shockwaves that must be avoided. After stomping Boom Boom once, he will smash the ground, elevating and lowering the vertical position of the Footlights. After being hit a second time, Boom Boom will smash the Footlights once more so that they begin rasing and lowering on their own. Boom Boom will also gain a new attack in the form of launching shockwaves that travel across the Footlights. One last hit will defeat Boom Boom again.
Block Step Battalion[]
Boom Boom's battlefield is now riddled with many large blocks on the bottom of the screen, and many rotatable blocks hovering above them. Boom Boom will begin inside one of these blocks, sending shockwaves towards you that create columns of fire. Using Toadstool's Blessing will rotate the block, so they must be rotated until there is an open spot on the bottom. Boom Boom will hang off of the block, but can be knocked down by jumping into him. Once Boom Boom is fallen, he'll pick up blocks to throw at you, or jump up and try to tackle you from below. After stomping on his head twice, Boom Boom will jump back up into one of the blocks and begin moving it around, eventually trying to crash down into you. The player must climb on top of the block until it falls, and use Toadstool's Blessing to make Boom Boom available for the third stomping.
Meteor Battalion[]
In this level, the battlefield is replaced by a large track of green and yellow rotational blocks. Boom Boom drives a large tank at the right side of the screen, which fires artillery such as Bullet Bills, Cannonballs, and Bob-ombs. Players must use these Bob-ombs and throw them at the tank's window, so that it shatters. After it breaks, the tank will fire rotational blocks, and begin spitting out fire and more Bob-ombs. Players must throw the blocks at the rotational blocks and use Toadstool Blessing so that it lands inside the tank again. Boom Boom will then fly out of the tank, and begin hovering by spinning rapidly. In this form, Boom Boom can attack by diving down like a drill, creating shockwaves, or sending out ring-shaped projectiles. After a while, Boom Boom will get dizzy and lower just enough to get stomped. After 1 stomp, the track will begin to break apart, creating some holes, and after the second stomp the blocks will begin to rotate on their own.
One-Hit Battalion[]
For the majority of the level, Boom Boom can be located in the background, trying to shoot with his own personal war machine towards Mario's direction in an attempt to destroy the hijacked tank and end his life. After reaching the end of the level, Boom Boom will fly in towards the foreground and begin the fight inside his tank. Players will be located on tracks that prevent them from using the GravTank, so they must shoot down any obstacles that Boom Boom throws at them. This includes Bob-ombs on parachutes, Bullet and Missile Bills, and Cannonballs. Boom Boom's weak point is the glass dome surrounding his cockpit: after shooting it enough times, it will begin to shatter.
After the glass dome of the cockpit is defeated, the second phase of the fight begins, with both you and Boom Boom taking to the skies in the GravShip. His cockpit is now surrounded by a metal coating, which can only be melted through the use of the GravTank's laser. In flight, Boom Boom has many more attacks than before, such as charging forward, launching waves of missiles, and sending down a rain of meteors from the sky. Once the cockpit dome has been completely melted, Boom Boom ejects out of the Gravtank and lands on the ground, as your character hops out of the tank and prepares to take on Boom Boom head-to-head. There are no gimmicks to this last battle; Boom Boom will simply run and jump around in an attempt to crush you for good. 3 stomps is all it takes to defeat Boom Boom for the last time.
Reznor[]
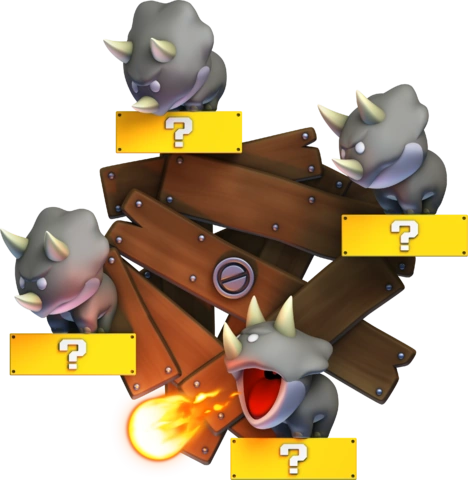
Reznor are encountered in the Fort levels, and they are fought a total of 5 times.
Moving Conveyor Fort[]
Reznor are first encountered in Moving Conveyor Fort, where their wheel is suspended above a wooden bridge with two concrete edges on each side of the stage. Reznor's wheel will move across a set track, while the 4 dinosaurs spit fireballs at their opponents. Hitting the ? Blocks under a Reznor will knock off that Reznor, and this must be done to each of the 4 blocks. After 2 Reznors are knocked off, the wheel will fly high up above a series of conveyor strings. They will attempt to attack with fireballs from up there, so Toadstool's Blessing must be used to change the direction of the conveyors in order to knock off the last 2 Reznors.
Crusher Glove Fort[]
The four Reznor in this level are each located on a giant wheel with a large Crusher Glove in the middle, and are too high up to reach normally. As the wheel rotates, Toadstool's Blessing must be used to grab blocks stuck within the wall of the battlefield (which is otherwise the same as last time) and create a staircase to the Reznor. After two Reznor are knocked off, the remaining dinosaurs will end up burning the bridge down with their fireballs, knocking down the staircase and block walls to create a solid floor and reveal moving Crusher Gloves behind the walls. Players must use Toadstool's Blessing to climb up to the Reznor with the help of the moving Crusher Gloves.
Chomp Romp Fort[]
In this battle, there are now 6 Reznor on a wheel rather than 4. The battlefield features Flash Tracks seen prior in the level, and the wheel that the Reznors ride on not only rotates, but also follows the tracks. The Reznors attack through smaller homing fireballs, as well as combining their fireballs into a large flame attack that sends flaming shockwaves across the ground. As the amount of Reznors decrease, the shape of the Flash Tracks change so that the Reznors move more erraticly and can end up going below the screen: if this happens, they will attack with giant bursts of flame. When only two Reznor are left, the platforms that previously held Reznor will light on fire, occasionally dropping shockwaves from them.
Crystalline Fort[]
6 Reznor await at the end of the Crystalline Fort, with an array of crystalline satellites decorating the room: including one in the center of the Reznor wheel. Players must avoid Reznor's fireballs, which can now temporarily destroy parts of the bridge fort, and wait until one fireball is fired towards a sattelite. Toadstool's Blessing can direct the sattelites in order to get the fireball to hit one of the Reznor. As the number of Reznor slowly decreases, some satellites will be broken by the Reznor to prevent them from being rotated, and it will become increasingly tougher to hit a Reznor as their wheel moves every time Toadstool's Blessing is used. Luckily, when a Reznor is knocked off, their pedestal can be used at any time to rotate the wheel left and right.
Rotation Fort[]
The last fortress features a whopping 8 Reznor. The first four Reznor are encountered on a large wheel that is hidden within the background. They will fire balls of flame that pass through walls even if they cannot be seen. The player must navigate through a large maze that can only be fully explored through the rotation of Toadstool's Blessing in order to knock off each Reznor. As more Reznor are knocked down, the amount of fireballs decrease but their speed increases.
Once all 4 Reznor are knocked off, the background crumbles to reveal the second set of Reznor on a wheel above a wooden bridge. Their wheel is equipped with a transmitter that blocks the power of Toadstool's Blessing. The bridge is then quickly burned down, but the players are saved by Amazing Flying Blocks encountered earlier in the level. Using the Control Stick, the player must control their flying platform to avoid Reznor's fireball attacks while attempting to knock down the 4 Reznor. As their numbers decrease, the Reznor's movement and attack pattern becomes more erratic, and they gain new abilities, such as creating a rain of fireballs from above or shooting fire into the lava to create large waves that must be avoided.
Motley[]
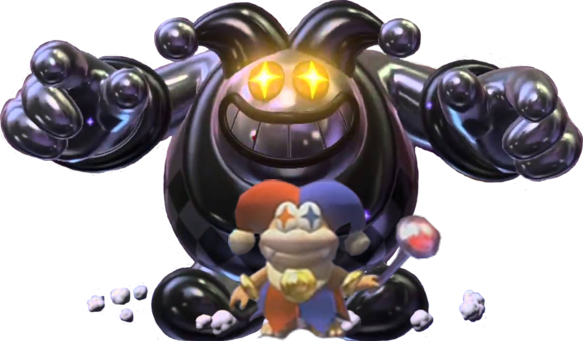
Motley is encountered in the Dome levels, and he is fought a total of 5 times.
Drumroll Dome[]
Motley's battlefield in the Drumroll Dome consists of two large drums connected together, which act as trampolines. Motley will start off in his smaller form, firing magic blasts from his scepter and attempting to leap atop of the player. When stomped once, he will assume his larger "Bossblob" form and jump into the background. From here, he will release spiked Drumrolls that bounce across the stage and drop harmful blobs down. When he lands in the foreground again, it creates a shockwave that releases Motley out of the Bossblob form. Motley will continue to attack from there, but is now located at heights that can only be accessed using a Drumroll. Stomp him 2 more times to defeat him.
Haunted Dome[]
Motley's battlefield this time around is a large maze. Some walls have banners hanging down them to confuse players as to what is passable and what is dangerous, as electric traps are also common and look identical to banners through the shadows. Motley will run around and fire blasts from his wand, and will disappear when stomped. Harmful bubbles will quickly rise from the bottom of the screen, creating Bossblob in the background. Motley will reappear and repeat his same tactics, but players must be wary of Bossblob as well, as he can smash through walls with his fists and freeze players that are in his line of sight. Stomp on Motley two more times to defeat him.
Electro Dome[]
Motley's battlefield is now constructed entirely of Strobe Blocks, and three Strobe Lights are located under the main platform. Unlike the last fights, the goal of the battle is not to defeat Motley, but rather to get rid of all of the blobs that form the Bossblob. Bossblob is found in the background of the battle, attacking by dropping blobs from the top of the stage, smashing his hands together, and creating lasers from his eyes. Blobs can be trapped when they fall by using Toadstool's Blessing to prevent the blobs from going off the screen when they drop. There are around 30 different Blobs in total, and when all of them have been defeated, Motley will simply fall into the background and automatically be defeated.
Ringside Dome[]
At the end of the stage, Motley awaits in a large boxing arena-like structures, featuing 3 moving rows of Flap Platforms scaled vertically. Motley will automatically begin in a smaller version of the Bossblob form and attempt to take on Mario in the ring. Bossblob attacks by shaking the ground and attempting to grab and toss Mario. Using the Flap Platforms, Mario must leap over Bossblob and grab him from behind, initiating a sequence where the Control Stick must be spun in a circle to swing Bossblob around, causing his form to fly off and reveal Motley underneath. When Motley is exposed, he will try to flee, but is still easy enough to attack. Once stomped, the process will repeat: after the second stomp, Bossblob will grow larger in size and require that he is grabbed and swung twice instead of just once. After being attacked a third time, Motley will flee to String Shock Dome.
String Shock Dome[]
In the final confrontation, Motley will appear in his Bossblob form to try and defeat Mario once and for all. Before the actual fight begins, a small platforming section that builds up to the last duel lies ahead. Bossblob will slowly attempt to break the strings throughout the stage and crush the buildings with his might, and the player must move quick enough to reach the battlefield before this happens. The battlefield consists of 2 rows of strings: the bottom one moves to the right, while the top one moves to the left. Bossblob will attempt to grab Mario and smash him, and players must wait until his weak point - his face - is open to use Toadstool's Blessing and attack it. After 3 hits, Bossblob will vanish, leaving Motley open. He will frantically try to hop around, firing magic blasts, using electric attacks to try and create shocks on certain strings, and throwing down large blobs that can get stuck in the string and weigh them down. Toadstool's Blessing must be used to launch the blobs that get caught in the string into Motley, and three hits will cause him to flee. The player can then give chase and use the string to launch into the final arena, which is a simple platform unlike any of his past battles.
In this form, Motley will transform into Bossblob, hopping around and smashing the ground to create shockwaves. He can also split himself up into blobs that either rain from the sky or attempt to lock on to Mario and ram into him. In order to attack Motley, players must avoid his attack where he smashes his fist into the ground, and then use it as a platform to ground-pound Motley's face, releasing around 6 blobs that must be defeated. After defeating all 30 blobs, Motley will remain. He will attempt to fire all sorts of magic blasts at the players, but one stomp is all it takes to defeat him for good.
Pom Pom[]

Pom Pom is encountered in the Airship levels, and she is fought a total of 5 times.
Rocket Engine Airship[]
Pom Pom is first encountered in the Rocket Engine airship, where her battlefield features a basic platform with two Rocket Engines mixed in. Pom Pom attacks using her boomerangs, which can be jumped on for extra altitude. After jumping on her, she will retreat into her shell and attempt to hover up and smash you. After the first hit, the Rocket Engines will activate, and boomerangs that pass through it catch on fire and cannot be jumped on. Two more hits will defeat Pom Pom.
Skydive Airship[]
Pom Pom fights the players on a large deck outside the airship, where heavy winds blow. For the majority of the fight, Pom Pom will be levitating and thus too high up to be hit normally. In order to attack her, players must bounce off of the giant boomerangs she throws to reach her. Her other attacks involve sharp shurikens, such as surrounding a majority of the floor in shurikens that must be blown away with Toadstool's Blessing before she fires the largest shuriken on the small remaining gap. When Pom Pom is hit, she will attempt to smash you with her shell, but the wind will carry her up sometimes before she drops down in an attempt to fake out players. She requires 3 hits to be defeated.
Ghastly Sails[]
Despite not having the word Airship in the level name, Pom Pom is found within the depths of this level regardless: it is implied that the entire level is simply an airship that ended up crashing. Pom Pom's fight works a bit differently depending on whether the level is flooded through the Draining Gate. If the level is not flooded, Pom Pom will hang off of walls, firing flaming shurikens and homing boomerangs. Players must get her to throw shurikens at the 3 silver pipes in the battle room, which will cause a large explosion of water that causes Pom Pom to drop. After being hit once, she will clog the pipes with shurikens, requiring the player to lead her homing boomerang towards the shurikens and unscrew them. After the second hit, she will clog the pipes with shurikens again, and jam her boomerang in the wall. Using a barrage of shurikens to attack, players must have her throw a shuriken at wherever she placed the boomerang in order to drop it. Once her boomerang is grabbed, avoid her attacks and use it to unscrew the shurikens blocking the pipes once more to make her vulnerable to the final blow.
If the level is flooded, Pom Pom will become impossible to attack, as she blocks any attacks that aren't jumps and can't be stomped on due to the water. Players must get her to throw shurikens at the 3 silver pipes so they drain the water and make her vulnerable. She will retaliate when stomped by attempting to shell smash the player, with each time she hits the ground filling the room with water and thus slowing her down with the ability to home in on your position. After the first hit, she will begin using a homing shell attack, which can lower the water level if she hits the top part of the arena. After the second hit, she will begin using shurikens that stick to the walls, and use a shell attack to unscrew them once too many are stuck to the walls. If she hits the top wall this way 3 times, it will lower the water level enough to hit her one last time.
Soaking Wet Airship[]
Pom Pom is encountered next in the Soaking Wet Airship, where she fights in a room that features a right wall comprised of blocks on horizontal tracks. Pom Pom now deflects any attacks whatsoever, wearing a shuriken braid on her hair to discourage jumping. She hops around the arena firing flaming shurikens, and also creates teleporting clones to create rows of shurikens at once. In order to knock her down, Toadstool's Blessing must be used to push the blocks towards the left: one block will go all the way to the left, and can smash Pom Pom into the wall if she is positioned there, leaving her open to attacks. After one hit, she cuts the tracks up and reties them to confuse players, and after the second hit, she will remove the blocks to reveal the freezing wind, turning the floor into ice and leaving a gaping hole on the right side of the stage with winds that slowly push the player to the abyss. Pom Pom skates to keep herself in place at the far left of the stage, throwing quick shurikens and her boomerang, which struggles to return to her due to the winds. If Toadstool's Blessing is used to launch the boomerang back to her, a small window is open to defeat Pom Pom before she falls into the abyss and recovers.
Mast Airship[]
Pom Pom's last battle takes place on the tallest mast of her personal airship. The first part of her battle acts as a Brickbreaker-styled game, where players must reflect her shurikens back to her using the Footlight Shield without letting too many shurikens hit the mast, as it can only take a certain amount of shurikens before it is broken and falls. She will also attempt to trick the players with portals and Shadow Shurikens, which pass right through the mast without harming it. After enduring about 40 shurikens, she will unleash her strongest shuriken to break and disable your shield. The second phase of the fight quickly begins afterwards.
In the second phase of the fight, Pom Pom will attack with electric shurikens that create shockwaves as well as her boomerang. She also has the ability to split into up to 10 clones. She will seem invincible at first, blocking nearly all projectiles from harming her as well as wearing a shuriken braid to block jumps. However, stomping on her boomerang attacks reveal Boomerang Flowers, which can throw boomerangs to reflect her electric shurikens. After reflecting about 10 shurikens at her, the shuriken braid will drop. This will make her vulnerable to jumps but also power her up with new moves to try and stop you. This includes channeling any projectiles thrown at her into a powerful attack, and surrounding the player in clones to throw a barrage of shurikens. After 3 stomps, she is defeated for good.
Kamek[]
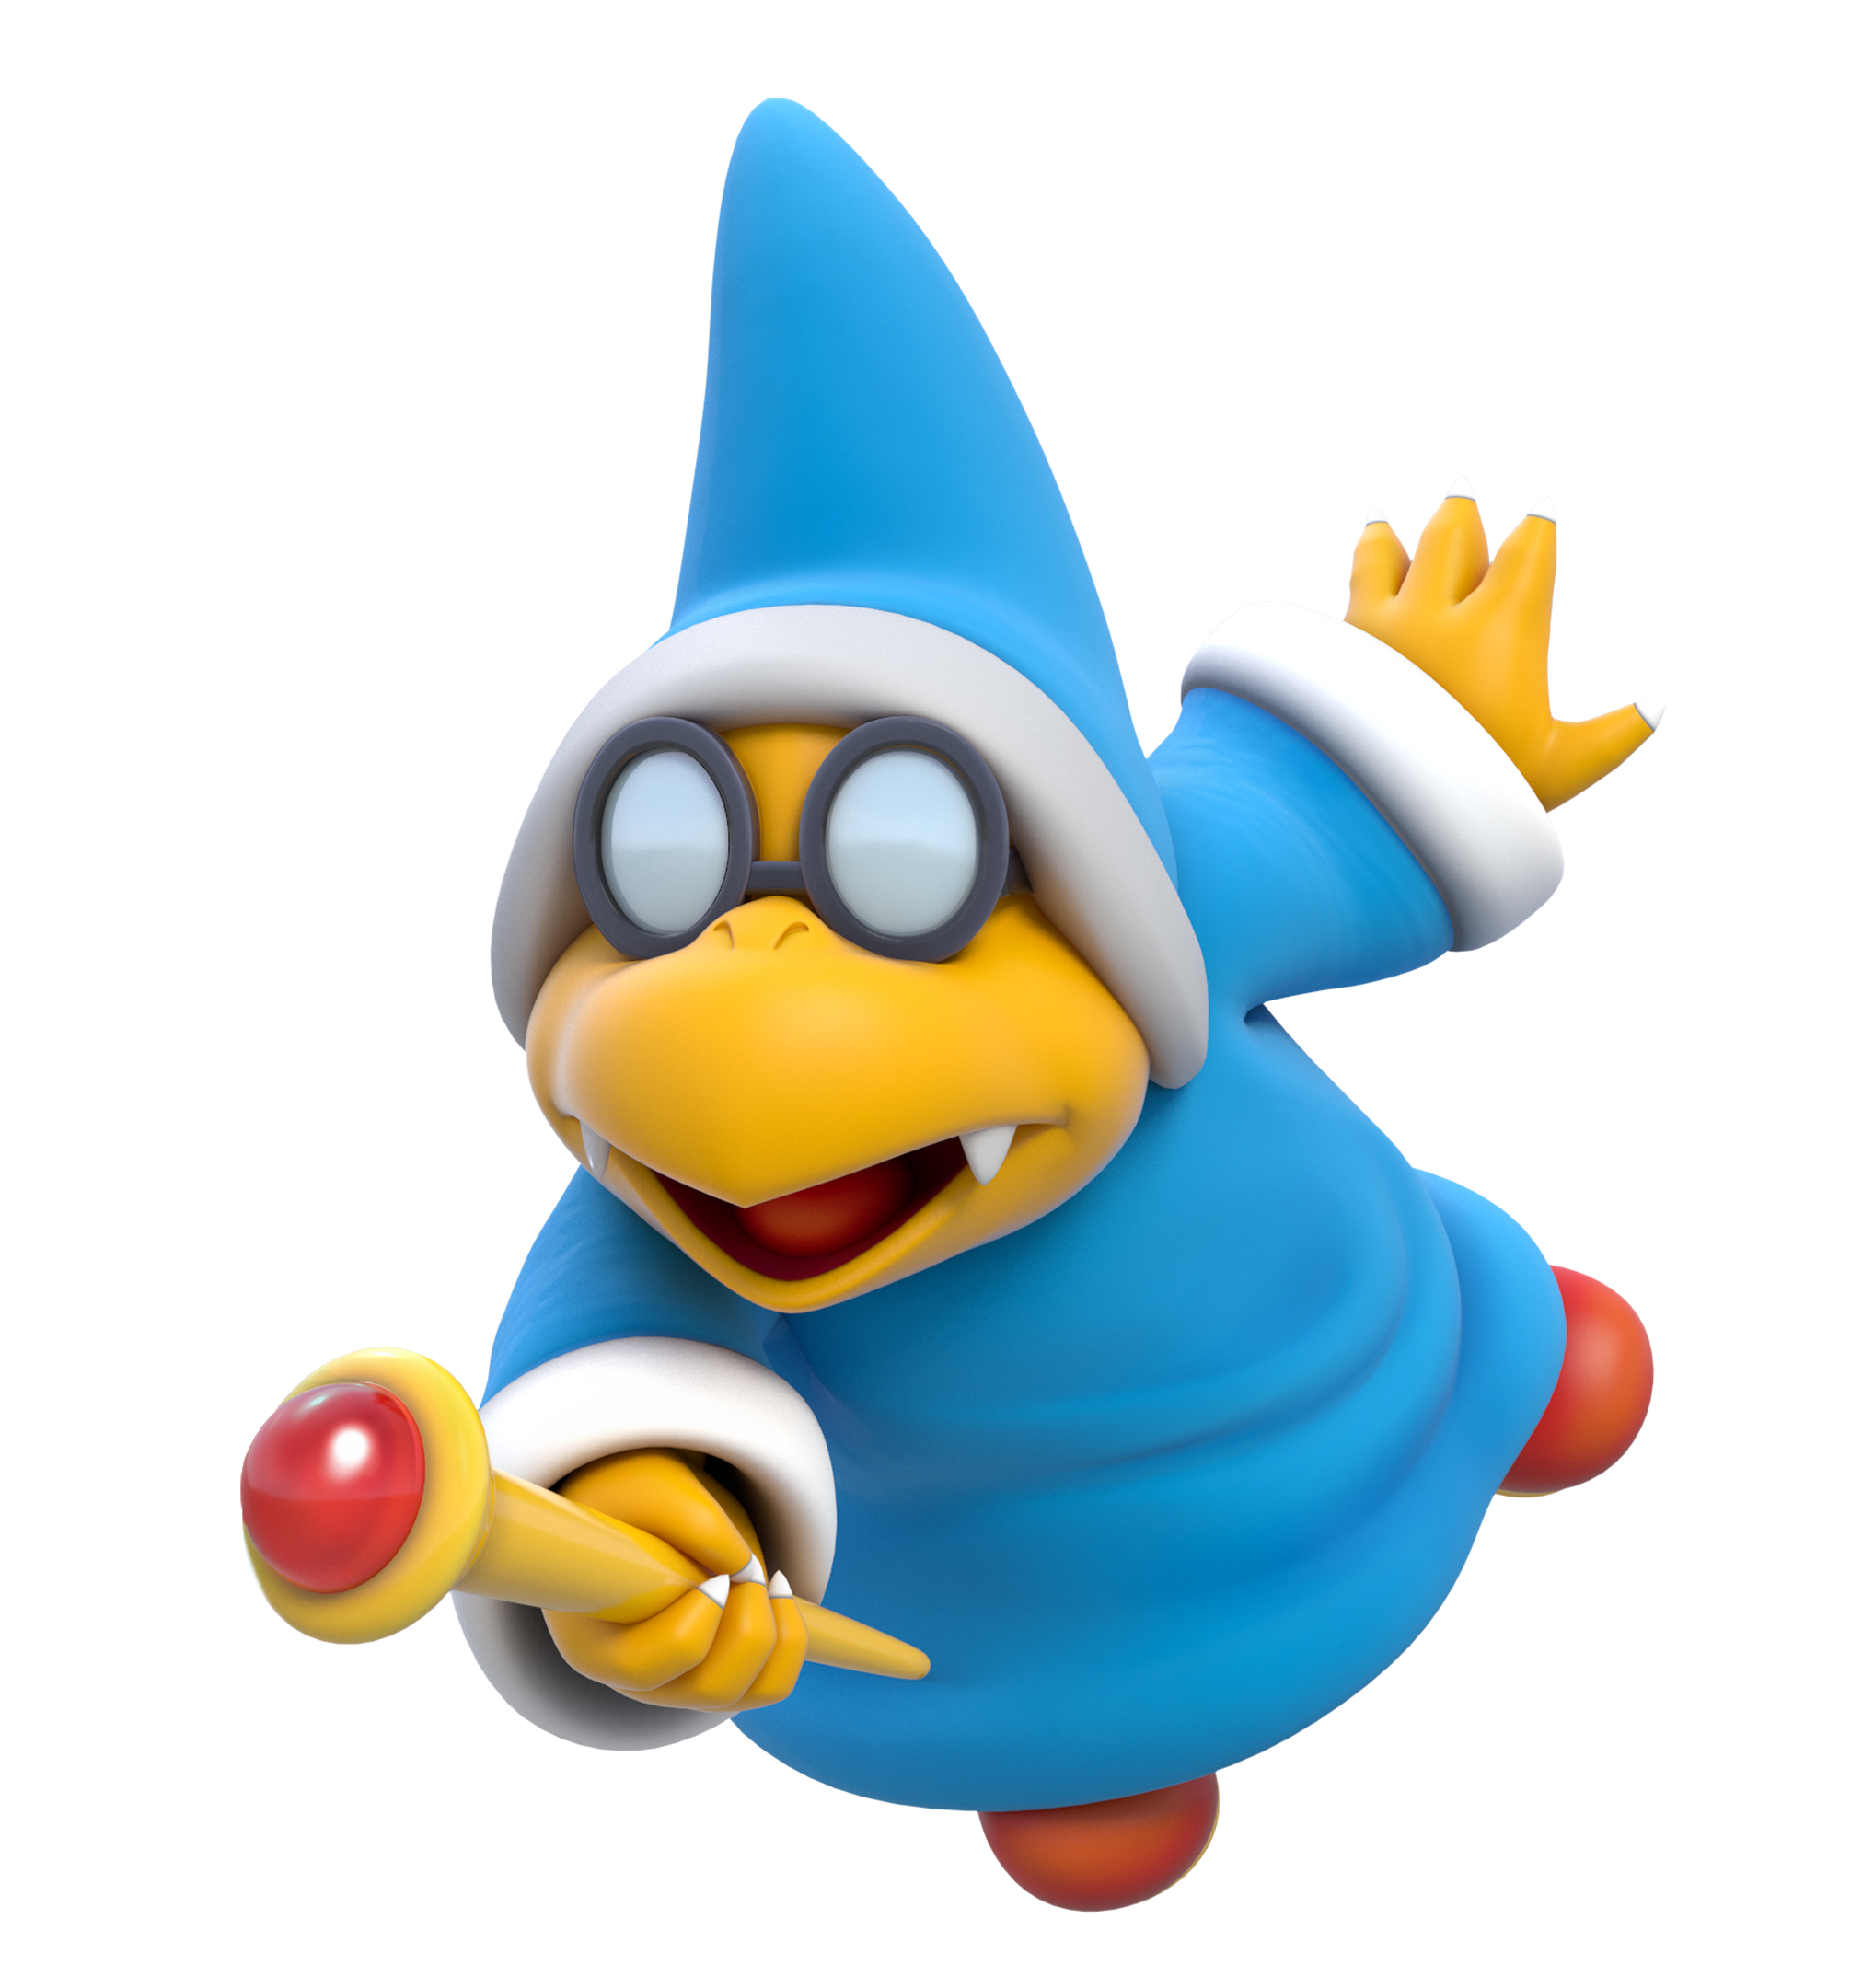
Kamek is encountered in the Castle levels, and he is fought a total of 5 times.
Thwomper Stomper Castle[]
In the first encounter against Kamek, horizontal Thwomper Wires with blocks on them fill the room, creating a sort of "zigzag" pattern with the blocks. When Kamek appears, he attacks with magic blasts as well as causing the blocks to move to the opposite ends, teleporting right before he does so. Unlike most bosses, Kamek will simply teleport away if you get near him, so you can't directly attack him.
Instead, you must use Toadstool's Blessing when he is charging a magic blast to move the blocks across the Thwomper Wires and squish him; the player must be careful not to get caught by these blocks on their own. After the first hit, Kamek will change the Thwomper Wires into a similar pattern, except that they all run vertically instead. After being hit the second time, he creates a rectangle of Thwomper Wires along the perimeter of the room, with two horizontal wires lined vertically near each other in the center. After being caught 3 times, Kamek disappears and the battle is won.
Bill Blaster Castle[]
This battle against Kamek looks very dangerous at first; the walls are lined with Bill Blasters and there are only three floating platforms, with 2 on each side of the stage and 1 above them in the center. Kamek will fire his magic blasts at up to 5 different Bill Blasters, causing them to fire, before teleporting away. Where he teleports to is marked by a red light that moves to his new location seconds before he shows up again.
Players can use Toadstool's Blessing to their advantage by drawing the direction of nearby Bullet Bills towards you to fly towards Kamek's new location. When Kamek reappears, he will not have enough time to react and get smacked by the Bullet Bill. He requires 4 hits from Bullet Bills to be defeated, and after every hit he will rearrange the location of the platforms and activate more Bullet Bills at a time. After 3 hits, he will also turn some of the Bill Blasters into Missile Bill Blasters that home in on you. These Bull's-Eye Bills cannot be affected by Toadstool's Blessing.
Skull Bomb Castle[]
This underwater battle features 6 Skull Bomb cannons; 3 on each vertical wall. In addition, passable platforms form a square slightly smaller than the perimeter of the room, allowing Kamek to have a place to land. This smaller perimeter has a counter-clockwise current flowing through it. Kamek can either fire a homing blast at you, or activate some of the Skull Bomb cannons. In order to damage Kamek, you must use the correct type of Skull Bomb to hit him. When he is above the platform, you can push giant Skull Bombs upwards before they explode, while when he isn't looking it's best to assault him with smaller Skull Bombs.
After 2 hits, he will surround the passable walls with a metal set of blocks. These blocks are recommended to be destroyed with smaller bombs, as bigger ones will break right through them and explode with the player inside. After being hit once more, he will force the player in the current where they must dodge Skull Bombs, and seal the way shut with impassable platforms. The player must first break open the blocks through a Giant Skull Bomb, and then get Kamek to activate a Skull Bomb cannon while he is turned around so that it hits him. After his defeat, Kamek swims away to the next Castle.
Solid Spotlight Castle[]
In this battle, the blocks form a single large platform at the bottom, with 3 hovering side to side in the air. There are also two Anti-Spotlights that shine, removing blocks as they follow the player. When these Anti-Spotlights are turned into regular Spotlights through Toadstool's Blessing, they will simply move on a standard track. Kamek will teleport across the room, summoning Missile Bills and throwing magic blasts that bounce around a bit before disappearing.
In order to defeat Kamek, they must use Toadstool's Blessing to lure Kamek into one of the 3 platforms when they are outlined, and then activate it when he is in the platform's outline to stun him. The player must then lure the Anti-Spotlights towards Kamek where he will fall in the pit below. Kamek cannot be jumped on, thanks to a magical shield protecting him.
Kamek requires being dropped into the pit four times in order to be defeated, with one of the floating platforms disappearing each time. When all 3 platforms are gone, the player must turn the Anti-Spotlights into regular Spotlights, and be very careful with where they move. Once Kamek appears on the bottom of the screen, players must activate the Anti-Spotlights again to stun Kamek while making sure they don't fall, and then drop him into the pit one last time. As he falls, the Anti-Spotlights run out of battery, and Kamek becomes stuck as the player advances.
Absolute Zero Castle[]
The final battle against Kamek has a simple but very frightening battlefield: all of the walls and floors are made of Bill Blasters. Kamek will fire up to 3 homing blasts, or up to 8 regular blasts from his wand. If these blasts hit a Bill Blaster, they will fire. Kamek can also use his magic to "spice up" the Blasters, making them shoot fire in different shapes or fire Missile Bills instead. Players must be careful, as when in zero-gravity mode they cannot step on things to defeat them.
In order to defeat Kamek, they must lure the Missile Bills that Kamek creates towards him, dropping down from zero-gravity mode at the last second so that the Missile Bill will not continue to fire you. Otherwise, Kamek is protected by an impenetrable shield. As Kamek continues to take damage, he will feature more erratic patterns. Once he is hit five times, he will fly away on his broom, using his magic to get rid of all the Bill Blasters, revealing a standard field with a very wavy floor.
When Kamek arrives, he concentrates his magic on forming a mystical Bowser figure, who fights for Kamek. This false Bowser breathes fire that creates burning patches on the ground, throws hammers, and spins around in his shell. Kamek occasionally pitches in for an attack, making the radius of the attack larger or adding more complexity to it. In order to attack Kamek, players must ground pound the wavy floor to send Bowser's attacks upward. They can limit Kamek's movement by sending hammers that get stuck in the ground upwards, but the main method of hurting Kamek is through the burning patches that fly upwards.
After being hit by fire twice, the magic Bowser will concentrate all his fire into the sky, creating a rain of fireballs that do not create burning patches. He gains some new attacks, such as diving down into the floor spikes first, or sending hammers horizontally outwards. Instead of using burning patches, the player must ground pound the floor when Bowser's shell gets stuck on to the ground from his diving attack. The Bowser will spin through the roof for a few seconds before diving down, while Kamek panics and tries to find a place to hide. The player must follow Kamek's movements while avoiding Bowser and any debris that falls down while he spins through the roof. If they do this correctly, the player will be catapulted when the magical Bowser drops down, finally hitting Kamek through their own attack and defeating him once and for all.
Airships[]

Airships are encountered in levels using Para, and one is the boss of Para's Last Flight.
Para's Last Flight[]
Although the Airships in this level primarily attack from the background, one in particular flies ahead to block Mario's progress. It fires using different artillery projectiles such as Bullet Bills and Cannonballs, as well as large lasers. Players can use the level's Toadstool's Blessing, the Para Bullet, to fire a stream of Bullet Bills at the Airship. However, they must be careful, as Para moves much slower during this move and she becomes a much easier target for attacks. It takes around 200 strikes from Bullet Bills to be defeated.
After being struck by 70 Bullet Bills, the Airship will begin to bring in reinforcements. This includings having enemies such as Hammer Bros. board the airships, and including their projectiles into the mix. In addition, it gains new attacks such as creating tornados that home in on the player using its propellers. After being hit by 60 more, it will fly away and start a countdown timer of 1 minute and 30 seconds. If the player does not hit the Airship with the last 70 bullets required to take it down before the countdown finishes, the Airship will explode in the air and automatically defeat the player. Luckily, the time can be increased by 2 seconds each if you attack a dark Clock Bubble, which is frequently summoned by the Airship for attacks.
Bowser Jr.[]

Bowser Jr. is encountered in the Door of Order, and is the boss of that level.
Door of Order[]
After pursuing you throughout the entire level in an attempt to capture and defeat, Bowser Jr. finally attempts to battle you at the end of the level. The battlefield you fight him on features four platforms that can be jumped through, two on the left edge and two on the right edge. Bowser Jr. will start off with simple attacks such as using punches or trying to ram into you. If a player attempts to jump on him, he will simply vanish and appear on the other side of the stage, drawing a paint line with his magic brush that divides the stage in half. In order to beat him, players must use the Toadstool's Blessing they are given in the level to trap Bowser Jr. on one side, and then quickly teleport back to him in order to attack. After one jump, Bowser Jr. will pull out a Virus-infected 1-Up Mushroom and split himself into two.
Both Bowser Jrs. attack with cooperative manuevers, such as a mish-mash of colliding punches. or creating crosses of paint. In addition, if one Bowser Jr. is hit, the other will heal him shortly, negating any damage done to it. They must both be attacked simultaneously using the same tactic as before, so that they cannot heal each other. After this, each Bowser Jr. will split into two, creating four Jrs. that must be dealt with in even crazier combo attacks, such as creating a 3-line cross of paint and then using one Bowser Jr. Like before, they must be defeated within a set time together using the Toadstool's Blessing, or else they will simply get back up. Defeating them all unlocks the way to the Carbon Facility.
The Virus[]
The Viruses are encountered in Virus Factory, and they are the boss of that level.
Virus Factory[]

After entering the machines that produce the Viruses, you'll have to clear them all out in order to stop production. The battle starts with 3 Viruses, each of a different color. Ground Pounding the Viruses will stun them and cause them to change their color. The cycle goes in the order of red, yellow, blue, and then back to red. Using this tactic, players must make the Viruses of the same color and force them together in order to defeat them, in a similar manner to the game of Dr. Mario.
After defeating the first round of Viruses, a group of smaller, invulnerable Viruses will appear and follow up with a few attacks that involving stretching and bending their shape, such as forming a whip to strike with or circling around the player to try and enclose them as they dodge a barrage of projectiles. Eventually, 6 more of the normal Viruses will spawn, and now use miniature Viruses to slow you down and limit your jumping ability. After defeating the second group of Viruses and avoiding the attacks of the invincible Virus, one last group of 9 will appear. Repeat the same strategy and they will disappear for good.
Bowser[]
Bowser is encountered in 8-4, and is the boss of that level.
8-4[]
Having watched the player's journey since the very beginning, Bowser is finally encountered at the very pinnacle of his empire. He has prepared a vast network of unbeatable weapons so that the player will never succeed, and activates them... however, they instead backfire and all blow up! As the screen fades to black, a small life counter appears and drops down by one.
This scene reveals the gimmick of Bowser's boss battle(s): multiple lives. Rather than hitting Bowser a certain amount of times to defeat him, the player must outsmart what he does in each of his lives in order to lower it down. Bowser has 5 lives during the start of the battle, and his first 3 lives mimics a pattern from an older Mario game.
On his first life, Bowser will start with simple attacks like breathing a slew of fireballs or jumping up to pound the ground. The player must get behind Bowser when he jumps and step on a nearby switch. When this switch is pressed, another will appear on the opposite side of the field for you to press. Repeat this process 3 times to drop Bowser into the pit and cause him to lose his first life.
His second attempt has him disposing the switches, filling the pit he previously fell in with large blocks in a 5x5 fashion. Bowser will repeat his strategy as before, with more powerful moves such as stunning Mario with his ground pound or causing a rain of fireballs. Bowser must be lured into breaking the ground with his Ground Pound so that he falls again into the pit and loses his second life.
For his third attempt, Bowser completely gives up on fighting on the ground, choosing to ride his Koopa Clown Car instead. He'll shoot flames from above to rain down on you, attempt to dive into you to push you off the battlefield, and drop Bob-ombs that are lit by his flames. Players must step on the Bob-ombs to grab them and throw them upwards at just the right timing so they explode in Bowser's face. 3 hits will cause the Koopa Clown Car to malfunction and crash with Bowser inside.
On his fourth attempt, he will once again ride his Koopa Clown Car, but this time uses his stash of Bob-Ombs to break apart the floor that the player stands on, creating gaps in the floor Bowser repeats his strategy from before with the exception of throwing minions. He also gains some new attacks, such as creating a fire shield in order to hurt anything he rams into, or flipping out of his Clown Car to spiral downwards and create shockwaves when he lands. The player must hijack his Clown Car when he leaps out of it, and attempt to push him into the gap. Bowser will retaliate with claw swipes, punches, and headbutts, but with enough persistence and force, the hero can drop him into the pit and make him lose another life...
With only one life left, Bowser realizes that none of his previous tactics will work. He decides to pull out all the stops by using his ultimate weapons - his large collection of cloned 1-Up Mushrooms meant for his entire army - on himself. As Bowser begins to reclone himself over and over, they combine their power to form the ultimate enemy: Infinity Bowser. Infinity Bowser is a gigantic form of Bowser has wild rainbow-colored hair, glowing white eyes, a pure black shell and spikes, and a heavy rainbow effect across his body.
Infinity Bowser's first move is to roar loudly, causing a large tower to rise out of the ground. Infinifty Bowser's call summons many Bowser Jr. clones riding Koopa Clown Cars, from the fight against his son. Similar to other games such as Super Mario 3D Land and World, the final battle acts as more of a test of platforming than defeating the boss, as the player must advance high across the tower while dodging Infinity Bowser and the Infinite Bowser Jr.'s attacks. This is further complicated by Toadstool's Blessing; the Super Bridge Switch actually has an effect on the movements of the Bowser Jr. clones. Jrs. riding a Clown Car with red gloves act as red bridges, while ones with blue gloves act as blue bridges.
Infinity Bowser's attacks include large streams of fire that take up up to half of the space featured on screen, creating shockwaves with his fists, and drawing in particles from the ground in an attempt to vacuum the player inwards and crush them. His Bowser Jr. clones take up the majority of the platforms found in the area, and mainly act as obstacles with the "bridges" on the Koopa Clown Car. They do have some attacks, however, like creating crosses with their gloves to rotate the screen, or creating a quick rain of fiery shockwaves.
In order to "damage" Infinity Bowser, players must platform up to wherever Infinity Bowser climbs, and survive his wave of attacks, until he uses one particular ability. With this ability, he creates a giant inverted 1-Up Mushroom with his face on the cap, known as the "Bowser's Blessing", and eats it. With this ability, he can mess with your Toadstool's Blessing powers, changing around the different bridges and potentially making you get hit. You can combat this manuever by using your own Toadstool's Blessing to strike against his attacks; when your attacks collide, you will have to button-mash the Toadstool's Blessing button to strengthen it further. If your Toadstool's Blessing overpowers Bowser, it will knock him down and release some power from him, as he climbs upward further.
The player must repeat this tactic in order to force Bowser to the top of the tower. Once you complete this routine a third time and Infinity Bowser has nowhere to run from the peak of the final tower, he will make his final stand. The player has one more segment to climb, while avoiding Infinity Bowser's fireballs, shockwaves, and other attacks, until they can finally approach Infinity Bowser. As Peach charges the power of Toadstool's Blessing to send him flying, players must help her dodge any of Bowser's close-range attacks or fireballs. Once the Blessing is fully charged, the player can unleash one last final attack on Bowser before he falls down the tower, tumbling towards his inevitable doom. The screen fades out once more until his final life is depleted, beating the game once and for all.